wikiHow is a “wiki,” similar to Wikipedia, which means that many of our articles are co-written by multiple authors. To create this article, 16 people, some anonymous, worked to edit and improve it over time.
The wikiHow Video Team also followed the article's instructions and verified that they work.
This article has been viewed 154,375 times.
Learn more...
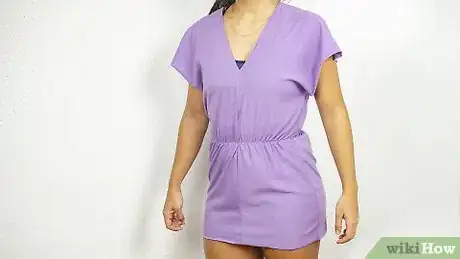
Were you looking for a cute and simple dress but could not find one, or maybe they where just too expensive. You should not go through that much trouble to find a dress whether you need it for a party, funeral, or wedding you can always make one. It is easy just follow these simple steps. This tutorial makes what is called a kerchief dress or a Mexican style dress. However, you will also find help for making other styles of dress as well.
Steps
Measuring and Cutting Your Fabric
-
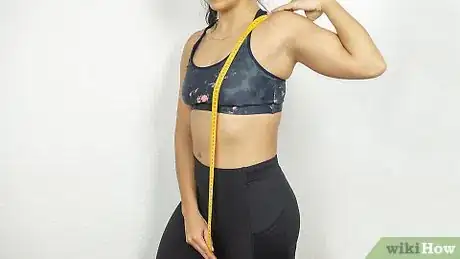
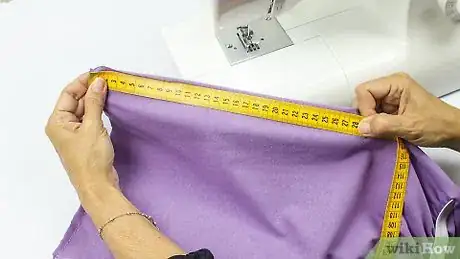
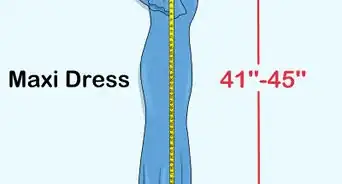
1Take your measurements. Measure from the top of your shoulder (usually where the seam is on a shirt) down to where you want the hem of the dress to be. Next, measure around your hips at their widest point. Add 1-2" to the shoulder-hem measurement and at least 4" to the hip measurement, for seam allowances (more if your shoulders are broader than your hips). If you want the skirt to be a bit more full, add 6-8".[1]
- For example, let's say that from my shoulder down to my knee (where I want my hem) is 40" and my hips are 36" around. This means that I will want a piece of fabric that is ideally 42" wide and 42" long, although it can also be 42x21 and still work.
- Technically the fabric will be broken down into four identical rectangles (one side length measurement by one quarter hip measurement, plus seam allowances). That means that as long as you have four pieces of fabric in that rectangle size, you can use them just fine.
- Traditional seam allowance is 1/2" along each edge.[2]
-
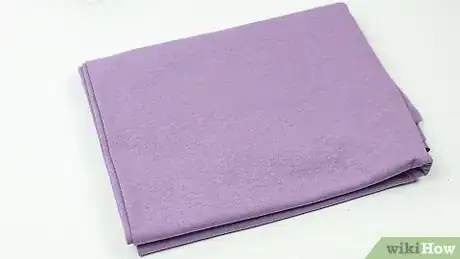
2Choose your fabric. You can use any fabric that you want. White or brightly colored summer fabrics are most traditional, but you can also use an old tablecloth, curtains, or scarves too.
- Stretchy fabrics like jersey work well for this dress but are difficult to work with. You need very particular settings on your sewing machine (most notably a perfectly set, loose-but-not-too-loose foot). Tread carefully.
Advertisement -
3Cut the fabric into rectangles. Cut the fabric into four identical rectangles. As mentioned above, they need to be the length of your shoulder-hem measurement with the seam allowances. They also need to be as wide as your hip measurement divided into quarters and a seam allowance for each of those quarters to be joined.
- Using the measurements from the first step, our example rectangles would need to be 42" long and 10.5" wide.
Putting It Together
-
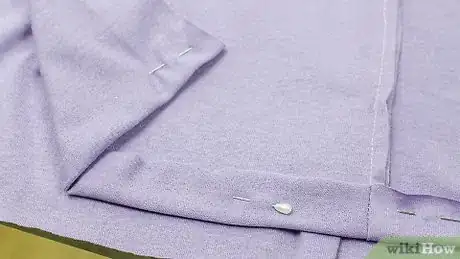
1Sew the shoulders together. Take two of the rectangles and pin a short side on one piece to a short side on the other, with the facing sides of the fabric touching. This will form the shoulder seam. Sew the two pieces together by hand or using a machine, following a line about 1/2" from the edge of the fabric.
- When you pin two pieces of fabric, your natural inclination might be to make the pins outline the imaginary line you'll be sewing along. However, you want the pins to go perpendicular to the sewing line, so that you can sew right over the pins without having to remove them (although you should).[3]
-
2Pin the sides and measure for the neck opening. Sewing the shoulders together should have left you with two very long strips. Place the strips facing sides together and then pin them along one long side. This will become the center line for the dress. Now measure and then mark how low cut the dress should be in both the back and front.
- For each side, measure down from the shoulder seam and then mark that spot on the fabric with sewer's chalk (or similar).
-
3Sew the strips together. Now, sew up from the bottom hem, moving toward the shoulder on the side that you pinned. Stop when you reach the mark for either the back or front neckline. Lock in your stitches, cut the threads, and then repeat from the other side.
- Lock in your stitches by reversing the machine and sewing for about 1/2", sew as normal to return to your stopping point, and then reversing the stitches again.[4] This allows you to cut the threads and release your dress, without risking the strings coming loose over time.
-
4Hem the bottom of the dress. Take this opportunity to hem the bottom edge of the dress, pinning it either half an inch or an inch up (depending on how much of a seam allowance you left yourself) and then sewing straight across.
-
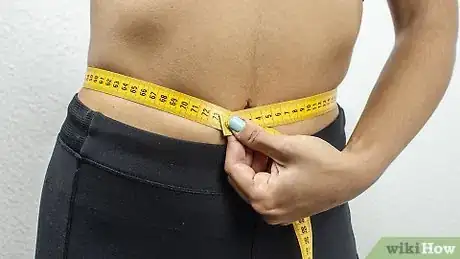
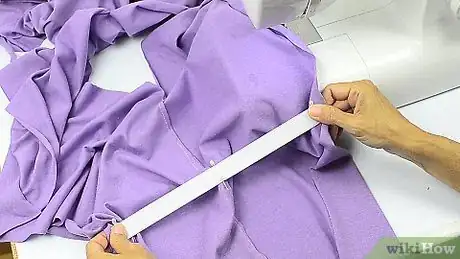
5Measure the waist band. Now you'll want to make an elastic waist. Get a roll of elastic tape, either 1/4" or 1/2" should work fine. Measure around your waist at the smallest point, as well as around your waist 2" above and 2" below that line. Now, measure down from your shoulder to the smallest part of your waist. Using that measurement, mark the same line on the dress, as well as the 2" above and below lines.
- This design (using three levels of elastic) creates a puffed, Boho type of look. You can stick with just the center waist elastic and just do one cinched line if you prefer.
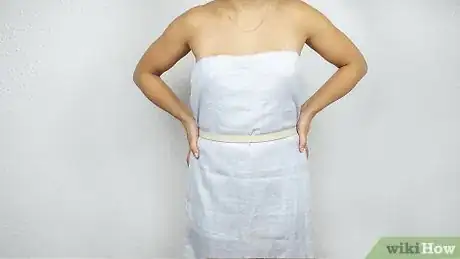
- You do not have to create this elastic waist, however. You can also just a belt to cinch the dress at the waist. This may work better than the elastic if the material is very thin, silky, or intricately patterned.
-
6Cut and pin the waistline. Cut the elastic strips so that they are at the same size as your waist when they are not stretched. Then, cut those in half, one half for each side of your waist. Pin one end to one side of the dress (inside the seam allowance line) and then pin the other side to the other side. Find the middle and pin that at the center of the dress. Now, stretch the sections and pin them to the fabric evenly. When you release the elastic, the dress should gather in a way that looks nice.
- Don't forget to do this for each side of the dress, both front and back.
-
7Sew in the waist elastic. Once the elastic is pinned in place, you can sew it to the fabric. Don't forget to lock in your stitches, just like you did with the center seam.
-
8Pin and measure for the arms. You should now have one large rectangle with a neck hole at the center. Place the panels so that the facing sides of the fabric are touching again (folded at the shoulder seam) and then pin the two remaining long sides together. Measure 5" or more (depending on how large an opening you need for your arms) down each long side from the shoulder seam and mark this like you did with the neck opening.
- Measure around your arm to get the arm width and then divide that number in half. Add at least 1" to make sure that the sleeves are comfortable. You will probably want to add more, since the sleeve are meant to fit loosely. Just be sure that you don't go too far down, or you'll end up showing off your bra.
-
9Sew the sides. Sew up from the hem and stop at the mark you made for the arm opening. Lock in your stitches as before with the center seam.
-
10Finish the edges. You should now have something that looks like a dress! You can technically wear it just like this but it might be better to finish the rest of the edges and add any other finishing touches that you want to make it look nice and professional. You can:
- Add bias tape to finish the edges. Get single fold bias tape. Splay open one of the three sides and place this facing side down onto the inside of the fabric edge to be finished. Sew it into place. Now fold the rest of the bias tape around so that it covers the edge of the fabric. Sew it into place from the front side. Do this for the collar and sleeves, as well as the bottom hem if you want to.[5]
- You can add belt loops to the waist, by making small rectangles of fabric and sewing them into place.
- You can also add other materials and details to your dress. Consider pockets, lace trim, or a lace back.
Making Other Dresses
-
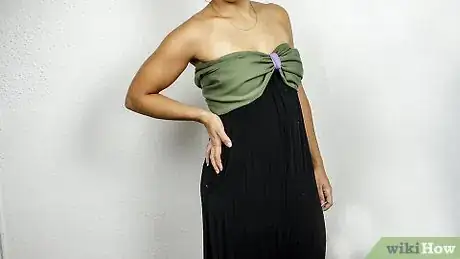
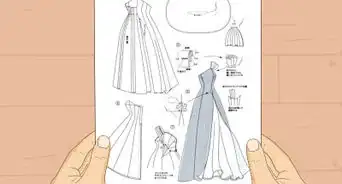
1Sew a dress from a pillowcase.You can make a simple dress out of a pillowcase by creating a drawstring top. Once that is in place, all that's needed to complete the look is a nice belt or other accessory to cinch in the waist.
-
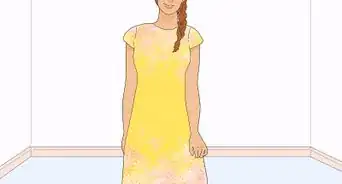
2Sew an empire waist dress. By adding a skirt onto an existing shirt cut off at the bust, you can easily sew a cute empire waist dress. This is perfect for a soft feminine look on a summer day.
-
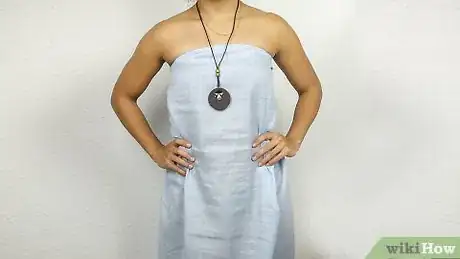
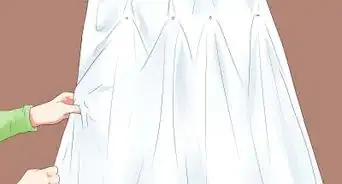
3Make a dress out of a bedsheet. An old bedsheet can be converted into a dress, providing plenty of fabric for a short, summer dress. This requires minimal sewing skills and is easy to make.
-
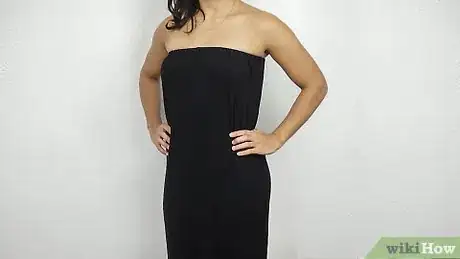
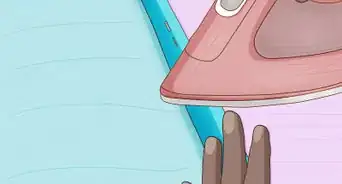
4Make a dress using your favorite skirt. By sewing a tee shirt or other top into a skirt, you can quickly make a nice dress in just a few minutes. Simply align the edges with the facing sides together and then create a seam around the waist.
- Take into account that you won't be able to zip or unzip your skirt, so this will only work with stretch waist skirts.
Community Q&A
-
QuestionHow does the dress stay together?
 Community AnswerWhen you put the dress together and sew it, the fabric is held together by the thread.
 -
QuestionI'm good at sewing, but won't it take too long to make tiny stitches, isn't there a faster way?
 Community AnswerIt is much faster to use a machine, but there are many other no-sew dress instructions on the web to use.
 -
QuestionWhat if I'm looking for a completely sleeveless dress?
 Community AnswerCut the sleeves off, and sew together any of the sides that were dependent on the sleeves to stay up. Hem nicely.
Things You'll Need
- Bedsheet or tablecloth
- Scissors
- Pins
- Tape measure
- Sewing machine
- Decorating supplies.
References
- ↑ http://www.flickr.com/photos/annamariahorner/4714829924/lightbox/
- ↑ http://www.sewingspark.com/all-about-seam-allowances/
- ↑ https://www.threadsmagazine.com/2017/08/08/how-to-pin
- ↑ http://www.sewing.org/learn_to_sew/learn-to-sew-securing-stitches.html
- ↑ https://www.seasonedhomemaker.com/attaching-bias-tape/
About This Article
Even if you don’t have the best sewing skills, you can still make a simple Mexican-style dress to show off. You can use any fabric you want, like satin, linen, rayon, or cotton. You’ll want to cut your fabric into 4 rectangles big enough to cover your body. Then, cut out a neck hole, sew the top edges together, sew the sides together, and hem the bottom. If you want a cinched waist, you can also sew elastic into your waistline. To make your dress showier, you can sew in lace trim, a lace back, or belt loops so you can match it with your favorite belt. It’ll be much quicker and easier to use a sewing machine, but you can also sew your dress by hand if you're up for a challenge. For more tips, including how to make a dress from an old bed sheet, read on!
