wikiHow is a “wiki,” similar to Wikipedia, which means that many of our articles are co-written by multiple authors. To create this article, 14 people, some anonymous, worked to edit and improve it over time.
This article has been viewed 40,526 times.
Learn more...
A WebQuest is a computer based teaching tool that allows students to work in groups or independently. Students use the web to find information on a specific topic presented by the WebQuest. A WebQuest asks students to use higher order thinking skills and solve a problem that you put before them. It teaches them how to evaluate information and how to use the web for something other than YouTube clips of turtles eating tomatoes. Get started with Step 1 below to learn how to make one yourself!
Steps
Understanding the Parts
-
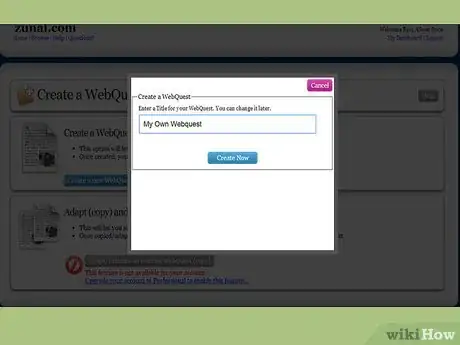
1Make the Title page. You can choose from a number of formats (website, Power Point, Google Doc, Word Doc, printed worksheet, etc) but you should generally always have a title page. This sets the tone for the assignment and makes it look more professional. The Title page just shows the title of the quest and your name. Give it an interesting title!
-
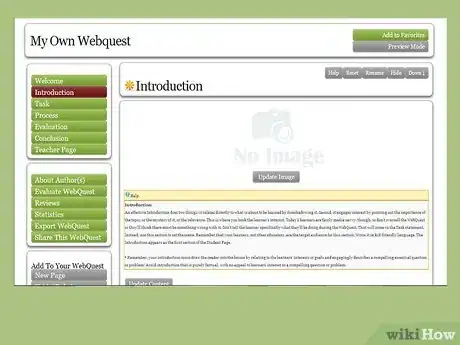
2Make the Introduction page. The introduction will...you guessed it: introduce the student to the assignment. Usually it introduces the concepts dealt with in the assignment. Many times a WebQuest will have a bit of a story that goes with it, and the introduction can serve to tell the story and give a summarized, basic description of what the student is supposed to learn.[1]Advertisement
-
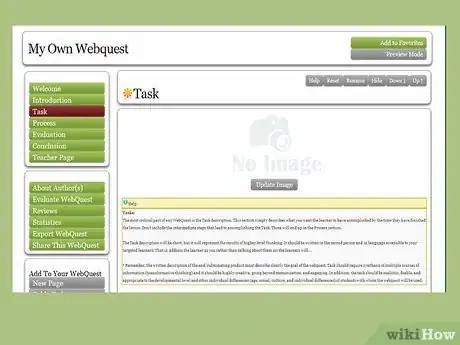
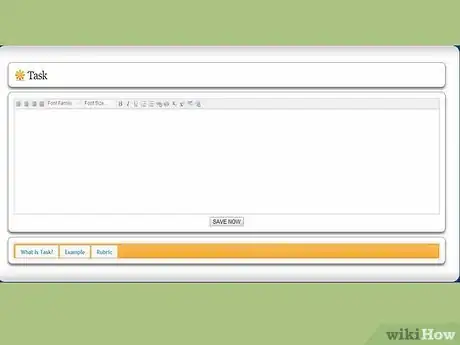
3Make the Task page. The Task page clearly states what the student needs to learn by the end of the assignment. Remember: the goal of the question, this learning journey, is the knowledge they come out with at the end. Use this knowledge goal to create the "story" of the quest your students will be sent on.
- The official Webquest site lists a variety of Task types which each serve a different education purpose. Some of the types include Journalistic, Mystery, Persuasion, Analytic, and Compilation.
-
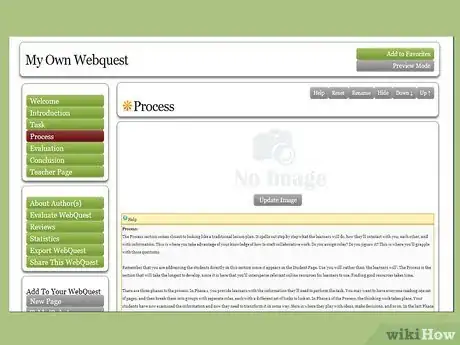
4Make the Process page. The Process page clearly outlines what the student needs to do and in what order the tasks need to be done. Be as clear as you can: the idea is that the student can do the assignment perfectly without you needing to give them any more explanation.
-
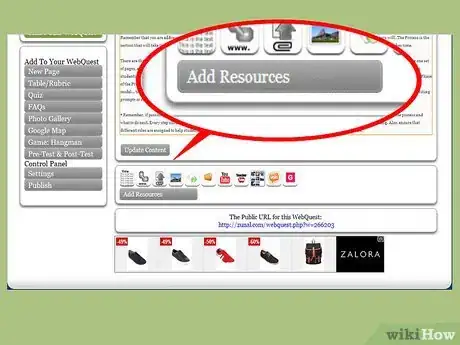
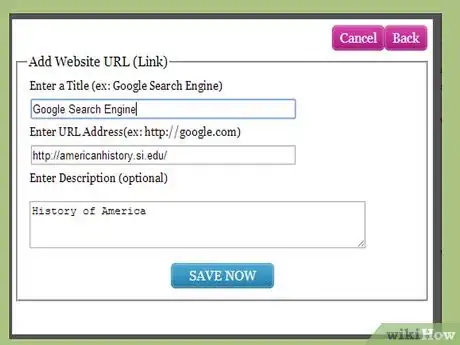
5Make the Resources page. The Resources page gives the students a direct map to all of the sources of information they can use. This means you'll need to identify sources for the information you want them to learn. Get good at using a search engine and learn how to use keywords and boolean properties to find the information you want.
-
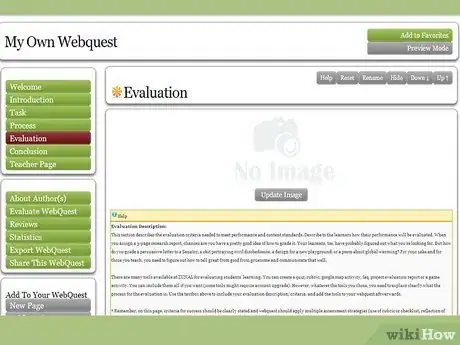
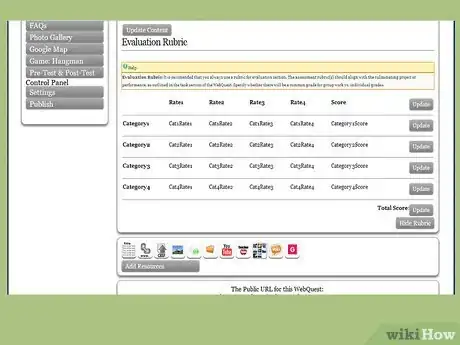
6Make the Evaluation page. The Evaluation page contains a rubric, so the students know exactly what you're looking for from them and what they need to do to get a good grade.
-
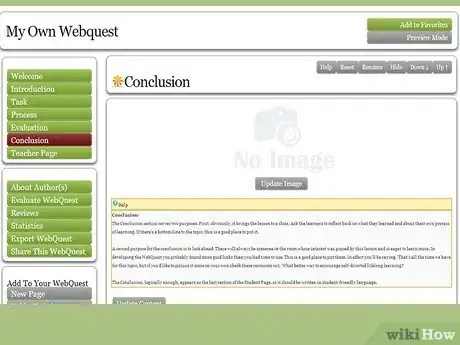
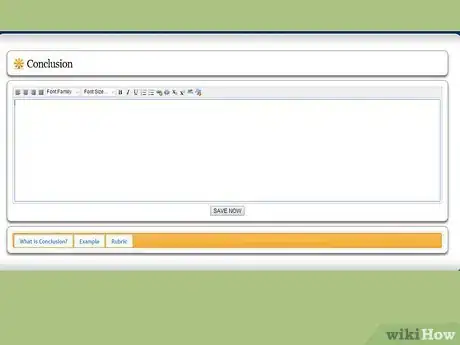
7Make the Conclusion page. The conclusion page wraps up the assignment, goes over the sorts of things that your students should have learned, and encourages them to learn more. You may wish to include more sources for them to do some extra learning and research if they're interested or finish early.
Making it Great
-
1Choose a format. The old school method of making Webquests was a Word document with hyperlinks or a basic html webpage. If you don't want to go through the pain and heartbreak of making your own website, there are templates or you can use other mediums to present the same information. A Google Doc or Spreadsheet can give your students what they need without putting so much of a burden on you.
-
2Make the task engaging. The task itself should be interesting. Get creative! The word "quest" is in the title for a reason. Give the task a sense of mystery and your students a sense of purpose.
-
3Add in duds. First, give a primer on citations, evidence, logic, bias, and things like peer review, so that they can learn to evaluate resources. Then, let your students know that one resource that you give them is a dud and contains bad information. Choose a dud website that looks as convincing as possible. This will let them practice those skills.
-
4Choose the right kind of websites and resources. You want to set a good example for your students, by showing them quality websites and teaching them how to evaluate information on the web. Look for age appropriate material but also look for reputable sources, citations, and current information.
-
5Help your students to question the material. You don't want to just spoon-feed your students the information that they need. You also don't want to give them just one side of the issue. Let them see lots of different information and teach them how to evaluate and decide what's right and wrong.
-
6Put kids in teams whenever you can. By putting students into teams, they'll not only learn how to work with others to complete tasks, but they can also cause each other to think more and discuss the validity of information they find on the web.
-
7Don't be limited to the web. While websites are the main point with WebQuests, don't feel limited to this kind of resource. Add is other materials like handouts, books, magazines, or even peer-reviewed journals if your students are in high school.
-
8Make use of experts. Inquire with experts from local universities and see if they'd be willing to email responses to set questions from students. They will usually be happy to write up a standard response that can quickly be sent in response to basic questions and your students will earn the confidence to contact experts who can advise them.
-
9Make the evaluation clear. When you write the rubric or evaluation page, make sure that it is completely clear. You want your students to be able to do well, not suffer because the instructions were ambiguous or unclear.
-
10Make a fun conclusion. Conclusions can be kind of boring...but you can snazz them up with additions like extra YouTube videos that cover the topic in a fun way. This is a great way to reward your students for finishing early or being curious enough to do more learning on their own.
About This Article
To make a WebQuest, use a program like PowerPoint, Google Docs, or Microsoft Word. To format your WebQuest, start with a title page that includes the title of the quest and your name. Then, make an introduction page that introduces students to the assignment. Next, make task and process pages that outline what the objective is and what students need to do. After that, add a resources page that identifies all the sources students can use, followed by an evaluation page with a rubric. Finally, make a conclusion page that summarizes what students should have learned. To learn how to make your WebQuest fun and engaging, scroll down!






.webp)




.webp)


