This article was co-authored by wikiHow staff writer, Eric McClure. Eric McClure is an editing fellow at wikiHow where he has been editing, researching, and creating content since 2019. A former educator and poet, his work has appeared in Carcinogenic Poetry, Shot Glass Journal, Prairie Margins, and The Rusty Nail. His digital chapbook, The Internet, was also published in TL;DR Magazine. He was the winner of the Paul Carroll award for outstanding achievement in creative writing in 2014, and he was a featured reader at the Poetry Foundation’s Open Door Reading Series in 2015. Eric holds a BA in English from the University of Illinois at Chicago, and an MEd in secondary education from DePaul University.
There are 10 references cited in this article, which can be found at the bottom of the page.
This article has been viewed 47,499 times.
Learn more...
If you’re putting an outdoor wedding, party, or holiday event together, you may be wondering how you recreate all of the magic that happens on the dance floor outside of a banquet hall. The good news is that this is fairly easy to do, and you have a plethora of options to choose from when it comes to materials you use. As a note, this article offers instructions for temporary, movable dance floors, not permanent installations or indoor dance floors. If you want to build a permanent structure in your yard, you’ll need to work with a professional builder to make sure it’s stable and safe to use.
Steps
Considerations and Cleaning
-
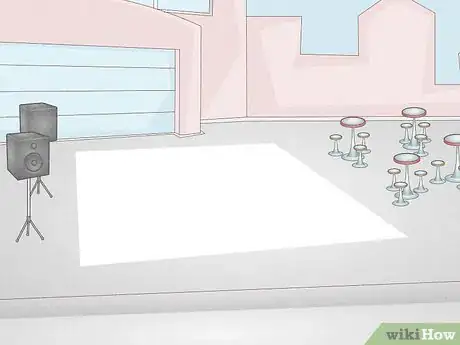
1Design your event around the dance floor when planning your layout. Set the dance floor in a highly-visible area and plan the rest of your layout around it. If you want to make sure everyone gets up to dance, put your seating on one side of the dance floor and the DJ or speakers on the other side near the exit or bathrooms. This way, your guests will have to walk past the dance floor, which will encourage them to participate.[1]
- Put the less-essential stuff further on the edges of the layout. Things like a photo booth or coffee bar don’t need to take up key real estate near the dance floor.
-
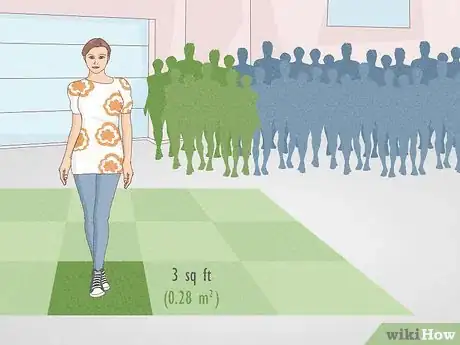
2Set aside 3 sq ft (0.28 m2) for 30% of your guest list to determine the size. You can typically expect around 30% of your guests to be actively dancing at any given time, and each guest needs enough space to move around. You may want to set aside enough space for 40-50% of your guest list if you know you’re going to have a crowd full of dance enthusiasts on your hands.[2]
- For example, if you have 100 guests showing up, you can safely assume that roughly 30 people will be dancing at any given time. That means you’ll need at least 90 square feet (8.4 m2) for your dance floor.
Advertisement -
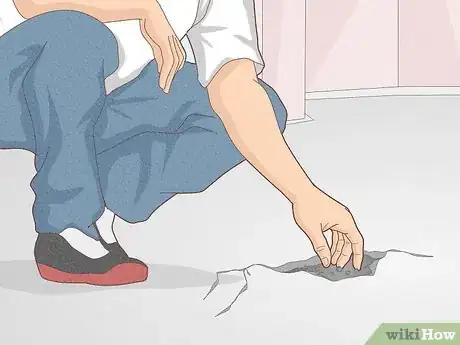
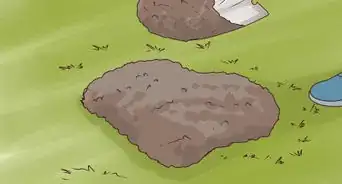
3Make sure the ground you’ve chosen is safe for dancing. Once you’ve chosen an area, inspect the ground to make sure it’s relatively flat. You may accidentally put people at risk if there are any divots, holes, or bumps in the ground. Scour the area thoroughly. If it isn’t suitable for dancing, choose another area.[3]
- This is a genuine safety issue. People do all kinds of twirling and moving when they’re dancing, and your guest may injure themselves if the ground isn’t flat, stable, and even.
- If you’re hosting an event at your home, your back or front yard is probably going to be your best bet. You can use a deck if you’d like, but just make sure you aren’t overloading your deck or putting it at risk of structural damage.
-
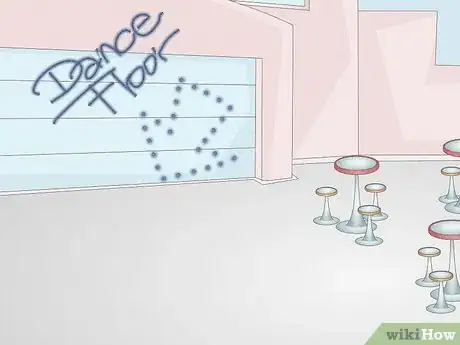
4Get a sign and fun decorations to alert guests that it’s a dance floor. Either make your own dance floor sign, or purchase a pre-made sign online or at a party store so that your guests know exactly what the area is going to be used for. You can also pick up stanchions to rope the area off, or hang string lights overhead so that the area stands out as a dance floor.[4]
- This is important since your guests may not automatically know your dance floor isn’t set aside for something else. You don’t want to spend 30 minutes walking around to tell your guests it’s a dance floor. You just want them to get up and boogie!
-
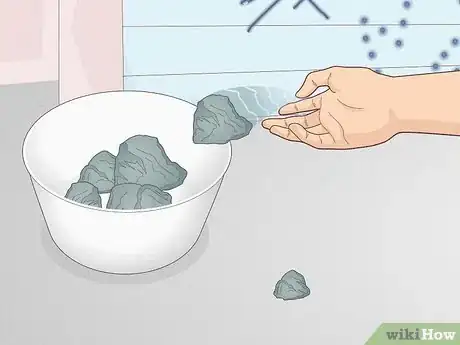
5Clean the area out before the event to keep everyone safe. Regardless of whether you’re covering the dance floor with another material or not, it’s important to remove any garbage or debris. Pick up any rocks, sticks, garbage, or litter and throw it out. This way, nobody is going to trip or injure themselves.[5]
- Keep a special eye out for broken glass. If someone dances barefoot and they step in broken glass, it could be disastrous.
Natural Dance Floors
-
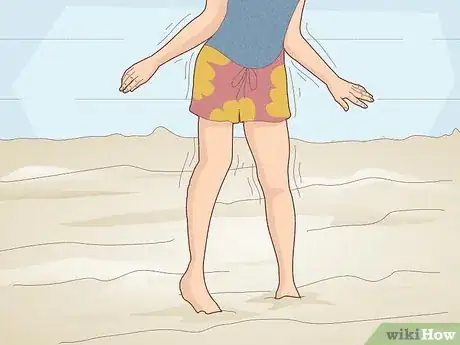
1Let your guests dance in the sand if you’re hosting a beach event. If you’re setting up for a beach wedding or something like that, people will enjoy tearing up a sand dance floor. Just make sure you double-check the area to make sure there aren’t any rocks or garbage hiding beneath the surface. Then, measure out the area and decorate it to make it clear it’s a dance floor and you’re done![6]
- Tiki torches are perfect for a sandy dance floor. They’re relatively light, so you can stick them deep in the sand to set them up. Just make sure you don’t light them (or get tiki torches with light bulbs, not open flames). You don’t want someone’s hair catching fire if they get too close during a spin!
-
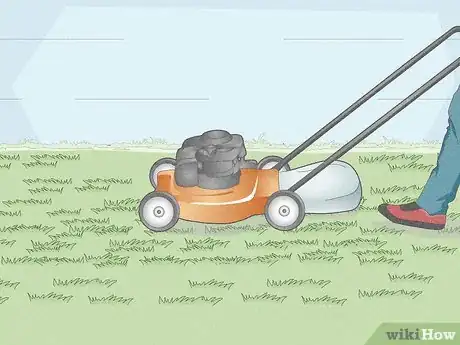
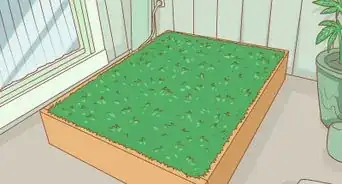
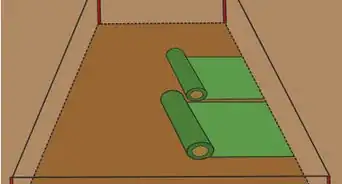
2Opt for a grassy area and mow it down for an easy dance floor. Grass-covered soil is great so long as nobody doing any complicated sliding maneuvers or break dancing. It offers a reliable cushion, and the grass will always grow back after people have finishing dancing for the night. Just make sure that you mow the grass to be extremely short. This way you can catch any debris hiding in the grass, and folks will be more comfortable.[7]
- Even if you plan on putting down a temporary dance floor, you still need to mow the grass. If you don’t, the grass may push parts of the temporary dance floor up.
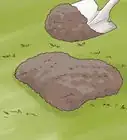
- You can use bare soil if you’d like, but there may be rocks, glass, or other bits of garbage hiding under the surface of the soil. On top of that, your guests’ shoes are going to get extremely filthy. All things considered, you’re probably best off by not setting up a dance floor in the dirt.
-
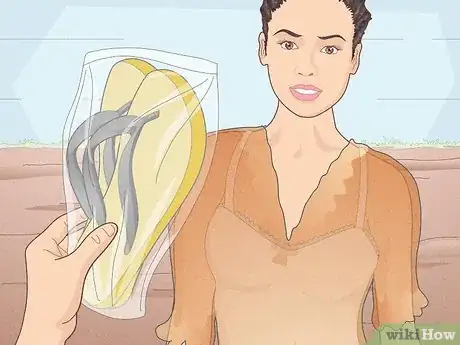
3Buy some cheap sandals for your guests if they’re dancing on the ground. If you’re setting up an outdoor dance floor, some of your guests may not want to scuff up their shoes, and you can’t dance in heels if you’re in grass or sand. Purchase a wide range of cheap, disposable flip flops or slippers in a variety of different sizes so that folks can throw something on their feet when it’s time to get down.[8]
- If you want to get folks excited and you’re feeling a little ambitious, send an email out to guests explaining that there’s going to be an outdoor dance floor and that you need their shoe size. This way, you won’t end up with dozens of extra shoes.
Easy Solutions
-
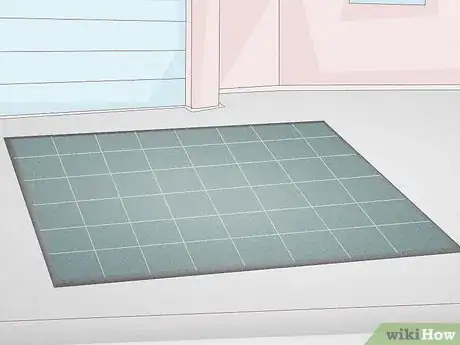
1Assemble a modular dance floor for a professional look. You can purchase modular tiles designed to put a temporary dance floor together. Look online for modular tiles that look like they’ll match the vibe of your event. Check the size of a single tile and purchase enough of them to cover your entire dance floor.[9] Once they arrive, put the tiles together by pushing the sides together like a puzzle piece. After you’ve covered the floor, slide the ramp pieces into the exposed edges around your tiles.[10]
- You may need to step on the seam of each tile where it meets another tile to snap the pieces together.[11]
- These tiles come in wood, vinyl, or foam. Wood is the best bet if you want the dance floor to look professional. Vinyl and foam will be softer, which is great if you’ll have a lot of children or older guests who need additional support.
-
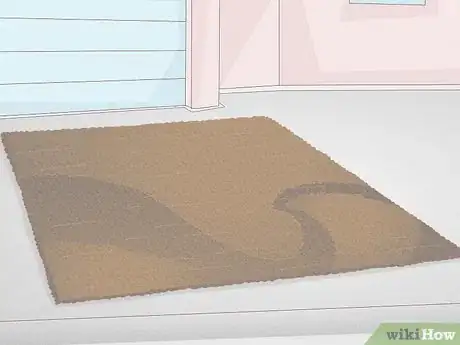
2Lay down a large, thick carpet for a more rustic look. A carpeted dance floor will be welcome if your guests plan on dancing barefoot, and it’s great if you’re going for a mid-century or chic barn-style wedding. Buy a large area rug and lay it down over the dance floor. Then, use tent pegs to secure the edges of the rug to the ground underneath.[12]
- Jute and bamboo rugs are excellent options as well. They’re sturdy, unique, and they’re extremely cheap which is great if you’ve got to cover a large area.
- Don’t just lay down the carpet without pinning the corners down with tent pegs. The carpet will end up bunching up and people may trip.
-
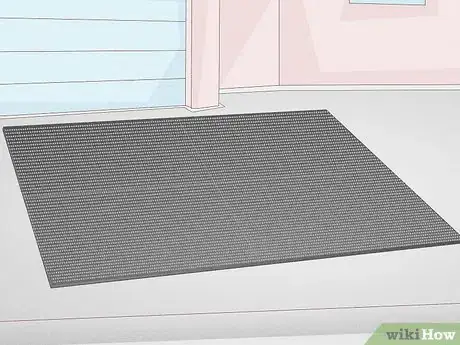
3Pick up some anti-fatigue floor mats for a super comfy dance floor. Anti-fatigue floor mats are those uber-soft and plushy mats you find in the kitchen section of big box and home goods stores. They’re great because it’s hard to slip on them, they’re comfortable, and they typically come with padding on the bottom that will keep them from sliding around. Purchase enough anti-fatigue floor mats to cover the dance floor and lay them down in even rows and layers.[13]
- Try to get anti-fatigue floor mats that have 90-degree corners and no ramps on the edges.
- These mats are also waterproof, which makes them ideal if you’re putting a dance floor on a deck or something and you want to protect it from folks spilling their drinks.
-
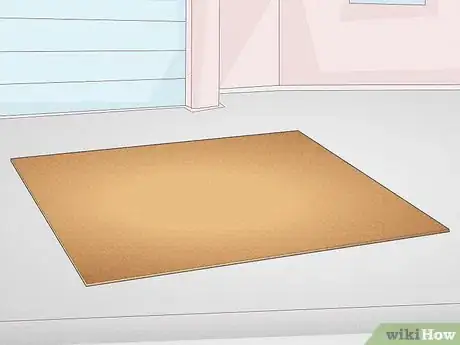
4Lay down large sheets of MDF boards for a sturdier solution. Head to a construction supply store and talk to their building or supply department. Ask for a single MDF board that’s big enough to cover your dance floor. Pick up a tarp or waterproof cover as well. Get the board delivered and put the tarp or cover down first to keep the dance floor from getting wet, which will cause it to fall apart. Then, just put your MDF board on top![14]
- If you want to paint it, sand the entire surface down with 220-grit sandpaper, cover it with a solvent-based primer, and apply any kind of paint with a roller. Seal it when you’re done with polyurethane or lacquer.[15]
- You can also lay a carpet or modular dance floor on top of your MDF board to raise the dance floor up a bit. Just make sure you use tent pegs if you put a carpet down.
Plywood Dance Floor
-
1Purchase plywood sheets and joists to build your dance floor. You can construct a raised dance floor with just a handful of materials. Head to the construction supply store and purchase enough plywood sheets to match the size of your dance floor. Then, purchase 2 by 3 in (5.1 by 7.6 cm) joists that are 8 feet (2.4 m) long to build the frame.[16]
- Plywood sheets are universally sized at 4 by 8 feet (1.2 by 2.4 m), so don’t worry about getting special sizes or anything like that. You may need to make the dance floor a little bigger or smaller than you were planning due to this restriction.
- You can simply lay down pallets and nail them together instead of building a frame out of joists.[17]
- For a 12 by 16 ft (3.7 by 4.9 m) dance floor, buy 6 sheets of 1⁄2 in (1.3 cm) plywood and 30 8 feet (2.4 m) joists.
-
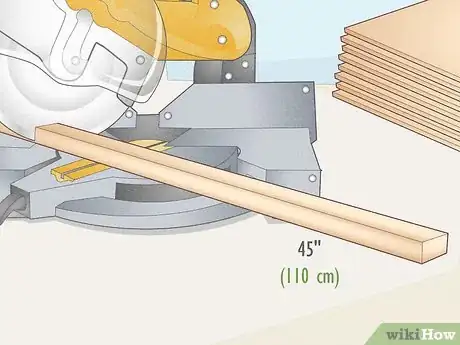
2Get roughly half of the joists cut into 45 in (110 cm) pieces at the store. The construction supply store will cut the lumber for you for free (if they charge, it won’t be very much). Get a little over half of your 8 feet (2.4 m) joists cut into two 45 in (110 cm) pieces. These smaller joists will be used as support beams.[18]
- For a 12 by 16 ft (3.7 by 4.9 m) dance floor, have 18 of your 30 joists cut into smaller pieces.
- If you don’t get them cut at the store, you’ll need to cut them yourself with a miter or circular saw. This can be a lot of work, so you’re better off having someone else do this.
-
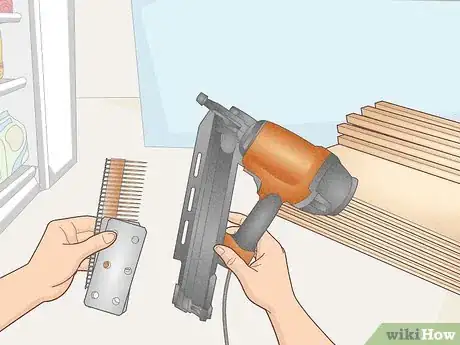
3Buy mending plates, nails, and a nail gun to put the floor together. Mending plates are small metal sheets with nail slots in them. You’ll need these to join parts of your frame together, so pick up 1 mending plate for every plywood sheet. Grab a box of galvanized nails and a hammer, or rent a nail gun if you can to streamline this process.[19]
- For a 12 by 16 ft (3.7 by 4.9 m) area, you’ll need 6 mending plates.
- If you’re using a pallet subfloor, get 1 mending plate for every pallet you’re using.
-
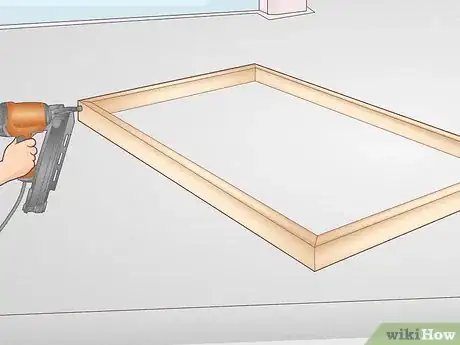
4Build 1 rectangle out of joists for each plywood sheet. Set down 2 of the 8 ft (2.4 m) joists parallel to one another on a flat surface. Take 2 of the 45 in (110 cm) joists and set them inside of the two longer joists on each open end to make a rectangle. Nail the longer boards to the smaller boards to build a frame that matches the size of your plywood.
- Build one of these for each sheet of plywood you bought. If you purchased 6 plywood sheets, build 6 rectangular frames.
- If you’re using pallets, just lay them down together in the shape of your dance floor and nail the sides together. Add 1 nail every 6–12 inches (15–30 cm) and skip to the step on putting plywood on top.
-
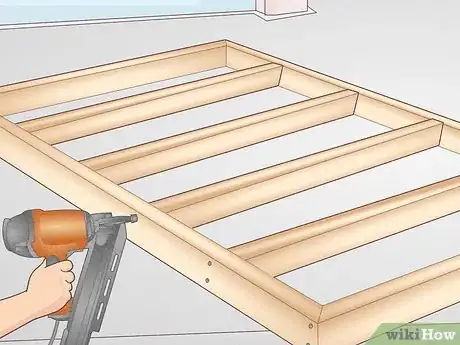
5Install 4 support beams inside of each frame with your smaller joists. For each plywood sheet, set 4 of your shorter joists inside of the frame. Spread them out so that they’re equidistant from one another and drive a nail from the exterior side of the frame into the end of each joist to secure them in place.[20]
- So if you have 6 plywood sheets, you’ll use 24 of your shorter joists to do this.
-
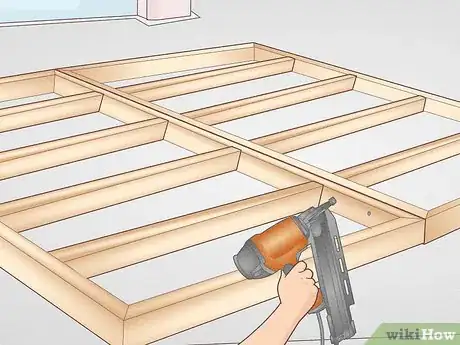
6Nail your frames together in the shape of your dance floor. Set all of your frames together in rows and columns in whatever shape you want the dance floor to be. Line the exterior edges up so that all of the edges are flush. Then, drive nails through any point where 2 frames meet. Add 1 nail every 6–12 inches (15–30 cm) to reinforce the frame and keep it from breaking apart while folks are enjoying themselves.[21]
- For a 12 by 16 ft (3.7 by 4.9 m) dance floor, use 2 rows of 3 frames.
-
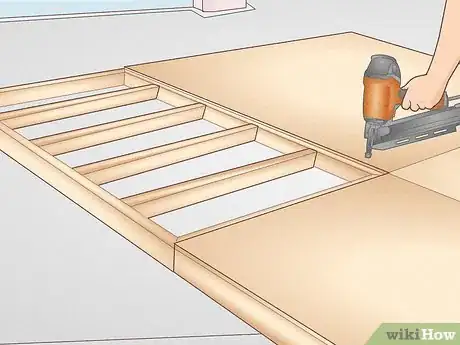
7Put the plywood on top and nail each sheet into the frame. Lay your first plywood sheet on top of a frame in the corner. Drive 1 nail every 6 inches (15 cm) along the exterior edge of the frame. For the support beams, use a stud finder to make sure that you’re actually nailing the plywood into the joist and add 1 nail every 12 inches (30 cm). Repeat this process for each of the frames to finish adding the top of the dance floor.[22]
- Make sure that all of your nails are completely flush with the plywood surface. If any nails are sticking up, someone may get injured on the dance floor.
-
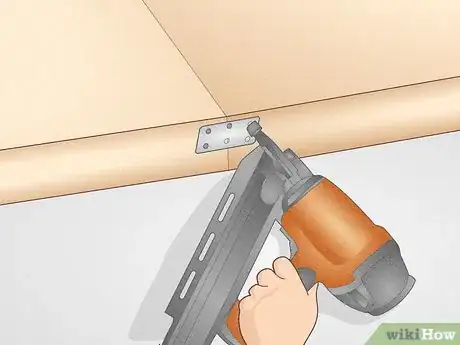
8Join the exterior seams of the frame with your mending plates. Head to the first seam where the exterior edges of your subfloor meet. Hold a mending plate over the seam so that there’s one nail slot on the left side of the frame and one nail slot on the right side of the frame. Drive a nail through each slot to pin the frames together at their weakest point. Repeat this process for every seam along the exterior edges of your subfloor.[23]
- So if you have 6 plywood sheets, you’ll have a total of 6 seams along the edges of your subfloor.
-
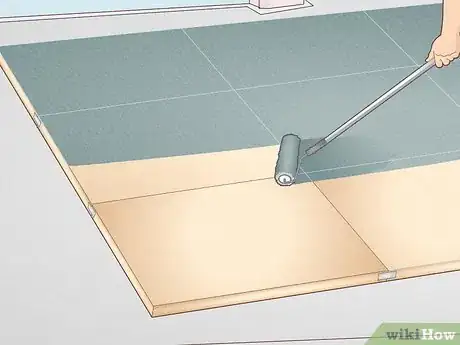
9Paint the dance floor if you want to give it a little color. Purchase floor paints in whatever color you’d like to make the dance floor. Grab a foam roller and cover each plywood sheet in a layer of primer. Give the primer roughly 24 hours to dry and then apply your floor paint. Give it another 24 hours to dry before applying your second layer as needed. Continue to add new layers of paint until you’ve achieved the color and look that you’re going for.[24]
- You can use painter’s tape to craft a checkerboard pattern or stripes into the dance floor if you’d like.
- You can paint the dance floor freehand if you want a more DIY look.
- If someone is getting married or you’re celebrating an anniversary, consider stenciling in some fun or joyful messages into the dance floor.
Warnings
- Make sure that you choose a relatively flat area for your dance floor. People may trip while they’re dancing if the ground isn’t even.⧼thumbs_response⧽
- If you’re putting any kind of a material down for your dance floor, test it first. Try sliding around and dancing on it to make sure it’s secure and stable.⧼thumbs_response⧽
- Do not just throw a dance party in the sand or grass without checking for rocks or debris. Someone may throw their shoes off, and you don’t want people getting injured.[26]⧼thumbs_response⧽
- Keep pets away from the dance floor the night of the event. If you’re setting up in a wooded area, set out some snake or bear repellent to keep unwanted wildlife out of the party.⧼thumbs_response⧽
Things You’ll Need
Natural Dance Floors
- Decorations
- Lawnmower
- Alternative footwear
Easy Solutions
- Modular dance floor
- Carpet
- Tent pets
- Waterproof cover
- Anti-fatigue floor mats
- MDF board
Plywood Dance Floor
- Wood joists
- Plywood
- Nails
- Nail gun or hammer
- Stud finder
- Mending plates
- Primer
- Floor paint
- Foam roller
- Paint tray
References
- ↑ https://rescueflats.com/blogs/news/4-traffic-flow-tips-to-keep-your-wedding-dance-floor-packed
- ↑ https://estimationqs.com/how-to-build-a-dance-floor-in-your-backyard-with-sketch-drawings-and-diagrams/
- ↑ https://estimationqs.com/how-to-build-a-dance-floor-in-your-backyard-with-sketch-drawings-and-diagrams/
- ↑ https://immotherofthebride.com/how-to-make-a-dance-floor-for-an-outdoor-wedding/
- ↑ https://immotherofthebride.com/how-to-make-a-dance-floor-for-an-outdoor-wedding/
- ↑ https://immotherofthebride.com/how-to-make-a-dance-floor-for-an-outdoor-wedding/
- ↑ https://immotherofthebride.com/how-to-make-a-dance-floor-for-an-outdoor-wedding/
- ↑ https://immotherofthebride.com/how-to-make-a-dance-floor-for-an-outdoor-wedding/
- ↑ https://findmats.com/portable-dance-floor/
- ↑ https://youtu.be/Zu9TKCyWdX4?t=86
- ↑ https://youtu.be/-NJ_ot0Lowk?t=28
- ↑ https://immotherofthebride.com/how-to-make-a-dance-floor-for-an-outdoor-wedding/
- ↑ https://outsidetheboxwedding.com/build-a-dance-floor-on-grass
- ↑ https://immotherofthebride.com/how-to-make-a-dance-floor-for-an-outdoor-wedding/
- ↑ https://www.bobvila.com/articles/how-to-paint-mdf/
- ↑ https://www.yourhomebasedmom.com/how-to-build-a-dance-floor/
- ↑ https://ourchildrensearth.wordpress.com/2013/08/06/creating-a-dance-floor-from-recycled-pallets/
- ↑ https://www.yourhomebasedmom.com/how-to-build-a-dance-floor/
- ↑ https://www.yourhomebasedmom.com/how-to-build-a-dance-floor/
- ↑ https://www.yourhomebasedmom.com/how-to-build-a-dance-floor/
- ↑ https://outsidetheboxwedding.com/build-a-dance-floor-on-grass
- ↑ https://outsidetheboxwedding.com/build-a-dance-floor-on-grass
- ↑ https://www.yourhomebasedmom.com/how-to-build-a-dance-floor/
- ↑ https://www.yourhomebasedmom.com/how-to-build-a-dance-floor/
- ↑ https://www.yourhomebasedmom.com/how-to-build-a-dance-floor/
- ↑ https://immotherofthebride.com/how-to-make-a-dance-floor-for-an-outdoor-wedding/
