This article was co-authored by Bess Ruff, MA. Bess Ruff is a Geography PhD student at Florida State University. She received her MA in Environmental Science and Management from the University of California, Santa Barbara in 2016. She has conducted survey work for marine spatial planning projects in the Caribbean and provided research support as a graduate fellow for the Sustainable Fisheries Group.
This article has been viewed 33,784 times.
The dew point is the temperature at which air becomes saturated with water vapor after being cooled by removing sensible heat.[1] In layman's terms, it is the temperature at which dew forms. Meteorologists use dew point in the fields of agriculture and aviation to calculate the probability of fog, carburetor icing, or crop damage. The dew point is dependent on atmospheric (or barometric) pressure, which is the weight of the air in the atmosphere. Atmospheric pressure and dew point have an inverse relationship, meaning that the higher the atmospheric pressure, the lower the dew point and vice versa.
Steps
Setting up the Experiment
-
1Gather the materials. You will need an aluminum beverage can, scissors, water, ice and a thermometer to complete this method of measuring dew point. If you want to do this experiment on a larger scale, use a metal bucket instead.[2]
- You might also benefit from having a pencil and paper to record your results.
-
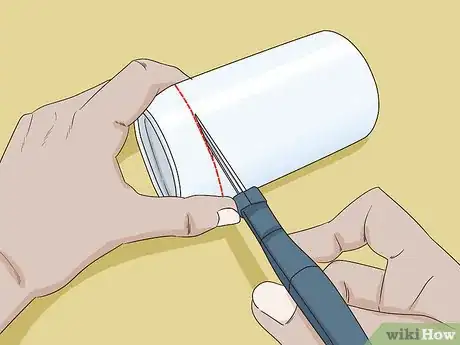
2Cut your aluminum can. Cut off the top portion of the lid. For a clean cut, use a can opener. Be gentle and take your time or else you may have sharp aluminum protruding out.Advertisement
-
3Complete the experiment on a day when temperatures are above freezing. Check the weather forecast before starting the experiment. To accurately measure dew point, instead of frost point, the temperature should be above freezing.
- Aim for 60 °F (16 °C) weather for best results. You can still proceed with your experiment if the weather is colder or warmer.
Performing the Experiment
-
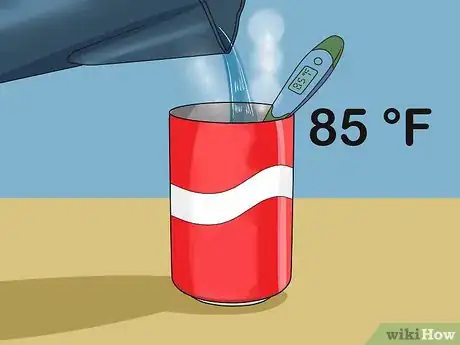
1Fill the can with warm water. Take your can or bucket and fill it three-quarters of the way full with warm tap water. Use tap water with a temperature of about 85 °F (29 °C)).
- Place the thermometer into the aluminum can.
-
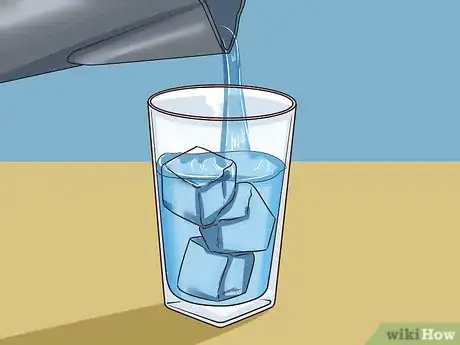
2Fill a separate container with ice and water. Any glass or cup will do. Fill the cup with ice, then add water to it. Note that you don’t want to add ice directly to the cup of warm water.
-
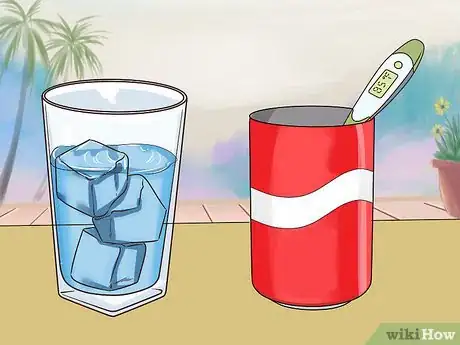
3Transfer your supplies to an outdoor location. Bring all your supplies to the location where you plan to conduct the experiment. Be careful not to spill any of the liquids or break the thermometer.
-
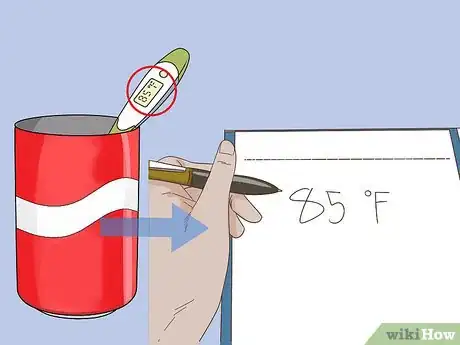
4Record the starting temperature. When conducting scientific experiments and measurements, it’s best to record the starting temperature. Look at the thermometer in the cup and jot down the starting temperature and time.[3]
-
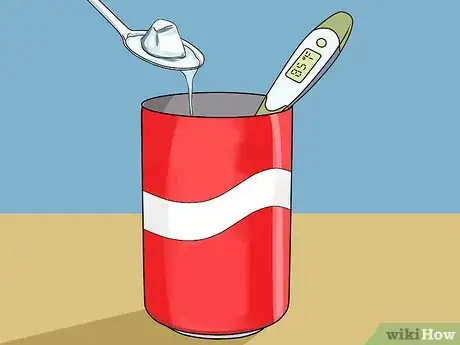
5Add the ice water gradually. Use a small spoon or syringe to add the ice water to the cup to effectively lower the can's surface temperature. Avoid adding pieces of ice to the can. To get the most accurate reading, you’ll need to transfer the ice water slowly. As you add the ice water, stir the mixture gently.
- Keep your eye on the surface of the aluminum cup.[4]
-
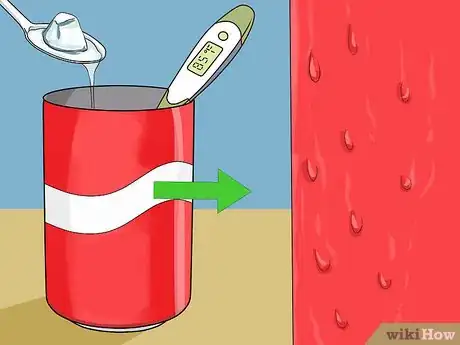
6Continue until dew forms on the outside of the can. Keep adding ice water to the warm cup until you notice dew or perspiration on the side of the can. This is the moment you’ve been waiting for. Once dew has formed on the outside of the cup, the liquid in the cup has reached the dew point.[5]
-
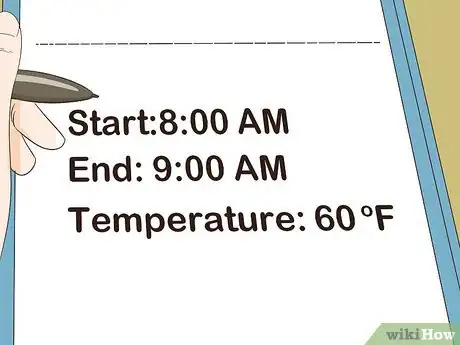
7Record your data. Right when you notice dew on the outside of the cup, record the temperature of the water into your notes. You should also record the outside temperature where you are conducting the experiment.
- It is also a good idea to record the time to determine how long it took to form dew.
Community Q&A
-
QuestionCan I use this experiment for my minor project?
 Community AnswerNot without permission. This is copyrighted material. You need to give wikiHow credit.
Things You'll Need
- Aluminum beverage can or metal bucket
- Scissors or can opener
- Spoon or syringe
- Water
- Ice
- Thermometer
References
- ↑ http://biomet.ucdavis.edu/frostprotection/Measure%20Dewpoint/fp003.html
- ↑ http://www.theweatherprediction.com/experiments/
- ↑ http://www.experiland.com/science-projects/make-a-simple-device-to-measure-the-dew-point/
- ↑ http://www.theweatherprediction.com/experiments/
- ↑ http://biomet.ucdavis.edu/frostprotection/Measure%20Dewpoint/fp003.html
About This Article
To measure dew point, cut off the top part of an aluminum can, fill the can with warm water, and record the water temperature. Next, fill a separate container with ice water and use a small spoon or syringe to gradually add the ice water to the warm water. Keep adding ice water until you notice dew or perspiration on the side of the can, which indicates the liquid in the cup has reached the dew point. As soon as you notice dew on the outside of the can, record the temperature of the water to establish the dew point! For tips on the ideal setting for this experiment, read on!

