This article was co-authored by Audra Fordin. Audra Fordin is a Certified Automotive Technician, the Founder of Women Auto Know, and the Owner of Great Bear Auto Repair in Flushing, New York. With more than 38 years of experience, she has intensive knowledge about foreign and domestic auto repairs. Audra has been featured on numerous news and talk shows such as The Today Show, Inside Edition, and Anderson Cooper.
There are 13 references cited in this article, which can be found at the bottom of the page.
This article has been viewed 7,384 times.
Of all the important things that keep our daily lives running smoothly, O-rings are some of the smallest and simplest. Despite this, quite a bit of thought goes into their design, especially their sizing. Finding the right size of O-ring to install in your plumbing or your car engine is an important first step toward making an effective, long-lasting seal. You can get away with using a ruler for a simple home faucet repair, but a set of calipers or an O-ring sizing cone makes the measurement easier and more accurate.
Steps
How do I find an O-ring's most important measurements?
-
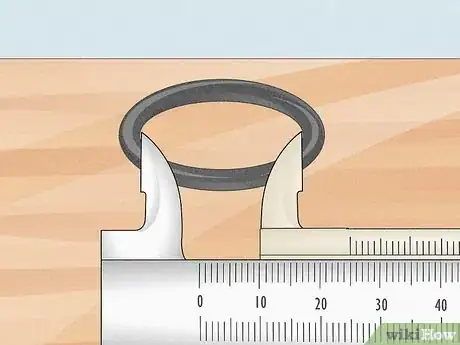
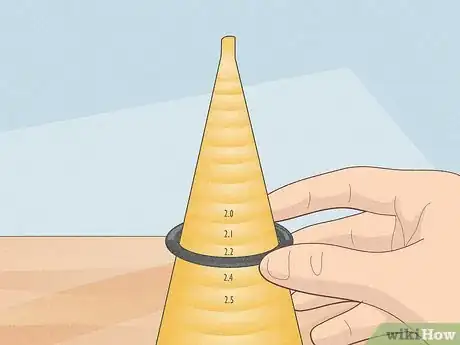
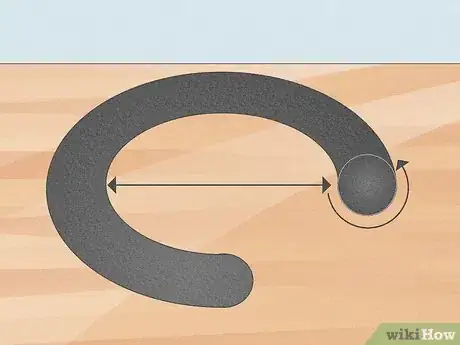
1Measure the inside diameter first. The O-ring needs to fit snugly to form a seal, so the inside diameter (ID) needs to be correct. To measure this without an O-ring sizing cone, put the O-ring on a completely flat, clean surface.[1] Use a ruler or a caliper to measure the distance across the center, from one inner edge to the other.[2]
-
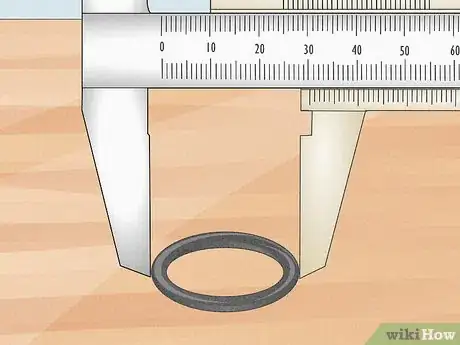
2It also helps to measure either the outside diameter or the cross-section. To get a perfectly sized O-ring, you also need to know how thick the material should be. There are two ways to measure this:
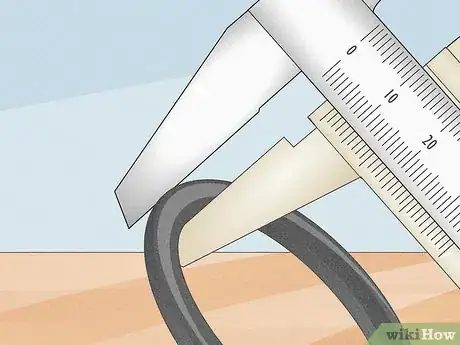
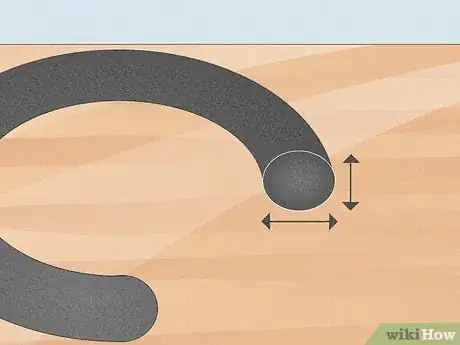
- Using calipers, measure the cross-section (CS), or thickness of the rubber ring (touching it as lightly as you can, without squeezing).[3] This is the second number found in O-ring listings.
- Or use a ruler to measure the outside diameter (OD), or distance from one outer edge to another across the center. Since this is the same as the inner diameter plus two cross-sections of the ring, you can calculate the cross section as (OD - ID)/2.[4]
How do I read an O-ring size in a product description?
-
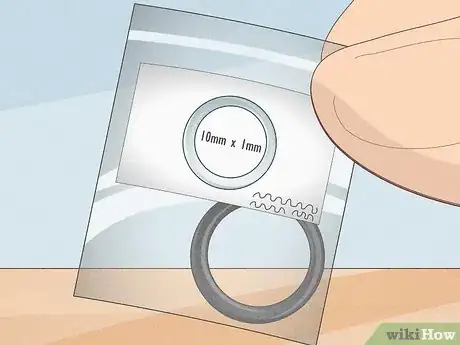
1Most labels show the inside diameter x the cross-section. For instance, an O-ring listed as "10mm x 1mm" has an inside diameter of 10mm and a cross-section (thickness) of 1mm.[8]
-
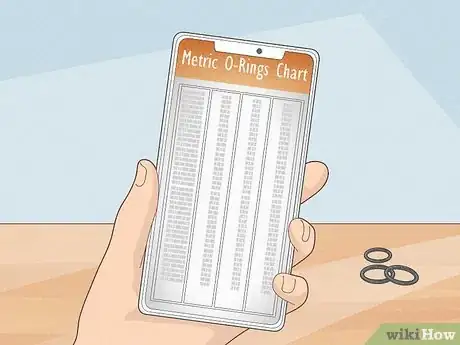
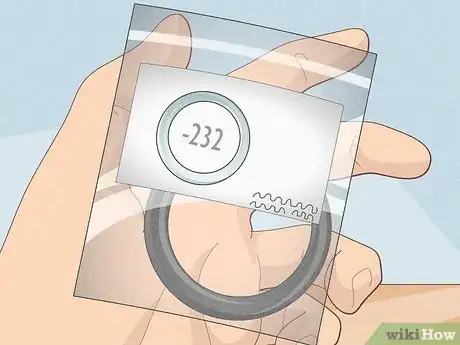
2If you don't see measurements, look up the product code. No matter where you are in the world, this is usually a number beginning with a dash, between -001 and -999. You can look up this number on an O-ring sizing chart online to find the exact dimensions of the O-ring.[9]
- If the code doesn't seem to match this system, try visiting the manufacturer website. You can often find a sizing chart specifically for their products. (In many cases, this is just the standard numbering system with some extra numbers or letters tacked on.)
Are O-rings made in standard sizes?
-
1Yes, there are standard O-ring sizes. Almost all the O-rings you'll find have a "dash number" between -001 and -999. Any O-ring with the same dash number has the exact same size and tolerance, so there should be no difference who manufactured it.[10]
- Almost all standards worldwide are compatible with each other, so two -240 O-rings should be the same even if they are made in different countries.[11]
-
2You might see some O-rings that don't fit this system. If you have a user manual that asks for a specific O-ring size, but uses some other code besides the dash number system, it's probably one of the following:
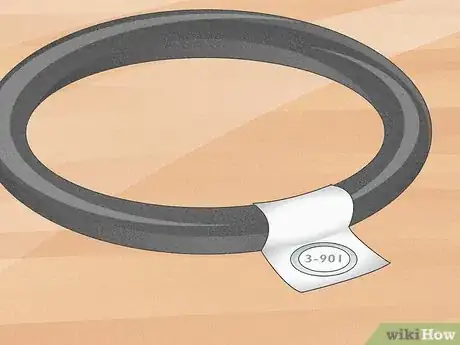
- Some manufacturers add an extra number in front of the dash, for instance "3-901." This is just a way to categorize their products, and doesn't affect sizing.[12]
- If the code is a letter followed by a four-digit number (like D0425), this is a metric O-ring with no perfect match in the dash number system. You can find its exact size online with an ISO 3601 size chart.[13]
- If the code doesn't match any of these, it's probably a nonstandard size you can only buy from that one manufacturer.[14]
How do I measure a cut O-ring?
-
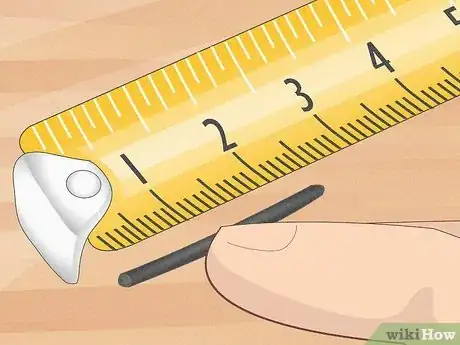
1First measure the thickness and the length of the cut ring. Using calipers or a precise tape measure, measure the thickness across the cut to find the cross-section (CS). The measure the length of the ring, doing your best not to stretch it.[15]
- Try to measure the length along the inner edge of the ring for a more accurate result.
-
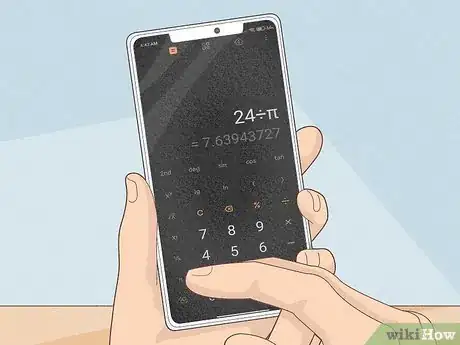
2Divide the length by π (3.14) to get the diameter. For instance, if you measured the length as 24mm, punch 24 ÷ π into a calculator to get an inner diameter of about 7.6 mm.[16]
- Now you have enough info to buy a replacement O-ring. The sizes are usually listed with the inner diameter first, then the cross-section. So if you measured an inner diameter of 7.6mm and a thickness of 1mm, look for a replacement labeled something pretty close to "7.6 x 1."
How snugly should an O-ring fit?
-
1The O-ring should barely stretch to fit its groove. Pick an O-ring with an inside diameter as close to the groove diameter as possible, while still being slightly smaller. The perfect O-ring for most uses is 1 or 2% smaller than the groove, and not more than 5% smaller.[18]
- For instance, if the groove is 5 mm, the O-ring should be at least 5 mm * 0.95 = 4.75 mm, and no more than 5 mm * 0.99 = 4.95 mm.
-
2The O-ring should be barely thicker than the height of its groove. For basic home purposes, go with an O-ring with a cross-section barely larger than the groove, so you have to squeeze it slightly to fit it in.[19]
- If you're working with higher pressure or friction than a typical DIY project and need more precision, a good rule of thumb formula for the cross-section is 1.4 * ((BD - GD)/2), or 1.3 * ((BD - GD)/2) for O-rings that touch moving parts. GD is the groove diameter, and BD is the bore diameter, or diameter of the outer surface the groove is cut into.[20]
How do I install an O-ring?
-
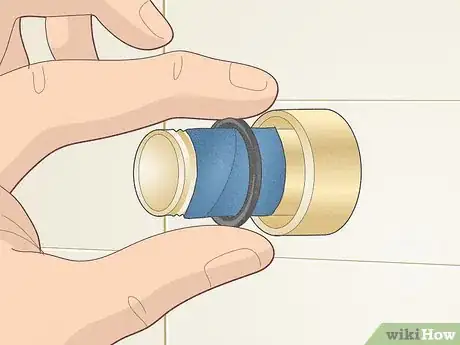
1Cover any threads with masking tape. If you're pulling the O-ring over a pipe with screw threads, a layer of tape helps stop the threads from tearing the O-ring.[21]
-
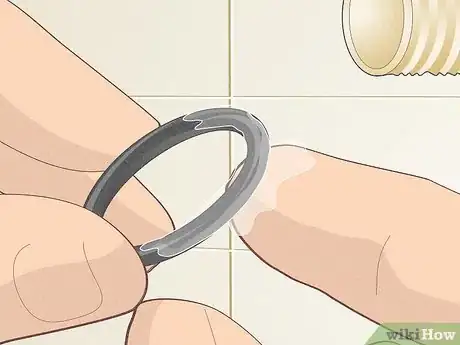
2Lubricate the O-ring thinly and evenly. You can wipe the lubricant onto the O-ring by hand, or dip it into the lubricant directly. Always use lubricant that's compatible with your O-ring, and never made of the same material as your O-ring.[22]
- You can use silicone grease on most common O-rings, except ones made from silicone compounds. For those, try a mineral-oil-based lubricant.
-
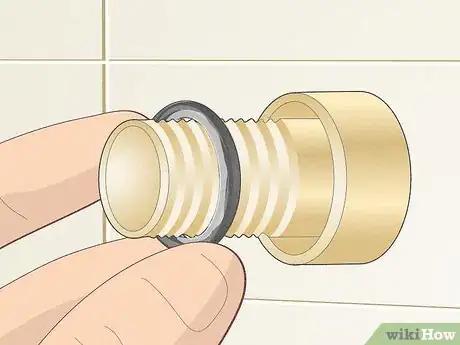
3Slide the O-ring on without twisting it. Put the O-ring onto the part with as little squeezing as possible. Slide it down as evenly as you can, trying to avoid stretching one side much farther down than the other. Take care not to roll or twist the O-ring, since this can damage it.[23]
References
- ↑ https://trp.co.uk/how-to-measure-o-ring-size/
- ↑ Audra Fordin. Certified Automotive Technician. Expert Interview. 13 January 2022.
- ↑ https://trp.co.uk/how-to-measure-o-ring-size/
- ↑ https://youtu.be/F-pw_ObgpCs?t=59
- ↑ https://www.rtdygert.com/assets/files/RTD_O-RingMeasConeInstructions_Web.pdf
- ↑ Audra Fordin. Certified Automotive Technician. Expert Interview. 13 January 2022.
- ↑ https://fluidpowerjournal.com/history-of-the-iso-3601-series-of-standards-for-o-rings/
- ↑ https://youtu.be/F-pw_ObgpCs?t=59
- ↑ https://youtu.be/iv4qNN7G4Ig?t=152
- ↑ https://youtu.be/iv4qNN7G4Ig?t=152
- ↑ https://fluidpowerjournal.com/history-of-the-iso-3601-series-of-standards-for-o-rings/
- ↑ https://www.parker.com/Literature/O-Ring%20Division%20Literature/ORD%205700.pdf
- ↑ https://fluidpowerjournal.com/history-of-the-iso-3601-series-of-standards-for-o-rings/
- ↑ https://youtu.be/iv4qNN7G4Ig?t=313
- ↑ https://www.engineeringclicks.com/accurately-measure-o-ring-dimensions/
- ↑ https://www.engineeringclicks.com/accurately-measure-o-ring-dimensions/
- ↑ http://science.clemson.edu/physics/labs/labs/cupol/vernier/index.html
- ↑ https://www.applerubber.com/src/pdf/section3-o-ring-basics.pdf
- ↑ https://www.applerubber.com/src/pdf/section3-o-ring-basics.pdf
- ↑ https://dsportmag.com/the-tech/education/engine-tech-o-ring-measuring-and-material/
- ↑ https://www.ipcol.com/blog/everything-you-need-to-know-for-easy-o-ring-installation/
- ↑ https://dsportmag.com/the-tech/education/engine-tech-o-ring-measuring-and-material/
- ↑ https://www.ipcol.com/blog/everything-you-need-to-know-for-easy-o-ring-installation/
- ↑ https://www.parker.com/Literature/O-Ring%20Division%20Literature/ORD%205700.pdf
