This article was co-authored by wikiHow Staff. Our trained team of editors and researchers validate articles for accuracy and comprehensiveness. wikiHow's Content Management Team carefully monitors the work from our editorial staff to ensure that each article is backed by trusted research and meets our high quality standards.
This article has been viewed 45,474 times.
Learn more...
The saxophone is a brass instrument widely used in jazz, classical, and rock-and-roll music. There are a few techniques and general guidelines to follow in order to correctly mic a saxophone for both live playing and recording sessions. First of all, you need to choose the right mic, then you need to know how to position it correctly in different scenarios. Keep experimenting with your mic and sax and you will learn how to get the best sound on stage or in the studio.
Steps
Choosing the Right Microphone
-
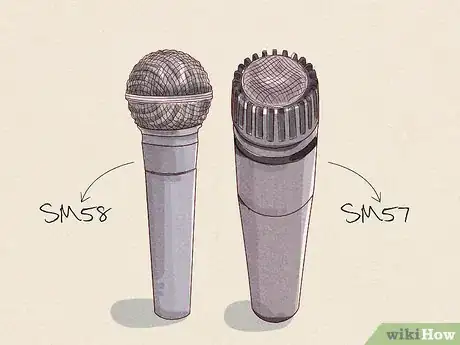
1Choose a dynamic mic for playing live performances. A dynamic mic allows the sound engineer to raise the volume higher and is more durable than other types of microphones that are primarily used for recording. The Shure SM57 or SM58 are both good options that many sax players recommend.[1]
- The Electrovoice RE20 or Sennheiser 421 are two other examples of dynamic microphones that you can use.
- You can also record with a dynamic mic, so it is a good versatile option if you are looking for a first mic for your sax.
-
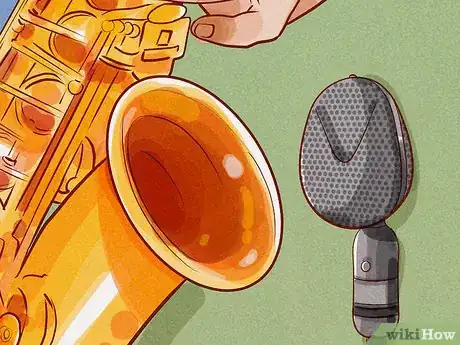
2Get a ribbon mic to record your sax with a classic vintage sound. Ribbon microphones are the number-one choice of pros for recording saxophones, as well as other wind and brass instruments. Use them when room noise or other ambient noise is minimal, such as in a recording studio.[2]
- The Cole 4038 or Royer 121 are examples of ribbon microphones that you can use to record your sax with a vintage soulful sound.
Advertisement -
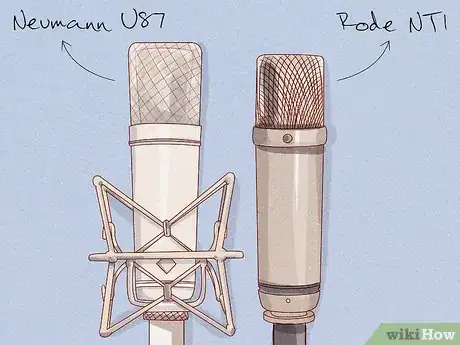
3Select a condenser microphone for a more economic recording mic. Quality condenser microphones are a more affordable option for a sax-recording mic than a ribbon mic. Choose a condenser mic that doesn’t overemphasize the high-mid range from the sax to avoid recording too much hiss and pop from the sax.[3]
- The CV12VR, Neumann U87, U47, Rode NT1, AKG 451, AKG 414, and AKG C12VR are all examples of good-quality condenser microphones that you can use for recording a sax.
-
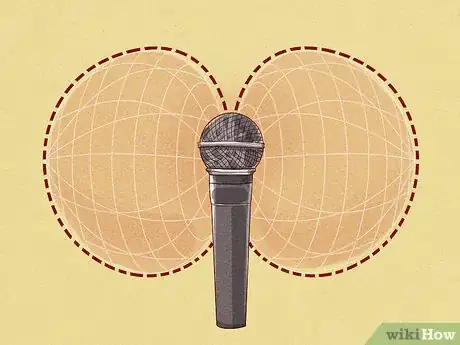
4Use an omnidirectional or figure of 8 polar pattern mic for balanced sound. A mic with an omni or figure of 8 polar pattern will capture all the frequencies of the sax. It will also capture room sound and ambient sound.[4]
- Omnidirectional and figure of 8 polar pattern microphones can be placed closer to the sax without altering the frequencies of the sound.
-
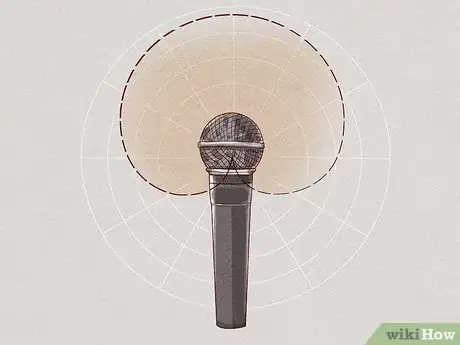
5Use a directional or cardioid polar pattern mic to isolate the sound of the sax. A directional mic focuses on the sound coming from a single instrument. It isolates the instrument from room noise, ambient noise, and other instruments.[5]
- Keep in mind that directional microphones can experience something called the proximity effect. This means that when you place a directional mic close to the sax, there is often an increase in bass or low-frequency sound. This isn’t always a bad thing, but it means that it is harder to find the perfect position with a directional mic.
Tip: Some microphones have the option to switch between different polar patterns. These are called multi-pattern" microphones. Get one of these if you want to be able to switch between omni, figure of 8, and directional depending on the situation.
Positioning the Microphone
-
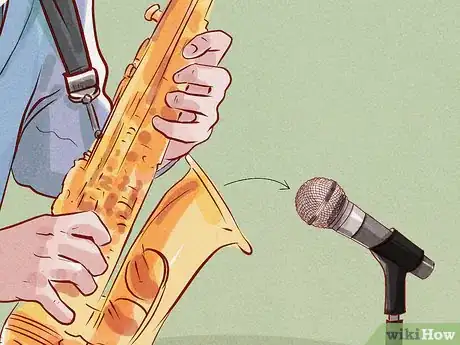
1Mount the mic on a microphone stand to capture the most balanced sound. Any mic can be mounted on a mic stand for both recording and live performance. Keep in mind that the sound from a stationary mic will change if you move around a lot while you play.[6]
- The sound from a sax comes from the bell as well as the tone holes, so a mic on a stand will cover the most balanced mix of the saxophone’s sound sources. This is especially true for larger saxophones like a baritone or bass sax.
-
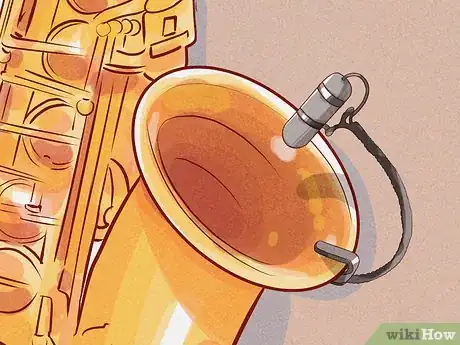
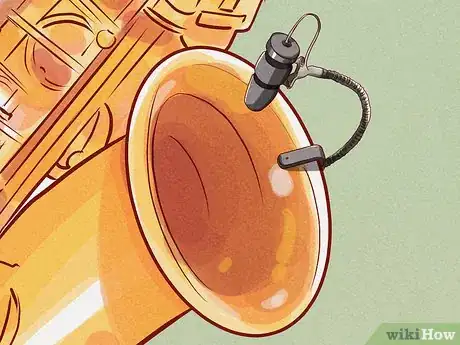
2Mount the microphone with a sax mic clip for the most mobility. Use a clip to attach a mic directly to the sax so that you can move around as much as you want when you play. Keep in mind that a mic clipped on will not cover as much range of the instrument’s sound sources.[7]
- A mic clip is a good choice for animated live performances because you will have more freedom to move around the stage as much as you want.
-
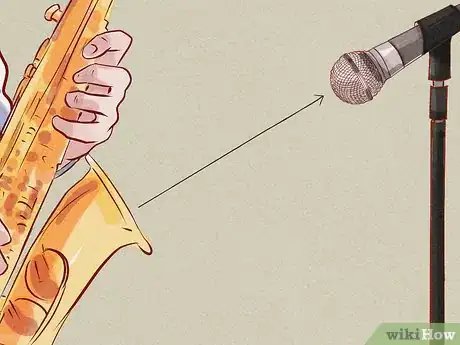
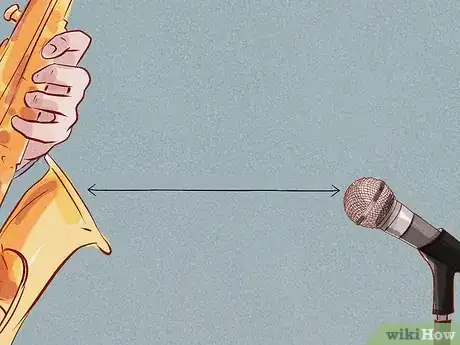
3Place the mic as far away from the sax as the length of the saxophone. This is the rule of thumb for the distance to place a mic on a stand from the sax. This will capture the full range of sounds from the sax to create the most balanced sound.[8]
- Note that this only applies if room sound or sound spill from other instruments is an issue. If there is sound spill from other instruments, or too much ambient sound from the room, then you will have to adjust the position.
- Angle the mic down at about a 45-degree angle towards the sax. Place it off-center a bit to create a more full sound when there is little to no ambient noise in the room.
-
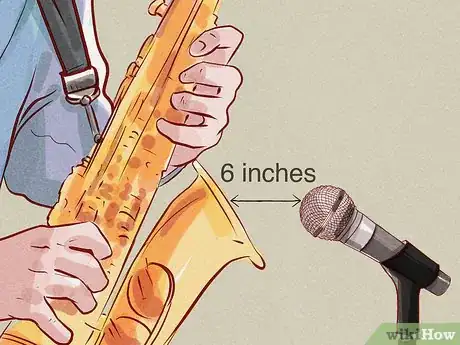
4Move the mic closer to the sax when you want to cut down on room sound. This will focus more on the sound of the sax and cut down on spill from other instruments or ambient noise in the room. Move the mic about 6–12 in (15–30 cm) from the sax when there is a lot of spill, such as when you are playing in close proximity to other instruments.[9]
- Keep in mind that when the mic is so close to the sax, the low notes will be louder. You can try to offset this by putting the mic slightly to one side of the sax.
-
5Move the mic further away to create a more ambient sound. You only need to do this in a situation where the room is very dead with no room noise at all. Experiment with different distances to get the sound you want.[10]
- You also may want to move the mic further away if you are playing together with a group of saxophones. Think of all the saxophones as one instrument, so you would need to move the mic further away to cover more of the sound sources.
-
6Clip a mic to the right-hand side of the bell of the sax if you use a clip. The area slightly to the right-hand side of the bell is where the mic will cover the most sound sources of the sax if your are mounting a mic with a clip. It will create good sound separation and high-level audio on stage.[11]
- You can adjust the position of the mic closer or further from the bell to compensate for room noise or a dead room, as you would move a mic on a stand closer or further away from the sax.
Tip: When it comes down to it, there is no right or wrong way to mic a sax. There are general guidelines to follow to create different sounds, but ultimately it is up to your personal style and preference as the musician to create the sound you want.
-
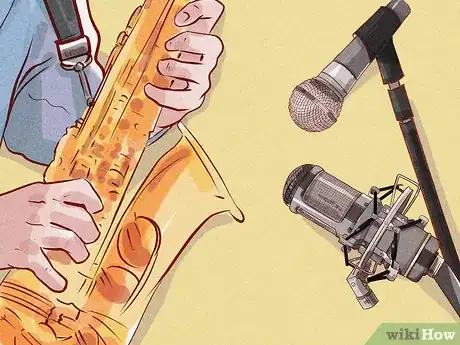
7Use 2 mics to record in stereo to enhance sax solos. Saxophones are generally recorded in mono, meaning with just 1 mic. For sax solos, or a sax playing with very few other instruments, recording in stereo with a pair of mics can enhance the sound of the sax.[12]
- Keep in mind that recording in stereo will pick up a lot more ambient noise, so make sure that you record in a very well sound-proofed room if you record in stereo.
- You don't have to record in stereo for sax solos. It is purely optional. You also won't gain anything from recording a sax in stereo if you are playing with a lot of other instruments.
References
- ↑ https://tamingthesaxophone.com/saxophone-recording
- ↑ https://reverb.com/news/how-to-record-a-saxophone
- ↑ https://reverb.com/news/how-to-record-a-saxophone
- ↑ https://www.dpamicrophones.com/mic-university/how-to-mic-a-saxophone
- ↑ https://www.dpamicrophones.com/mic-university/how-to-mic-a-saxophone
- ↑ https://www.dpamicrophones.com/mic-university/how-to-mic-a-saxophone
- ↑ https://www.dpamicrophones.com/mic-university/how-to-mic-a-saxophone
- ↑ https://reverb.com/news/how-to-record-a-saxophone
- ↑ https://tamingthesaxophone.com/saxophone-recording
