X
wikiHow is a “wiki,” similar to Wikipedia, which means that many of our articles are co-written by multiple authors. To create this article, volunteer authors worked to edit and improve it over time.
This article has been viewed 52,181 times.
Learn more...
Ceilings can become cracked and stained for many reasons, so sometimes they need to be repainted before the walls in the room can be painted. To ensure that the ceiling paint goes on cleanly and doesn't affect the wall paint, make sure you cut your ceiling edges in properly.
Steps
-
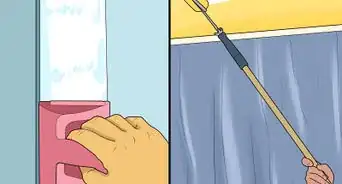
1Apply some blue painter's tape to the walls where they meet the ceiling. The tape will help protect the walls from drips or from accidental smears.[1]
-
2Make sure the tape is properly stuck. Press the tape down on the wall as tightly as possible to keep any excess paint from leaking in behind it.[2]Advertisement
-
3Dip the brush just enough. Dip your paintbrush approximately halfway into the paint so the paint does not over-saturate the bristles.
-
4Start painting. Begin on the left side of the wall if you are right handed; if you are left handed, begin on the right side of the wall. This will allow you to pull the brush at a comfortable angle, which will help you avoid mistakes or paint smears.
-
5Hold the brush against the ceiling. This is so only the tips of the bristles rest against it without bending. This will hold the handle of the brush closer to the ceiling.
-
6Apply the paint evenly. Brush along the ceiling in short strokes, stopping as often as needed to reload the brush with paint.
-
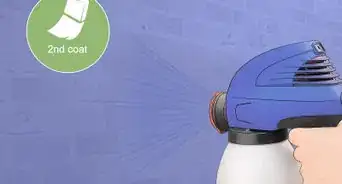
7Create a smooth finish. Smooth out the brush marks along the ceiling’s edge by going over the paint a second time.
-
8Hold the brush against the ceiling with the handle of the brush below the bristles. This will bend the bristles of the brush so the long fibers of the brush, rather than the tips, are in contact with the ceiling. Applying the brush this way will remove many of the brush marks that can be left behind by a paintbrush, and provide you with a smooth edge.
-
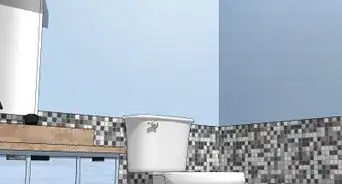
9Evenly cover the edges. Move on to the interior of the ceiling, overlapping the brushstrokes with a roller just slightly to provide a clean surface on the ceiling with no visible edge where the brushwork begins.[3]
-
10Allow it to dry. Wait until the paint has dried, then remove the tape from the walls.[4]


Advertisement
Community Q&A
-
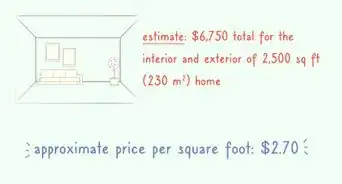
QuestionCan you give me some advice on painting the interior of a new house?
 Community AnswerDo the outline of the base of the wall first and make sure that you tape your edges. Once you have done this then fill the rest of the wall with your paint and make sure to brush the same direction each time.
Advertisement
Warnings
- Try to keep the paint at the front half of the brush at all times. If the brush appears to be becoming saturated with paint, and the paint is reaching the handle, take the time to rinse it out. Having too much paint in the brush can result in drips.⧼thumbs_response⧽
- Always make sure you complete an entire section at one time. The paint needs to overlap when it’s wet; if the paint dries before you move on to the adjacent section, this could result in visible lines in the paint.⧼thumbs_response⧽
Advertisement
Things You'll Need
- Painter's tape
- Small angled brush
- Paint
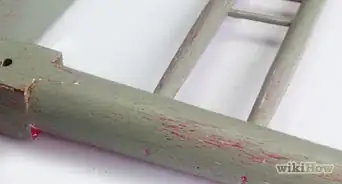
- Ladder


References
- ↑ https://www.glidden.com/inspiration/all-articles/how-to-paint-a-perfect-line-between-wall-and-ceili
- ↑ https://www.youtube.com/watch?v=3u6SDzWJJI0
- ↑ https://www.do-it-yourself-help.com/how-to-use-a-paint-roller.html
- ↑ https://www.glidden.com/inspiration/all-articles/how-to-paint-a-perfect-line-between-wall-and-ceili
- http://www.helpwithdiy.com/painting/painting_ceiling.html
About This Article
Advertisement