This article was co-authored by Patrick Coye. Patrick Coye is the owner and operator of Patrick’s Painting & Home Improvement in Alexandria, Virginia. With over 15 years of experience in residential construction, Patrick specializes in painting, wallpaper removal/installation, drywall, staining decks and fences, and kitchen cabinetry painting. To date, Patrick and his team have painted over 2,000 houses and stained over 800 decks. Patrick's Company won a "Top Job" award from the American Painting contractor magazine in 2020.
There are 14 references cited in this article, which can be found at the bottom of the page.
This article has been viewed 41,713 times.
Painting latex can be tricky, as regular paint may crack, ripple, or rub off of latex surfaces. Start by mixing rubber cement and a solvent like turpentine or mineral spirits together to create paint that will adhere well to latex. You can use a paint brush or an airbrush to apply the paint, and then put on a sealer so the latex is durable and looks great. With the right approach and a bit of creativity, you can paint a latex mask or prosthetic in no time.
Steps
Mixing the Paint
-
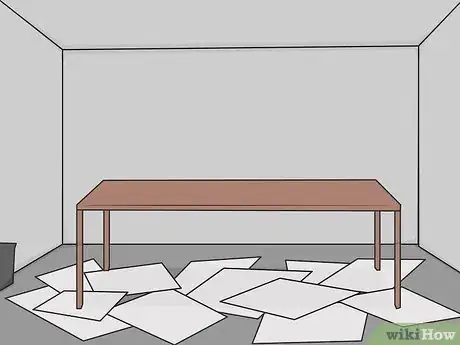
1Set up a workspace and wear safety gear. Lay down tarps or newspaper and arrange a work table where you can mix the paint. Wear gloves to protect your hands and ensure the space has good ventilation, such as open windows or an open garage door.[1] You should also wear a respiratory mask so you are protected from the paint fumes.
- You should also wear safety goggles to protect your eyes.
-
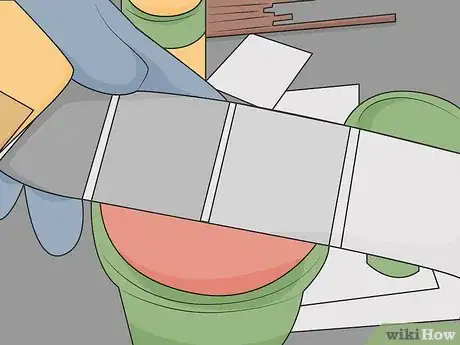
2Use paint formulated for latex for an easy option. If you do not want to have to mix your own paint, you can look for paint made for use on latex at your local craft store or online. You can buy the paint in a variety of colors and shades.[2]
- The latex paint will likely contain a binder like rubber cement and a solvent as well as pigment, which provides the color. It is safe to apply with a paint brush or an airbrush.
- Paint for latex can be expensive so you may opt for making your own if you are on a budget.
Advertisement -
3Pour 1⁄2 cup (120 ml) of rubber cement into a jar or cup. If you want to make your own paint, use rubber cement, as it will act as a binder and adhere well to the latex. It is often sold in small and large cans.[3]
- You can get rubber cement at your local craft store or online.
-
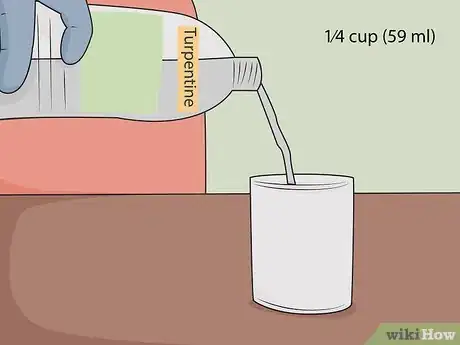
4Add 1⁄4 cup (59 ml) of turpentine or mineral spirits to the rubber cement. Use a plastic spoon to mix the rubber cement and solvent together. Make sure the cement is thin and runny.[4]
- Common paint solvents like turpentine or mineral spirits can be found at your local craft store or online. These solvents are very strong chemical so you should wear gloves when handling them.
-
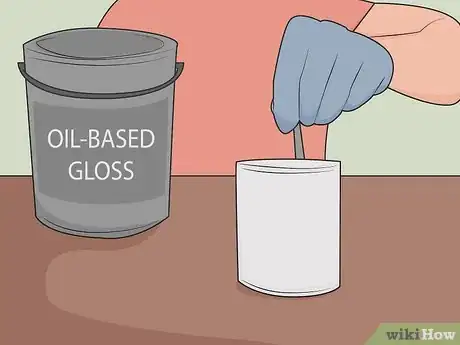
5Combine the mixture with 3 to 4 US tbsp (44 to 59 ml) of oil-based paint. Put 3 to 4 tablespoons (44 to 59 ml) of oil-based paint in a plastic cup with a wide rim. Then, pour 1 to 2 teaspoons (4.9 to 9.9 ml) of the rubber cement and solvent mixture into the oil-based paint. Use a spoon to mix the 2 together to form paint that will stick to the latex.[5]
- You can then keep the rubber cement and solvent mixture on hand and add it to different oil-based paint colors to create paint for latex. It should be stored in a cool, dark place and should last for several weeks.
Airbrushing Latex
-
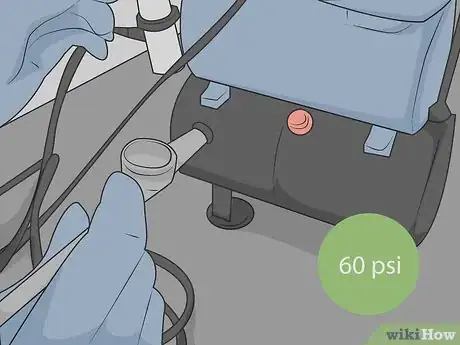
1Connect the airbrush to a compressor at 60 psi. Airbrushing the paint onto the latex will ensure it appears even and smooth. Make sure the tip of the airbrush is clean and dry. Attach the back connector in the airbrush to the hose that connects to the compressor.[6]
- Wear respiratory equipment and gloves to protect yourself while using the airbrush.
- You can rent an airbrush and a compressor from a hardware store or buy them online.
-
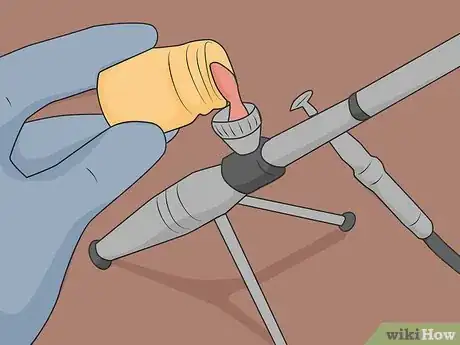
2Pour paint into the holder and attach it to the airbrush. Put 1 to 2 US tbsp (15 to 30 ml) of paint (or the rubber cement, solvent, and oil-based paint mixture) into the small cup or jar that comes with the airbrush. Slide the metal cap on the jar into the slot on the bottom of the airbrush. Make sure the jar clicks into place so it is secure.[7]
-
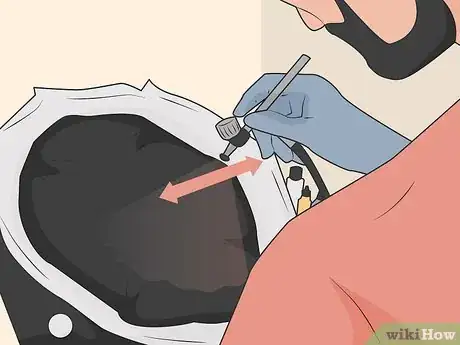
3Spray the paint onto the latex in a side to side motion. Turn the airbrush on and hold it 1 to 2 feet (0.30 to 0.61 m) above the latex. Spray the paint onto the latex, pressing down on the button on the airbrush in short bursts. Make sure the paint sprays out of the airbrush in a fluid, even motion. Move the airbrush back and forth as you spray to cover the latex in 1 even layer of paint.[8]
- If you are painting a mask or a smaller item, you may find it easier to place it on a stand that spins so you can rotate the mask as you spray it with the paint.
-
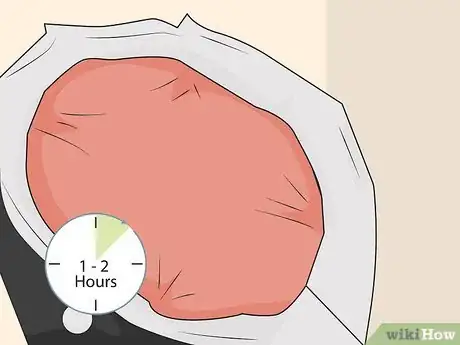
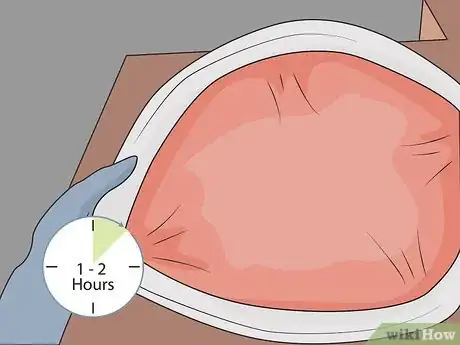
4Allow the paint to dry for 1-2 hours between coats. Only apply 1 thin layer at a time so the paint does not become clumpy. This will also ensure the colors do not mix or blend together on the latex.
-
5Clean the airbrush tip before switching colors. If you are planning to apply several different colors to the latex, remove the paint holder from the airbrush. Place the airbrush tip into an airbrush cleaner. Then, press down on the button on the airbrush a few times to cycle water through the brush and clean it.[9]
- Rinse out the paint holder with warm water and soap to clean it as well so you can use it again.
- Most airbrush kits will come with an airbrush cleaner, which is a large container filled with water with a metal tip that fits the airbrush tip. You can also rent an airbrush cleaner when you rent the airbrush as part of a kit.
- If you do not have access to an airbrush cleaner, you can submerge the tip in a bowl of warm water. Pull and release the trigger on the airbrush a few times to circulate the water and clean the airbrush.[10]
-
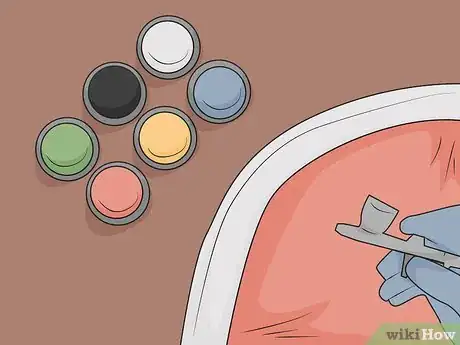
6Add details to the latex using different colors. Use the airbrush to add details to the latex using different colors, such as red for the lips on a latex mask or beige for the skin on a latex prosthetic. You can also add shading and dimension to the latex using darker shades of the same color.
Using Paint Brushes and Sponges
-
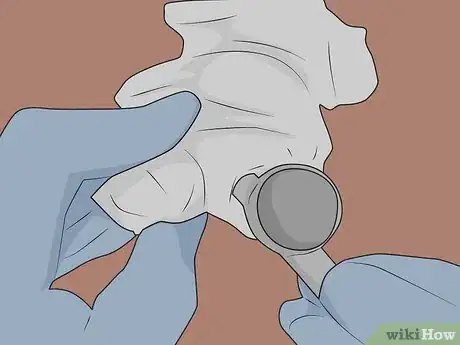
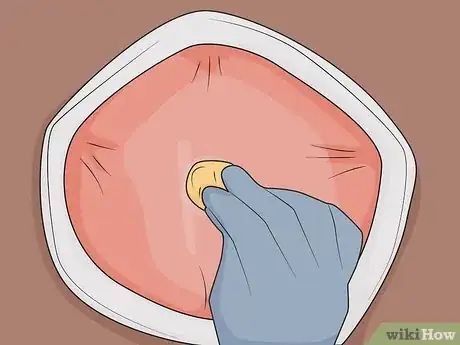
1Create a base with a light coat of paint. Apply the paint with a medium-sized paint brush (3 to 4 centimetres (1.2 to 1.6 in) wide) with flat, thick bristles. Coat the latex item in a thin layer. Use a cloth to wipe off any excess paint so the base color appears as a light wash on the latex.[11]
- Using a paint brush and wiping it off with a cloth allows the paint to get into any cracks or crevices in the latex, such as the details carved in a latex mask.
-
2Let the paint dry for 1-2 hours between layers. Once you apply a layer of color on the latex with the paint brush, give it time to dry. This will ensure the paint colors do not blend or mix and that they have time to adhere to the latex.
-
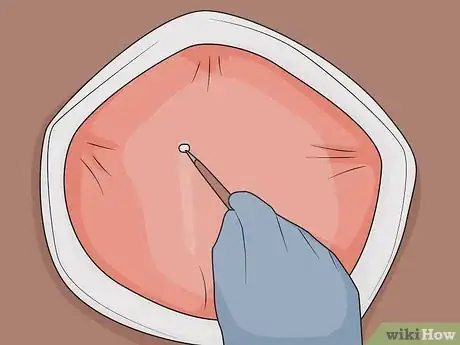
3Use a small paint brush to outline fine lines and details on the latex. Go for a paint brush that has a small head (1 to 2 centimetres (0.39 to 0.79 in) wide) and thick bristles to make applying the paint easier. Outline fine lines on the face of a latex mask. Or, add fake bruises or cuts with the paint brush to a latex prop for a costume.[12]
- Work with the paint a little at a time to avoid creating a layer that is too thick or clumpy.
- Clean the paint brushes in a cup of water before switching colors.
-
4Apply the paint with a sponge to add texture and dimension. Use small, clean paint sponges with rounded sides. Dip the sponge in the paint and dab it on the latex item on any spots that you want to appear rough, jagged, or raised. Layer the paint with the sponge for a rougher look or dab it on lightly to create dimension on the latex.[13]
- Clean the sponges with water before switching colors, or use a different sponge for each color.
Sealing the Paint
-
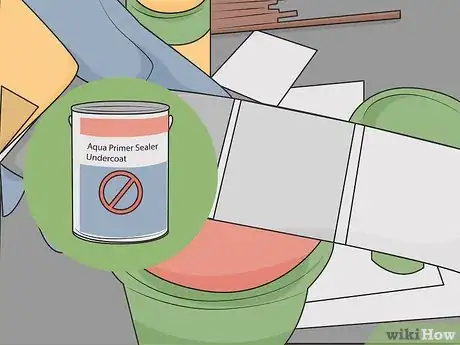
1Avoid using a sealer if you used paint formulated for latex. Some paint made for latex already contains a sealer in it. Check the label on the paint to see if there is sealer already it, and if this is the case, you do not need to apply sealer to the paint.
- For example, the paint may say, "sealer included" or "sealer added" on the label to indicate it already has sealer in it.
-
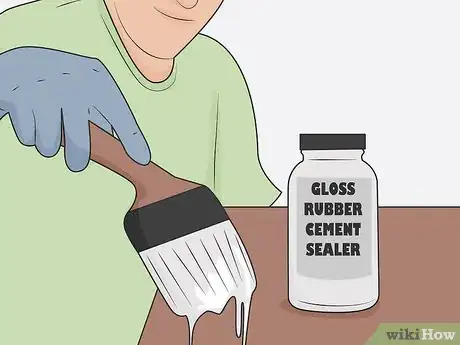
2Apply a gloss rubber cement sealer for a shiny look. Look for gloss sealer made for rubber cement at your local hardware store or online. Use a small paint brush with thick bristles to apply the sealer all over the latex in 1 even layer. Spread the sealer over the latex using smooth, even strokes.[14]
- Use a paint brush that you do not plan to use again, such as a cheap decorating brush, as the sealer will stick to the bristles and be hard to remove.
- The sealer will prevent the rubber cement from rubbing off and help it to dry properly.
-
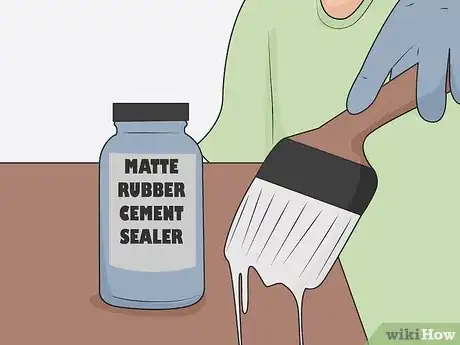
3Use a matte rubber cement sealer for a less shiny look. If you want the latex to appear less shiny, you can use a matte sealer made for rubber cement. Apply the sealer with a paint brush in 1 even layer, spreading it using smooth, even strokes. A matte sealer may be ideal if you want the latex to look subtle and natural, rather than glossy.
- A matte sealer can be found at your local hardware store or online.
- Apply the matte sealer with a paint brush that is cheap and disposable, such as an inexpensive decorating brush, as the sealer will stick to the bristles and be hard to get out.
-
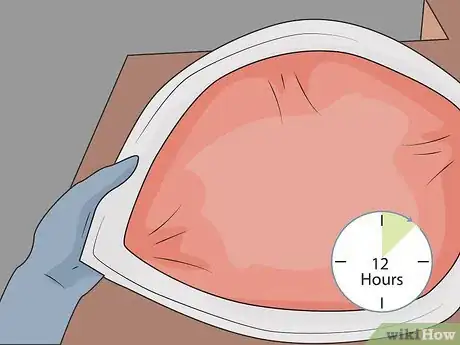
4Allow the sealer to dry for 12 hours. Make sure you do not touch or move the painted latex before it has time to dry properly.
Things You'll Need
Mixing the Paint
- Rubber cement
- Turpentine or mineral spirits
- Paint for latex
- Oil-based paints
Airbrushing Latex
- Airbrush
- Compressor
- Airbrush cleaner
Using Paint Brushes and Sponges
- Paint Brushes
- Sponges
- Cup of water
Sealing the Painted Latex
- Rubber cement sealer
- Paint Brush
- Clean cloth
References
- ↑ Patrick Coye. Painting Specialist. Expert Interview. 22 July 2020.
- ↑ https://www.youtube.com/watch?v=kZ4Zc_VCQBw&feature=youtu.be&t=10
- ↑ https://www.youtube.com/watch?v=jQdcaBEOVI8&feature=youtu.be&t=91
- ↑ https://www.youtube.com/watch?v=jQdcaBEOVI8&feature=youtu.be&t=103
- ↑ https://www.youtube.com/watch?v=jQdcaBEOVI8&feature=youtu.be&t=220
- ↑ https://www.youtube.com/watch?v=kZ4Zc_VCQBw&feature=youtu.be&t=48
- ↑ https://www.youtube.com/watch?v=kZ4Zc_VCQBw&feature=youtu.be&t=163
- ↑ https://www.youtube.com/watch?v=kZ4Zc_VCQBw&feature=youtu.be&t=543
- ↑ https://www.youtube.com/watch?v=kZ4Zc_VCQBw&feature=youtu.be&t=49
- ↑ https://thebearfootbaker.com/2012/11/how-to-clean-an-airbrush-gun/
- ↑ https://www.youtube.com/watch?v=jQdcaBEOVI8&feature=youtu.be&t=216
- ↑ https://www.youtube.com/watch?v=_JrPemhs3AI&feature=youtu.be&t=90
- ↑ https://www.youtube.com/watch?v=jQdcaBEOVI8&feature=youtu.be&t=386
- ↑ https://www.youtube.com/watch?v=jQdcaBEOVI8&feature=youtu.be&t=640
