X
wikiHow is a “wiki,” similar to Wikipedia, which means that many of our articles are co-written by multiple authors. To create this article, volunteer authors worked to edit and improve it over time.
This article has been viewed 29,873 times.
Learn more...
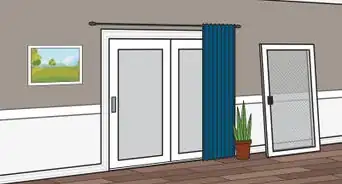
If you have ever wanted a “farmhouse” style barn door but do not have the wall space for one, this may be your solution to getting the look you want at a cost-effective price while still using your same door!
Steps
Part 1
Part 1 of 3:
Preparing


Part 2
Part 2 of 3:
Refacing the Door
-
1Cut a piece of the plywood to the exact dimensions of the door. Lay it on top of the door to make sure everything is covered perfectly and none of the door is showing.
-
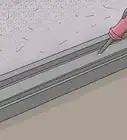
2Put a layer of "Liquid nails" down on the door from top to bottom. You do not need to get it in the panels because the wood won’t touch down in them.
-
3Lay the plywood and cut over the door and press down. From this point, once you are satisfied where the wood is, go ahead and use a nail gun around the edges to nail down the wood to the door.
-
4Measure out how you want the "frame" of the barn door to be. A good measurement is 3 inch top and bottom with 2 inch side pieces for a smaller door but you can use wider pieces for a larger door.
-
5Cut the top and bottom pieces the same width and and lay them on the door. Do the same with the side frame piece. Do not glue anything down until you have the entire frame cut.
-
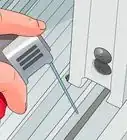
6Glue and nail down the the pieces to the door.
-
7Figure out where you want the center to be. Some people like it directly in the middle and some people like it a little lower. Play around with it and figure out what looks best to you. The exact middle is good if you want to change the door from a doorknob use door to a magnet door and wanted the handle right where the doorknob was originally.
-
8Cut the first half of the X. This can be tricky and it varies for everyone depending on the height and width of your door. This can be hard to figure out your angles. Home Depot/Lowes sell a tool to make figuring out your angles much easier. Spend an extra $15 for this tool in case you want to do more doors in the future, it will save you a lot of time and frustration.
-
9Cut the other half of the "X" and glue and nail it down.
- If you are off a little bit and there is a slight gap between pieces of wood, don't fret. A little bit of wood filler and a sanding block will do wonders.


Advertisement
Part 3
Part 3 of 3:
Finishing Up
-
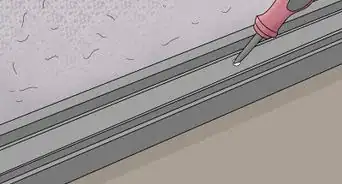
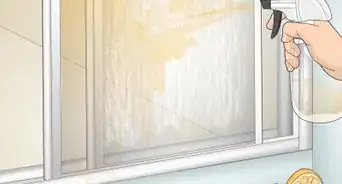
1Sand down all the edges. Make sure everything is nice and smooth and nothing is hanging off that could give you a splinter later.
-
2Watch as the door comes together. All your hard work is now done.
-
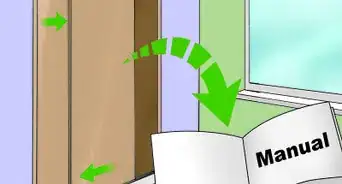
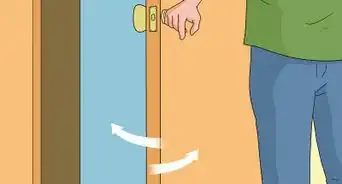
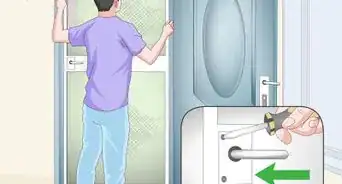
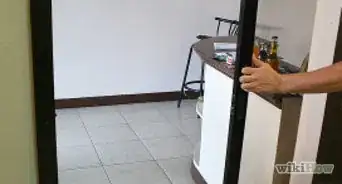
3Remount the door to the frame. This is to make sure the door opens and closes like it should and to make sure it all fits like it’s supposed to.
-
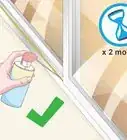
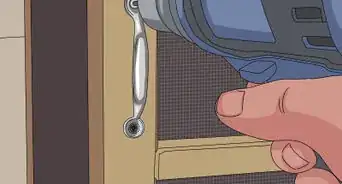
4Paint your door. You can remove the door to paint it, as it is easier to get the sides where the hinges are, but you can certainly paint it while it is hanging, just use some painters tape so you don't accidentally get paint where you don't want it.
-
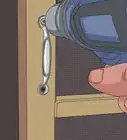
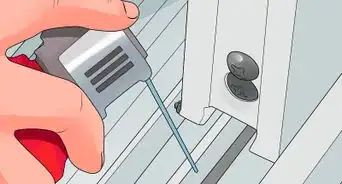
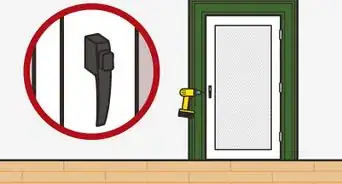
5Mount the new handle. You can mount it directly around where the doorknob used to be.


Advertisement

About This Article
Advertisement