This article was co-authored by David Julien. David Julien is a DIY Specialist and the Principal Owner at Nice DIY based in Quebec, Canada. David specializes in creating plans to make unique, affordable, and modern home furnishings. He holds a BA in Graphic Design from the University of Quebec Outaouais. Nice DIY uses sustainable and high-quality materials to create products that are simple to make for everyone.
There are 7 references cited in this article, which can be found at the bottom of the page.
This article has been viewed 277,514 times.
Refinishing an old dresser is a wonderful way to refurbish your piece of furniture and breathe new life into it. Though the process takes some time, it is fairly straightforward and leaves lots of room for creativity. Whether you want to give your item a sleek, modern look using paint or a more traditional look using wood stain, refinishing your dresser ensures that it will look good for years to come.
Steps
Cleaning and Sanding Your Dresser
-
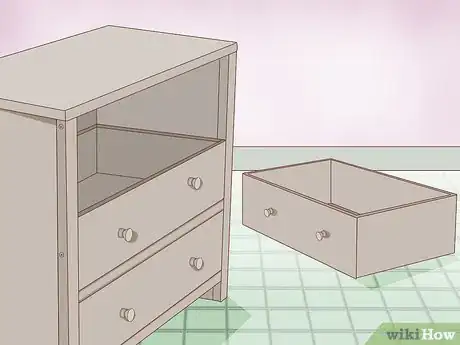
1Empty your dresser and take out the drawers. Before starting the refinishing process, clear your dresser of any personal items. Then, remove your dresser's drawers and, if possible, take off any additional attachments like handles. You can replace or reattach these after your new finish dries.
- To remove your dresser handles, take out the screws holding them in place and carefully pull the handles out of the wood case. Make sure to store your handles with their respective screws.
-
2Wash off dirt and grime using soap and water. Grab a standard kitchen sponge and soak it in a mixture of liquid dish soap and water. Then, scrub your dresser thoroughly to remove any built up gunk. When finished, rinse the wood using a sponge soaked in fresh water and dry the dresser off with a clean towel.[1]
- To avoid damaging the wood, make sure to use gentle scrubbing motions.
- For moldings, carvings, and hard to reach nooks and crannies, use a paintbrush instead of a sponge.
Advertisement -
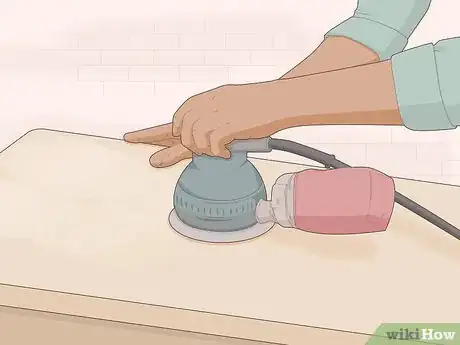
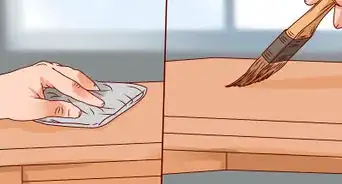
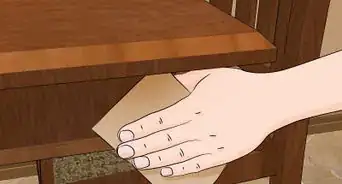
3Remove the top layer of paint and stain using coarse sandpaper. To get rid of the dresser's original finish, start by sanding down the surface with 150 or 200-grit sandpaper wrapped around a wooden block. Keep sanding until you can see the original color of the wood.[2] For hard to reach spots, try using steel wool instead. When stripping a large area of the dresser, feel free to use a power sander if you wish.[3]
- While sanding, wear a mask and goggles to protect yourself from dust and other hazards.
-
4Switch to a less coarse sandpaper once you see the original wood. After sanding your dresser down for a while, you'll start to see small bits of the original dresser wood poke through the remaining paint and stain. When this happens, switch to a 300-grit sandpaper to avoid damaging the dresser.[4]
- If you're using a power sander, switch to a handheld sanding method at this time.
-
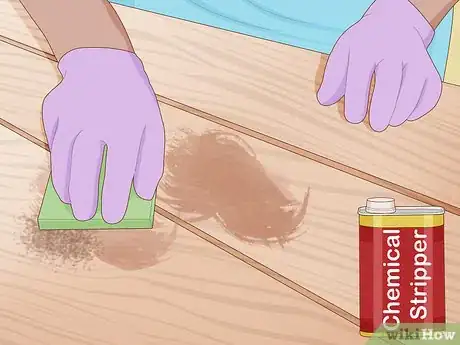
5Get rid of stubborn paint and stain using a chemical stripper. If you're having trouble removing the dresser's current finish, try applying a chemical stripping agent to the surface. For paint, use a paint stripper from companies like Smart Strip or Klean-Strip. For stains, use a methylene chloride-based stripping agent from companies like BEHR.[5]
- To avoid damaging yourself or the dresser, read and follow your stripping agent's official safety warnings and application instructions.
- Chemical stripping agents are difficult to control and can potentially damage your dresser, so use them as a last resort.
-
6Repair broken areas of the dresser with putty. Before refinishing your dresser, repair any holes, cracks, or dents in it by filling the spots with epoxy putty or a similar substance. To do so, simply slice off a piece of putty with a razor blade, knead it, and press it into the damaged areas. This will create a smooth surface to work with.[6]
- Look for epoxy putty brands like Quickwood and KwikWood at home improvement and woodworking stores.
- Wear gloves when working with putty to keep the material from sticking to your hands.
Painting Your Dresser
-
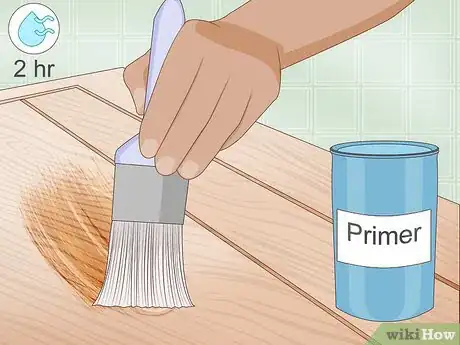
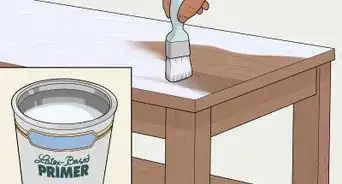
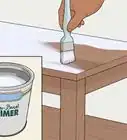
1Apply a coat of primer before painting your dresser. No matter which painting method you use, you'll need to add primer first to ensure your finish looks solid and bold. To add the primer, brush or spray a layer of primer paint onto the surface of the dresser, then check it after about 1 hour. If the paint is opaque, let it dry for another 2 hours. If it is not opaque, put on an additional layer of primer and check it again in 1 hour.[7]
- Use white primer if you're adding a light-colored paint finish or grey primer if you're adding a dark-colored paint finish.
-
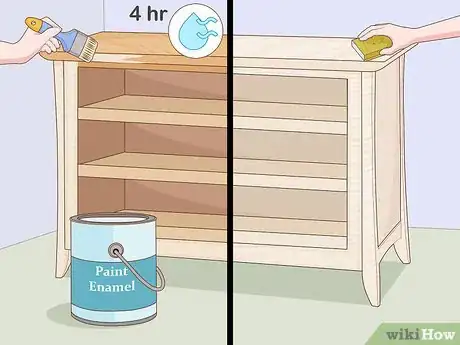
2Cover your dresser with traditional paint for a durable finish. Coat the entire dresser with a layer of acrylic or enamel paint and let it dry for between 2 and 4 hours. Then, apply a second coat of paint and, once dry, rub it gently using 240-grit sandpaper. Repeat the process until you have a minimum of 4 layers, sanding after each coat except the final one.[8]
- For a standard matte finish, use water-based acrylic paint. For a longer-lasting and glossy finish, use enamel paint instead.[9]
-
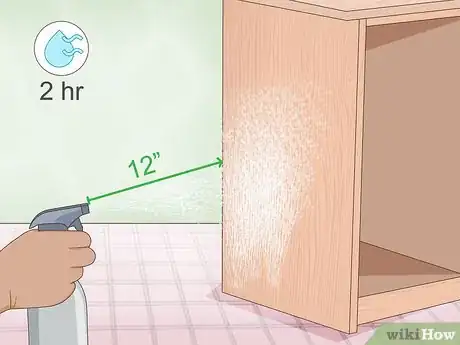
3Spray paint your dresser to make the process quicker. Purchase a can of universal or wood spray paint in whatever color you desire. Hold the can between 8–12 in (20–30 cm) away from the dresser's surface, then spray on a coat of paint using large, sweeping motions. Let the paint dry for about 2 hours, then add another coat. Repeat the process until you're happy with the finish.[10]
- When using spray paint, make sure to wear a protective dust mask and safety gloves.
- Spray paint takes less time to apply than traditional paint, but it offers far less protection.
Staining Your Dresser
-
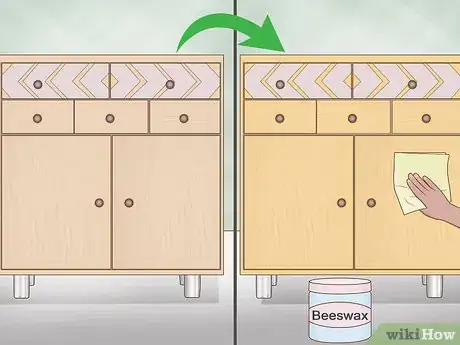
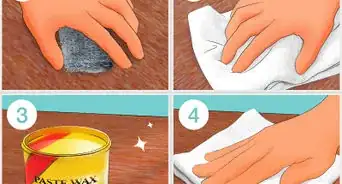
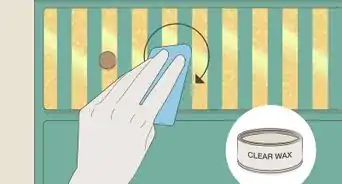
1Use wax to refinish your dresser if it has an interesting texture or color. Purchase a container of furniture wax, beeswax, or a similar wax finish. Then, rub the wax onto the dresser using a nylon scourer or steel wool pad. Let the wax sit for about 5 minutes, then rub the waxed areas down with a clean cloth until the surface feels smooth. Repeat the process with at least 1 more layer of wax, then seal the surface with wax varnish.[11]
- Most home improvement stores stock wax finish.
- Wax creates a smooth sheen that preserves the dresser's overall look.
- Wear cotton gloves while working to keep your hands' natural oil from affecting the wax.
- Applying wax varnish makes the dresser less fragile and gives it additional protection against scuffs and scratches.
-
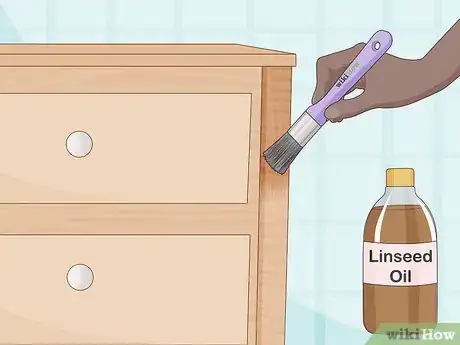
2Refinish your dresser with oil to bring focus to its grain and texture. Buy a container of linseed oil or a similar finishing oil. Using a wide paint brush, cover your dresser with the oil, making sure to get every visible nook and cranny. Let the oil soak in for 10 minutes, then wipe off the excess with a towel and add on another layer. Repeat the process until you've added 5 to 6 total layers.[12]
- You can find oil finish at most home improvement stores.
- Oil finish creates a glossy sheen that emphasizes the wood's natural look.
- When cleaning your refinished dresser, rub a few drops of oil into it to buff the surface. For the best results, make sure to rub with the grain.
-
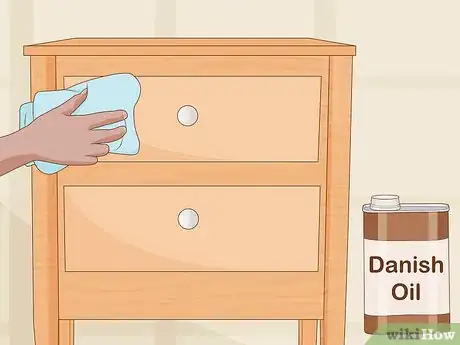
3Cover your dresser with Danish oil for additional protection. Purchase a can of Danish oil finish like Watco and brush a liberal amount of it onto your dresser. Give the oil about 15 minutes to soak in, then add a second coat on top. After 15 more minutes, wipe off the surface of your dresser with a sponge. Repeat this process once a day until you're satisfied with the dresser's finish.[13]
- Though Danish oil doesn't emphasize the wood quite as much as standard oil, it provides far greater protection from heat, stains, scratches, and chemicals.
- Look for Danish oil finishes at home improvement stores.
Expert Q&A
Did you know you can get expert answers for this article?
Unlock expert answers by supporting wikiHow
-
QuestionShould I use a finish on the wood?
 David JulienDavid Julien is a DIY Specialist and the Principal Owner at Nice DIY based in Quebec, Canada. David specializes in creating plans to make unique, affordable, and modern home furnishings. He holds a BA in Graphic Design from the University of Quebec Outaouais. Nice DIY uses sustainable and high-quality materials to create products that are simple to make for everyone.
DIY Specialist
-
QuestionWhat's a good cleaner to use on a refinished surface?
 DvortygirlCommunity AnswerOn most wooden surfaces, plain water or water with a little Murphy's Oil Soap. Depending on the finish, you could also apply an oil or polish, such as Howard's Feed & Wax. On a painted surface, use plain water or water with a mild cleaner, such as a little bit of soap. Don't use anything abrasive, either in the cleaner or the sponge or cloth.
References
- ↑ https://www.familyhandyman.com/woodworking/furniture-repair/how-to-refinish-furniture/view-all/
- ↑ David Julien. DIY Specialist. Expert Interview. 20 January 2021.
- ↑ https://www.bobvila.com/articles/how-to-refinish-a-dresser/#.Wnj1hudMFhE
- ↑ David Julien. DIY Specialist. Expert Interview. 20 January 2021.
- ↑ https://www.bobvila.com/articles/how-to-refinish-a-dresser/#.Wnj1hudMFhE
- ↑ https://www.familyhandyman.com/woodworking/furniture-repair/how-to-refinish-furniture/view-all/
- ↑ https://www.bobvila.com/articles/30124-dream-it-do-it-how-to-paint-wood-furniture/
- ↑ https://www.bobvila.com/articles/30124-dream-it-do-it-how-to-paint-wood-furniture/
- ↑ http://www.thefurnitureconnoisseur.com/enamel-paint-as-a-furniture-finish/
About This Article
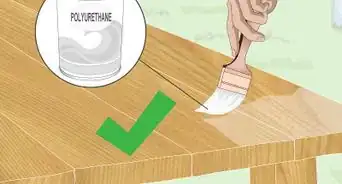
To refinish a dresser, start by removing any paint and stain using coarse-grit sandpaper wrapped around a wooden block or attached to a power sander. Then, once you see the original wood, switch to a medium- or fine-grit sandpaper to smooth out the surface of the dresser. If you're having trouble removing paint or stain, you may need to use a chemical stripper. Finally, once you've sanded down to the raw, original wood, apply a coat of primer and paint or stain the dresser. To learn how to repair damage in an old dresser, scroll down!
