This article was co-authored by wikiHow Staff. Our trained team of editors and researchers validate articles for accuracy and comprehensiveness. wikiHow's Content Management Team carefully monitors the work from our editorial staff to ensure that each article is backed by trusted research and meets our high quality standards.
There are 12 references cited in this article, which can be found at the bottom of the page.
This article has been viewed 36,471 times.
Learn more...
Re-laying carpet is a great way to both save money and reduce waste. Laying an old carpet in a new area – or even adjusting the way it lays in the same area – is no different than laying carpet for the first time. The only difference is the age of the carpet you’re laying. Install tack strips and carpet pads (if necessary), lay the carpet out, and tuck it in place using a carpet stretcher and knee kicker.
Steps
Removing the Carpet
-
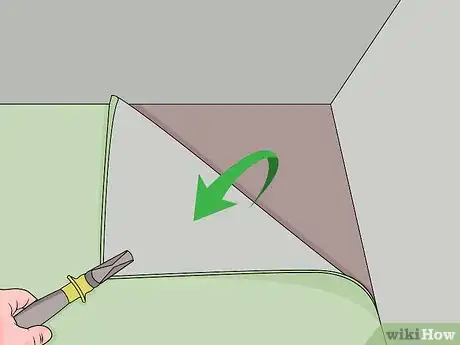
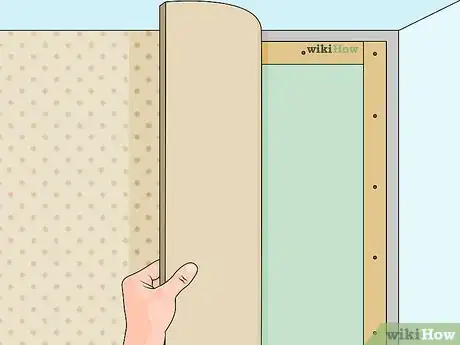
1Peel back the carpet. Using a pair of pliers, grab a corner of your carpet. Gently lift the carpet up and towards you, away from the corner. Pulling too hard and fast will only tear carpet fibers from the carpet.[1]
- If you’re having trouble getting your carpet up with pliers, use a knee kicker to loosen the carpet. Place the knee kicker on the carpet about four inches (eight centimeters) from the area of wall you wish to peel back. Drive your knee into the knee kicker with moderate force. You should see the carpet bunch up against the wall. Grip the bunched-up section with pliers and peel it back.
- Once your carpet is loose, continue pulling until you’ve removed the area you wish to re-lay. Don’t pull the carpet past doorways or you risk breaking a seam.
-
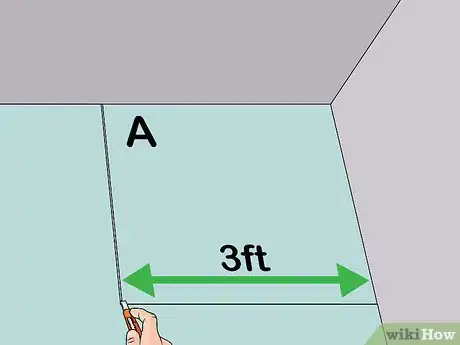
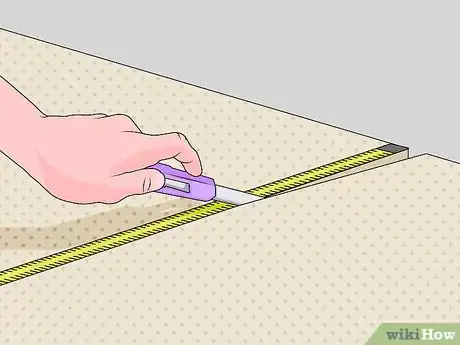
2Cut the carpet into strips if you can’t lift the entire carpet all at once. Use a utility knife to slice the carpet into smaller, more manageable sections. The strips should be about one meter (three feet) wide. Mark each strip with a number or letter so that you know how they fit together when you re-lay them later.Advertisement
-
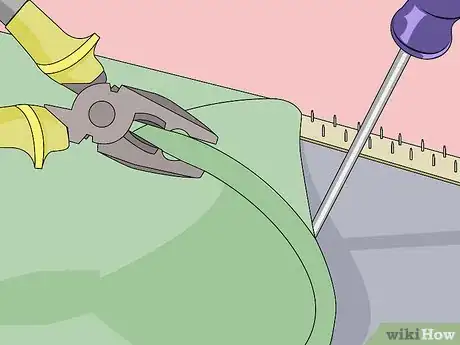
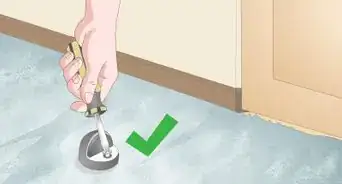
3Remove the pad. If you decide that the pad is in good condition, you’ll need to use a flathead screwdriver and pliers to remove all the staples. Pry the staples up with the pliers, then drive the flat edge of the screwdriver beneath them to pop them out. Use care so as not to tear the pad.[2]
- Do not try to pull the pad up without removing the staples. The pad will rip.
- Signs that your carpet should not be laid again include an uneven surface, wrinkles, and a crinkling sound when it is walked on.[3]
- If your carpet pad was installed over concrete, it will likely be glued in place and impossible to re-lay in another space. If you still want to remove it, pull away as much as possible and use a flooring scraper to remove any bits that stick to the concrete.
-
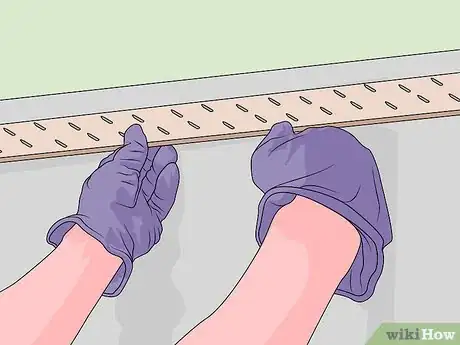
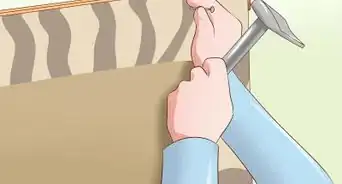
4Pull up the tack strips. If the tack strips are not damaged, you can reuse them, too. Remove tack strips that you cannot use again by wedging a pry bar beneath them, then pulling up on your end of the bar.[4]
- If the tack strips are lodged in concrete and you wish to remove them, you will have to pull the tack strip up through the concrete nails. Once the tack strips are removed, strike the concrete nails with a hammer from the side to break them off.
- To protect your hands, wear heavy protective gloves before attempting to remove tack strips.
- Cracked or deteriorating tack strips should not be reused. If the tack strips have been down for 10 years or more, it is probably best to replace them.
Laying Carpet Again
-
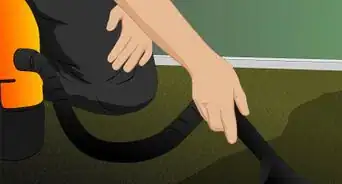
1Clean the carpet according to manufacturer instructions. Consult your carpet’s care instructions (often available on the manufacturer’s website) for information about how you can clean the carpet. If you don’t want to clean it yourself, consult professional carpet cleaning services about whether it would be possible to get your carpet cleaned.[5]
-
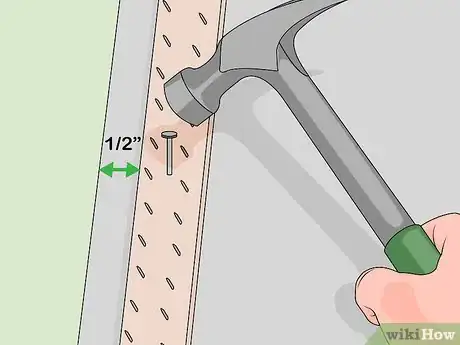
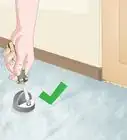
2Lay down tack strips. Tack strips hold the carpet in place and prevent it from moving. Place the tack strips around the edges of the room where you want to re-lay your carpet. They should be placed about one centimeter (half an inch) from the wall. Position them in such a way that the tacks are angled slightly toward the wall and facing up, then secure them by hammering the pre-started nails that come installed in the tack strip.[6]
- You’ll likely need to cut the tack strips at some point to accommodate the size of your room. For instance, suppose you have three tack strips that measure four feet each and you’re trying to lay them along a 10-foot wall. Starting from one end of the wall, install two tack strips, then cut the third in half.
- If you want to fasten your carpet even more securely, you can install a second strip of tack strips in front of the first.
-
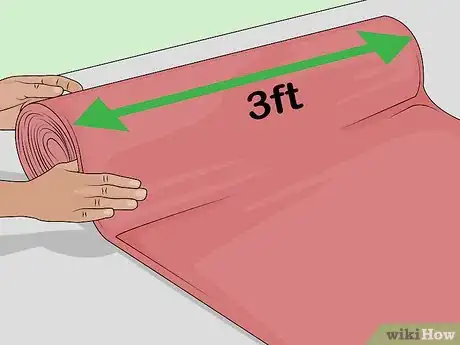
3Cut the carpet pad into appropriately-sized pieces. Carpet pad usually comes in strips that are about three feet (one meter) wide. The size of the pieces you cut the pad into depends on the size of the area in which you wish to re-lay carpet.[7]
-
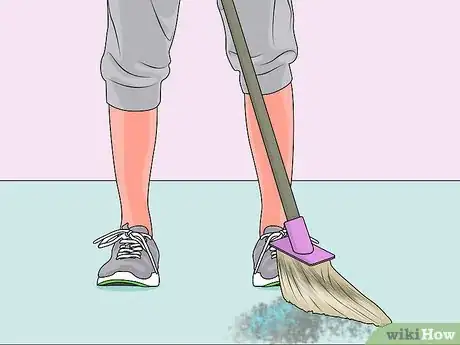
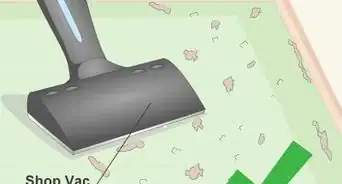
4Clean the subfloor. Sweep the subfloor to remove debris. Mop the area or scrub it with a sponge if it’s visibly grimy, then allow it to dry.[8]
-
5Lay the carpet pad. Place the carpet pad within the boundaries of the tack strips. The outer edges of the carpet pad should touch the inner edges of the tack strips.[9]
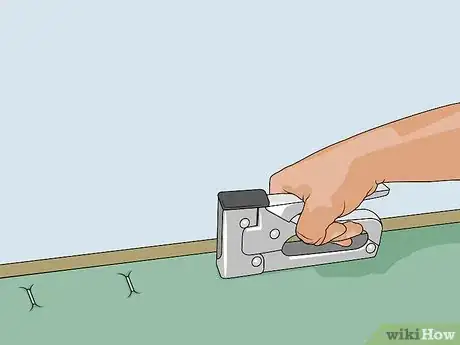
- When laying carpet pad on wooden subfloor, staple the pad to the floor along the edges of each individual piece of pad using a staple gun.
- When laying carpet pad on a concrete subfloor, use a carpet and floor adhesive to secure it. Directions for use vary according to the carpet and floor adhesive you choose to utilize. Generally, however, you can apply a line of adhesive along the edge of the tack strip where the pad will lay, then put the pad in place. Tamp it down gently with your foot.
-
6Cut the carpet to an appropriate size. If you’re re-laying the carpet in a new space, cut it to an appropriate size and discard excess. The carpet should, in this case, be a bit longer on each edge than the perimeter of the room in which you want to re-lay it. You can discard excess carpet later.[10]
-
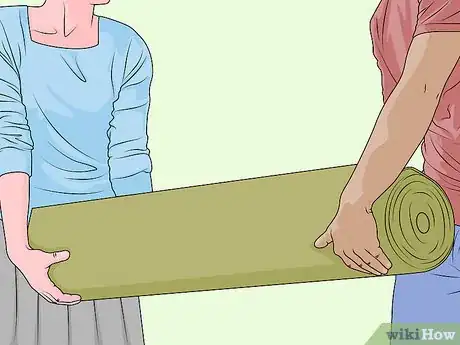
7Have someone help you. It’s nice to have assistance when re-laying carpet. This allows you to have an extra set of eyes on the carpet to evaluate whether it is sufficiently snug against walls and corners. An extra pair of hands is also helpful for carrying and rolling heavy carpet out.
-
8Lay the carpet down carefully. Once your tack strips and carpet pad are laid, and your carpet has been sized appropriately, you’re ready to install it. For now, just lay it down in approximately the place you want it.[11]
-
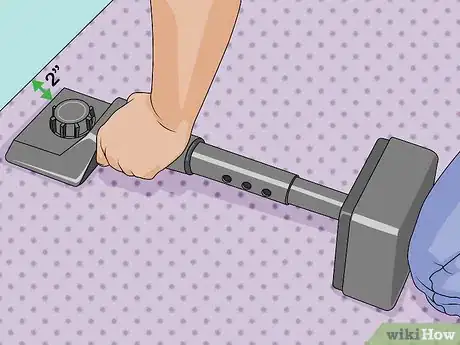
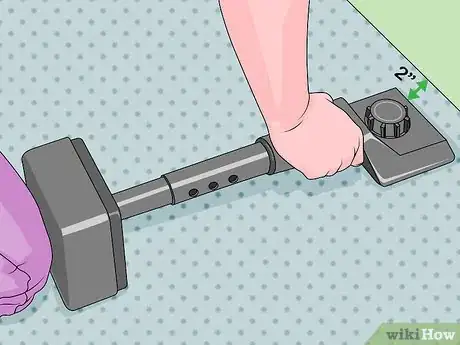
9Secure the first edge of the carpet. Once the carpet has been laid down, use a knee kicker to secure it. Place the claws of the knee kicker about two inches (5 centimeters) from one wall. Use one hand to steady and secure the kicker, then drive your knee into it.[12]
- After you strike the knee kicker, push down with your free hand against the portion of the carpet between the kicker and the wall. This will push the tacks of the tack strip into the carpet.
- Continue along the entire length of the wall in this way, using the kicker at intervals of three inches (seven centimeters) or so.
-
10Switch to the opposite wall. After you’ve secured the carpet about 25% of the way along the wall, go to the area of the carpet directly opposite the area you just secured and do the same. Switch back and forth between these two opposing areas each time you secure about 25% of the carpet to the floor.[13]
- Once you’ve secured the carpet along the first two walls, repeat the process along the other two walls.
-
11Cut the carpet. If you’re re-laying carpet in an area that is smaller than the area you initially had the carpet in, then you’ve already cut the carpet once to more closely approximate the size of the room. However, the area of the carpet is still slightly larger than the area of the room, which means you’ll need to cut away the excess.[14]
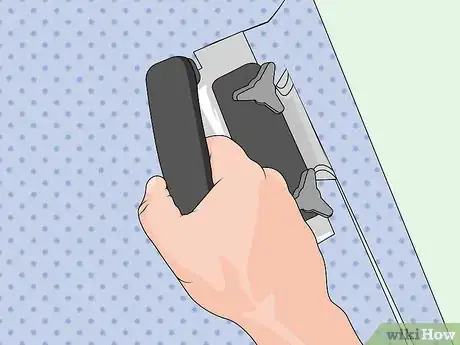
- Place a carpet trimmer against the baseboard of your wall. Run it along a few feet of the wall.
- Pull away and discard excess, and use a putty knife to push the trimmed edge down under the baseboard.
Dealing With Seams
-
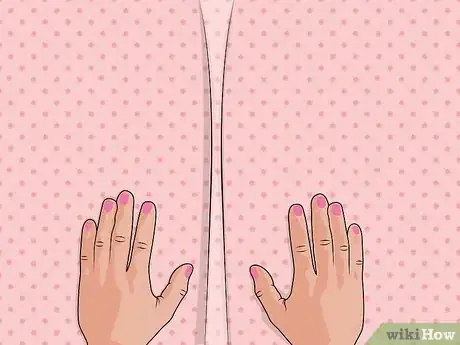
1Line up the seams. If you are re-laying carpet in strips, you will need to line it up perfectly to hide the seams. If possible, keep seams away from main traffic areas. Hiding them beneath furniture is the best option.[15]
- It’s okay if carpet seams intersect pad seams below them, but they should not line up directly.
-
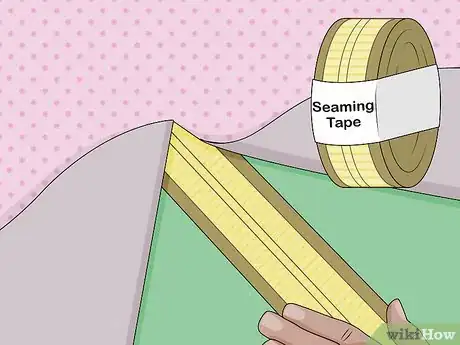
2Lay down the seaming tape. Locate the seam and lift one edge of the carpet up. Slide a strip of heat-activated seam tape halfway beneath the opposite piece of carpet (the one that’s still flat on the floor). Run the seam tape along the entire length of the seam, then lay the folded-back piece of carpet back down so that it is snug against the opposite piece.[16]
-
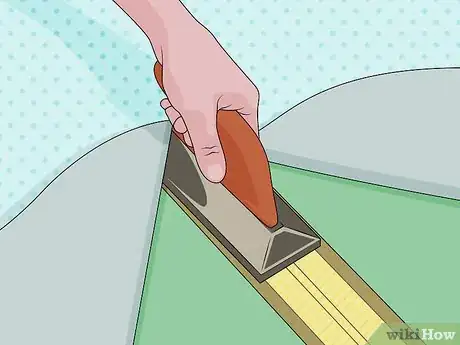
3Secure the seams. Allow your seaming iron to warm up. After about five minutes, slip it between the seam. Starting at one wall, slowly move the iron along the entire length of the seam. Have a friend follow behind you with a seaming weight to press down on the seam, ensuring the carpet will adhere to the seam tape.[17]
- It is recommended that you get a professional carpet installer re-lay your carpet if you’re dealing with a carpet that will need seams aligned.[18]
References
- ↑ https://www.familyhandyman.com/floor/carpet-repair/how-to-restretch-a-carpet/view-all
- ↑ https://www.familyhandyman.com/floor/carpet-repair/how-to-restretch-a-carpet/view-all
- ↑ https://www.angieslist.com/articles/6-signs-you-need-replace-your-carpet.htm
- ↑ https://www.familyhandyman.com/floor/carpet-repair/how-to-restretch-a-carpet/view-all
- ↑ http://www.foxnews.com/real-estate/2011/09/16/lose-it-4-ways-to-get-rid-your-old-carpet.html
- ↑ http://www.dummies.com/home-garden/flooring/tips-for-laying-carpet/
- ↑ http://www.flooringamerica.com/flooring/carpet/installation
- ↑ https://www.builddirect.com/learning-center/flooring/how-to-install-carpet-tile-in-7-easy-steps/
- ↑ http://www.dummies.com/home-garden/flooring/tips-for-laying-carpet/
- ↑ http://www.flooringamerica.com/flooring/carpet/installation
- ↑ http://www.flooringamerica.com/flooring/carpet/installation
- ↑ http://www.flooringamerica.com/flooring/carpet/installation
- ↑ http://www.flooringamerica.com/flooring/carpet/installation
- ↑ https://www.familyhandyman.com/floor/carpet-repair/how-to-restretch-a-carpet/view-all
- ↑ http://www.coloryourcarpet.com/Education/Installers.html
- ↑ https://www.thisoldhouse.com/how-to/how-to-install-carpeting
- ↑ https://www.thisoldhouse.com/how-to/how-to-install-carpeting
- ↑ https://www.familyhandyman.com/floor/carpet-repair/how-to-restretch-a-carpet/view-all

-Step-19.webp)






-Step-19.webp)


