This article was co-authored by Cleanzen Cleaning Services. The Cleanzen Cleaning Services Team consists of Residential Cleaning Specialists. With more than six years of experience, they specialize in connecting independent cleaning professionals with those who need help cleaning their houses. All of Cleanzen’s professionals are experienced and licensed and have passed background checks.
There are 11 references cited in this article, which can be found at the bottom of the page.
This article has been viewed 90,412 times.
Ink can be hard to clean off of many surfaces, and plastic is no exception. If you’ve got a plastic item that’s stained with ink, don’t throw it away. Instead, try wiping the affected area with a powerful household solvent like acetone, rubbing alcohol, hydrogen peroxide, or diluted bleach. You can also soak non-electronic items to bust up set-in stains if cleaning by hand just isn’t cutting it.
Steps
Wiping Away Small or Faint Stains
-
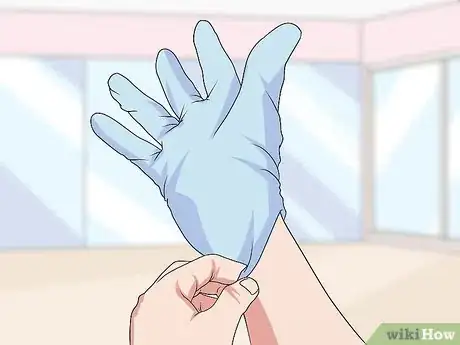
1Wear rubber gloves to protect your skin. Any solvent that’s strong enough to eat away at set-in ink stains will also be strong enough to cause skin irritation with prolonged exposure. For this reason, it’s a good idea to always pull on a pair of gloves anytime you’re going to be working with chemical solvents manually.[1]
- If you don’t happen to have any gloves handy, do your best to minimize your exposure to the solvent, and be sure to wash your hands thoroughly with soap and warm water afterwards.[2]
- Avoid cloth or textile gloves. Absorbent fabrics can easily soak up the solvent you use and end up saturating your skin.
-
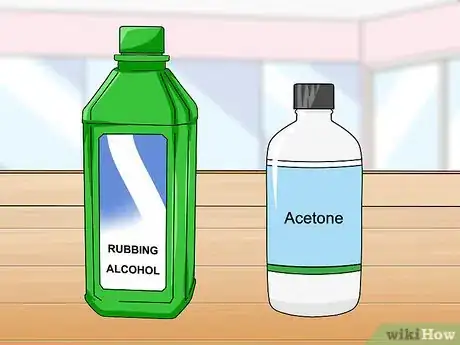
2Grab some acetone, alcohol, or another powerful solvent. When it comes to removing ink from plastic, you have a few options to choose from. Acetone, hydrogen peroxide, chlorine bleach, denatured alcohol, and ordinary rubbing alcohol are all useful for dealing with troublesome stains that ordinary cleaning products can’t touch, including ink. Best of all, you probably have at least one of these items sitting around in your home’s supply closet already.[3]
- For a gentler solution, try substituting hand sanitizer or distilled white vinegar. Keep in mind, however, that if one of these items doesn’t work, you may end up having to resort to a harsher solvent.
- Rubbing alcohol is always a great option.[4]
Tip: If you decide to use bleach, be sure to first dilute it to a safe concentration. A good rule of thumb is to use about 1 tablespoon (15 mL) of bleach for every 1 cup (240 mL) of water.[5]
Advertisement -
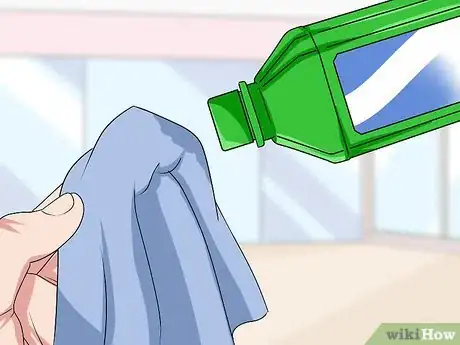
3Apply a small amount of your solvent to a clean cloth or paper towel. Fold or wad your cloth or towel to form a scrubbing surface. Then, pour out just enough solvent to saturate a 1–2 in (2.5–5.1 cm) section of your scrubber.[6] Be careful not to spill any of the solvent on yourself or your work area![7]
- You can also use a cotton ball for this.[8]
- If possible, set up your material outside or in a well-ventilated space where fumes won’t be an issue.[9]
- When cleaning appliances, fixtures, or household surfaces that you can’t take elsewhere, open a window or switch on the fan or air conditioning unit before you begin to get some air moving.
-
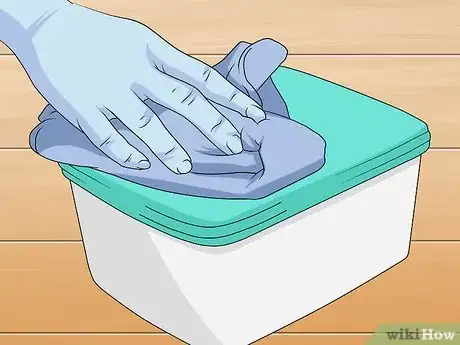
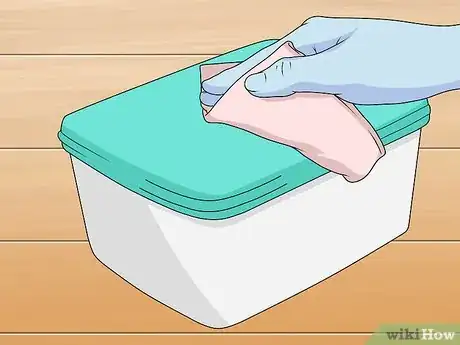
4Wipe the affected area repeatedly to dissolve the ink. The solvent will begin to eat away at the stain on contact. In fact, you should notice it starting to fade within seconds. Continue working the solvent into the stain using smooth circular motions until it disappears completely.[10] [11]
- If necessary, re-wet your scrubber and attack the stain a second time to erase any particularly persistent pigment.
-
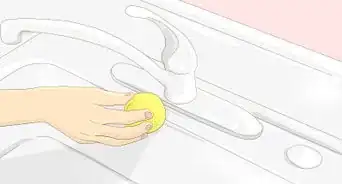
5Rinse and dry the item before using it again. Once you’ve successfully gotten rid of the stain, wet a separate cloth or paper towel and run it over the area you just cleaned. This will help remove any lingering traces of solvent. Pat the surface dry with a clean, dry towel and marvel at the item’s like-new appearance![12]
- Spray off outdoor items or features (such as plastic laminate siding) with a garden hose to save time.
- Unless you know for a fact that they’re waterproof, avoid exposing electronic devices to moisture. Simply let these sit for 10-15 minutes—most solvents, including bleach, will evaporate on their own after a short time.
Soaking Stubborn Stains
-
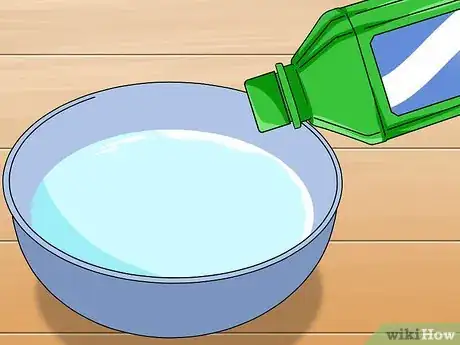
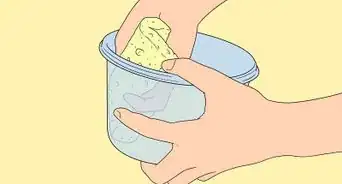
1Fill a large, non-reactive container with your solvent of choice. Rummage through your cabinets and look for a bottle of acetone, isopropyl alcohol, hydrogen peroxide, or distilled white vinegar. For serious stains, you can also mix up a solution of 1 part bleach to 5 parts water. Add enough solvent to completely immerse the ink-stained item.[13]
- If you’re trying to remove ink from the inside of a container, simply fill the container with your solvent instead.[14]
- Containers made from glass, ceramic, stainless steel, anodized aluminum, and newer plastics are all typically non-reactive.
Warning: It’s important to make sure that the container you’re using is made from a non-reactive material. Reactive materials could warp, melt, or release toxic fumes when exposed to potent solvents.
-
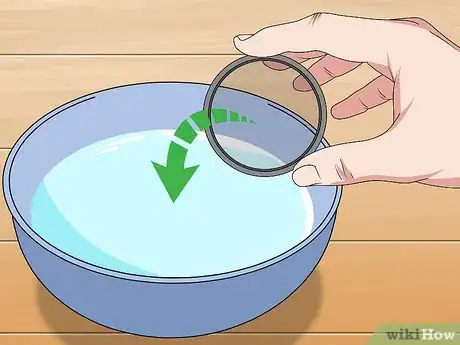
2Place the item in the solvent and allow it to sit for 5-10 minutes. A few minutes in the solvent should be more than enough to lift away even long-dried ink stains. Be sure to keep clear of the container while your item is soaking to avoid breathing in overpowering fumes. Doing so could make you lightheaded.[15]
- For bulkier items, it may help to submerge half of the item and cover the other half with a rag soaked in the solvent.[16]
- Ideally, you should leave your item to soak outdoors or near a window, fan, or other means of ventilation.
-
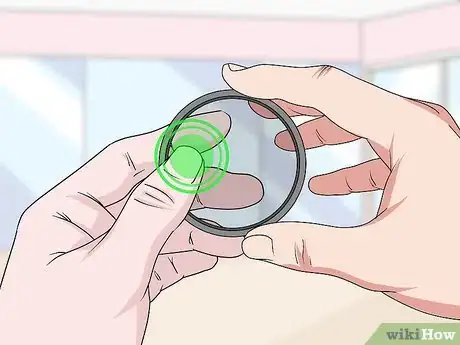
3Wipe away any remaining ink by hand. If there’s still ink visible on the item when it comes out of the solvent, a little elbow grease is usually all it will take to clear it away. Just dip the corner of a clean cloth or paper towel in your solvent (you can use the same one you used to cover a larger item) and polish the surface of the plastic until it’s free of ink.[17]
- Don’t forget to pull on a pair of disposable rubber gloves to protect your hands. If you happen to get the solvent on your skin, wash your hands thoroughly as soon as you’re finished.
-
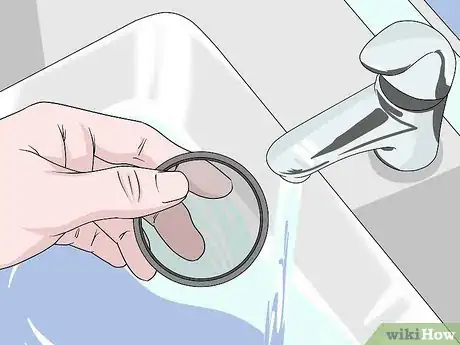
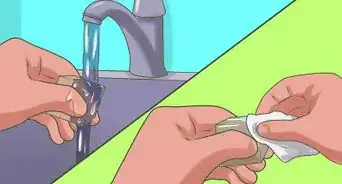
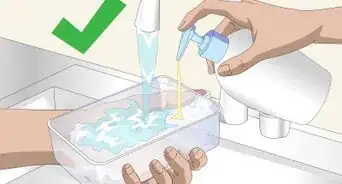
4Wash and dry the item thoroughly before reusing it. When you’re satisfied that every last bit of ink is gone, remove your item from the solvent bath and rinse it off inside and out under a stream of clean water. Pat the item dry with a clean towel, or shake off the excess water and allow it to air dry.[18]
- If you used bleach to erase the ink stains from your item, you may also want to wash it and your soaking container with hot, soapy water or put them through a cycle in the dishwasher to ensure that there’s no bleach residue left behind.[19]
- Dispose of the used solvent by pouring it out in your sink and flushing it down with clean water.
Things You’ll Need
Wiping Away Small or Faint Stains
- Rubber gloves
- Chemical solvent (acetone, hydrogen peroxide, denatured alcohol, rubbing alcohol, chlorine bleach, etc.)
- Cloth or paper towel
- Clean, dry towel
- Soap
- Water
Soaking Stubborn Stains
- Rubber gloves
- Large non-reactive container
- Chemical solvent (acetone, hydrogen peroxide, denatured alcohol, rubbing alcohol, chlorine bleach, etc.)
- Paper towel or rag
- Clean, dry towel
- Soap
- Water
References
- ↑ https://www.cdc.gov/niosh/docs/2011-199/pdfs/2011-199.pdf
- ↑ https://www.ccohs.ca/oshanswers/diseases/dermatitis.html
- ↑ https://www.familyhandyman.com/kitchen/countertops/how-to-remove-stains-from-plastic-laminate-countertops/
- ↑ Cleanzen Cleaning Services. Residential Cleaning Specialists. Expert Interview. 4 February 2022.
- ↑ https://foodal.com/knowledge/cleaning/11-ways-remove-stains-plastic/
- ↑ Cleanzen Cleaning Services. Residential Cleaning Specialists. Expert Interview. 4 February 2022.
- ↑ https://www.familyhandyman.com/kitchen/countertops/how-to-remove-stains-from-plastic-laminate-countertops/
- ↑ Cleanzen Cleaning Services. Residential Cleaning Specialists. Expert Interview. 4 February 2022.
- ↑ http://www.hse.gov.uk/pubns/indg273.pdf
- ↑ https://happymoneysaver.com/thrifty-tip-remove-ink-labels-from-plastic-containers/
- ↑ Cleanzen Cleaning Services. Residential Cleaning Specialists. Expert Interview. 4 February 2022.
- ↑ https://foodal.com/knowledge/cleaning/11-ways-remove-stains-plastic/
- ↑ https://www.youtube.com/watch?v=n5BdxdAAkHI&feature=youtu.be&t=20
- ↑ https://foodal.com/knowledge/cleaning/11-ways-remove-stains-plastic/
- ↑ https://www.youtube.com/watch?v=n5BdxdAAkHI&feature=youtu.be&t=37
- ↑ http://www.sweetpenniesfromheaven.com/how-to-remove-ink-print-from-plastic-containers/
- ↑ http://www.sweetpenniesfromheaven.com/how-to-remove-ink-print-from-plastic-containers/
- ↑ https://foodal.com/knowledge/cleaning/11-ways-remove-stains-plastic/
- ↑ https://www.goodhousekeeping.com/home/cleaning/tips/a19487/how-to-clean-plastic-containers/
