This article was co-authored by Dani Pedraza. Dani Pedraza is a Professional Dog Trainer and a Co-Owner of The Big City Woof Walker with presences in NYC and Chicago. Dani is passionate about providing personal, quality pet service and treatment and is very knowledgeable about training dogs using positive reinforcement and a force-free approach. As a Certified Dog Trainer (CCDT), Dani graduated from CATCH Canine Trainer Academy’s Master Course program.
There are 22 references cited in this article, which can be found at the bottom of the page.
This article has been viewed 12,124 times.
Traveling to another country is a very exciting, but also stressful, event. When you’re trying to move a dog somewhere else, the paperwork can seem even more confusing, but proper planning will help make the trip a success. Dogs typically have to be sent by plane for safe and speedy travel. Every country has its own unique rules for letting in live animals, but they all require you to have medical records and a good carrier. Whether you’re going with the dog or sending it on its own, you can ensure it arrives without a hitch.
Steps
Making Travel Arrangements
-
1Make travel plans at least 6 months in advance. Sending your dog often involves a lot of preparation. Some countries have strict requirements about what tests and vaccines your dog has to get. If you don’t have them ready by your travel date, you could run into more headaches and expenses down the line. As soon as you know you’re going to send your pet somewhere, start planning so you know exactly what you need to do and when.[1]
- For example, Japan makes you wait at least 180 days before your dog can enter the country. You have to have a veterinarian give your dog the appropriate rabies test first.
- If you aren’t fully prepared, your dog could end up in quarantine or even get sent back home. It’s stressful for your dog, but you also end up having to pay for the new arrangements.
-
2Travel in the spring and fall to keep your dog comfortable. Spring and fall are when the weather is mildest. Sending a dog can be very dangerous in the summer and winter months. Some services won’t accept your dog at all, so you will end up having to make alternative arrangements until the weather improves. Keep in mind that bad weather can be very dangerous, especially when your dog is in an airplane’s cargo hold.[2]
- If the temperature is less than 44 °F (7 °C), you will have to get a letter of acclimation from a veterinarian. It states that the dog can safely be in the cold for up to 45 minutes.
- If the temperature is less than 20 °F (−7 °C) or above 85 °F (29 °C), your dog won’t be able to travel at all.
- For example, services like Hawaiian Air, United Airlines, and others have stricter requirements about when you can send a dog. For safety, they won’t take dogs at all in the summer sometimes.
Advertisement -
3Check the government’s website for pet transportation regulations. Every country has different rules, so plan on doing a little research before you start making preparations. Check out the branch of government responsible for travel in the country you’re headed to. Make sure you are able to find out all of that country’s specific requirements for moving a dog safely.[3]
- Contact the country’s embassy or consulate as well. They will have a branch in your country that you can call or email for more information.
- Remember to figure out the rules for the country you’re going to, not your home country.
-
4Contact the airline to let them know you’re bringing a dog. Airlines send millions of pets each year, so they have specific rules to ensure everything goes smoothly. Ask them what you have to do to prepare, especially if you’re not going to be traveling too. They can help you select the right cage size and where to go when you get to the airport. Let them know if you plan on having someone else pick up your dog at its destination or will be using connecting flights to get it there.[4]
- Remember to also find out where your dog will end up when the plane lands. The airline can tell you where they take pets until someone comes to pick them up.
- The airline has to know that you’re bringing a dog. Keep in mind that they charge an extra fee for transporting an animal, usually $200 USD or more.
- Work closely with the airline! You may still have to look up a country's specific rules, but airlines have rules about things like maximum cage size that are very important to your plans.
- Many regional airlines do a good job of transporting pets safely. Mid-level ones like Alaskan Airlines have a good record. The biggest airlines, like Air Canada and Lufthansa, can also be pet-friendly.
- If you’re looking to save money, budget airlines like JetBlue and Allegiant handle pets. Many of them let you bring multiple animals as well.
-
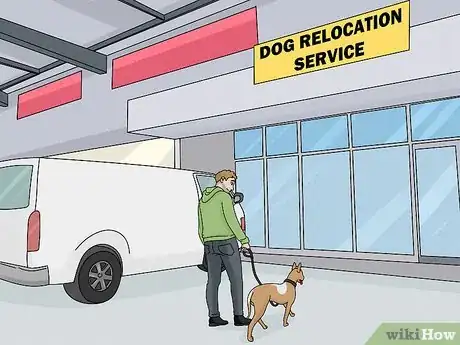
5Work with a dog relocation service to send your dog more easily. Professional pet relocators make most of the arrangements for you. They help out in a number of ways, such as checking your dog’s documentation and permits. They also arrange for transportation, help you choose a good pet carrier, and so on. Even if you don’t end up paying for a relocation service, they can give you a lot of advice on how to make your dog’s trip a success.[5]
- Search online for pet relocation or relocation services. Read about the services they offer and advice on how you can move your dog safely.
- The consultation fee for a relocation service can be a little expensive. It’s often $425 or more. However, you probably have a lot on your plate already, and these services make things much easier.
-
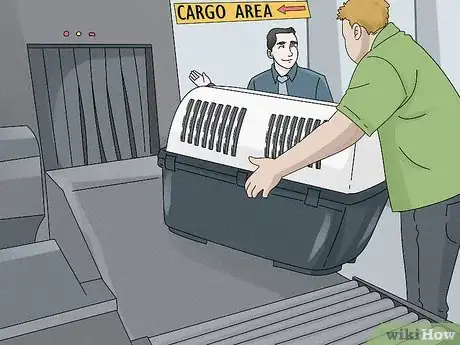
6Plan to put your dog into the cargo area if it’s too big for the plane. Only small dogs and service animals are able to be in the plane’s cabin. If your dog is small, make sure you can fit its carrier underneath the seat ahead of you. If you can, then you are able to keep it with you on the plane. Otherwise, it has to be in the cargo hold, which means you have to take extra care to prepare your dog for travel, get a damage-proof carrie, and clear your plans with the airline.[6]
- The maximum carrier size allowed in an airplane cabin is around 18.5 in (47 cm), long, 8.5 in (22 cm) wide, and 13.5 in (34 cm) tall.
- If you’re sending the dog on its own, then it will have to be in the cargo hold.
- If you’re transporting your dog in the cargo hold, the major international airlines have the most experience. Delta Airlines, will handle large dogs. Other services like American and United Airlines also take pets to a wide variety of destinations.
- For cabin travel, a lot of smaller and regional airlines are great. JetBlue has a program called JetPaws that makes the process easier. Frontier, Spirit, and Allegiant airlines only accept dogs that fit in the cabin and may not have as many international options as bigger airlines.
-
7Arrange for someone to pick up your dog if you can’t. Tell the airline who is going to pick up the dog. If you’re not going to be picking it up, let the other person know what the travel plans are. If you’re able to send your dog on a straight flight between two cities, then you will only need someone there to check in the dog and then pick it up. When your plans are more complicated than that, make a schedule to figure out how each stage of the journey will work.[7]
- Remember that airlines won’t let just anyone pick up your dog when the plane lands. If they don’t know someone else is supposed to pick it up, then they may hold it in quarantine until you clear up the misunderstanding or even send it back.
- If you will have to use connecting flights to get the dog to its destination, clear it with the airline. Confirm it with the initial airline 48 hours before you are scheduled to send the dog.
- Make plenty of backup plans in case something goes wrong. If the dog gets sent back, you may have to ask someone to pick it up. If it gets put in quarantine when it arrives in the other country, make sure you have extra money and contact information to get it out.
Gathering Veterinary Records
-
1Contact your veterinarian to give your dog a checkup. Get in touch with your veterinarian as soon as you have finished settling your travel plans. They can then work with you to ensure your dog is safe and well-prepared for travel. The veterinarian will check your dog’s health, schedule the appropriate tests, and begin filling out the required legal documents to prove your dog’s well-being. Your dog won’t be able to travel otherwise.[8]
- You should get in touch with a vet at least 6 months in advance of your travel date. For some countries, the preparations won’t take a full 6 months, but it’s better to be safe than sorry.
- Flying is relatively safe, but your dog could still be in danger if it isn’t in good health. Very young and old dogs, or those with existing health conditions, may not be able to fly.
- Snub-nosed dogs, such as pugs, bulldogs, and boxers, have a harder time on flights. Some airlines have even banned them.
-
2Get your dog vaccinated at least 28 days before traveling. Rabies vaccines take about 4 weeks to kick in. Your dog pretty much needs one no matter where you’re going, so be sure to give yourself enough time to schedule with a vet’s office. Take care of any other immunizations required while you’re there.[9]
- Generally, the rabies vaccine is all your dog needs, but some places have additional requirements. For example, if you’re coming from a place where screwworm is a problem, the vet has to make sure your dog is free of screwworm.[10]
- If you have a young dog, be sure to get their usual immunizations. Things like the distemper and parvovirus vaccines are good to have done no matter what, but some countries require it.
-
3Have the vet sign a health certificate 10 days before your dog travels. The certificate proves that your dog has been treated and cleared for travel by a licensed veterinarian. It will contain the vet’s signature and license number. Make sure your vet gives you the actual certificate along with copies of your dog’s health and immunization records.
- The form is only valid for 10 days. Your dog won’t be able to travel if the certificate is out of date, so be absolutely sure you have time to get it close to your travel date!
-
4Ask a vet for a microchip if your dog doesn’t already have one. Most countries require dogs to have a microchip. A microchip is basically an ID. It has a radio number that the authorities can scan to confirm the dog belongs to you. It’s very easy and painless, since a vet just injects it into the skin between your dog’s shoulders.[11]
- Even if you find out that a microchip isn’t required, you should get one. If your pet ever gets lost, it is a massive help.
-
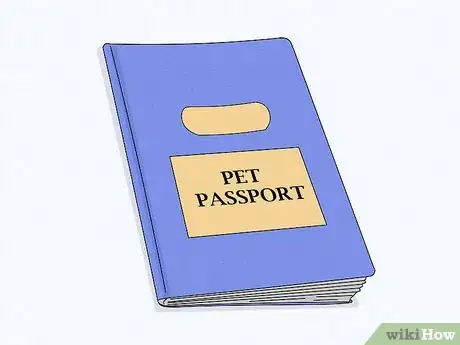
5Apply for a pet passport if it is needed in your country. To get a pet passport, take the dog to a licensed veterinarian. Ask them for the passport. Bring your dog, identification records, vaccination records, and rabies blood tests, if they are necessary for where you’re going. The passport helps your dog get in and out of the country without getting stuck in quarantine.[12]
- If you live in the U.K. or a European Union country, then you have to get a passport. In the U.S., a pet passport just means the regular health and immunization records you usually need to send a dog.
- There is no extra fee for the passport besides what you pay for the vet visit.
Picking and Labeling a Carrier
-
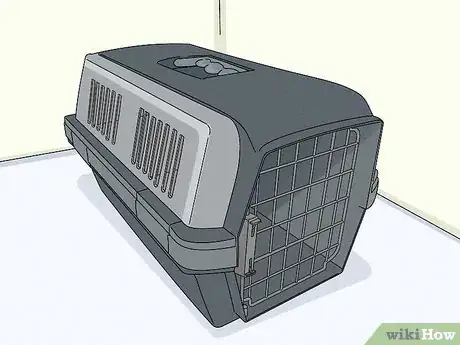
1Select a plastic carrier with ventilation holes on the sides. The carrier should be rigid so it can’t be broken open. Plastic carriers are usually the best option, although most airlines will accept other types too. Pick one with a solid top and a single door on one side. Your dog’s carrier has to have ventilation holes on at least 3 sides, and the holes have to be about 16% of the total surface area.[13]
- Contact the airline or relocation service you are using. Many of them rent out carriers. If they don’t, they can at least guide you to one that meets all the requirements.
- If you’re able to bring your dog into the cabin with you on a flight, fabric carriers are okay. You can’t have one if your dog will be in the plane’s cargo hold.
-
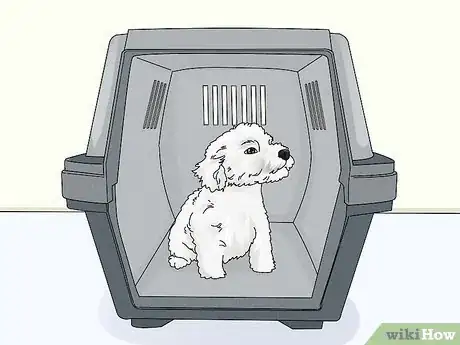
2Pick a carrier that is big enough for your dog to move comfortably. It should be big enough for your dog to sit up, stand up, and lay down. To figure out what size your dog needs, measure their total length, width, and height. Also, measure from its feet to its elbow joints. Pick a carrier that gives your dog about 4 in (10 cm) of clearance.[14]
- For example, if your dog is 6 in (15 cm) tall, then the carrier should be about 10 in (25 cm) tall.
- To determine the carrier’s length, take your dog’s length and add half of the elbow joint measurement you took. For instance, 12 + (0.5 x 3) = 13.5 inches long.
- To figure out the carrier’s width, add 1 to your dog’s width and multiply it by 2. For instance, (6+1) x 2 = 14 inches wide.
- Snub-nosed dog breeds like pit bulls require bigger cages. Always choose the next size up for these breeds.
-
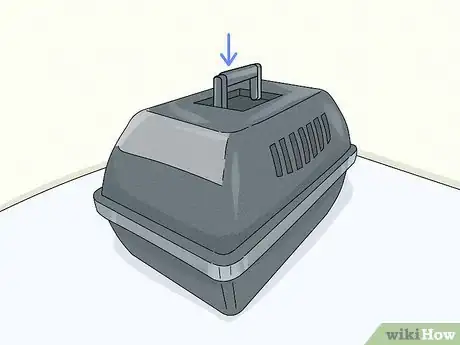
3Get a carrier with an accessible handle on the top. If the carrier doesn’t have a handle, someone would need to reach inside to move it. It leaves them at risk of being bitten. No matter how well-behaved your beloved dog is, travel services won’t look kindly on cages that don’t at least have rubber carrying grips on the sides. Make sure the carrier is easy to pick up and move.[15]
- Having a good carrier helps you, too. You will have to move your dog to and from your destination. You’re probably going to be juggling a lot of other things, so make the process easier on yourself by getting a good carrier.
- Don’t get a carrier with wheels. If yours has wheels, remove or tape them so they can’t roll.
- If your dog weighs over 132 lb (60 kg), make sure the carrier also has forklift spacers on the bottom.
-
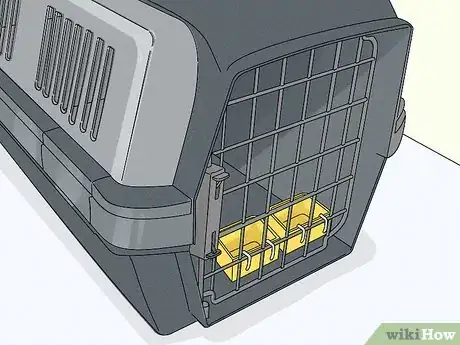
4Use a cage with refillable bowls attached to the door. This is especially important on long trips where handlers might need to give your dog food and water. Make sure the bowls are secure on the front door so they can’t move or spill. Flight carriers generally have funnels on the top that you can use to fill the bowls.[16]
- If you have a hard time accessing the bowls without opening the door, then the carrier isn’t a good travel choice.
-
5Secure your contact information to the carrier with duct tape. The easiest way to keep your dog identifiable is with an identification tag. You can get one from any vet office or pet store. Make sure it has your name, your dog’s name, your home address, and phone number. Place it on the top or side of the carrier.[17]
- Also, write your dog’s name on the side of the carrier in permanent marker, if possible.
- You could also include a picture of your dog so that other people can more easily identify it.
-
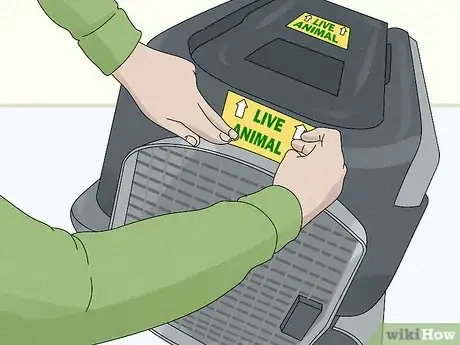
6Place "live animal" stickers on the top and sides of the carrier. These stickers say “live animal” in big letters and have arrows on them. Position the stickers so the arrows point up or toward the front door. It helps remind other people to handle the carrier with care. You will also have to fill out a declaration sticker that lists the last time your dog got food and water.[18]
- You can buy sticker packs online and from many pet stores. Most sticker kits also include an ID sticker where you can write down your name and contact information, too.
-
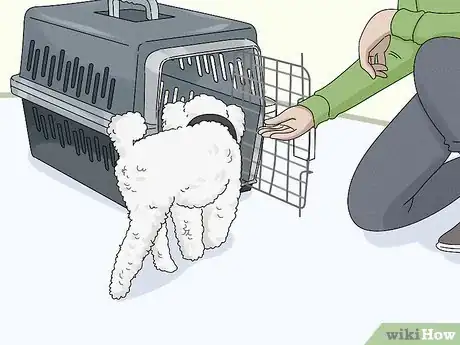
7Train your dog by letting it explore the carrier. Give your dog plenty of time to adapt to its carrier. Try keeping the carrier out in your home. Put some toys and food in there to encourage your dog to go inside. You could even let it sleep in there at night.[19]
- Another option is to keep your dog in the carrier when you’re away from home.
- If your dog is able to adjust to the carrier, it will be less stressed during the trip.
-
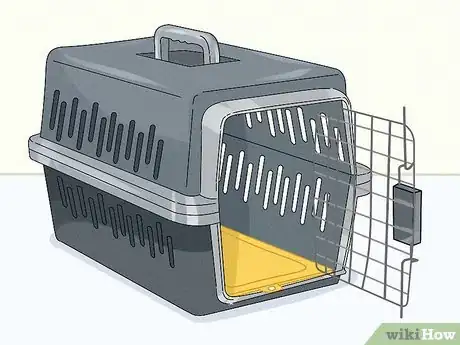
8Line the carrier with an absorbent pad to keep it clean. If you have used the carrier before, make sure it is clean first. Wipe it down before lining the bottom with a travel pad. The pad will provide some additional cushioning as well as absorb spilled water and urine.
- You can’t have anything messy in the carrier. That means no shredded paper, straw, hay, wood shavings, or anything like that.[20]
-
9Put food in a plastic bag taped to the carrier if your dog will be alone. Keep the food in a resealable sandwich bag, for instance. Make sure you have enough to last for the trip. Place it on the carrier’s roof, then use duct tape to hold it in place. You have to include food with the carrier if your dog will be in the plane’s cargo hold.[21]
- The airline may ask you to provide written instructions on how to provide food and water for your dog throughout the trip. Remember to include these instructions on the carrier with the food.
- If you will be bringing the dog with you into the plane’s cabin, you can pack the food in a carry-on bag instead.
Passing Through an Airport
-
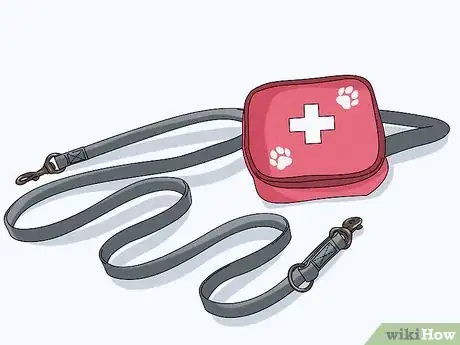
1Pack a leash and other supplies you might need for the trip. Prepare all of your supplies at least a few days for the travel date. A leash comes in handy so you have a chance to walk your dog before you leave home and after you arrive at your destination. Bring along additional supplies, such as copies of important documents, food if the dog will be with you during the trip, and any medications your dog needs.[22]
- Absorbent pee pads are always great to have. At the airport, take your dog out or go to the nearest bathroom. If you’re able to while on the plane, take your dog into the bathroom to use a pad.
- Most airlines restrict you from taking your dog out of the carrier while it’s on the plane, so line the carrier with plenty of pads instead.
- Bring some extra plastic bags in case you need to clean up with your dog, especially if you’re dealing with a puppy.
-
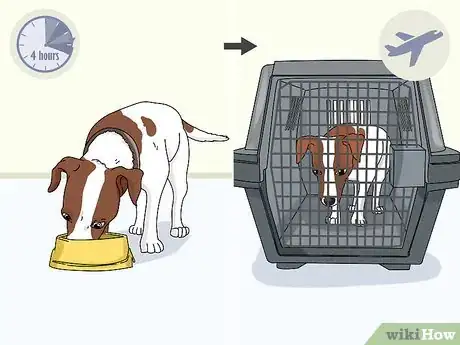
2Feed your dog 4 hours before traveling. Traveling is tough, so take time to prepare your pet for the trip. Give it a full meal with plenty of water. It’s important to do this when you won’t be able to reach your pet while you’re traveling, such as on most flights.[23]
- Traveling can make your dog sick, so don’t feed them too late.
- If you’re able to keep your dog with you, such as inside a plane’s cabin, you can give it little chunks of food then to help keep it calm.
-
3Provide water for your dog up until you’re ready to travel. Keep them well-hydrated for the trip. When you’re about to depart, empty the water bowl so it doesn’t spill. Make sure you leave the bowls in the carrier in case someone else has to tend to your dog.[24]
- The airline may ask you to sign a paper stating that you gave your dog food and water within 4 hours of the flight.
-
4Check in your dog at the ticket desk when you arrive at the airport. You won’t be able to use curbside or alternative quick check-in options. Instead, go straight to the front desk after parking. Tell them you have a dog with you. After you confirm your ticket, they will take the dog if it has to be in the cargo hold.[25]
- If you have a small dog or a service dog, you get to keep them with you.
-
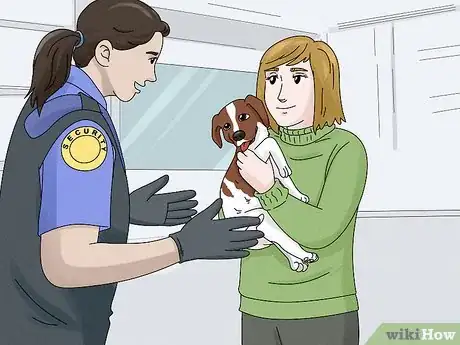
5Take the dog through security screening if you are carrying it with you. If you’re traveling with a dog that can fit inside an airplane cabin, you go through airport security just like you normally would. Keep your dog in its carrier as you wait in line. You will be asked to take it through a metal detector. You will then have to let the dog out so they can inspect the carrier.
- Don’t worry, your dog won’t be put through an x-ray machine. The process is very simple and won’t take longer than usual in most cases.
- If your dog is anxious, ask security for a private inspection. They will take you to a separate room where your dog can relax as they finish examining the carrier.
-
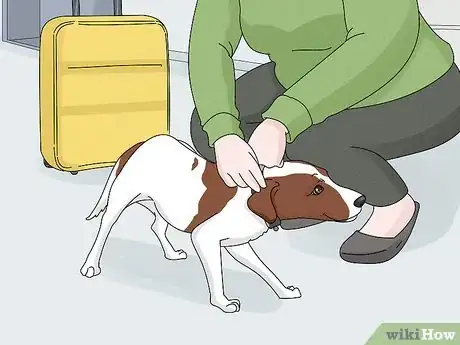
6Pick up the dog when it arrives at your destination if you didn't carry it on the plane. Before you travel, make sure you figure out where your dog will end up. In most cases, it will be taken to a cargo area close to the baggage claim. Some airports also can bring your dog up to the ticket counter at the entrance. If you’re unsure, ask airport staff where to find your dog.[26]
- If you were able to bring the dog onto the plane with you, then you won’t have to do anything other than get your bags and leave.
- Dogs can be sent alone. When they are sent alone, they end up in the cargo area. Go there yourself or tell the airport who is supposed to pick up your dog.
Expert Q&A
-
QuestionHow do I prepare my dog for flying?
 Dani PedrazaDani Pedraza is a Professional Dog Trainer and a Co-Owner of The Big City Woof Walker with presences in NYC and Chicago. Dani is passionate about providing personal, quality pet service and treatment and is very knowledgeable about training dogs using positive reinforcement and a force-free approach. As a Certified Dog Trainer (CCDT), Dani graduated from CATCH Canine Trainer Academy’s Master Course program.
Professional Dog Trainer Make sure that they are crate-trained, as they will be in a kennel for an extended period of time for the duration of the flight. You want to make sure your dog has a positive association with the kennel before the flight, so make sure that your dog can handle being in the crate for however long the flight is. If they soil themselves in the air or are not used to being in the crate, they can develop severe anxiety from being in that kennel.
Warnings
- Although accidents are very rare, they can happen if you aren’t prepared. Make sure your dog has been cleared to fly by a licensed veterinarian and that you know how the airline plans on transporting it.[30]⧼thumbs_response⧽
Things You’ll Need
- Pet carrier
- Food and water bowls
- Duct tape
- Health certificate
- Immunizations list
- Permanent marker
- Live animal stickers
- Carry-on bag
- Leash
- Solid dog food
- Resealable plastic bags
- Pet passport, if required
References
- ↑ https://www.aphis.usda.gov/aphis/pet-travel/by-country/pettravel-japan
- ↑ https://www.aacargo.com/learn/animals.html
- ↑ https://www.avma.org/resources-tools/pet-owners/petcare/cvi/traveling-your-dog-or-cat
- ↑ https://thebark.com/content/how-adopt-dog-another-country
- ↑ https://www.state.gov/pets-and-international-travel/
- ↑ https://www.latam.com/en_us/travel-information/pet-transportation-service/in-the-cabin/
- ↑ https://www.avma.org/resources-tools/pet-owners/petcare/traveling-your-pet-faq
- ↑ https://www.akc.org/public-education/resources/general-tips-information/travel/
- ↑ https://www.cdc.gov/importation/bringing-an-animal-into-the-united-states/vaccine-certificate.html
- ↑ https://www.aphis.usda.gov/aphis/pet-travel/bring-pet-into-the-united-states/pet-travel-dogs-into-us
- ↑ https://www.avma.org/resources-tools/pet-owners/petcare/traveling-your-pet-faq
- ↑ https://www.gov.uk/take-pet-abroad/pet-passport
- ↑ https://www.amc.af.mil/Home/AMC-Travel-Site/AMC-Pet-Travel-Page/
- ↑ https://www.iata.org/en/programs/cargo/live-animals/pets
- ↑ https://www.avma.org/resources-tools/pet-owners/petcare/traveling-your-pet-faq
- ↑ https://www.lufthansa.com/us/en/transporting-animals-as-excess-baggage
- ↑ https://www.iata.org/en/programs/cargo/live-animals/pets
- ↑ https://www.aphis.usda.gov/aphis/pet-travel/pets-on-planes/lesson1-pets-on-planes/preparing-pets-for-air-travel
- ↑ https://www.brown.edu/Research/Colwill_Lab/CBP/Crate.htm
- ↑ https://www.aphis.usda.gov/aphis/pet-travel/pets-on-planes/lesson1-pets-on-planes/preparing-pets-for-air-travel
- ↑ https://www.iata.org/en/programs/cargo/live-animals/pets
- ↑ https://www.nbcnews.com/better/health/how-keep-your-pet-safe-flight-ncna861446
- ↑ https://www.aphis.usda.gov/aphis/pet-travel/pets-on-planes/lesson1-pets-on-planes/preparing-pets-for-air-travel
- ↑ https://www.transportation.gov/airconsumer/plane-talk-traveling-animals
- ↑ https://www.allegiantair.com/traveling-with-pets
- ↑ https://www.united.com/web/format/pdf/travel/animals/petsafe-drop-off-and-pick-up-locations.pdf
- ↑ https://www.avma.org/resources-tools/pet-owners/petcare/traveling-your-pet-faq
- ↑ https://www.aspcapetinsurance.com/customer-community/pet-health-library/pet-travel-tips/top-10-air-travel-tips/
- ↑ https://www.aspcapetinsurance.com/customer-community/pet-health-library/pet-travel-tips/top-10-air-travel-tips/
- ↑ https://www.avma.org/javma-news/2019-07-01/navigating-pitfalls-pet-air-travel

