This article was co-authored by Grant Wallace. Grant Wallace is a Landscaper and Owner of Grantlanta Lawn in Atlanta, Georgia. With over seven years of experience, he specializes in lawn maintenance and landscape installation. In 2012, he earned his BA from the University of West Georgia. Grant has been profiled in Shoutout Atlanta, Canvas Rebel, and Voyage ATL.
There are 10 references cited in this article, which can be found at the bottom of the page.
This article has been viewed 75,986 times.
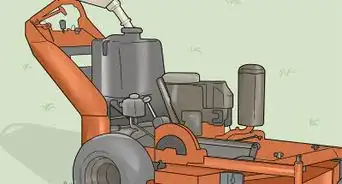
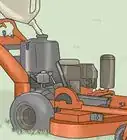
Riding mowers are comfortable tools for cutting large swathes of grass. When you try to start one for the first time, you may find that you don’t know the steps you have to go through before the key will work in the ignition. While the step order can differ slightly between manufacturers, they all follow the same basic procedure. To start your riding lawn mower, engage the brakes, shift the gear to neutral, open the throttle, turn the ignition, and then fix any issues preventing the mower from working properly.
Steps
Starting the Engine
-
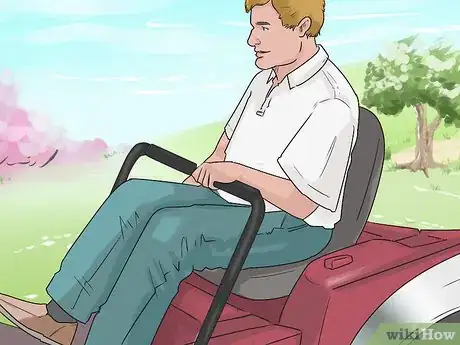
1Sit firmly in the seat. Some riding mowers have a built-in safety system where the engine will shut off unless you are seated or have engaged the parking brake. Before you start the mower, make sure you are seated and able to reach all pedals and levers.
-
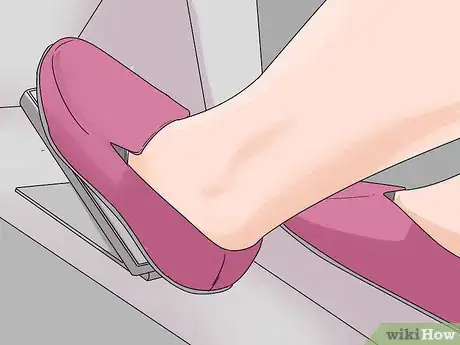
2Press the brake. Look on the left side. The brake may be a pedal down by your left foot. On some mowers, the brake may instead be a lever you can reach. Push the pedal or lever down to engage the brake. Hold the brake in this position.Advertisement
-
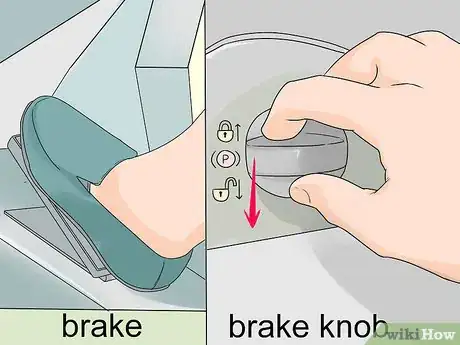
3Engage the parking brake. The location of the parking brake varies between models, but it will be a knob or lever near you. Look near the seat to the right or left of you. Pull the brake up as you slowly release the brake pedal.
- For mowers that don’t seem to have a brake knob, try pushing down the brake pedal to engage the parking brake.
-
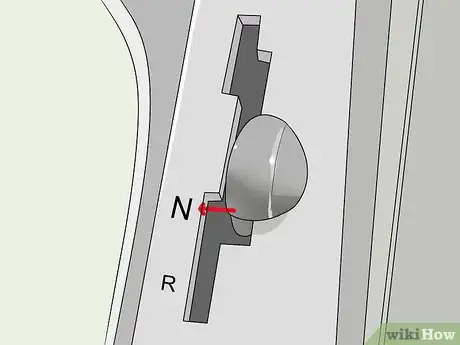
4Shift the gear to neutral. Find the gear shift lever. Typically it is near the steering wheel, sometimes below the seat. Shift the lever so it points to “N” for neutral.
- Some mowers, particularly those without parking brake knobs, require you to hold down the brake as you shift gears.
-
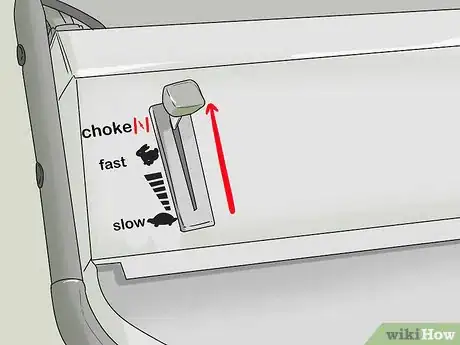
5Pull the throttle into the choke position. Locate the throttle lever. It may be next to the seat on the left side. Many throttles are identifiable because they indicate speed by a picture of a rabbit and turtle. Move the throttle lever so it engages the choke. Depending on the mower, this is done by positioning the lever between the fast and slow settings or pulling it upwards past fast to a point sometimes indicated by a circle with a diagonal line through it.[1]
-
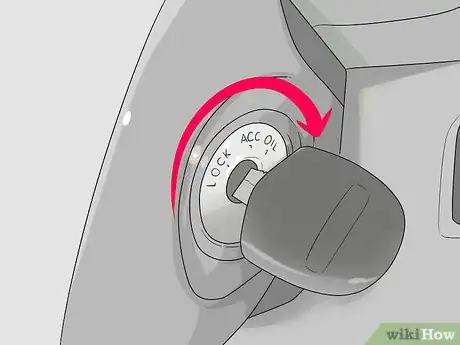
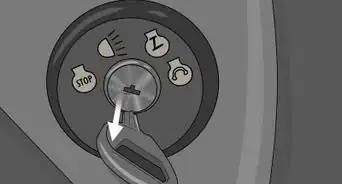
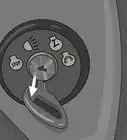
6Insert the key in the ignition. Now you are able to put the key in the ignition switch. The ignition switch may be on the mower’s dashboard ahead of you or it may be next to the seat.
-
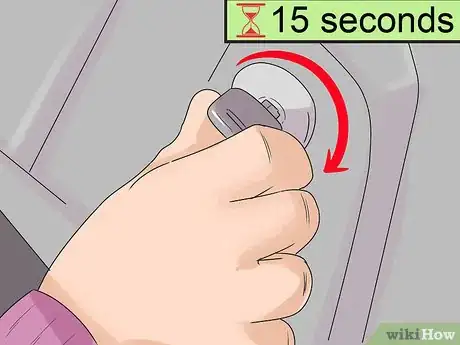
7Turn the key to the right. Once the key is in the ignition, turn it all the way to the right. You’ll hear the engine begin to come to life. You may need to hold the key this way for 15 seconds or more until the engine starts.
-
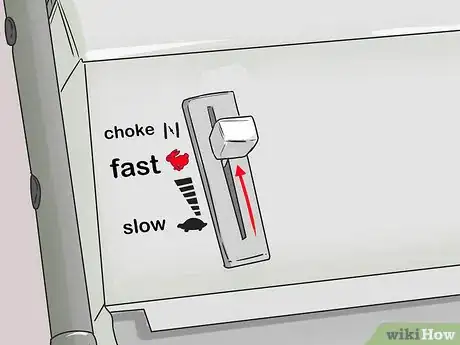
8Move the throttle into the fast position. Go back to the throttle again. Release the choke, moving the lever upwards into a faster setting, often indicated by a picture of a rabbit. Your mower may be ready to go at this point, although some older mowers may require you to let the engine warm up before you begin driving.
Troubleshooting Your Mower
-
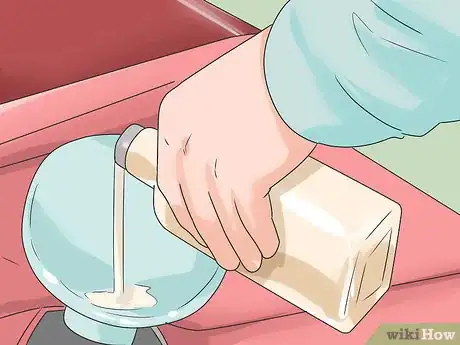
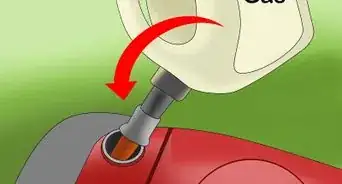
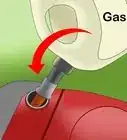
1Change out old fuel. Some mowers have a fuel gauge, but also check the tank. It will either be located under the seat or in the front of the mower. Make sure the tank is about 3/4 full with fresh gas and not leaking. After about a month, old gas begins to clog the mower and should be drained before then.
-
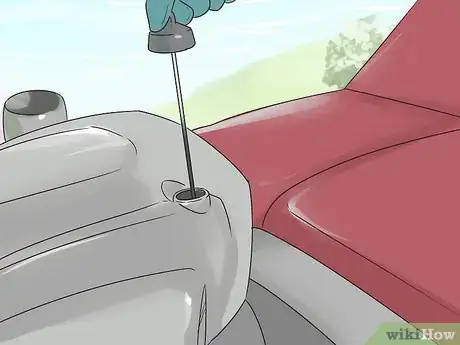
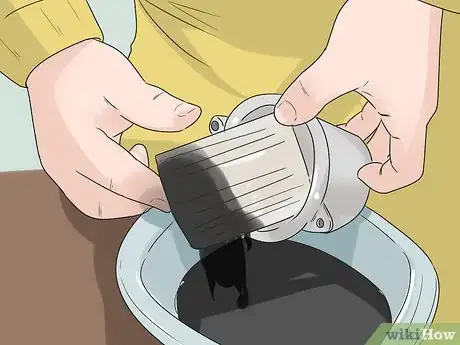
2Check the oil level. Riding mowers need oil, and you should find the oil valve near the engine. Use the dipstick attached to the oil tank’s cap to see if there is oil and if it looks black, replace it. Place a pan under the mower and open the drain valve, then replace the oil filter, if your mower has one, before adding fresh oil.[2]
- To replace the filter, twist it clockwise. You may need an oil filter wrench to help pull it out. Rub the filter with engine oil, then place the filter back and tighten it with the wrench.[3]
-
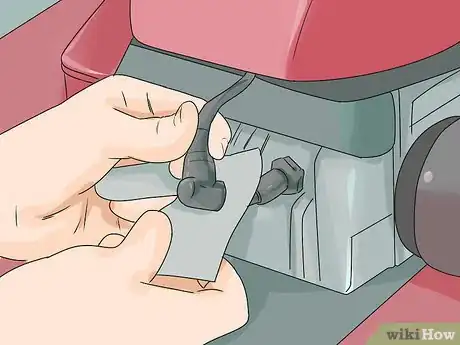
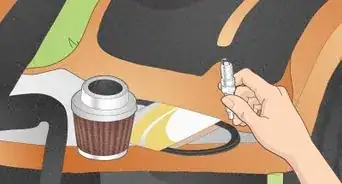
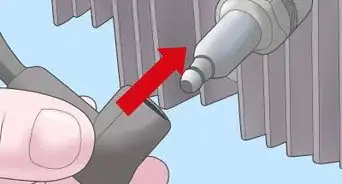
3Brush off the spark plug. The spark plug is the electrical wire connecting to the front or side of the engine. First, wiggle the wire until it comes off or gently use pliers. Then use a wrench to turn the spark plug to the left until it comes off. Clean off any dirt by brushing with your hand or sanding with sandpaper or an emery board. Gently turn the metal plug to the right when putting it back on, tightening it with a wrench.[4]
- If the plug is rusty or corroded, replace it. You can get spark plugs cheaply at a hardware store. Bring in your old spark plug or have your mower’s model number to find a matching plug.
-
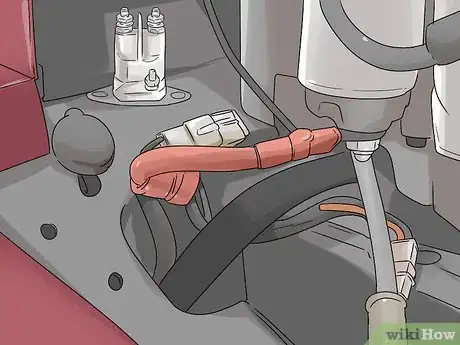
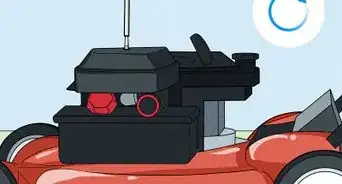
4Get a new solenoid. When you hear the clicking of the engine attempting to start, the electrical connection may be the problem. Open the hood of the mower and disconnect the battery. Find the red wire, which leads to the solenoid. Lift up the wire harness with a knife, then unscrew the bolts with a socket wrench to remove the solenoid. Replace it with the new solenoid, placing the wire harness over it, placing the wires on the solenoid’s electrical connectors, then using the wrench to reconnect the bolts and main wires.[5]
- Solenoids can be ordered online or bought from where you got your mower. Make sure you have your model number on hand so you get the right one.
-
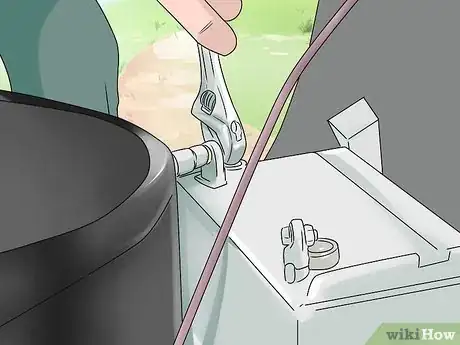
5Replace the battery. A dying battery may also contribute to the mower’s inability to gain power. Locate the battery in the seat or hood. Make sure the wires are connected and the terminals are clean. Undo the black, negative wire first, then the red. Reverse this order when hooking up the new battery.[6]
- The battery can be tested with a voltmeter to see if it still produces a charge.
- Replacement batteries will work if they are of the same size and voltage, but bring in your old battery or have the mower’s model number on hand to find the best match.[7]
-
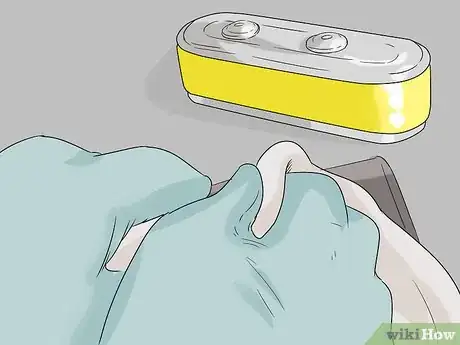
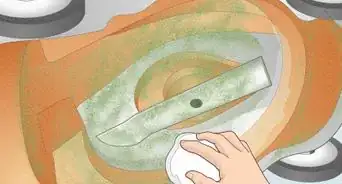
6Clean off the air filter. When the mower works for a bit, then stops, the airflow may be obstructed. Undo the spark plug and open the engine. Open the cover the leads to a chamber containing the paper filter shaped as a sheet or cylinder. Look for any dirt and grass clippings and remove them. The filter itself can be safely washed with liquid detergent and lukewarm water.[8]
- Replace a damaged or excessively dirty filter with a new one from a hardware store.
-
7Clear out the carburetor and fuel filter. Disassemble the engine cover. Find the fuel line leading from the tank to the engine. The carburetor is the bowl shape connecting to the fuel line. Old fuel or dirt may block the lines. Use a carburetor spray cleaner and compressed air from a home improvement store to freshen these parts.[9]
- If the carburetor appears eroded and gas refuses to flow after cleaning, replace the carburetor. Take it out by unscrewing the throttle rod, choke rod, studs, air intake, and fuel solenoid. Reassemble the connectors in the same spot.[10]
- To get a fitting carburetor, get one of a similar size. Bring the carburetor to a store or have the mower’s model number on hand.
Community Q&A
-
QuestionHow do I start the cutting blades?
 Community AnswerTake a seat on the machine and press the clutch/brake lever located on the left side of the riding mower using your left foot. Set the machine's parking brake using the lever or knob to the right side of the mower. Move the mower's gear shift lever into “N” or neutral position.
Warnings
- The mower must always be parked and turned off when being repaired.⧼thumbs_response⧽
References
- ↑ https://www.mowersdirect.com/manuals/LX468manual_2009.pdf
- ↑ http://www.searspartsdirect.com/article/how-to-change-the-engine-oil-in-your-lawn-tractor.html
- ↑ https://www.tractorsupply.com/know-how_home-garden_outdoor-power-equipment_how-to-change-lawn-mower-oil
- ↑ https://www.todayshomeowner.com/how-to-change-a-lawn-mower-spark-plug/7/
- ↑ https://www.hunker.com/12000447/replacing-a-solenoid-on-a-craftsman-lawn-mower-or-tractor
- ↑ http://www.sears.com/articles/lawn-garden/riding-mowers-tractors/how-to-change-a-lawn-mower-battery.html
- ↑ http://homeguides.sfgate.com/there-different-types-riding-mower-batteries-97751.html
- ↑ http://www.mtdparts.com/equipment/mtdparts/knowledge-center/maintenance/change-rider-air-filter
- ↑ https://www.familyhandyman.com/automotive/lawn-mower-repair/lawn-mower-won-t-start/view-all
