This article was co-authored by Garrison Hullinger. Garrison Hullinger is an Interior Designer and the President of Garrison Hullinger Interior Design (GHID). With more than 15 years of experience, he specializes in client-centered design that balances beauty and warmth with comfort and functionality. Garrison and GHID’s work has been featured in numerous publications such as The New York Times, The Wall Street Journal, and Interior Design Magazine. Garrison attended Oklahoma Christian University.
This article has been viewed 14,460 times.
Tying sashes around chairs is a great way to take your décor to the next level. There are countless ways in which to tie a sash around a chair. It can be as simple as a knot, or as fancy as a rosette. You can upgrade your look by switching out the material for something more unique or by adding a brooch. You can even create a whole new look by adjusting the position of the knot or bow in the back of the chair.
Steps
Tying Creative Knots
-
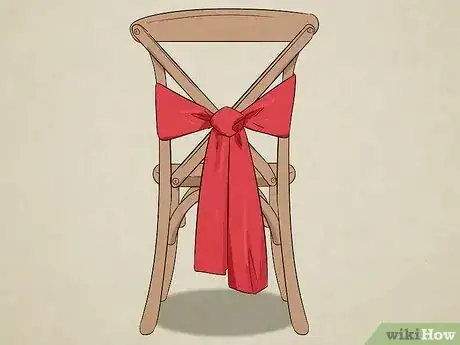
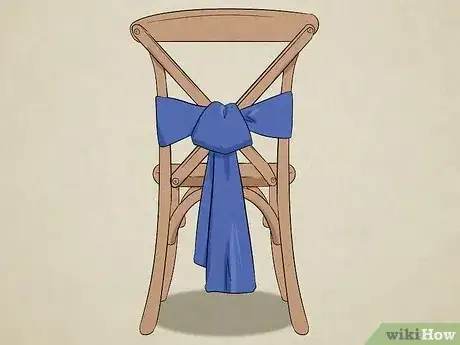
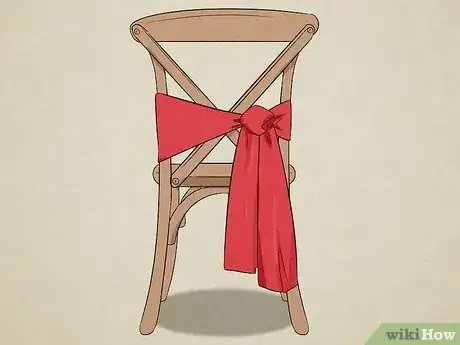
1Do a simple knot for a fast and easy look. Slip the sash over the front of the backrest and pull the ends towards the back. Cross the left end of the sash over the right end. Pull the left end up through the hole you created, then tie on both ends to tighten the knot. If the knot feels loose, repeat the process to make a double knot.[1]
- This works the best on wide sashes. The knot will make the sides of the sash look like a bow!
-
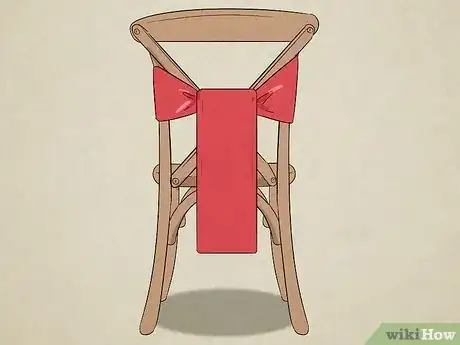
2Wrap the tails behind the knot to make a flipped knot. Start with a basic double knot or a single-looped bow. Stack both tails together to create a single strand, and smooth them out. Pull them up behind the sash and drape them over the top of the knot. Adjust the strands so that they lay smoothly and evenly, looking like a single strand.[2]
- Wrap the tails 1 to 2 more times around the knot if you want to make them shorter.
Advertisement -
3Upgrade a simple knot into a square knot. Start with a simple knot. Stack the tails together, making sure that the edges are aligned. Treating them as a single strand, pull them behind the sash, leaving a small loop under the knot. Pull the tails over the top of the knot, and down through the loop. Tug on the tails to tighten the knot. Adjust the looped knot to cover the original knot.
-
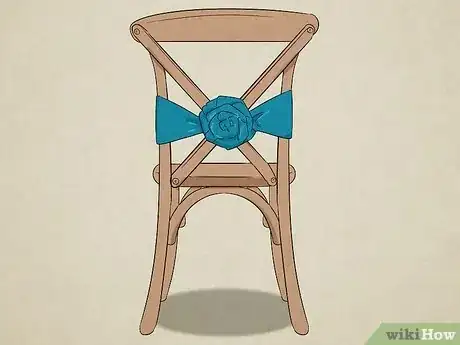
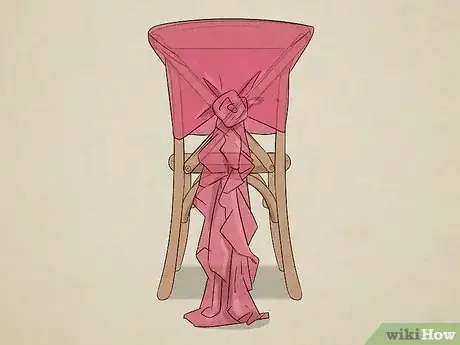
4Twist the tails into a rosette if you don't want to make a bow or knot. Wrap the sash around the backrest and tie the tails into a double knot to secure them. Twist the tails together clockwise to form a loose rope, then coil the rope clockwise into a bun. Tuck the ends behind the sash to secure the bun.[3]
- You may have to re-twist the rope as you coil it. Keep the twist and coil tight so that it stays together.
- Secure the rosette from the back with a hatpin or a safety pin if you are worried about it coming apart.
-
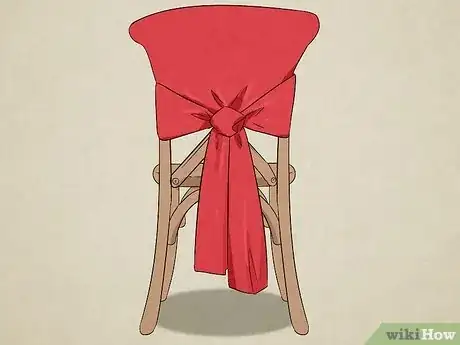
5Turn a large sash into a cover for the backrest. Get a square sash that is about the same height as the chair. Drape the sash over the top of the backrest. Find the corners that are in the front of the backrest, then wrap them towards the back. Cross them in front of the rest of the fabric, and tie them into a simple single or double knot.[4]
- How far you drape the sash over the chair depends on how much of the backrest you want to cover. The closer you drape it to the seat, the more you will cover.
Creating Beautiful Bows
-
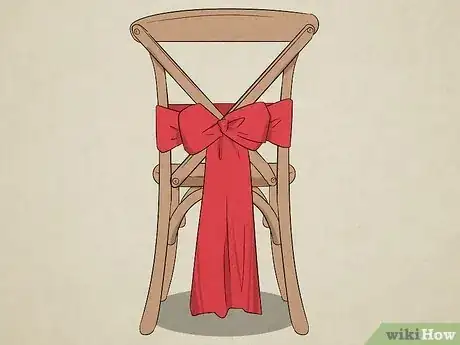
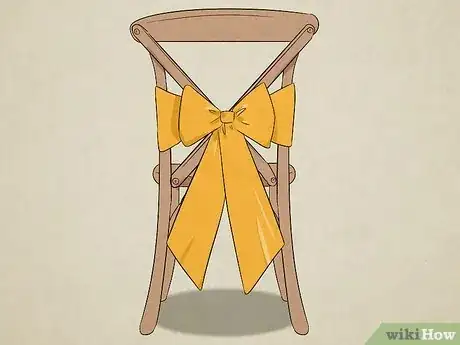
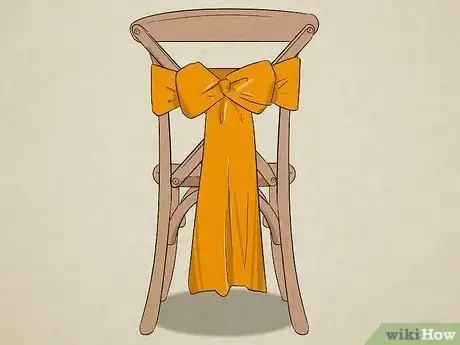
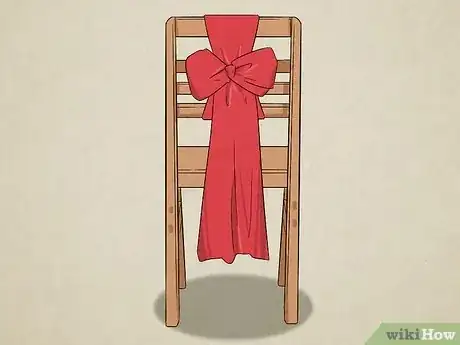
1Do a standard bow if you want a quick and simple look. Place the sash in front of the chair's backrest. Wrap the ends of the sash around to the back of the chair. Cross the left end over the right end, then pull it up through the hole you made. Fold both ends of the sash into big loops and repeat the process. Adjust the loops and tails by tugging on them to get the size you want.[5]
- This step is just like tying a pair of shoes.
-
2Turn a standard bow into a double-loop bow for a fancy twist. Create a standard bow, then adjust the tails and loops so that the tails are long and the loops are small. Fold each tail into a loop, and tie them to make a second bow. Adjust the size of the new loops so that they are the same size as the first set.[6]
-
3Create a single-loop bow for a unique look. Start tying a basic bow. Instead of folding both tail loops, however, fold just 1 of the tails. Cross the looped tail over the straight tail, then pull the loop upwards through the hole. Tighten the knot, then adjust the size of the loop so that it is just a little taller than it is wide.[7]
- Make sure that the loop is oriented vertically and pointing straight up.
-
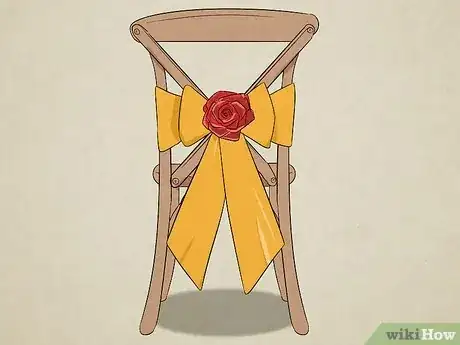
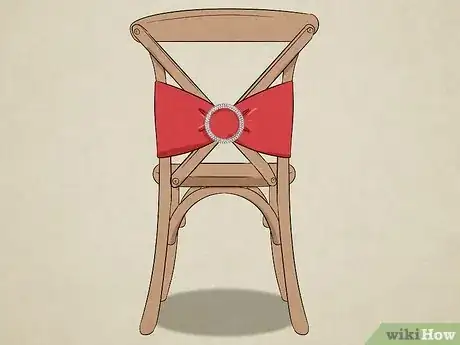
4Dress up your bow with a brooch, flower, or ornament. Choose a medium-sized brooch or ornament that is the same as the knot on your bow or tie. Pin it through the knot, then adjust the loops or tails of the sash. Make sure that the ornament you are using goes well with the sash as well as the rest of the décor.
- Buy decorative brooches wholesale online so that they match.
- Make your own brooches by hot gluing silk flowers or fancy buttons to flat-back safety pins.
- Herbs or flowers can be added for a more decorative look.
-
5Add a sash slider buckle before you tie the last knot for a fancier look. Wrap a sash around the chair and tie a single knot. Weave 1 of the tails through a fancy buckle. Slide the buckle all the way to the knot, then tie the tails into a double knot or a bow. Make sure that the buckle is on the front of the knot.[8]
- Sash slider buckles are round or square, and they have a horizontal bar running through them. You can find them online, in fabric stores, and occasionally in bridal-supply stores.
Playing with the Position
-
1Move the knot or bow off to the side for a different look. Create your desired knot or bow first, and make sure that it is secure. Slide the sash around the backrest of the chair until the knot or bow is positioned on the side edge.[9]
- You can position the knot or bow on the left or right side edge of the backrest.
-
2Adjust the height of the sash. Instead of positioning the sash in the middle of the backrest, slide it all the way down to the seat. This works great with chairs that have high backrests and side bows or knots.
-
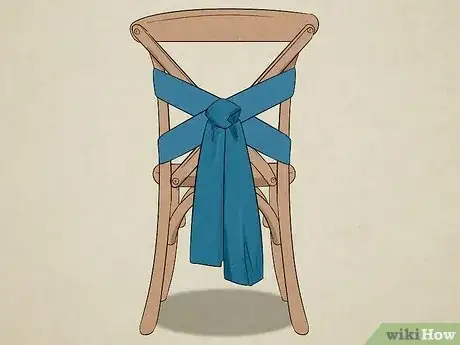
3Wrap the sash around the backrest twice to upgrade your look. Place the sash in the back of the backrest and wrap it towards the front. Cross the left and right ends to make an X, then wrap them towards the back again. Tie your desired knot or bow. Position the knot so that the second row of crossed sashes is above the first row of straight sashes.[10]
- Instead of making an X, you can simply cross the tails, wrap them around to the back of the backrest, then tie them into a bow right over the straight sash.[11]
-
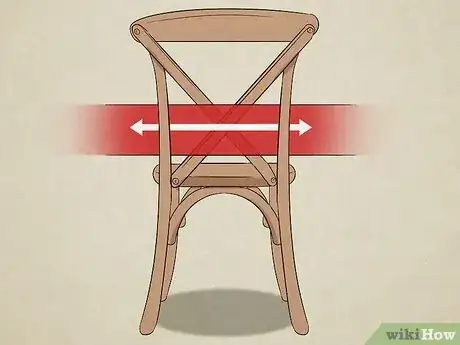
4Weave the sash through a railed backrest to keep it from sliding down. Make sure that you weave the sash through the rails in such as way so that you can still wrap it around the side edges of the backrest. This might require skipping a rail or 2.
-
5Take advantage of chairs with horizontal bars. Many chairs with railings have a horizontal bar at the top of the backrest, and another horizontal bar at the bottom, a few inches/centimeters above the seat. Instead of wrapping the sash around the sides of the backrest, wrap it around the horizontal bars instead. Adjust your bows and knots so that they are oriented horizontally.
Upgrading Your Look
-
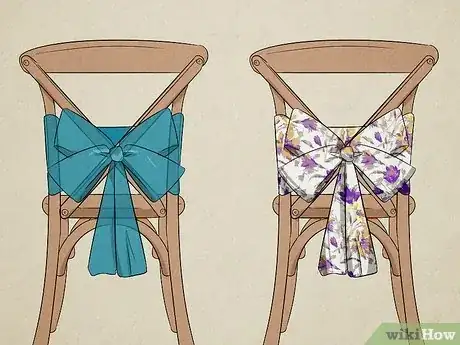
1Choose colors that coordinate with your color scheme. Use your main color for the fabric, and your accent color for any ornaments. If your color scheme has more than 1 color, choose the color that you like the best. Alternatively, you can use 1 color for half of the chairs, and the other color for the other half.
-
2Play around with the type of fabric. You can create different looks just by changing the material for your sash. For example, a rosette knot can give your chair a rustic look if you use a burlap or raw linen sash.
- Burlap and raw linen are great for a rustic barn-yard look. Use patterned scarves for a boho look.
- If you want something fancier, try chiffon, dupioni silk, lace, organza, satin, or tulle.
- Mix and match textures. Layer white or ivory lace over burlap for a boho-chic touch.
-
3Leave the tails hanging loose for a romantic look. If the sash is wired, like wired ribbon, you can fold the tails into ripples, or wrap them into coils. This will give your sashes some movement and make them look more interesting.
-
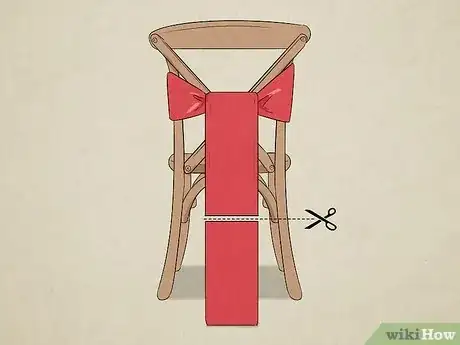
4Trim the ends of the tails if they are too long. Instead of just cutting them straight across, consider cutting them at an angle or into a dovetail. If the sash begins to fray, you can try singeing the cut ends with a flame or with a fray check.
- Fray check is a type of glue that you use to stop fabric from fraying. You can find it at a fabric store.
-
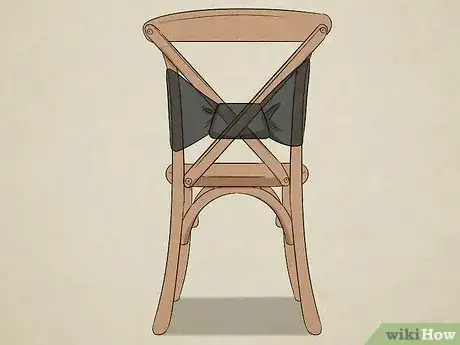
5Tuck the tails behind the sash for a streamlined look. This works great with all types of bows. Pull the tails behind the sash that is around the chair. The tension created by wrapping the sash in the first place should be enough to hold them in place.[12]
Things You'll Need
- Chair sashes
- Brooches or buckles (optional)
- Hatpins or safety pins (optional)
References
- ↑ http://sweetteaproper.com/2013/07/10-ways-to-tie-a-chair-sash/
- ↑ https://www.youtube.com/watch?v=cWjbVLQXui8
- ↑ https://www.youtube.com/watch?v=J-blb7v8vzE
- ↑ https://www.youtube.com/watch?v=rReRtArWjw0
- ↑ http://sweetteaproper.com/2013/07/10-ways-to-tie-a-chair-sash/
- ↑ http://sweetteaproper.com/2013/07/10-ways-to-tie-a-chair-sash/
- ↑ http://sweetteaproper.com/2013/07/10-ways-to-tie-a-chair-sash/
- ↑ https://www.youtube.com/watch?v=jdklSuWOR7k&feature=youtu.be&t=5m30s
- ↑ http://sweetteaproper.com/2013/07/10-ways-to-tie-a-chair-sash/
