This article was co-authored by Mobile Kangaroo and by wikiHow staff writer, Rain Kengly. Mobile Kangaroo is a full service repair shop and Apple Authorized Service Provider headquartered in Mountain View, CA. Mobile Kangaroo has been repairing electronic devices such as computers, phones, and tablets, for over 19 years, with locations in over 20 cities.
The wikiHow Tech Team also followed the article's instructions and verified that they work.
This article has been viewed 859,019 times.
Do you need to move photos from your iPhone to your Windows computer? If you have iTunes, you can easily import photos using Windows' built-in Photos app. You can also manually import photos by using the File Explorer. If you don't want to connect your device to your computer via wires, you can use iCloud to transfer photos over Wi-Fi. This wikiHow will show you how to transfer photos from your iPhone to a Windows PC.
Things You Should Know
- You must have iTunes installed when using the Windows Photo app to import photos.
- Connect your phone to your PC, then open iTunes. Open the Photos app and click the import icon. Select From a connected device, then choose your photos.
- When using the File Explorer, right-click your connected iPhone, then click Import pictures and videos. Click Import all new items now.
Steps
Using the Photos App
-
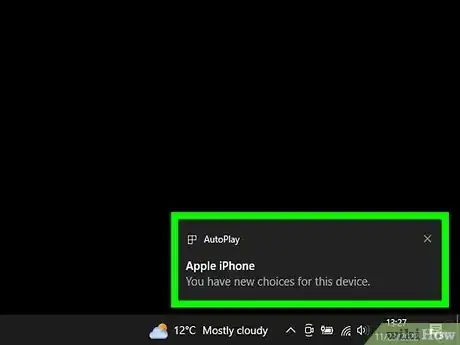
1Connect your iPhone to the PC. Use the USB charging cable that came with your phone.
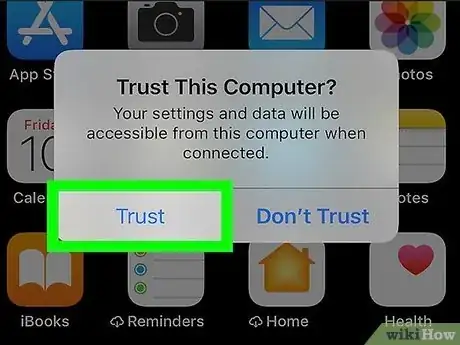
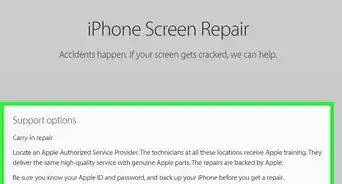
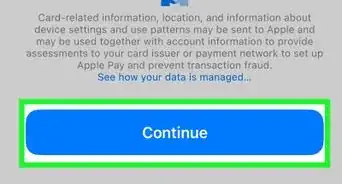
- If this is the first time connecting your iPhone to the computer, you will need to tap Trust on the iPhone and then enter your iPhone's passcode, Touch ID, or Face ID.
- Be sure to update your iPhone.
-
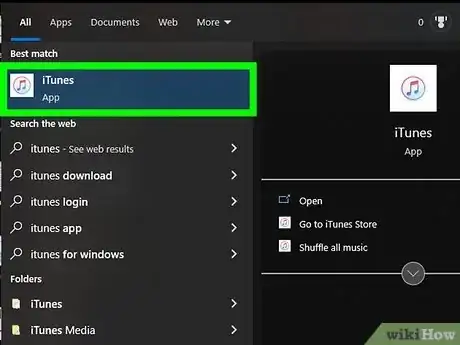
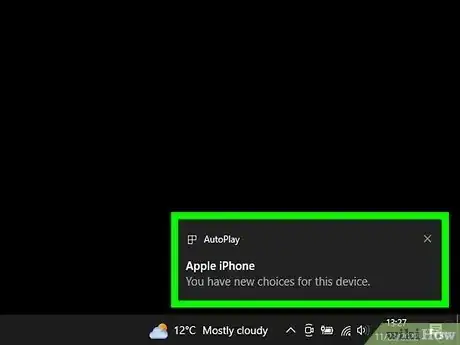
2On your computer, open iTunes. This resembles a multicolored musical note on a white background. In order for a Windows computer to recognize an iPhone, you must open iTunes and allow the phone to connect to it.[1]
- If you don't have iTunes, you'll need to install it. You'll need iTunes version 12.5.1 or later.
Advertisement -
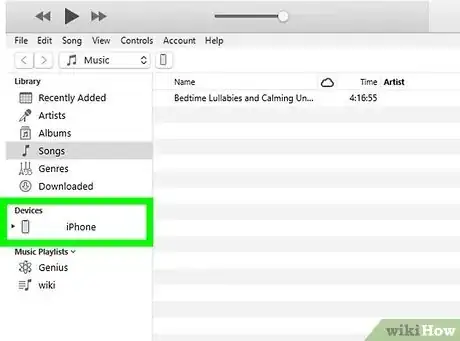
3Wait for the "Device" icon to appear. This iPhone-shaped icon will appear in the upper-left side of the iTunes Library page. Once you see it appear, you can proceed.
- It may take several seconds for your iPhone to connect to iTunes.
- If the Library tab near the top of the iTunes window isn't highlighted, click it to shift to Library view.
-
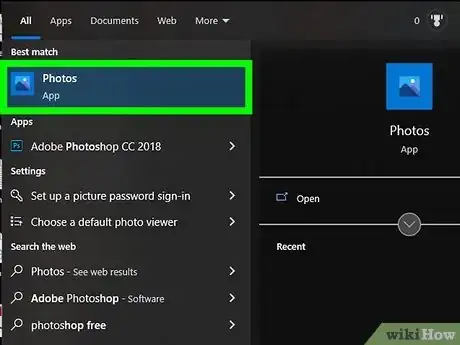
4On your computer, open the Photos app. This looks like two mountains with a blue background. You can find this app by clicking the Start menu. Locate Photos in your App Library, or type Photos into the search bar.
-
5Click the "Import" icon. This is the icon of the down-arrow in front of a photo square. You can find this in the top-right corner of the Photos window.
- A drop-down menu will open.
-
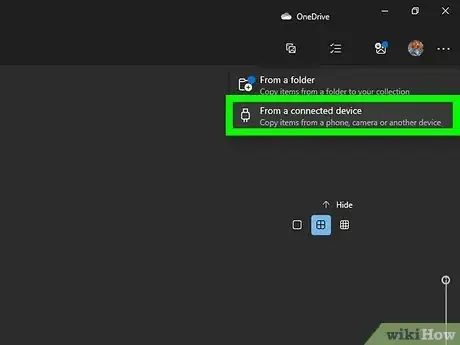
6Click From a connected device. This is the bottom option in the drop-down menu.
- Your computer will begin looking for new photos and videos.
-
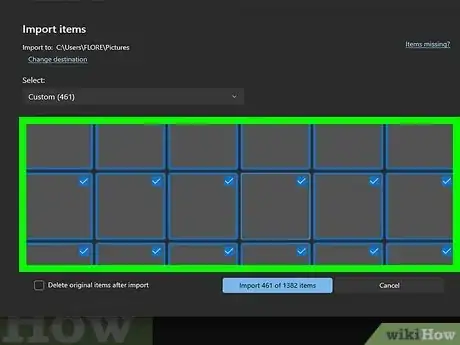
7Select the pictures you want to import and click Continue. All selected items will have a checkmark in the top-right of the preview image.
- You can also click Select All at the top to select all the pictures and video.
-
8Click Import. This will begin importing the images and videos from the iPhone.
- You can check the box next to "Delete imported items from Apple iPhone after importing" if you don't want to keep the original photos or videos on the iPhone.
Using the File Explorer
-
1Connect your iPhone to the PC. Use the USB charging cable that came with your phone.
-
2Unlock your iPhone. Unlock your iPhone using Touch ID or your phone's passcode. This will prompt a question asking if you want to trust the computer you just connected to.
-
3On the iPhone, tap Trust or Allow. This allows the iPhone to share data with the computer so you can download the pictures and video.
-
4
-
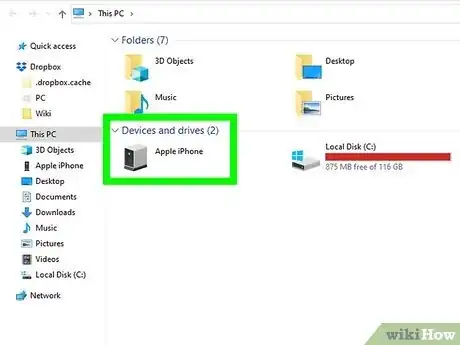
5Locate the connected iPhone. It should be listed on the left-side of the File Explorer window under "This PC". Click the arrow next to This PC to see a list of connected devices.
- If the iPhone doesn't appear, try disconnecting the iPhone and plugging it back in.
-
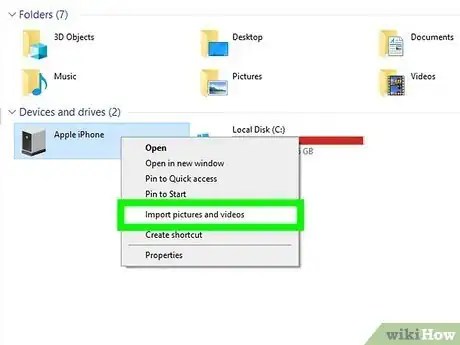
6Right-click on the iPhone and select Import pictures and video. It's near the bottom of the drop-down menu.
- If you have a lot of photos, it may take a few moments to load.
-
7Select the Import all new items now option and click Next. This will automatically import all the images and videos stored on your iPhone to your Pictures folder. Once finished importing, the Pictures folder will open automatically.
- You can also select Review, organize, and group items to import if you only want to select certain folders or photos.
- A window will open with your importing status. Depending on the number of files you're transferring, this can take up to ten minutes or longer.
- Check the box next to Erase after importing if you want to delete the photos from your phone when the process is complete.
-
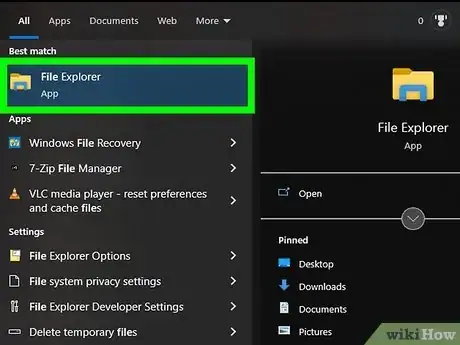
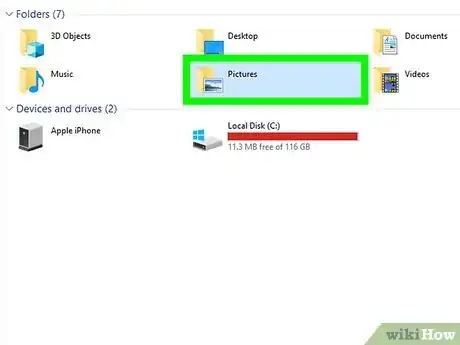
8Locate your photos. The folder will automatically open in your Pictures folder. To find it, open File Explorer and click Pictures. You can also search for it in the Start menu.
Using iCloud Photo Library
-
1Ensure that you have enough storage space. This method allows you to upload all of your photos to iCloud, at which point you can download them onto any computer with Internet access. However, you must have enough storage space to support the photos you want to transfer.
- You start with 5 gigabytes of free storage, but you may need to upgrade your storage before you can store your photos.
-
2
-
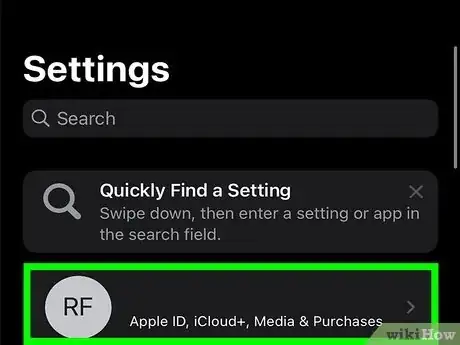
3Tap your Apple ID. This can be found at the very top of Settings. You'll see your name and profile picture.
- If you are not signed in, tap Sign in to iPhone, enter your Apple ID and password, then tap Sign In. You can also create an Apple ID.
-
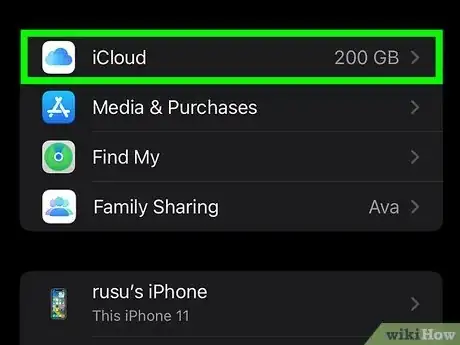
4Tap iCloud. This will be below Subscriptions, next to a blue cloud icon. You'll be able to see your storage space next to iCloud.
-
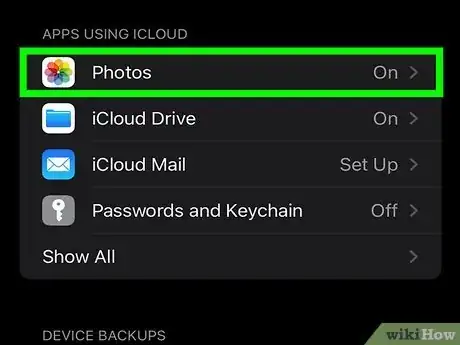
5Tap Photos. This is underneath the Apps using iCloud header.
-
6
-
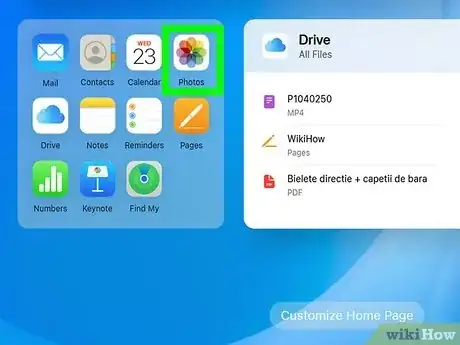
7On your computer, go to the iCloud website. Enter your Apple ID and password, then click the arrow to log in.
- If you're already logged in, skip this step.
-
8
-
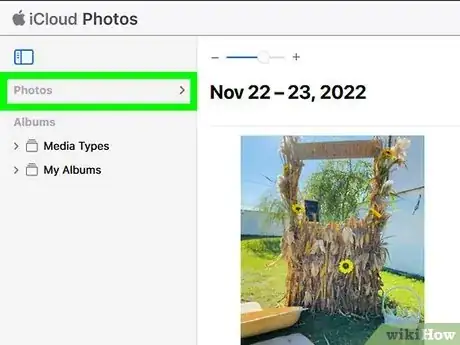
9Click the Photos tab. You can find this in the upper-left side of the page.
-
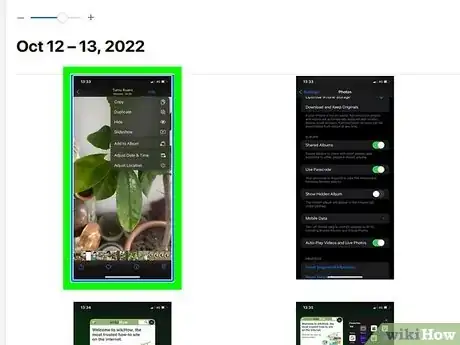
10Select photos to download. You can select multiple photos by holding CTRL and clicking each photo.
-
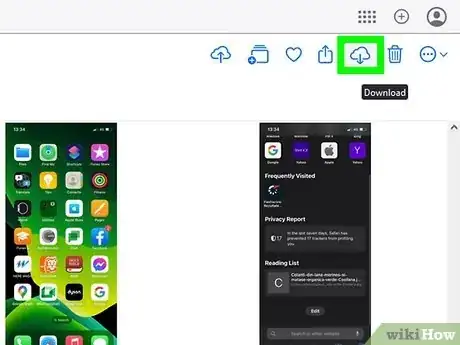
11Click the "Download" button . This is the cloud-shaped icon with a downward-facing arrow that's in the top-right side of the page. Your photos will download onto your computer.
- You may be asked to choose a destination folder first.
- Once the download is complete, navigate to the destination folder to find your photos.
Our Most Loved Articles & Quizzes
Community Q&A
-
QuestionWhat happens if I unplug the iPhone before the transfer of photos is complete?
 Community AnswerYou will probably find that not all of your photos have transferred to the PC.
 -
QuestionHow can I back the photos up to a PC and still keep them on the iPhone?
 Community AnswerConnect the iPhone to PC with the IPhone charging cable (one end is USB) and switch on the phone. The phone will ask whether to allow to connect the phone to PC. Tap 'allow'. Then you can go to PC and the phone act as a camera connected via USB port. You can download any photo now.
 -
QuestionCan I download all of my photos from the cloud to my PC and then delete them from my phone and the cloud to free up storage?
 Community AnswerYes you can. As long as they are stored on another device, you are safe to delete them from iPhone or iCloud storage.
References
About This Article
To transfer photos from your iPhone to a PC, start by using your phone’s USB cable to connect your iPhone to the PC. Once your devices are connected, unlock your phone and tap “Trust” or “Allow” when you see the message asking whether you trust this computer. Then, click the Start menu on your computer, followed by “File Explorer,” which will bring up a list of connected devices on the left side of the File Explorer window. From here, right-click on “iPhone” and select “Import pictures and videos.” Finish by selecting “Import all new items now “and clicking “Next” to begin importing your photos. To learn more, including how to transfer specific images from your iPhone using the Windows 10 Photos App, scroll down!
