This article was co-authored by wikiHow staff writer, Nicole Levine, MFA. Nicole Levine is a Technology Writer and Editor for wikiHow. She has more than 20 years of experience creating technical documentation and leading support teams at major web hosting and software companies. Nicole also holds an MFA in Creative Writing from Portland State University and teaches composition, fiction-writing, and zine-making at various institutions.
The wikiHow Tech Team also followed the article's instructions and verified that they work.
This article has been viewed 11,183 times.
Learn more...
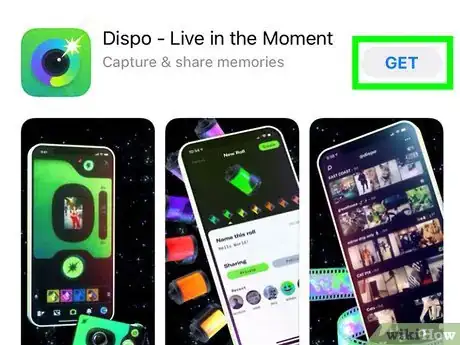
This wikiHow teaches you how to get started with Dispo, the iPhone-only app that emulates a vintage disposable camera. Dispo has combined the social aspect of Instagram with the mindfulness of physical photography to create a unique new photo-sharing experience. Rather than see your photos right away, you'll have to wait until 9 AM the following day for them the "develop," just like if you were to drop them off at a photo lab. You can download Dispo for free from the App Store, and now that the app is out of beta, there's no need to wait for an invitation.
Steps
Getting Started
-
1
-
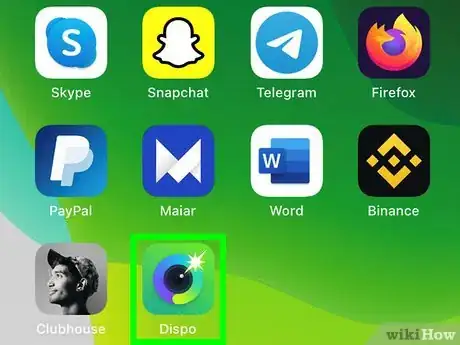
2Open Dispo. Installing the app places its green-and-blue camera icon on your Home screen and/or in your app library. Tap that icon to open Dispo for the first time.
- If you see an image of a bag on the screen, double-tap it to continue.
Advertisement -
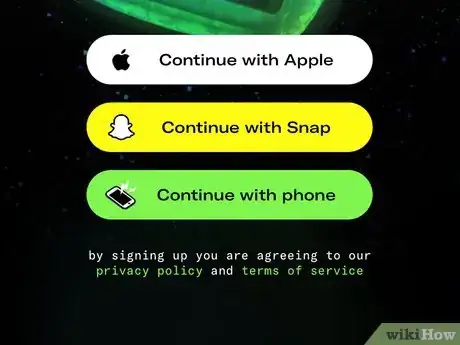
3Select a sign-in method. You can set up your Dispo account using any of the three options:
- Tap Continue with Apple to sign up with your Apple ID.
- Tap Continue with Snap to connect your account to Snapchat.
- Tap Continue with phone to sign up with your phone number.
-
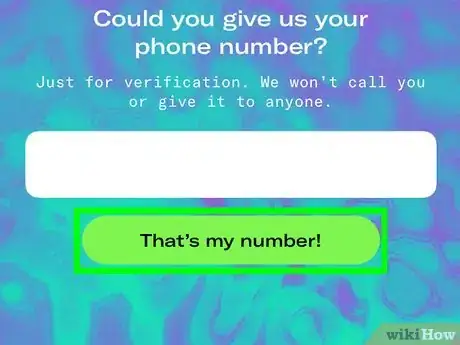
4Log in or verify your phone number. Once you choose a sign-up method, you'll be prompted to log in (if you selected Apple or Snap), or to enter and verify your phone number. Follow the on-screen instructions to complete the sign-up.
- If you're verifying a phone number, enter the phone number and tap That's my number! When you receive the verification code via text message, enter it and tap That's the code to continue.
-
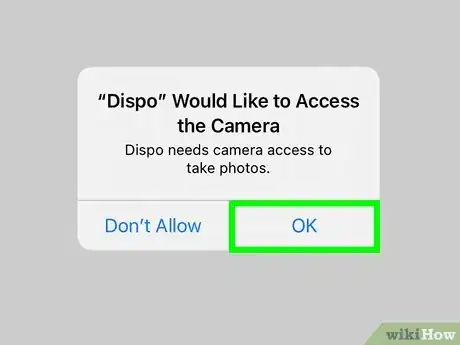
5Tap OK to allow Dispo to use your camera. Dispo needs this permission so you can start taking photos.
-
6Tap the profile icon. It's at the bottom-right corner of Dispo. This displays your personal profile.
-
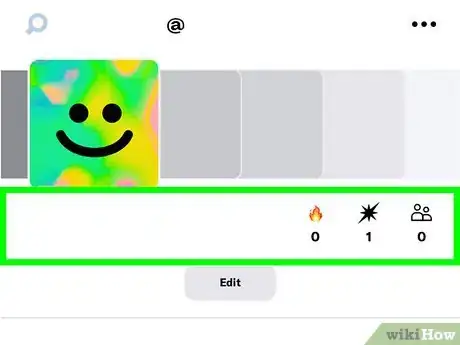
7Learn your way around your profile. Before you get started, it's a good idea to understand how your profile works:
- The fire icon is your "streak" value. For every day you take a photo, the fire number will increase. The exact wizardly behind streaks has yet to be divulged, but taking photos every day is sure to increase the number you see here.[1]
- The flash icon number is the number of photos you've taken with the app.
- The icon with two overlapping people is your follower count.
- Tap the three dots at the top-right corner of your profile to open your Settings menu, which is where you'll find options to invite people, control notifications, adjust your preferences, check out tutorials, sign out of Dispo, and more.
-
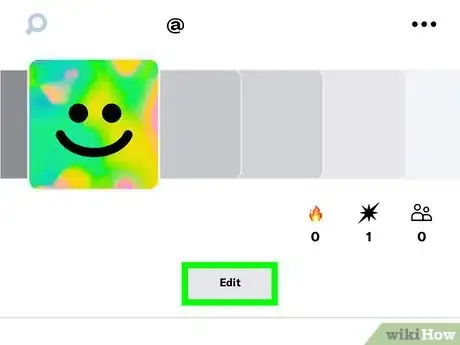
8Tap Edit. It's near the top-center part of the screen. This opens your profile for editing.
-
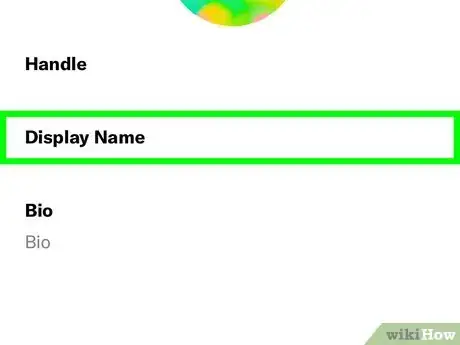
9Create a username. Dispo has already assigned you a random username (called a handle), which you'll see at the top of the profile. Here's how you can change it:
- Tap the name under "Handle."
- Backspace over the name and enter a new one.
- To change your display name, tap the name under "Display Name," backspace over it, and then enter a new name.
-
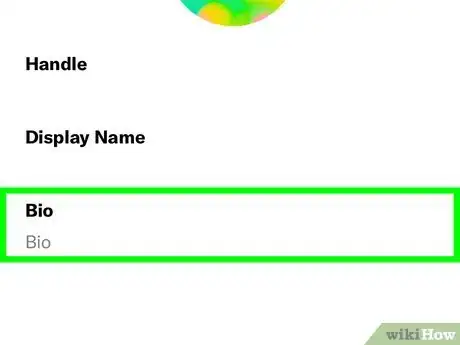
10Enter a bio (optional). The bio section of your profile gives you a place to add additional information about yourself. To add or edit your bio, tap the text under "Bio," and then type what you want to say.
-
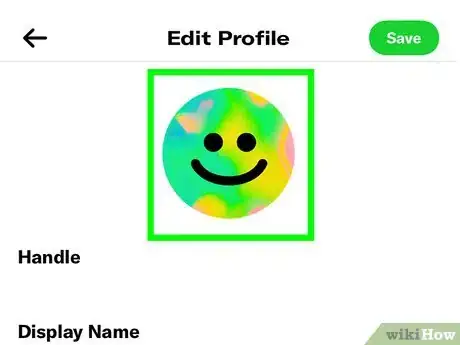
11Tap the profile image to select a new photo. The default profile image is the tie-dyed smiley face at the top-center part of the profile. Tap the image, select a photo from your phone, align it in the square, and then tap Choose to select it.
-
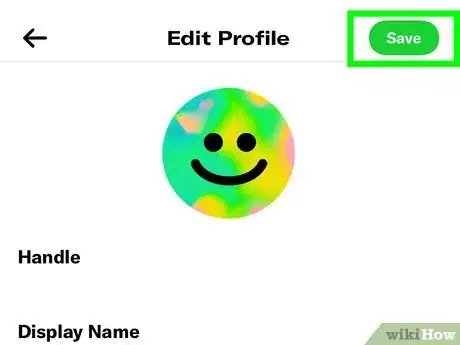
12Tap Save. It's at the top-right corner of the screen. Your profile changes are now saved.
Taking a Photo
-
1Select a roll (optional). Taking a photo in Dispo saves and "develops" it in your main photo library by default. If you'd prefer, you can select a virtual film roll to save the image to, which can help keep your images organized. Rolls can be public or private.
- To choose a roll, tap the roll selector at the bottom of the screen—it's the rectangle that says, "No rolls selected." Tap the roll you want to use, or tap the + to create a new one, and then swipe down to return to the camera screen.
- If you've been invited to someone else's roll, you can select it here. Keep in mind that taking a photo directly to the roll means it will develop there automatically at 9 AM. If you don't want it to show up automatically, you can move it there later, which you'll learn how to do shortly.
-
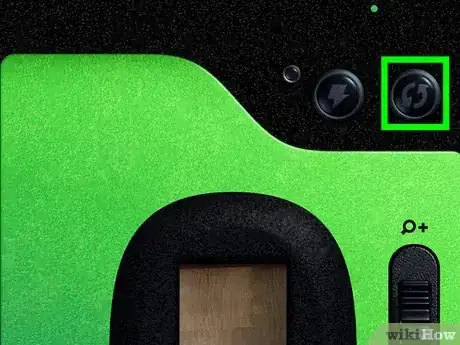
2Switch between the back and front cameras. The button with two curved arrows at the top-right corner toggles between your front (selfie) camera and your back (main) camera.
-
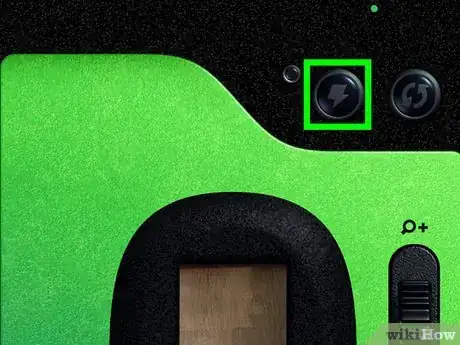
3Toggle the flash on or off. Tap the lightning bolt button at the top to turn flash on or off. Flash is on by default.
-
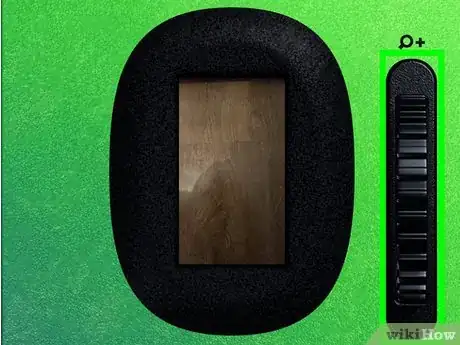
4Use the vertical dial to zoom in or out. Swipe your finger upward to zoom in, or downward to zoom back out.
-
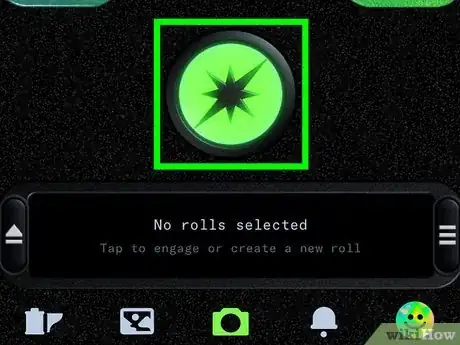
5Tap the shutter button to capture a photo. It's the green button with a black splash design. This captures the photo immediately, although you won't see it (not even a preview!) until it "develops" at 9 AM the next day.
-
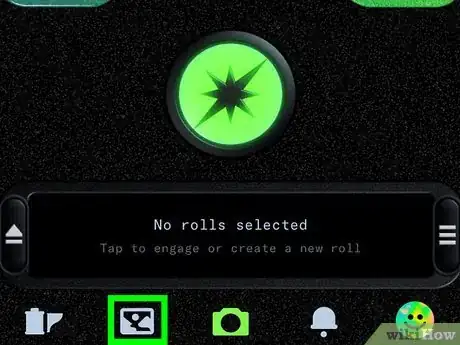
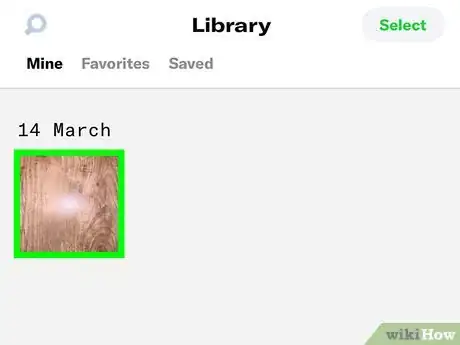
6Tap the photo icon to view your library. It's the second icon in the bottom icon row.
- The number of photos still developing will always appear at the top of this screen.
- Photos that have already developed appear below.
-
7Tap a photo to view it full-size. After the photo develops, tapping it will display it in all of its glory.
- If you selected a roll before taking the photo, you can also tap the roll icon at the bottom to your your photo.
Creating and Using Rolls
-
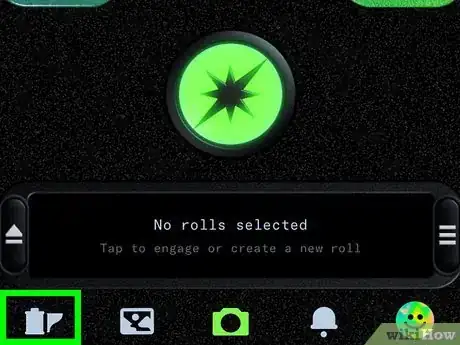
1Tap the roll selector at the bottom of Dispo. It's the rectangle at the bottom of the camera screen, which says "No rolls selected" by default.
-
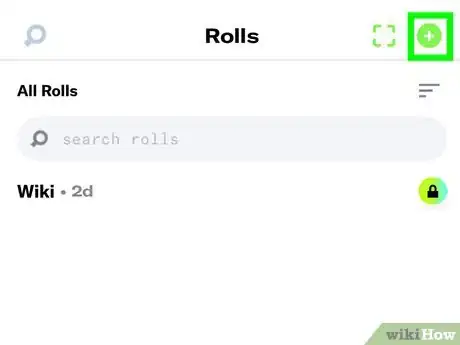
2Tap + to create a new roll. It's at the top-right corner.
-
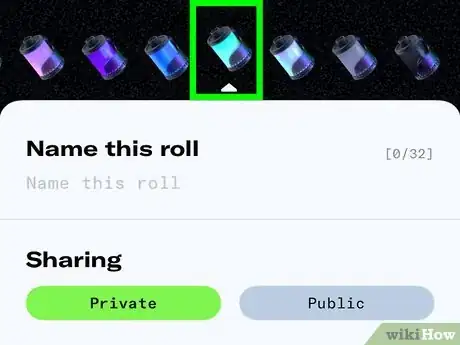
3Select an icon color. Swipe your finger through the colors until you find the one you want to use to represent this roll, and then tap to select it.
-
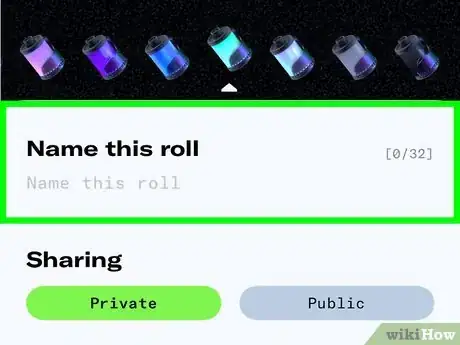
4Name the roll. This should be something that represents the type of photos you'll be saving to it, a location, or really anything you want to use for organizational purposes.
- If you plan to make the roll public, others will see the roll name.
-
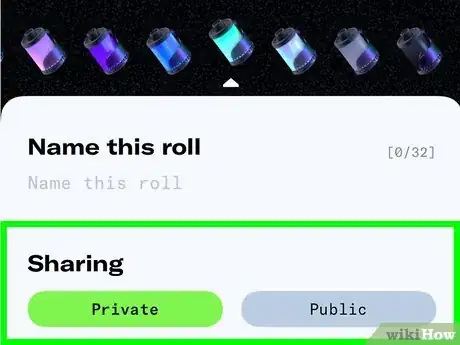
5Select a privacy option. Dispo lets you create both public and private rolls.
- Tap Private to hide the roll from your profile. Even if you make the roll private, you can still invite others to view and contribute to it—however, it won't be visible to anyone who isn't a member of the roll.
- Tap Public if you want the roll to be visible to people who view your profile.
-
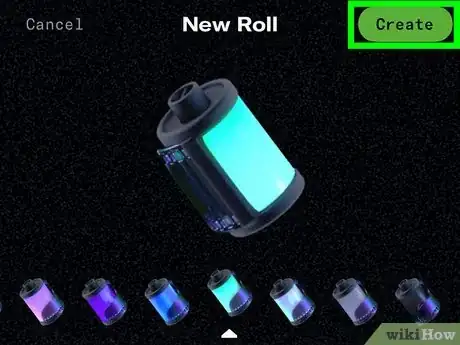
6Tap the green Create button to save your roll. It's at the top-right corner. Now when you tap the roll selector, this roll will be available to select.
- If you don't select a roll, photos will save and develop in your main photo library. This is fine, and rolls are not required. You can also move photos to rolls from the library after they develop.
-
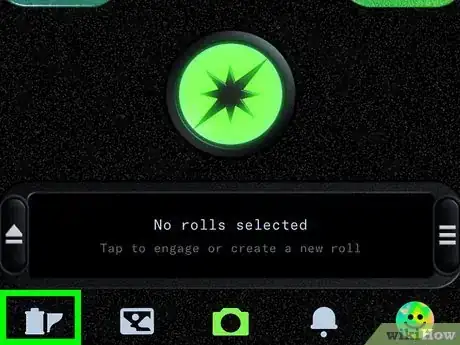
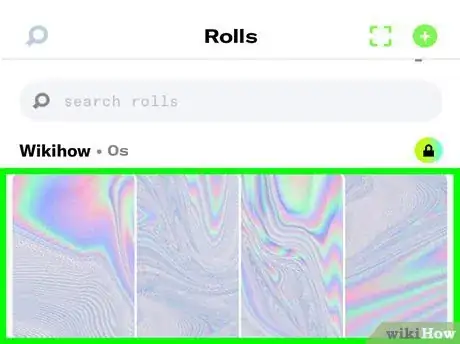
7Tap the roll icon to view your rolls. It's the first icon at the bottom-left. All rolls you've created or joined will appear.
- Private rolls are marked with lock icons, while public rolls have globe icons.
-
8Tap a roll to view it. All developed photos on the roll will appear.
- Tapping a photo in a row will display any likes and comments on the image, as well as the option to share the photo in other apps.
-
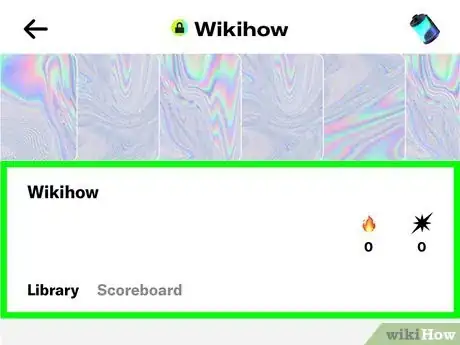
9Learn your way around the roll. On the main roll page, you'll find:
- The Library tab, which displays the photos in the roll.
- A fire icon displaying the roll's streak value.
- The Scoreboard tab, which displays the leaderboard (who has contributed the most images to the roll) and the number of views on the most popular images.
-
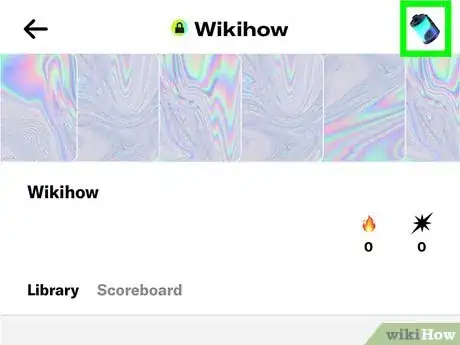
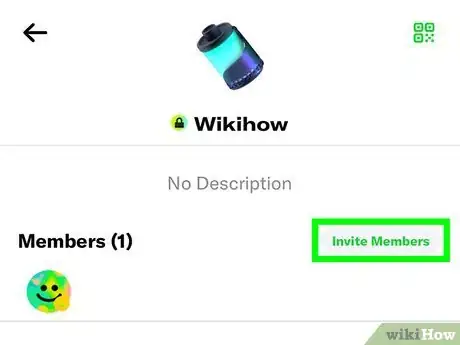
10Tap the roll icon at the top-right. This is where you'll find more administrative options for the roll, including:
- The option to invite people to the roll.
- A member list.
- The option to delete or report the roll.
- The option to rename the roll or add a description.
-
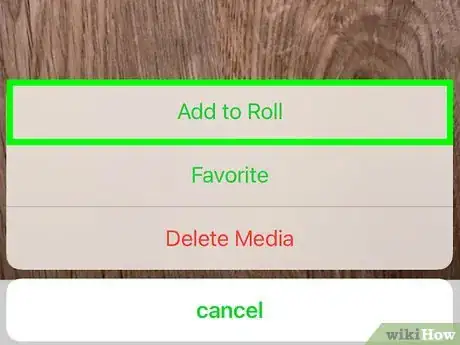
11Move a photo to a roll. Photos don't have to be captured directly to rolls, but you can always move photos to rolls after they develop. Photos can even be added to more than one roll. To organize your photos into rolls after they develop:
- Tap the photo icon at the bottom to view your photo library.
- Tap a photo to view it.
- Tap the three dots at the top-right corner.
- Tap Add to Roll.
- Select a roll, or choose new roll to create another.
Finding and Following Friends
-
1Tap your profile image. It's at the bottom-right corner of Dispo. If you've selected a profile photo, it'll be the image you selected. If not, it'll be the default tie-dyed smiley face icon.
-
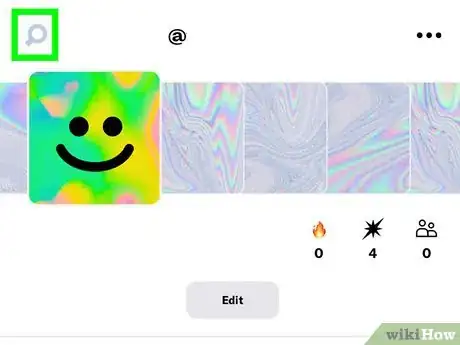
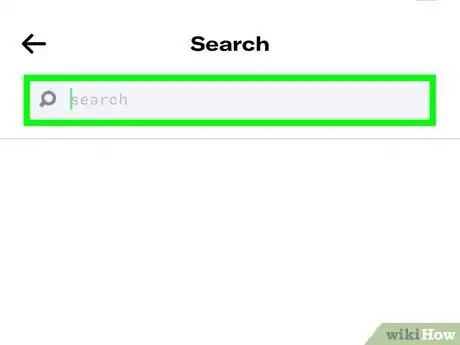
2Tap the magnifying glass. It's at the top-left corner of the screen. This opens the search bar.
-
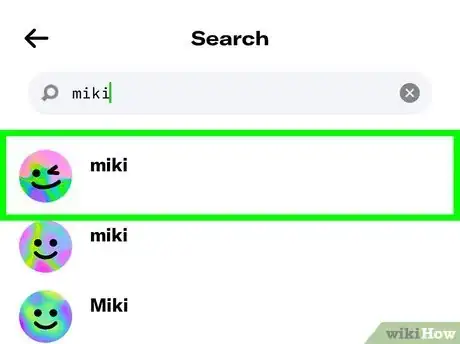
3Enter the name or username of the person you're looking for. If you don't know their username/handle, you can try entering their first name, or anything you think they may have listed as their "Display Name." A list of matching results will appear.
-
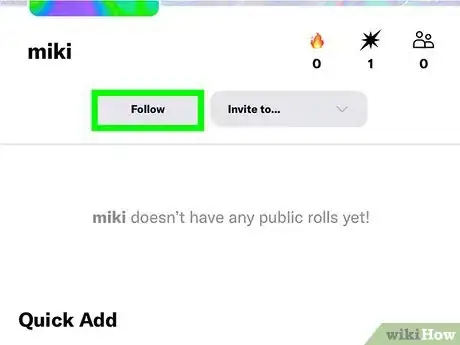
4Tap a profile to view it. This displays the user's profile photo, their public rolls (if any), and options for following.
-
5Tap Follow to follow a friend. The "Follow" button will change to "Following."
- Tap Following on a profile to unfollow that person.
-
6Invite a friend to join a roll. If you've created or joined an existing roll and want your friends to be able to contribute their own photos to it, invite them to the roll! After adding a friend, here's how you can invite them to a roll:
- Tap the roll icon at the bottom-left corner of Dispo.
- Tap the roll you want to invite your friend to.
- Tap the roll icon at the top-right.
- Tap Invite Members.
- Tap Invite next to the person you want to invite.
-
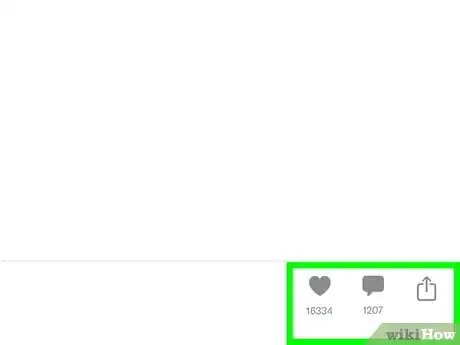
7Like and comment on friends' pictures. If you like a photo a friend has shared, tell them so! Tap the photo in their public roll to check it out, and then tap the heart to give it a Like. To comment, tap the speech bubble icon below and say what you'd like to say.
-
8Invite friends to Dispo. If the person you're looking for hasn't joined Dispo yet, invite them! Invitations are no longer required for joining the app, but you can still use Dispo's invitation tool to invite friends who may not know about Dispo yet.[2] Here's how:
- Tap your profile photo at the bottom-right to open your profile.
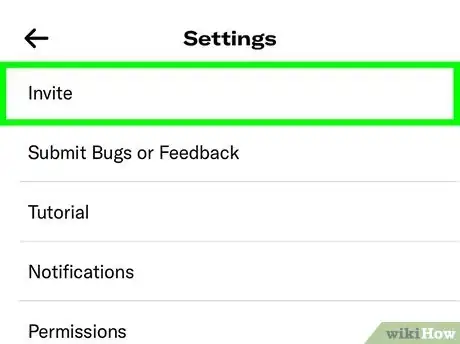
- Tap the three-dot menu at the top-right corner.
- Tap Invite on the menu.
- Tap Invite on the friend you want to invite.
References
About This Article
1. Install Dispo from the App Store.
2. Create an account with an Apple ID, Snapchat account, or phone number.
3. Tap the shutter button to capture a photo.
4. After 9 AM the next day, come back and tap the photo icon to check out your photos.
5. Create rolls and share them with friends.
