This article was co-authored by wikiHow staff writer, Jessica Gibson. Jessica Gibson is a Writer and Editor who's been with wikiHow since 2014. After completing a year of art studies at the Emily Carr University in Vancouver, she graduated from Columbia College with a BA in History. Jessica also completed an MA in History from The University of Oregon in 2013.
wikiHow marks an article as reader-approved once it receives enough positive feedback. In this case, 95% of readers who voted found the article helpful, earning it our reader-approved status.
This article has been viewed 146,961 times.
Learn more...
If you're tired of filling your cooler and finding soggy food in a puddle of melted ice, use dry ice instead. Dry ice will keep your food or drinks colder and will evaporate instead of melt. Choose a cooler that will let the gas escape and buy enough dry ice to fill the cooler. Decide if you want to store the dry ice on the bottom with the food or drinks on top or if you want to use the cooler like a freezer. To quickly freeze fish, meat, or game, place it on the bottom of the cooler with the dry ice on top. Always use caution and wear gloves when handling the dry ice.
Steps
Choosing a Cooler
-
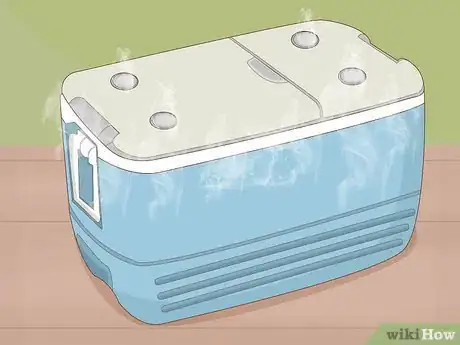
1Choose a cooler with ventilation to suit your needs. Dry ice can be used with most coolers as long as there's a way to ventilate them. To ventilate the evaporating gas, the cooler should either have a lid that doesn't seal completely shut or a drainage cap (usually located near the bottom of the cooler). If you need a small cooler or just want to use the dry ice for a day, choose a styrofoam cooler or urethane-insulated box. For longer dry ice use or for a larger cooler, choose a roto-moulded or plastic cooler.
- If you're using the urethane-insulated box, buy one that's at least 3 inches (7.6 cm) thick.
-
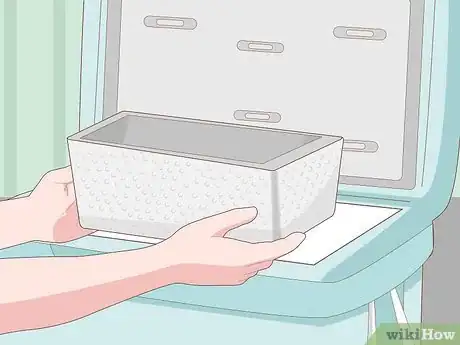
2Arrange styrofoam or cardboard inside the cooler, if necessary. If you aren't using a styrofoam cooler, protect the plastic interior of your cooler from the extreme cold of the dry ice. Cut pieces of styrofoam or cardboard and lay them on the bottom of the cooler. You'll also need to place them along the sides of the cooler, if you'll have dry ice touching the inside walls.Advertisement
-
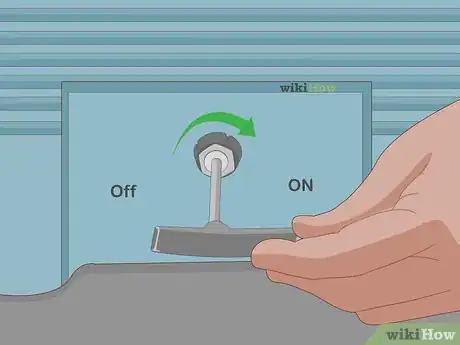
3Loosen the drainage cap on the cooler. As the dry ice evaporates, gas can build up within the cooler. To prevent damage to the cooler, leave the lid slightly cracked (if you're using styrofoam or the urethane box). If you're using a plastic or roto-moulded cooler, unscrew the drainage cap a little.
- If the gas has no way to escape, pressure can build up within the cooler and weaken the plastic.
Buying Dry Ice
-
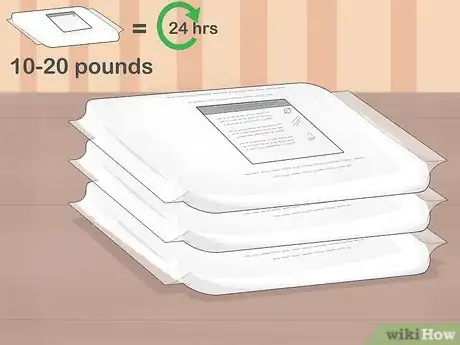
1Determine how much dry ice you need. First decide how long you'll need the dry ice in the cooler. For every 24-hours you need, buy 10 to 20 pounds (4.5 to 9 kg) of dry ice. You'll also need to consider how much dry ice will fit inside your cooler along with the items you want to store. For example, a 40 to 60-quart (37 to 56-liter) cooler can usually hold 10 pounds (4.5 kg) of dry ice for 1 day.[1]
-
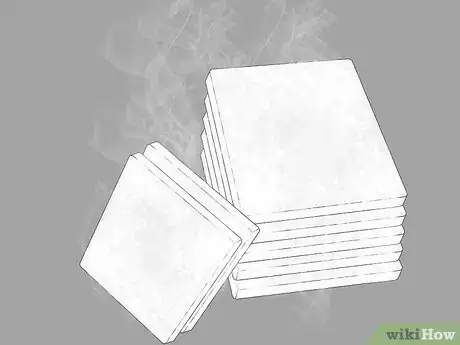
2Buy blocks of dry ice. Most dry ice is available to buy in large blocks or chunks. These will last longer than small pieces or pellets of dry ice. Consider measuring your cooler before you buy the dry ice so you know how many blocks will fit inside your cooler.
-
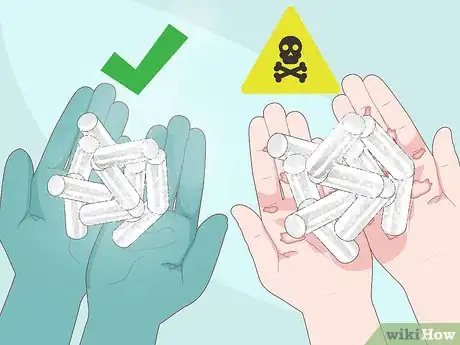
3Wear gloves or protect your hands when you handle the dry ice. Because dry ice reaches extremely cold temperatures, it can burn bare skin. Always wear gloves or handle the dry ice with thick towels so it doesn't come in contact with your skin.[2]
- If other people will be opening the cooler to get items out (such as drinks) inform people not to touch the dry ice or lay a cardboard covering over the dry ice.
Arranging the Dry Ice in the Cooler
-
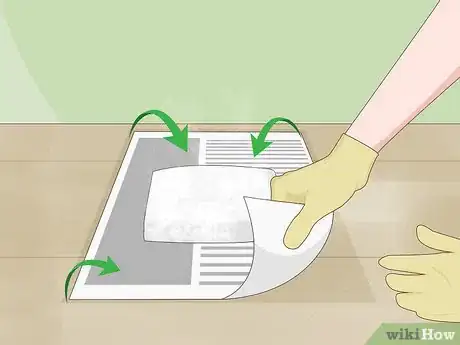
1Wrap the dry ice in newspaper. To make the dry ice last longer, wrap the blocks of dry ice in newspaper. The newspaper will insulate it and slow down the evaporation time. Newspaper can also prevent you from accidentally touching the dry ice with bare hands.
- If you bought small chunks of ice, you may not be able to wrap them in newspaper. Instead, surround the chunks with newspaper to slow evaporation.
-
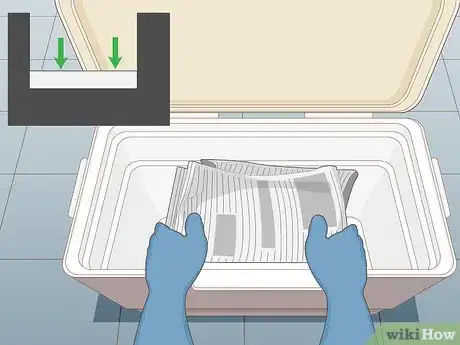
2Put the dry ice in the bottom of the cooler to keep food and drinks cold. If you want to be able to access the food and drinks frequently or easily, place the wrapped dry ice on the bottom of the cooler. Then you can arrange the food or drinks on top of the ice. When you need to get the food or drinks, simply open the cooler and remove the items.[3]
- If you're storing food, remember that the food or drinks will freeze if they're touching the dry ice. Place newspaper or cardboard between the dry ice and the items.
-
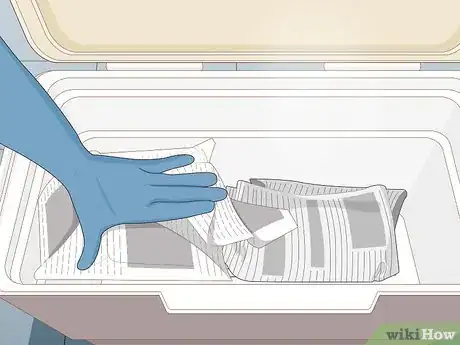
3Pack the gaps with newspaper. To help the dry ice last longer, take a few sheets of newspaper and wad them into loose balls. Place the newspaper between the chunks of dry ice or wherever there are any gaps. The space between the dry ice will make it evaporate faster.
-
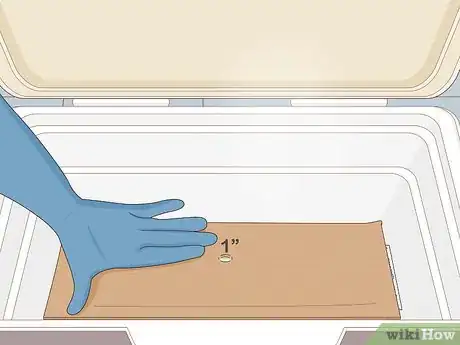
4Cover the dry ice with a piece of cardboard, if desired. If you want to prevent your items from freezing or to prevent people from accidentally touching the dry ice, lay a piece of cardboard directly over the dry ice in the bottom of the freezer. Cut a hole about 1 inch (2.5 cm) wide in the cardboard so the gas has a way to escape as the dry ice evaporates.
- The cardboard acts as a buffer to stop people from touching the dry ice and can prevent food from freezing, so you can skip this if you're mainly using the cooler for food storage.
-
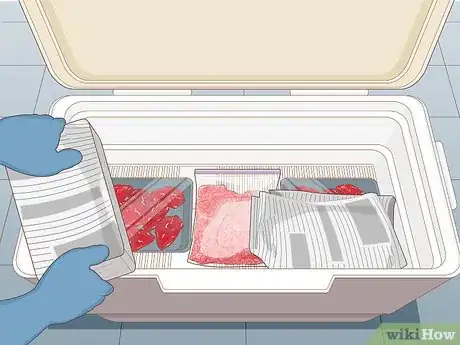
5Put the dry ice on top to quickly freeze food, if you prefer. If you would rather use the cooler like a portable freezer, place the items you want to freeze in the bottom of the cooler instead of on top. For example, place meat from a hunting trip in storage bags at the bottom of the cooler. Set the dry ice directly on the food so it freezes quickly.
- Avoid putting the dry ice on top if you plan on getting in and out of the cooler often since it can be difficult to move the dry ice out of the way.
-
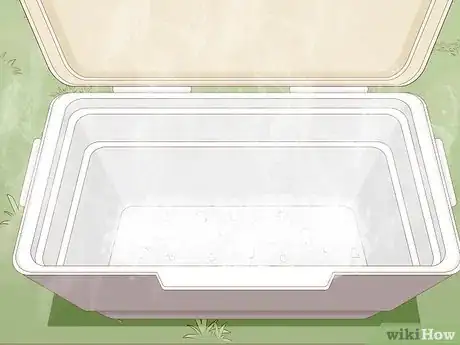
6Dispose of the dry ice. Dry ice will evaporate on its own over several hours or days depending on how it's stored. If you need to dispose of dry ice that's still in your cooler, set it outside with the lid of the cooler off or open. Unwrap the dry ice if you covered it in newspaper. Leave the dry ice outside to evaporate. If you have small children or pets around, keep the kids and pets away and don't leave the dry ice unattended.[4]
- Avoid leaving the dry ice in the sink to evaporate since the extremely cold temperature can damage the plumbing.
- If you can't leave the dry ice outside, set it on a solid surface such as a wooden cutting board and open the windows in the room. Keep the room ventilated as the dry ice evaporates.
Community Q&A
-
QuestionCan I use a gel cool pack to prevent it from evaporating as well?
 Community AnswerGel cook packs are nowhere near cold enough to keep dry ice from evaporating, so I’ll say no, you can’t use them to prevent evaporation.
 -
QuestionHow do I keep dry ice from evaporating?
 Community AnswerLiquid nitrogen is your best answer. Keep the dry ice in a sealed container that has the nitrogen cooling it.
 -
QuestionIs dry ice expensive?
 IsoldeTop AnswererIt is quite pricey at $1 to $3 a pound, meaning that a block can be around $60 to $100, depending on its size. You can bring down the costs if you buy it in bulk. For more help, see How to Buy Dry Ice.
Things You'll Need
Buying a Cooler and Dry Ice
- Styrofoam cooler, urethane-insulated box, plastic cooler, or roto-moulded cooler
- Dry ice
- Gloves or thick towels
- Pieces of cardboard or styrofoam
- Scissors
- Newspaper
- Cardboard
- Cooler
- Dry ice
- Gloves or thick towels
References
About This Article
Before putting dry ice in your cooler, prepare your cooler by lining the bottom and sides with styrofoam or cardboard so it doesn’t get damaged from the extreme cold. Then, purchase 10 to 20 pounds of dry ice for every 24 hours you need to keep your cooler cool. After you purchase it, wrap the ice in newspaper so it lasts longer. Then, place the ice on the bottom of the cooler if you want to keep food and drinks cold or on top if you want to freeze the food below it. Once the cooler is filled, leave the top slightly ajar or open the drainage cap so gas can escape. For more tips, including why your cooler must have a drainage cap before you can use it, read on!
