This article was co-authored by wikiHow Staff. Our trained team of editors and researchers validate articles for accuracy and comprehensiveness. wikiHow's Content Management Team carefully monitors the work from our editorial staff to ensure that each article is backed by trusted research and meets our high quality standards.
There are 7 references cited in this article, which can be found at the bottom of the page.
This article has been viewed 129,863 times.
Learn more...
The Arctic Air evaporative air cooler is a compact solution for personal cooling that pulls in warm air and releases cooler air. While the Arctic Air will cool you off if you're sitting right in front of it, it shouldn't be used to cool down an entire room. If you have a new Arctic Air machine and want to set it up, plug in the USB cord and fill the water tank with water. With a simple press of the Power button, your Arctic Air will start cooling you down. You can even adjust the fan speed or light color so your fan is just how you like it.
Steps
Setting up the Arctic Air
-
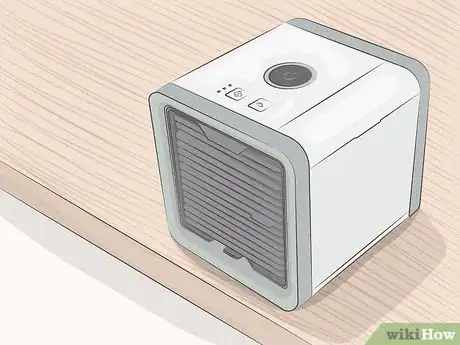
1Place the Arctic Air cooler on a flat surface. This could be a desk, table, or other flat surface that provides stability so that the air cooler won't slide or tilt. It's also important to place the air cooler near an outlet if you're plugging it into a wall.[1]
- Setting the air cooler on a higher surface, such as a desk or table instead of the floor, will help cool you down faster.
-
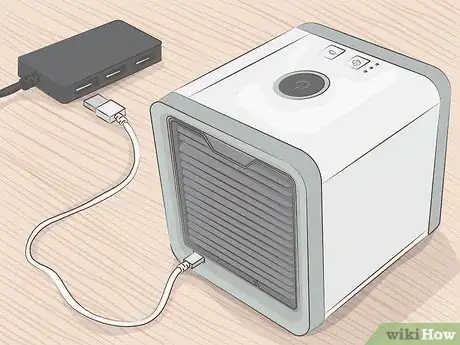
2Use the USB cord to plug the Arctic Air into an outlet or other adapter. Insert the smaller end of the USB cable into the back of the Arctic air cooler. The opposite end of the USB cable, which has the larger input, can go into a power adapter in a wall outlet, your computer's USB port, or any other power source with a USB plug.[2]
- Your Arctic Air cooler will come with the USB cord necessary to plug it into an outlet or other power source.
Advertisement -
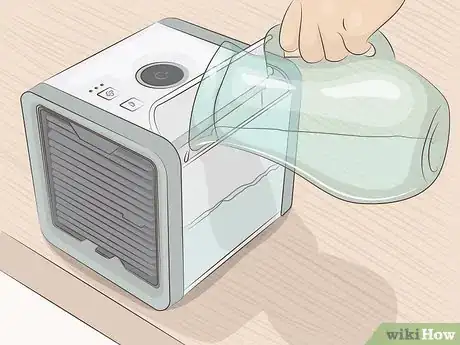
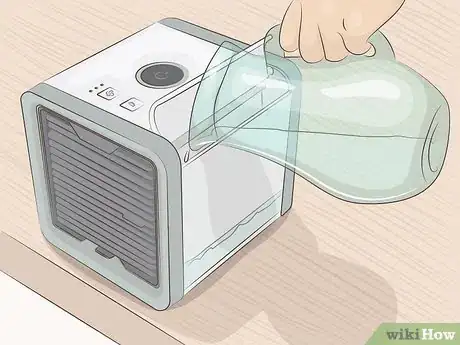
3Open the water tank's door flap to fill it with cold water. The door to the water tank is on the side of the air cooler, and it hinges open easily by lifting up on the flap. Use cold tap, spring, or drinking water to fill the tank most of the way to the top. Close the water tank's flap once you're finished.[3]
- Use a small pitcher or measuring cup to make pouring the water into the small area easier.
- Place small ice cubes in the water tank to make the water even colder, giving you colder air.
- You'll be able to see through the water tank to tell how full it's getting as you're pouring the water.
-
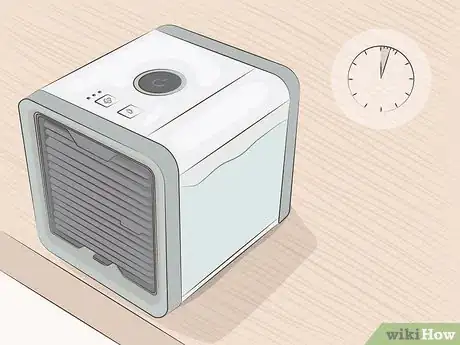
4Wait at least 3 minutes to let the filter absorb the water. This isn't mandatory, but it will help the Arctic Air create cooler air once you begin using it. Once you've filled the water tank, set a timer for 3 minutes. Once the 3 minutes are up, you can turn on the air cooler.[4]
-
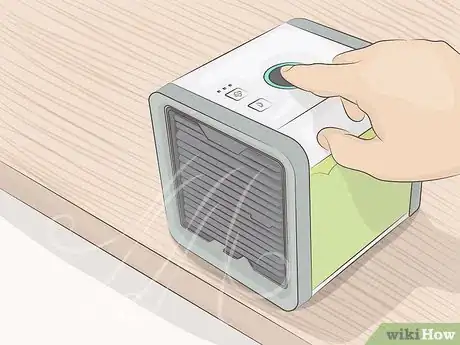
5Press the Power button to turn on the Arctic Air cooler. The Power button is a large round, gray button on the top of the air cooler. Once you press the Power button, it will light up blue to tell you that it's working.[5]
- This is the same button you'll press to turn the air cooler off once you're finished using it.
-
6Add more water when you notice the water level getting low. If you look at the water tank and notice it's almost empty, refill it with cold water using a pitcher or measuring cup. The water tank will blink 3 times every minute when the water is low, helping to remind you when it needs a refill.[6]
- The instructions claim the air cooler will last 8 hours when set on the Low setting, and most people agree it lasts 1-2 hours before it runs out of water on the High setting.
- The higher the fan speed, the more water the device will take in and put out into the air. Therefore, keep more water on-hand when it's set at a higher speed.
Changing the Settings and Filter
-
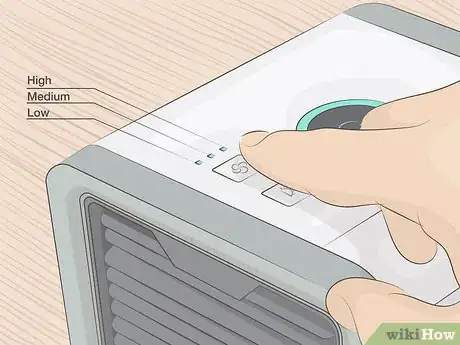
1Set the fan speed by pressing the button with the fan icon. This will be the white button on the left, just below the large power button. The fan has 3 speeds: Low, Medium, and High. When you first press the fan button, the Arctic Air cooler will be set on High. Keep pressing the fan button to change the speed to your desired setting.[7]
- There are 3 lights next to the button that show you at which speed the fan is currently set.
-
2Change the light color by pressing the light icon. Your Arctic Air cooler has an LED light setting, giving off a variety of different colors through the water tank. Choose the color setting you want by pressing on the light button, which is to the right of the fan speed button. Keep pressing and releasing the light button to change from color to color.[8]
- The order of the colors goes blue, red, white, teal, purple, yellow, green, multi-color, and then no color.
-
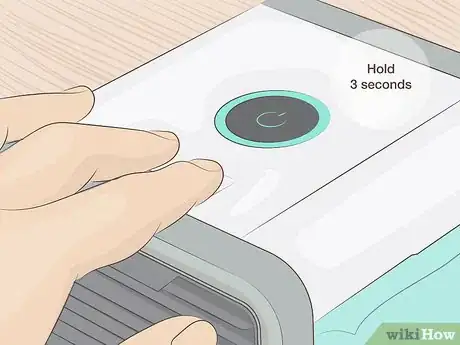
3Alter the light brightness by pressing and holding the light button. Once you've picked a color, you can also change its brightness. Press and hold the light icon for 3 seconds until the water tank blinks. Click through the different brightnesses, choosing between Low, Medium, and High.[9]
- Once you've picked your brightness level and stopped pressing the light button, the tank will blink to tell you the settings have been saved.
-
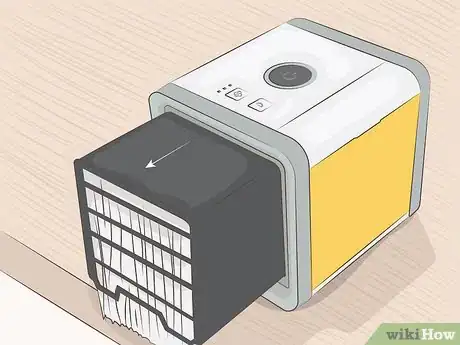
4Replace the filter when the tank light turns amber, or every 6 months. To swap out the filter, first unplug the air cooler from the wall or other adapter. Press the tab on the bottom-front of the grill before pulling the grill down and away from the air cooler. Slide the filter out easily by pulling on it, and push the new filter inside. Replace the grill just as you took it out, pressing the tab back into place.[10]
- The amber color indicates that the filter needs to be changed. Once you've changed the filter and reset it, it'll go back to it's normal coloring.
- The new filter will have markings on it telling you how to install it in case you need help.
- You can purchase replacement filters on websites that sell the Arctic Air cooler.
-
5Reset the filter by holding the fan and light buttons for 3 seconds. After you've changed the water filter, it's important to reset the light so that it's no longer amber. Hold both the fan button and the light button at the same time for 3 seconds, watching for the tank to turn back to its default blue shade.[11]
Warnings
- Avoid placing the Arctic Air cooler in direct sunlight or near heated sources for long periods of time.⧼thumbs_response⧽
- Always unplug the machine if you're cleaning, filling, or moving it.⧼thumbs_response⧽
- Avoid blocking the vents (both the front and back) of the air conditioner, and don't place anything on top of it.⧼thumbs_response⧽
References
- ↑ https://www.buyarcticair.com/images/Arctic_Air_IM_Embed_LR_122117.pdf
- ↑ https://www.youtube.com/watch?v=SLSHt2x6bYg#t=1m33s
- ↑ https://www.youtube.com/watch?v=z66DxdMCLw4#t=1m15s
- ↑ https://www.buyarcticair.com/images/Arctic_Air_IM_Embed_LR_122117.pdf
- ↑ https://www.youtube.com/watch?v=8LibNLlFOMg#t=31s
- ↑ https://www.youtube.com/watch?v=z66DxdMCLw4#t=4m28s
- ↑ https://www.youtube.com/watch?v=8LibNLlFOMg#t=35s
- ↑ https://www.youtube.com/watch?v=z66DxdMCLw4#t=1m51s
- ↑ https://www.buyarcticair.com/images/Arctic_Air_IM_Embed_LR_122117.pdf
About This Article
To use an Arctic Air evaporative air cooler, start by opening the top of the device and filling the tray up to the top with water. With the water tray filled, plug the USB cord attached to the air cooler into a computer or laptop. If you don’t have a computer nearby, use the provided adapter to plug your air cooler into a wall outlet. Once your air cooler has power, press the grey button on top to turn it on and wait 3 minutes to allow the water to seep into the filter. As you use your air cooler, tap the button that looks like a fan to change the fan speed. For more help, like how to know when to add more water, scroll down.
