X
wikiHow is a “wiki,” similar to Wikipedia, which means that many of our articles are co-written by multiple authors. To create this article, volunteer authors worked to edit and improve it over time.
This article has been viewed 80,271 times.
Learn more...
You can use resource accounts to schedule and book equipment, rooms and services by inviting them to events through email in Microsoft Outlook. Resource accounts make reserving tools in the workplace an easy and organized process. If a specific resource is already booked for a specific time, the account can be set up to automatically accept or reject scheduling requests. Here are some steps on how to create a resource account within Microsoft Outlook.
Steps
Method 1
Method 1 of 3:
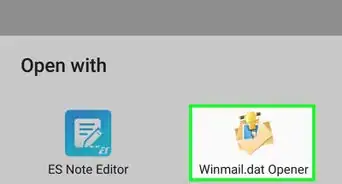
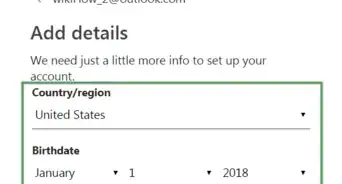
Create an email account for the resource. Give your resource an email account and a descriptive name of the resource; such as "Television" or "North Conference Room."
Method 2
Method 2 of 3:
Create a Resource Account in Microsoft Outlook 97
-
1From the "Tools" menu, click on "Options."
-
2Click on the "Email" tab.
- Under "Settings for automatic processing of mail," select "Process requests and responses on arrival," then click "OK."
Advertisement -
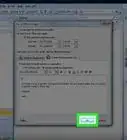
3Click on "Advanced Scheduling" on the "Calendar" tab.
- Select your desired options in the section called "Processing of meeting requests."
- Click "OK" the close the dialog box.
-
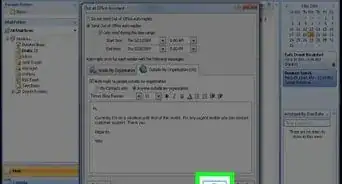
4Click on the "Delegates" tab. Click "Add" and type in the name of the delegate account.
- In the "Delegate Permission" box, click "Editor in the Calendar list" and select "Delegate receives copies of meeting-related messages sent to me," then click "OK."
- Click "Send meeting requests and responses only to my delegate, not to me" then click "OK."


Advertisement
Method 3
Method 3 of 3:
Create a Resource Account in Microsoft Outlook 98 and 2010.
-
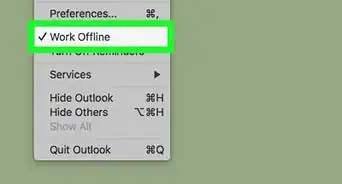
1Go to the "Tools" menu. Click on "Options."
-
2Click on "Calendar Options," then click on "Resource Scheduling."
- Select your desired options in the section for "Processing of meeting requests," then click "OK."
- Remove the check-mark next to "Default Reminder" at the beginning of the Calendar section.
-
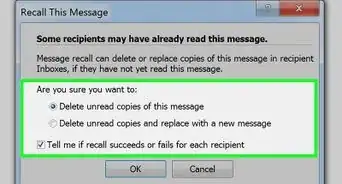
3Go to the "Delegates" tab. Click "Add" and type in the name of the delegate account.
- In the Delegate Permission box, click "Editor in the Calendar list" and select "Delegate receives copies of meeting-related messages sent to me," then click "OK."
- Click to select, "Send meeting requests and responses only to my delegate, not to me" then click "OK."


Advertisement

About This Article
Advertisement