This article was co-authored by wikiHow staff writer, Nicole Levine, MFA. Nicole Levine is a Technology Writer and Editor for wikiHow. She has more than 20 years of experience creating technical documentation and leading support teams at major web hosting and software companies. Nicole also holds an MFA in Creative Writing from Portland State University and teaches composition, fiction-writing, and zine-making at various institutions.
This article has been viewed 3,087 times.
Learn more...
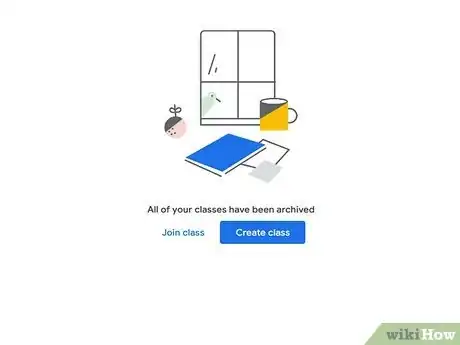
At the close of a term or semester, a teacher can archive a Google Classroom to remove the completed class from the Classes page. Both teachers and students can still access archived Googled Classrooms, including posts and submitted assignments, as long as the class remains archived. This wikiHow article teaches you what happens when you archive a class in Google Classroom, how to archive your class, and how to view, restore, and delete classes from the archive.
Steps
What happens when you archive a Google Classroom?
-
1The class will be removed from the Classes page. While the contents of the class won’t be deleted, teachers and students will not see archived classes listed with their current classes in Google Classroom.
-
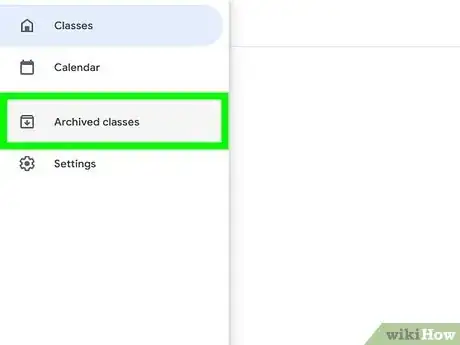
2The class will remain accessible in the Archived Classes area. Archived classes are easy for teachers and students to view—just click or tap the three-line menu in Google Classroom and select Archived classes.Advertisement
-
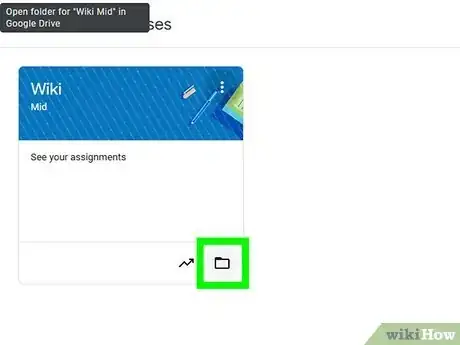
3Class materials in Google Drive will remain accessible. Teachers and students can open any linked attachments and assignments saved to Google Drive through the archived class. However, class materials, work, and posts will be view-only.
-
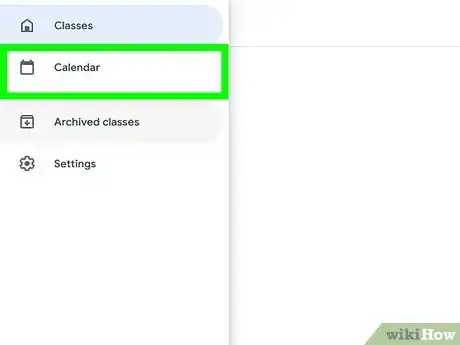
4The class calendar will remain active. If teachers or students are subscribed to the class calendar, any events from the class will remain in their personal calendars unless they unsubscribe from the calendar.
-
5Teachers can restore or delete archived classes at any time. If a teacher wants to return the class to students' active class lists, they can restore the class from the archive. Deleting an archived class is permanent—it's not possible to restore a class once it's deleted.
How to Archive a Class
-
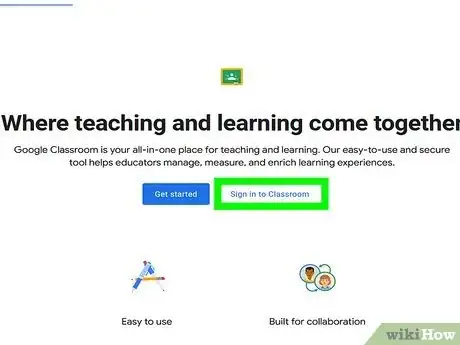
1Sign in to Google Classroom. You can archive a class at https://classroom.google.com in your web browser, or by launching the Google Classroom mobile app.[1]
-
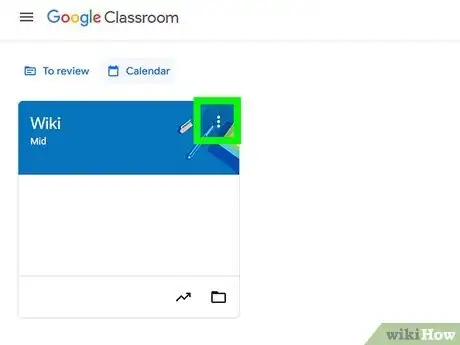
2Tap the More menu on the class card. The More menu is the three vertical or horizontal dots (depending on your platform) on the right side of the class name.
-
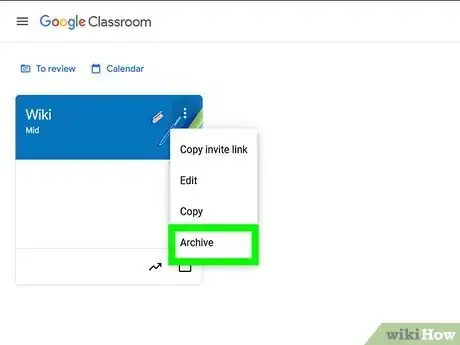
3Tap Archive on the menu. A confirmation message will appear.
-
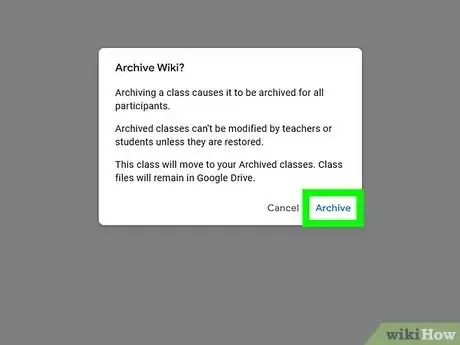
4Tap Archive again to confirm. The selected class is now archived.
Where to Find Archived Classes
-
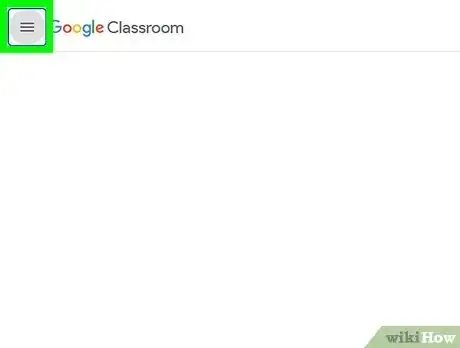
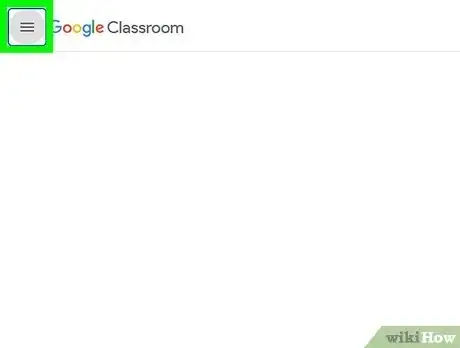
1Click or tap the three-line menu ☰. You’ll see it at the top-left corner of Google Classroom on the web and in the mobile app.
-
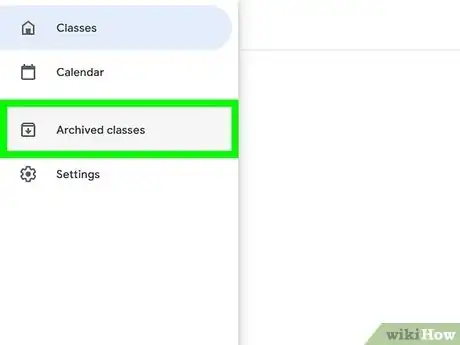
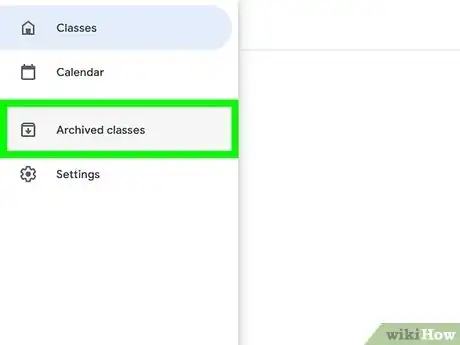
2Scroll down and select Archived Classes. This option will only appear in the menu if you have access to one or more archived classes.
-
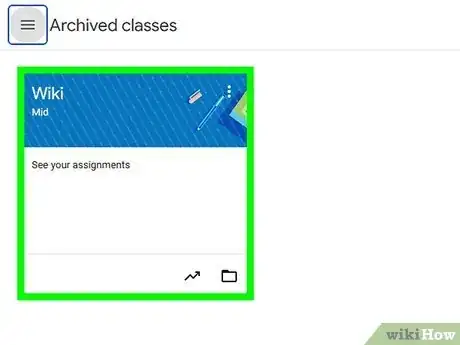
3Click or tap the class card. Now you can browse all class materials, including posts and student work.
How to Restore or Delete an Archived Class
-
1Click or tap the three-line menu ☰. You’ll see it at the top-left corner of Google Classroom on the web and in the mobile app.
-
2Scroll down and select Archived Classes. This option will only appear in the menu if you have access to one or more archived classes.
-
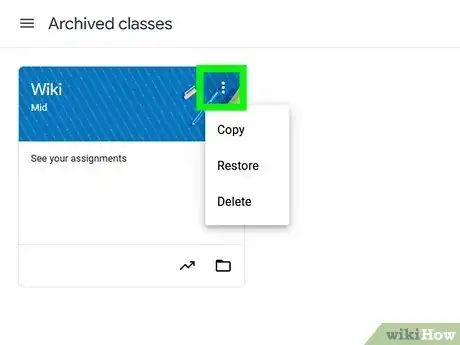
3Tap the More menu on the class card. The More menu is the three vertical or horizontal dots (depending on your platform) on the right side of the class name.
-
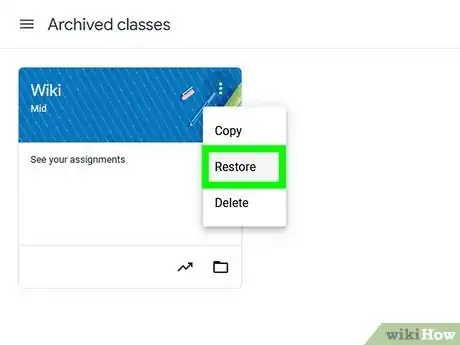
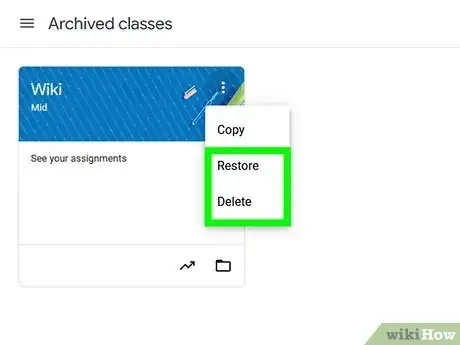
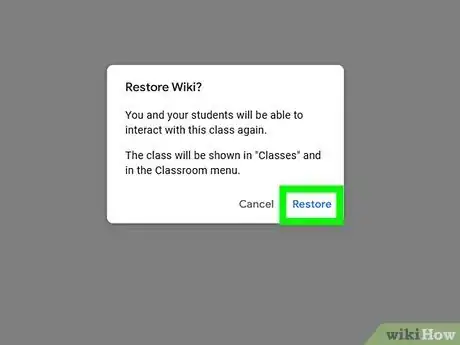
4Delete or restore the class. Tap Delete to permanently delete the class, or Restore to unarchive the class.
- Restoring a class returns the class card to the Classes page for both teachers and students, making it appear as a current class. Because the content won't be view-only anymore, students can once again interact with the class as normal.
-
Deleting a class is permanent—don't delete a class unless you are sure you'll never need to revisit the class posts, comments, or other materials again. There is no way to undelete a class.
- Class files will remain in Google Drive even if you delete a class, but all other traces of the class will be gone.
-
5Confirm the action. Whether you're deleting or restoring the class, you'll be asked to confirm the action. Tap Delete or Restore a second time to confirm.
