This article was co-authored by James Hornof. James Hornof is a Master Electrician and the Owner and President of B & W Electric based in Denver, Colorado. With over two decades of experience in the electrical construction industry, James specializes in field installation, management, estimating, and design. He graduated top of his class in electrical trade school and studied Business Management at The Community College of Denver. James holds a Master Electrician license in Colorado, Wyoming, and Texas.
This article has been viewed 128,269 times.
Backlit mirrors add a decorative ambiance to any room’s décor. You can backlight a mirror for your home by finding a mirror and LED light strips, attaching the lights with some careful measuring, and connecting them to a nearby power source. You’ll also need some materials from a home improvement store to get started on this fun project.
Steps
Choosing a Mirror and LED Strips
-
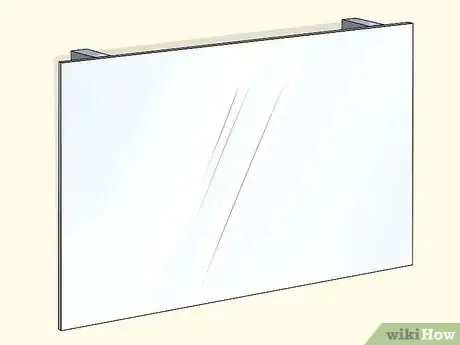
1Obtain a floating mirror. There will need to be space between the mirror and the wall in order for your lights to shine from behind your mirror. A floating mirror is installed with the right amount of space behind it; you can shop for a floating mirror in department stores or online.[1]
- Floating mirrors come with the necessary hardware and instructions to hang them away from your wall.
-
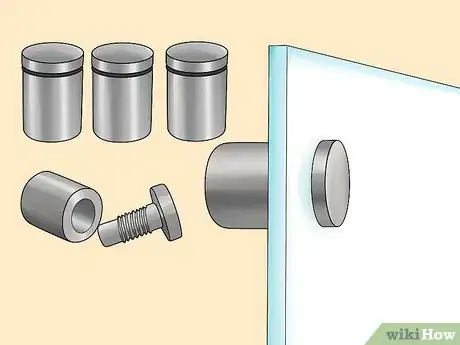
2Buy spacers if you want to use a non-floating mirror instead. If you choose to use a mirror you already have and it’s not a floating mirror, create space behind your mirror by installing either spacers or mounting bars. To use mounting bars, take measurements of your mirror and buy mounting bars at your local hardware store to fit behind your mirror. Or, create spacers of your own by using small pieces of wood that are even in width.[2]
- Glue the mounting bars or spacers to the back of your mirror using glass glue, silicone-based glue, or an all-purpose super glue.
- The goal of this step is to have your mirror lay 1–2 in (2.5–5.1 cm) away from the wall. Any way that you are able to achieve this, without the spacers being seen from the front, is fine.
Advertisement -
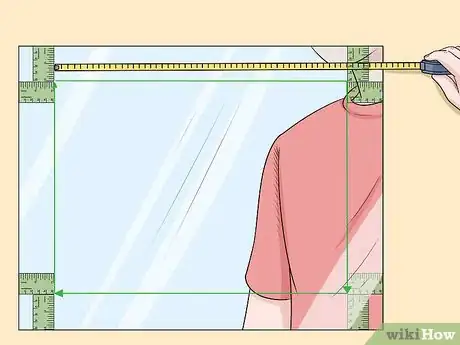
3Measure the circumference or perimeter of your mirror. With a tape measure or ruler, measure the circumference or perimeter of your mirror about 2 in (5.1 cm) away from the mirror’s edge. You want to be away from the edge so that the lights are not easily seen behind the mirror when they are attached.[3]
- To measure the circumference of a round mirror, start at a point 2 in (5.1 cm) away from the mirror’s edge at the top and measure to a point 2 in (5.1 cm) away from the bottom. Use a calculator to multiply this number by pi, or 3.14.
- To measure the perimeter of a rectangular mirror, measure all 4 sides of the rectangle starting and ending at points 2 in (5.1 cm) away from the corners. Add all of these measurements together.
- Write down the final number of your measurement. This is the length of LED strip you will need to backlight your mirror.[4]
-
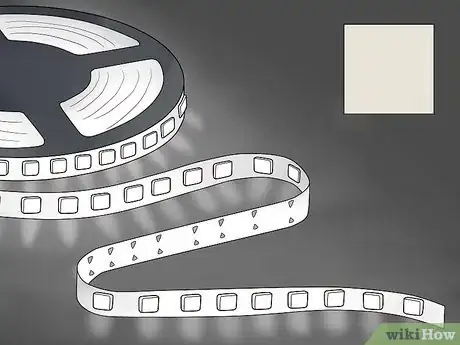
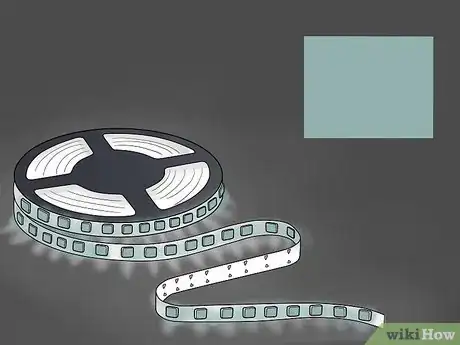
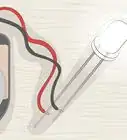
4Choose warm white 12V LED lights for a subtle effect. Warm white 12V LED lights are popular for backlighting and are versatile. You will get good light from behind your mirror but it will not be overwhelmingly bright.
- Choose this option for a practical backlighting in the bathroom so you can see better when you’re shaving or applying makeup.[5]
- LED light strips can be purchased at home improvement stores and online.
-
5Go with ultra-bright or colored LED strips for a modern look. If your backlit mirror is mainly decorative in purpose, you have the choice of buying an ultra-bright LED strip or strips that change color. Try matching colored strips to the décor in your room for a chic look.[6]
- Choose this type of LED strip for a hallway, living room, or bedroom mirror as an eye-catching decoration.
-
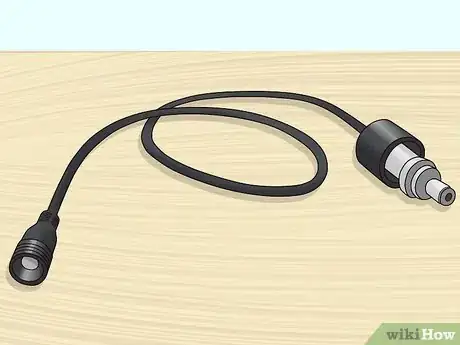
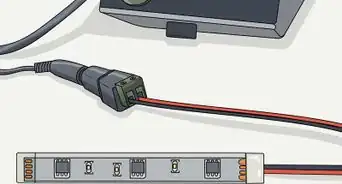
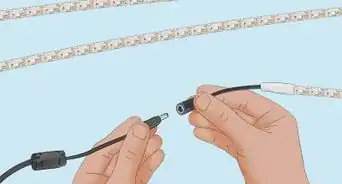
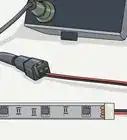
6Obtain a power source cable that's compatible with your LED strip. Some LED strips may come with plugs included, but if yours do not, you’ll need a connection between the strip and your outlet.[7] Inquire about power source cables for your voltage of lights at the home improvement store where you obtained your LED strip.[8]
- If you’re not experienced with determining appropriate voltage for your cable, an employee should be able to help you find a matching wiring to attach to your lights for after you’ve secured them to your mirror.
Attaching Lights to Your Mirror
-
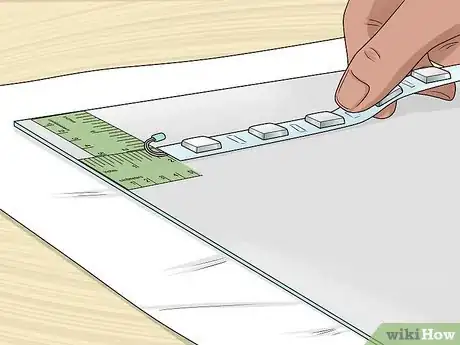
1Flip your mirror over and place the end of your LED strip at your starting point. Flip your mirror over so the back is facing up. Without removing the adhesive backing from the LED strip, place one end of your strip at a point 2 in (5.1 cm) away from the edge like you did when you were measuring.[9]
-
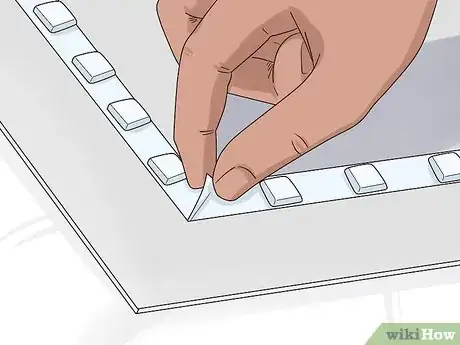
2Pinch the LED strip into a peak at the corners if your mirror is rectangular. Your LED strip has spaces in between the actual lights and connecting pieces of each component. For a rectangular mirror, choose the open space closest to where you made your first mark, and pinch the strip into a diagonal peak to form a 90-degree turn in your strip.[10]
- Repeat this process for your other 2 corners so that your strip now will fit nicely behind your mirror on all sides.
- Remember to try to keep your strip about 2 in (5.1 cm) away from the edge on all sides.
-
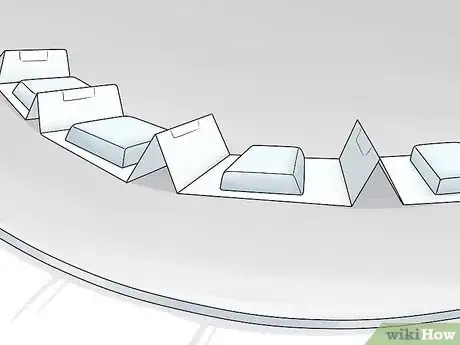
3Make accordion folds in your strip for gentle curves if your mirror is circular. Your light strip has open spaces between each lighting component along the strip. Choose an open space and make 2 consecutive folds, 1 forward fold and 1 backward fold, so that the strip begins to curve in the direction of the mirror.[11]
- Continue doing this around the entire circumference of the mirror so the lights can lay evenly about 2 in (5.1 cm) in away from the edge of the mirror.
-
4Glue your folds into place with super glue. Whether you folded your strip for a rectangular or circular mirror, you’ll need to keep your folds in place with super glue. Add a small dot of super glue into each fold you made and press the fold firmly for about 10 seconds, or until it holds on its own.[12]
-
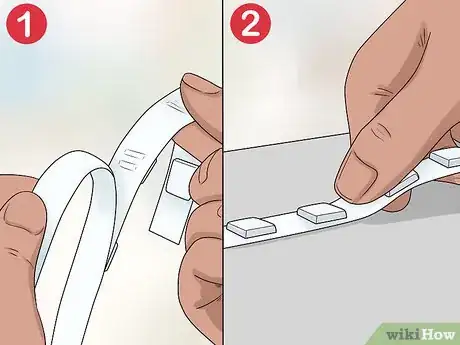
5Remove the adhesive backing from your light strip and attach it to your mirror. Once your lights are shaped to fit behind your mirror, you can remove the adhesive strip on the back and begin pressing them down into place. For the places where you made folds, simply snip the adhesive backing with scissors on both sides of the fold.[13]
- Be careful to press the light strip onto where you intended; if you have to rip it back up, the adhesive may be ruined and you’ll have to glue the strip down instead.
Installing Your Mirror
-
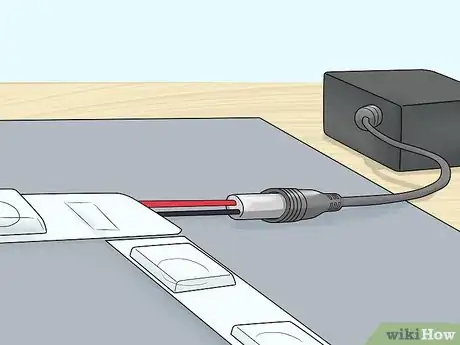
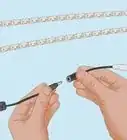
1Connect your lights to your power source cable. If you have remaining length in the end of your LED strip, clip it with scissors in a location that will allow you to attach the wires from your power source while still being hidden behind the mirror.[14] Attach the wires from your LED strip to the wires for your plug with crimp-on wire connectors, which are available at most hardware stores.[15]
- You have the option of soldering your wires together instead of using wire clamps if you are experienced with soldering and have the proper equipment. Remember that soldering will be permanent, as opposed to wire clamps which you can remove if you ever want to switch out your LED strip for a different type of light.
-
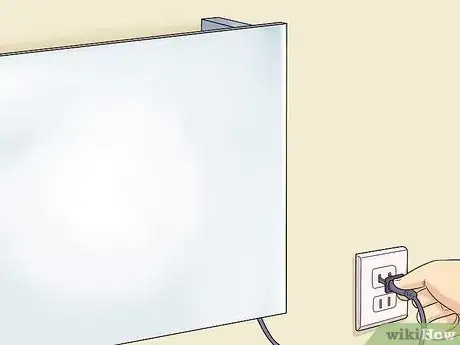
2Hang your mirror close to an outlet to manually plug it in. When your lights are attached and connected to a plug, you can hang your mirror so that the plug reaches your nearest outlet. Rehang a previously used mirror using the hardware that you used on it before, or hang a new mirror using the hardware that it came with.[16]
- You’re all ready to plug your mirror in and enjoy the backlight effect you created.
-
3Consult an electrician to control your lights from a wall switch. If you want to be able to turn your lights on and off with the rest of the lights in your room, you’ll need to speak with your electrician. They can instruct you in drilling a hole in the wall behind your mirror to run a transformer into the existing circuits in the room, or they may offer to do the job for you.[17]
- Tell your electrician that you’ve created a backlit mirror and you’d like to connect it with rest of your circuits for whatever room that it’s in.
Expert Q&A
-
QuestionHow do backlit mirrors work?
 Emma OberlanderEmma Oberlander is an Interior Designer and the Owner of Otis Street Design in Boston, Massachusetts. She specializes in residential remodels, boutique hospitality design, project management, and budget design. Emma holds a BA in Communication and Media Studies from Northeastern University and an MA in Interior Architecture from The New England School of Art and Design. She has a combined ten years of project management experience in the design, marketing, and non-profit industries, both nationally and internationally.
Interior Designer A lot of them are made with rearview mirrors, which include an LED light source.
 -
QuestionHow do you install LED lights on a mirror?
 Emma OberlanderEmma Oberlander is an Interior Designer and the Owner of Otis Street Design in Boston, Massachusetts. She specializes in residential remodels, boutique hospitality design, project management, and budget design. Emma holds a BA in Communication and Media Studies from Northeastern University and an MA in Interior Architecture from The New England School of Art and Design. She has a combined ten years of project management experience in the design, marketing, and non-profit industries, both nationally and internationally.
Interior Designer Run strips of LED tape along the back perimeter of your mirror. LED tape works well, as you need something shallow enough to sit behind the mirror.
 -
QuestionHow many watts should the LED strip be to decorate a bathroom mirror?
 Ammara MalikCommunity AnswerYou should use a 5-10 watt LED bulb. It'll be bright enough, but not too bright. If you have a dark bathroom, you should go for a 10 watt bulb, if you have a pretty illuminated bathroom, go for 5 watts.
Things You’ll Need
- Floating mirror or spacers to attach to a non-floating mirror
- Ruler or tape measure
- LED light strip of your choice
- Power source cable for your LED strip if needed
- Super glue
- Scissors
- Crimp-on wire connectors
References
- ↑ http://blog.inspiredled.com/get-this-look-ii-backlit-bathroom-mirror/
- ↑ https://www.ikeahackers.net/2013/03/ambilight-enabled-hovet-mirror.html
- ↑ http://blog.inspiredled.com/get-this-look-ii-backlit-bathroom-mirror/
- ↑ James Hornof. Master Electrician. Expert Interview. 7 September 2021.
- ↑ Emma Oberlander. Interior Designer. Expert Interview. 7 April 2021.
- ↑ http://blog.inspiredled.com/get-this-look-ii-backlit-bathroom-mirror/
- ↑ James Hornof. Master Electrician. Expert Interview. 7 September 2021.
- ↑ Emma Oberlander. Interior Designer. Expert Interview. 7 April 2021.
- ↑ http://blog.inspiredled.com/wp-content/uploads/2016/08/How-to...-bend-flex.pdf
- ↑ http://blog.inspiredled.com/wp-content/uploads/2016/08/How-to...-bend-flex.pdf
- ↑ http://blog.inspiredled.com/wp-content/uploads/2016/08/How-to...-bend-flex.pdf
- ↑ http://blog.inspiredled.com/wp-content/uploads/2016/08/How-to...-bend-flex.pdf
- ↑ http://blog.inspiredled.com/get-this-look-ii-backlit-bathroom-mirror/
- ↑ James Hornof. Master Electrician. Expert Interview. 7 September 2021.
- ↑ Emma Oberlander. Interior Designer. Expert Interview. 7 April 2021.
- ↑ https://www.ikeahackers.net/2013/03/ambilight-enabled-hovet-mirror.html
- ↑ http://blog.inspiredled.com/wp-content/uploads/2016/08/How-to...-bend-flex.pdf
About This Article
Backlighting a mirror is a fun project that can add a decorative twist to your home. You’ll need to use a floating mirror for this project, or install spacers or mounting bars behind an existing mirror. This will create the space behind your mirror for the lights to shine. Then, choose an LED strip that's the same length as your mirror. Choose a 12V warm white LED strip for a classic look, or a multi-colored strip for a modern twist. Attach your LED strip to the back of the mirror using the adhesive strip, then connect your LED strip to a power source cable. You should hang your mirror close to a power socket so you can easily turn the lights on and off. For tips on how to fold your strip for a circular mirror, keep reading!
