This article was co-authored by Allen Lee. Allen Lee is a Home Improvement Specialist and the Owner of Honest Lee Handyman Services, a licensed and insured handyman business servicing Sacramento, California, and surrounding areas. Working with homeowners and businesses to get their small repairs done in a timely and efficient manner, Honest Lee Handyman Services provides gutter and dryer vent cleaning along with fixture, fence, drywall, and toilet repairs.
There are 13 references cited in this article, which can be found at the bottom of the page.
This article has been viewed 109,471 times.
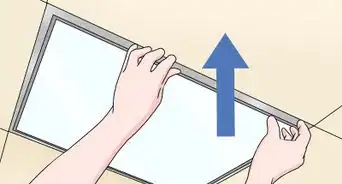
Fluorescent lights are a common choice for long-lasting, energy-efficient lighting, but they still need to be repaired or removed at times. Touch a light fixture only after disconnecting it from the room’s electrical circuit. Then, remove the cover, bulbs, and fixture base as needed. Replace the bulbs or the entire fixture to light up your home again.
Steps
Removing the Cover
-
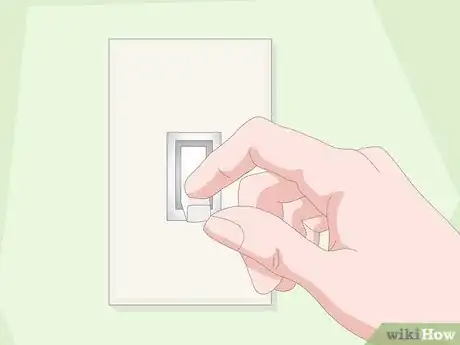
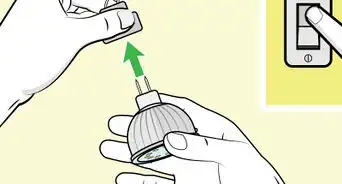
1Flip the light switch to turn off power to the fixture.[1] If the light plugs into the wall, unplug it from the outlet to disconnect it from the room’s electrical current. Test the light afterwards to make sure it doesn’t turn back on. If the light was on, give it a minute to cool down before handling it.[2]
- You do not need to use the circuit breaker to remove the cover or change a bulb.
-
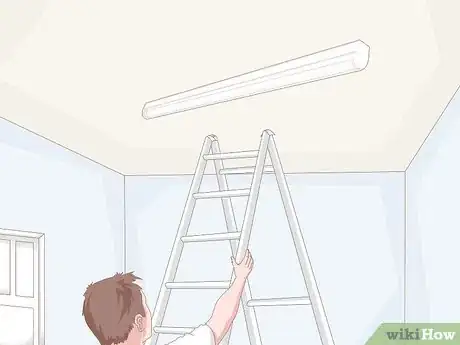
2Set up a stepladder to reach the light fixture. Most fluorescent lights are up high on the ceiling, out of reach from ground level. Unfold the stepladder, then climb up it to test its stability. Make sure you are able to access the light without difficulty.Advertisement
-
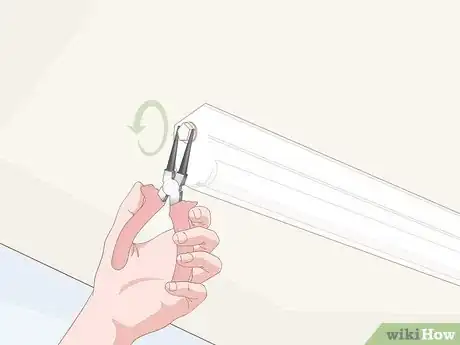
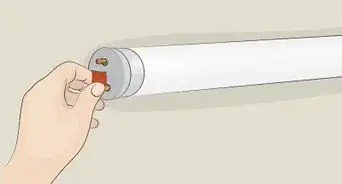
3Remove the cap or tab on the light if your fixture has it. Check the ends of the fixture for metal components holding it in place. Use pliers to twist the locknut on the end cap counterclockwise until it pops off. Hold the fixture’s cover in place, then attempt to slide the cap or tab off with your free hand.[3]
- If you are unsure about how to remove the cover over the light bulb, consult your owner’s manual. Most light fixtures aren’t too tricky to work with, but they do vary a little from model to model.
-
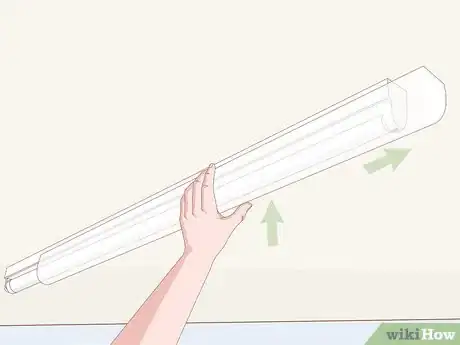
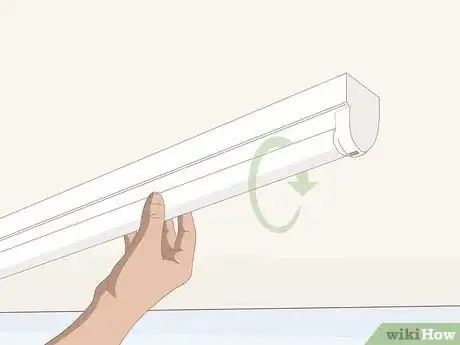
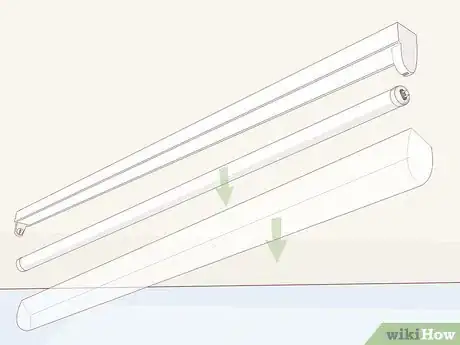
4Push the cover up and slide it off the light fixture. Grip the top edge of the fixture’s cover with your fingers. Place your thumbs on the bottom edge. Attempt to pull the cover down while lightly pressing it with your thumbs. If the cover doesn’t pop off right away, do this a few times along the length of the cover to loosen it.[4]
- For the best result, start at 1 end of the light fixture. That way, the cover is more likely to stay attached at the other end, giving you more time to catch it and lower it safely.
- If metal tabs hold the cover in place, push the tabs up with pliers, then pull the cover towards you to remove it.
-
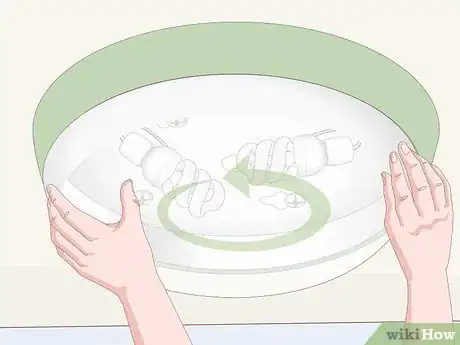
5Turn the cover counterclockwise if your fixture is circular. Grab onto the outer edge of the cover. Twisting the cover to the left loosens it. Keep turning it until it comes off. It slides off the base the same way the cover does on ordinary rectangular fixtures.[5]
- Circular covers contain circular bulbs. Purchase identical replacements if you plan on changing the bulb.
Removing the Bulb
-
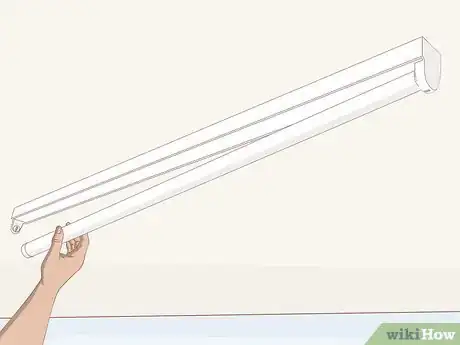
1Rotate the bulb clockwise to loosen it in the socket. Fluorescent bulbs are long tubes held in place by pairs of pins. These pins fit in slots in the light fixture. Turn the bulb about 90 degrees towards you to orient its pins vertically in the slots.[6]
- Repeat this with each bulb to remove it. Work 1 bulb at a time to ensure they don’t fall and shatter.
-
2Pull the bulb away from the fixture’s side if it doesn’t rotate. Bulbs that don’t rotate still attach to the light fixture through a series of pins. Remove the bulb 1 end at a time. Pull the bulb away from the cover’s side. The pins on the bulb will pop out of the holes in the cover. Repeat this with the other side to free the bulb.[7]
- If you’re unsure where the bulb connects, pull the sides of the light fixture back gently to locate the slots.
-
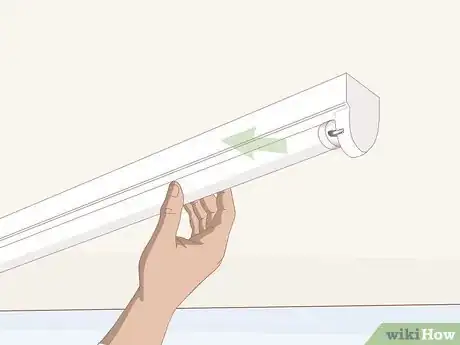
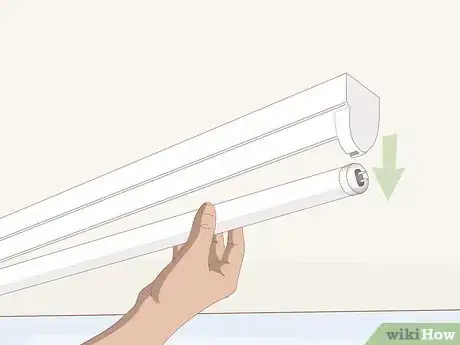
3Slide the bulb out of the light fixture to remove it. Loosen the bulb 1 end at a time until it is free from the fixture. Nothing will be holding it in place, so keep a firm grip on it to prevent it from falling. Pull it down from the light fixture and set it aside.[8]
- Fluorescent bulbs are long, so keeping a hold on them is tricky at times. Have a friend on hand to catch and remove the bulb once it is free.
-
4Install a new bulb as needed by aligning the pins in the fixture’s slots. Lift the new tube up towards the light fixture. Line the pins on the ends of the tube with the slots in the fixture. Orient the pins vertically, then slide them into the slots. Rotate the bulb counterclockwise about 90 degrees to lock the bulb in place.[9]
- If your fixture doesn’t have slots, look for holes for the pins. Position the bulb so you are able to slide the pins into the holes. Repeat this with the bulb’s other side to lock it in place.
- If you need to remove the entire fixture, don’t replace the bulb.
Removing a Fixture
-
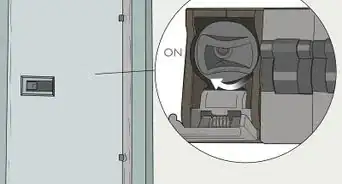
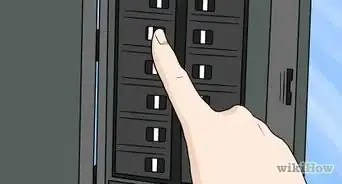
1Flip the circuit breaker to turn off electricity to the room.[10] Locate the circuit breaker in your home. It is typically on the ground floor, close to where utility wires enter your home. Find the circuit for the room containing the light fixture and flip the switch to deactivate it. Then, test electrical devices in the room to ensure they are unable to be activated.[11]
- Some common locations for the fuse box or circuit breaker are in the garage, basement, or out of the way storage areas.
- If the circuits are unlabeled, flip the main switch to deactivate the electrical current in your entire home.
-
2Remove the light cover and bulbs. The bulbs and cover need to be out of the way in order to access the fixture’s internal components. Slide the cover off, then rotate the bulbs until you are able to slide them out of their sockets.[12]
- Make sure the light fixture is unplugged or the circuit to the room you are in has been deactivated.
-
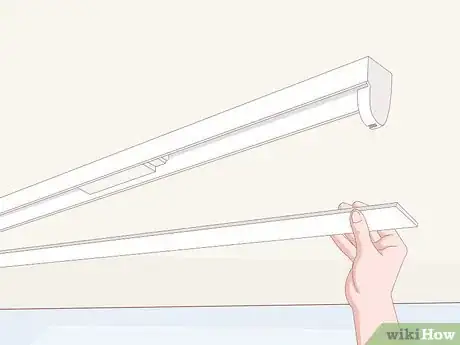
3Pull off the cover holding the wires in place. The cover sits between the bulbs and the ceiling. It is typically made of metal. To remove it, grab onto it and tug it down. If it doesn’t come out right away, pry at different spots around the cover’s edge until it snaps off the fixture.[13]
- Some covers may have a twistable wingnut holding it in place. Turn the wingnut counterclockwise until you are able to pull the cover down.
-
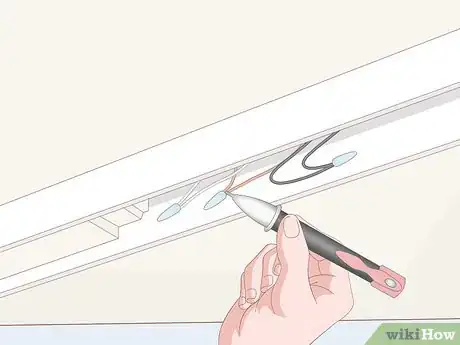
4Test the wires with a voltage detector before touching them.[14] Make sure the wires aren’t active before you handle them. With a voltage detector, all you need to do is touch the detector’s tip to the wire. It will light up if it detects an electrical current. Some detectors, similar to multimeters, have colored leads you press to the exposed metal ends of the wires to test the current.[15]
- Voltage detectors and multimeters are available at most hardware stores.
- If the detector indicates an active current, go back and check the circuit breaker in your home. Someone may have turned it back on. Make sure it is off, or turn off the main breaker.
-
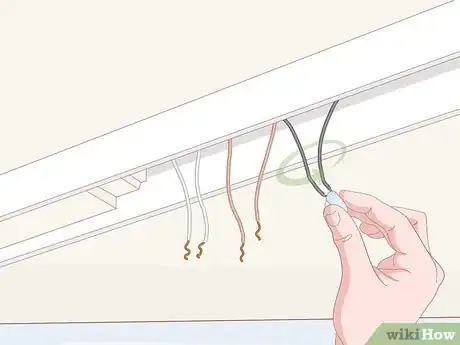
5Unscrew the wire caps holding the wires together. Upon removing the cover, you will see a bundle of wires held together by plastic caps. Twist the caps counterclockwise. They come off the wires easily. Then, untangle the wires connecting the light fixture to your home’s electrical circuit.[16]
- Take a picture of the wire configuration if you need to in order to reconnect them later. Typically, all you need to do is connect same-colored wires together.
-
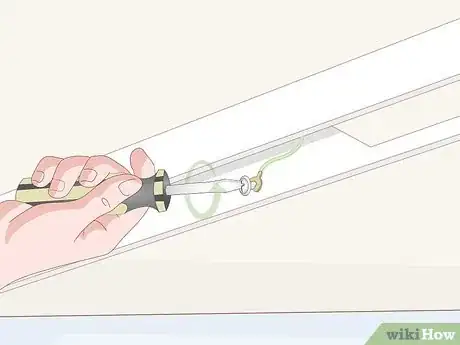
6Undo the screw holding the ground wire in place. Look for a plain metal screw securing a single wire to the fixture’s base. The wire is usually green or copper-colored. You will need a Phillips screwdriver or pliers. Twist the screw counterclockwise to remove it.[17]
- The ground wire distributes electricity in the circuit, preventing electrical shocks when you touch the wires.
-
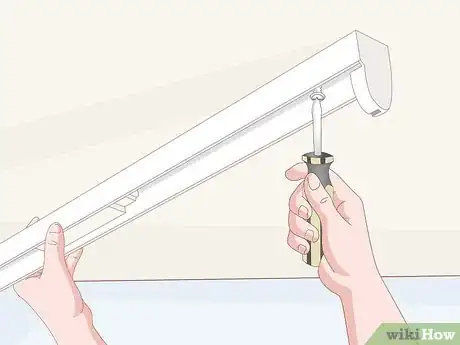
7Unscrew the bolts holding the fixture’s ends to the ceiling. Most fixtures attach through a pair of lag bolts you will need a cordless screwdriver to remove. Turn the bolts counterclockwise to detach the fixture from the ceiling. Hold onto the light fixture with 1 hand while gradually loosening each screw. After loosening the screws, lower the fixture to finish the removal process.[18]
- Have someone else hold the fixture as you loosen the screws, if possible. That way, you have both hands free to work on the screws.
- If the fixture is stuck, you may need to cut into the drywall a little bit. Use a sharp utility knife to make small cuts until you are able to get the bolts out of the ceiling safely.
Expert Q&A
Did you know you can get expert answers for this article?
Unlock expert answers by supporting wikiHow
-
QuestionHow do I remove a ceiling light fixture if there are no visible screws?
 Allen LeeAllen Lee is a Home Improvement Specialist and the Owner of Honest Lee Handyman Services, a licensed and insured handyman business servicing Sacramento, California, and surrounding areas. Working with homeowners and businesses to get their small repairs done in a timely and efficient manner, Honest Lee Handyman Services provides gutter and dryer vent cleaning along with fixture, fence, drywall, and toilet repairs.
Home Improvement Specialist
Warnings
- Never use a metal ladder, which could make a situation worse if you get electrocuted. Instead, use a fiberglass ladder.[19]⧼thumbs_response⧽
- Touching live wires is very dangerous. Make sure the power is off before you handle bulbs or wires.⧼thumbs_response⧽
Things You’ll Need
Removing the Cover
- Stepladder
- Pliers for fixtures with metal tabs
Removing the Bulb
- New bulb
- Stepladder
- Pliers for fixtures with metal tabs
Removing a Fixture
- New fixture
- Stepladder
- Pliers for fixtures with metal tabs
- Voltage tester
References
- ↑ Allen Lee. Home Improvement Specialist. Expert Interview. 10 July 2020.
- ↑ https://www.homepower.com/articles/home-efficiency/electricity/changing-fluorescent-tubes-leds
- ↑ https://goodhomeids.com/how-to-remove-fluorescent-light-cover/
- ↑ https://www.youtube.com/watch?v=0ozxHtexEGE&feature=youtu.be&t=18
- ↑ https://goodhomeids.com/how-to-remove-fluorescent-light-cover/
- ↑ https://www.youtube.com/watch?v=R_n1cGOzp7Y&feature=youtu.be&t=64
- ↑ https://www.youtube.com/watch?v=-EY1L4Gamh4&feature=youtu.be&t=104
- ↑ https://www.youtube.com/watch?v=oh3a_p7C104&feature=youtu.be&t=12
- ↑ https://www.youtube.com/watch?v=R_n1cGOzp7Y&feature=youtu.be&t=103
- ↑ Allen Lee. Home Improvement Specialist. Expert Interview. 10 July 2020.
- ↑ https://www.homepower.com/articles/home-efficiency/electricity/changing-fluorescent-tubes-leds
- ↑ https://www.homepower.com/articles/home-efficiency/electricity/changing-fluorescent-tubes-leds
- ↑ https://www.youtube.com/watch?v=pdWmFJSV9R0&feature=youtu.be&t=111
- ↑ Allen Lee. Home Improvement Specialist. Expert Interview. 10 July 2020.
- ↑ https://www.youtube.com/watch?v=_aNhx-pru1A&feature=youtu.be&t=113
- ↑ https://www.youtube.com/watch?v=ra4mYfr8CsA&feature=youtu.be&t=116
- ↑ https://www.youtube.com/watch?v=pdWmFJSV9R0&feature=youtu.be&t=147
- ↑ https://www.youtube.com/watch?v=ra4mYfr8CsA&feature=youtu.be&t=78
- ↑ Allen Lee. Home Improvement Specialist. Expert Interview. 10 July 2020.
