X
wikiHow is a “wiki,” similar to Wikipedia, which means that many of our articles are co-written by multiple authors. To create this article, volunteer authors worked to edit and improve it over time.
The wikiHow Video Team also followed the article's instructions and verified that they work.
This article has been viewed 89,094 times.
Learn more...
When you come to the end of a crochet project you need to tie it off properly or all of your hard work could come undone. The term "bind off" is used to describe how you tie off your crocheting properly, making a seamless transition at the end of your project. When your crochet pattern asks you to "bind off", here is what you should do.
Steps
Method 1
Method 1 of 2:
Binding Off Straight Crochet Rows
-
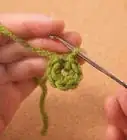
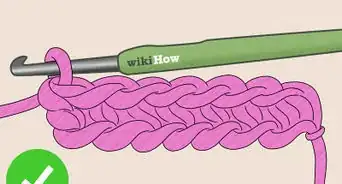
1Finish the stitches on your last row. You should end up with one loop on your hook and the working end of your yarn sticking out across the last stitch.
-
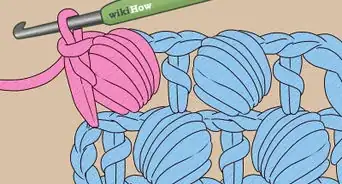
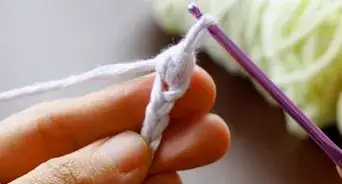
2Make one additional chain stitch. Begin this by looping the working end of your yarn around your hook. Rotate your hook slightly, so the yarn stays on it, and then pull the loop of yarn back through the loop that was already on your hook. You should now have one new loop on your hook.Advertisement
-
3Pull the loop off your hook and pull it out a bit, extending it up about three inches. You can do this by pulling the extra yarn from the working end of your project.
-
4Clip the middle of the loop with your scissors. Pull out the loose end of the yarn (your working end), leaving one piece of yarn sticking out of the end of your project. This piece should be at least a couple inches long.
-
5Pull the piece of yarn sticking out of your project taut.[1] This should tie the end of the project off permanently and effectively, creating a solid knot.
-
6Thread the end of the yarn onto a yarn needle. If you are having a hard time doing this, simply bend the middle of the yarn in half and squeeze it tight. Push the bent area through the eye of the needle.
-
7Thread the end of the yarn back through your project so it is hidden. Using the needle, pull the yarn back through the middle of the last three stitches you made. Pull the end of the yarn out, so that the needle and yarn are sticking out in the middle of the row, and then stick the needle back into the project. Head back in the other direction with your needle and yarn, inserting the needle one row down and pushing it through the middle of about three stitches. This should lock your yarn tail in place.
-
8Trim any excess yarn once you have threaded the yarn back and forth through the end of your project. The yarn should stay in place, hidden in the middle of several rows of your stitches.
-
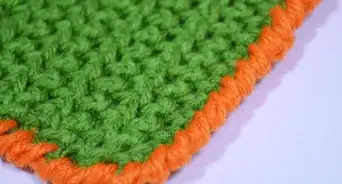
9Stretch out the last row of your project. Make sure that the end of the yarn is still tucked away neatly and that the tension on the row is that same as the rest of your project. Your project is now finished!
Advertisement
Method 2
Method 2 of 2:
Binding Off Crocheting in the Round
-
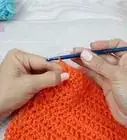
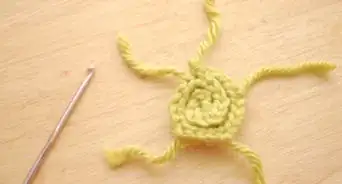
1Crochet your last ring of stitches. This will leave you with a gap between the beginning of the round of stitches and the end of that round.
-
2Pull the last loop of yarn off your hook and extend it out, pulling excess yarn from the working end of your yarn. You should make your loop about eight inches long.
-
3Cut the middle of the yarn loop with your scissors. Pull the working end out of the project, leaving one piece of yarn sticking out of the end of your round. You will end up with four or five inches of tail, which is necessary for you to be able to finish the project.
-
4Thread a yarn or tapestry needle onto the end of your yarn tail. If you are having a hard time getting the yarn threaded, bend your piece of yarn over and squeeze the bent area as thin as possible with your thumb and forefinger. Push this thin bent area through the head of the needle. It should go through easier than a raggedy end piece.
-
5Insert the needle under the first stitch of the round, moving from outside to inside, then pull your yarn tight. In essence, you are connecting the end of your last round to the beginning of your last round by replicating that same type of stitch.[2]
-
6Take your needle and pull it back toward the end of your round, inserting it into the middle of your last bound off stitch, the one at the very end of your last row. Point the end of the needle toward the inside of your project and pull the thread through. This should lock the end of your yarn in place for good.
- Try to match the tension that you used in the rest of the project, so that the last stitch you just made does not stand out.[3]
-
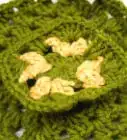
7Weave in the tail of your yarn on the inside of your project. Make sure that the end is secure before you clip off any extra tail with your scissors. You should now have an invisible bind off on your circular crochet project!
Advertisement
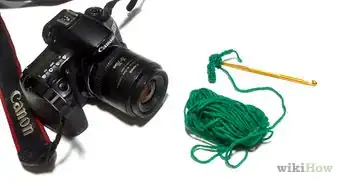
Things You'll Need
- Crochet hook
- Yarn
- Scissors
References
About This Article
Advertisement