An in-depth guide to safely and effectly bleed your oil furnace
X
wikiHow is a “wiki,” similar to Wikipedia, which means that many of our articles are co-written by multiple authors. To create this article, 15 people, some anonymous, worked to edit and improve it over time.
This article has been viewed 343,431 times.
Learn more...
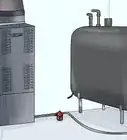
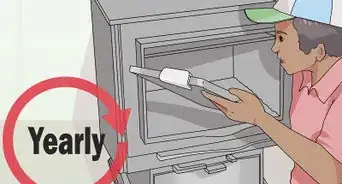
If you’ve tried the furnace reset button, checked to make sure there is fuel oil and your furnace still won’t start, don’t fret. Before you call the repairman or start shopping for a new furnace, check the fuel source and make sure the line to the furnace is void of air. Running low on or being out of fuel can cause a furnace to not restart even after you replenish the fuel supply. You may simply need to bleed an oil furnace line and start it up again.
Steps
Part 1
Part 1 of 2:
Prepare to Bleed the Furnace
-
1
-
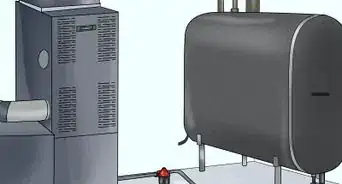
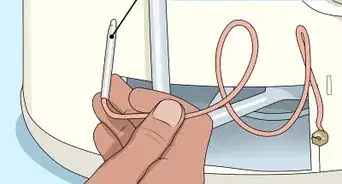
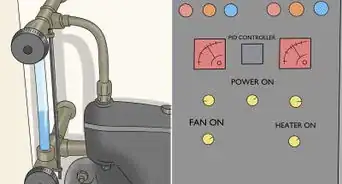
2Locate the bleed screw on the fuel pump near where the fuel line comes in. The screw is usually a small nipple-like screw.[2]Advertisement
-
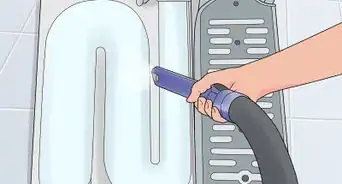
3Place a small bucket or pan under the bleed screw. The bucket will catch any fuel that sputters out as you bleed an oil furnace.[3]
- If the screw is in an area that is impossible to put a bucket or small tray under, use a flexible tubing just big enough to fit over the bleed screw. Place the tube over the bleed screw and direct it to an area where you can fit the tray or bucket.


Advertisement
Part 2
Part 2 of 2:
Bleed the Furnace
-
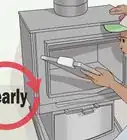
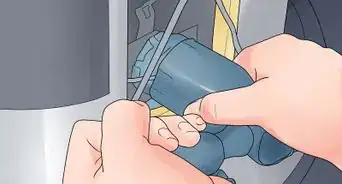
1Use a small crescent wrench or pliers to slightly loosen the bleed screw. Make sure the screw remains on the pump and is only a little loose, so it doesn’t fall completely off when you bleed the oil furnace.[4]
-
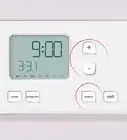
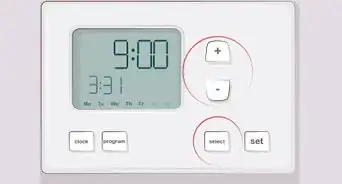
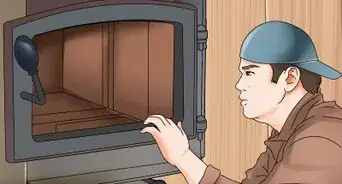
2Push the reset button on the furnace to turn it back on. As the furnace starts to suck fuel in, air and fuel will spit out of the bleed screw.[5]
- Keep your pliers or wrench on the screw ready to tighten it. This will also ensure the screw remains in place, if you did loosen it too much.
- If the furnace cycle ends before the air and fuel mixture stops sputtering, you’ll need to push the reset button again to continue the bleed process until the furnace pushes out all the air from the line.
- Some furnaces may have a lockout system that won’t allow you to reset more than one or two times. If this happens, you can override the lockout by holding the reset button in until the furnace kicks in again.
-
3Tighten the screw as soon as the air stops sputtering out and a steady stream of fuel pours out. Be careful not to tighten it too much. Replacing a stripped bleed screw can be a very costly project.
-
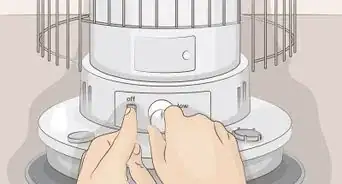
4Let the furnace continue to run. It should run normally without problems now. If it doesn’t restart the next time, check the line for air again by repeating the bleed process. You may not have gotten all the air out the first time, or you may have a debris blockage in your fuel line.


Advertisement
Community Q&A
-
QuestionPart one, step one, says to turn off the furnace, but part two says to hit the reset button. I have to turn it back on right? What was the point of turning it off?
 Community AnswerYes this is a mistake. Furnace should be on, and fuel is only pressurized when reset cycle is activated.
 -
QuestionI have bled and pressed the reset button and it still doesn't work. What should I do?
 Community AnswerIt may take more time than expected. I just did this, and it took about 8 reset/bleed cycles, and about 15 minutes. I had to wait a minute or more before each reset. Each bleed was maybe 1/4 to 1/2 cup oil, plus air, so it filled 2/3 of a large yogurt container. It was just starting to get frustrating when I heard the burner finally light.
 -
QuestionHow tight do I close the bleeder valve?
 Johnny The CriticCommunity AnswerTight enough so that oil doesn't leak out. Hand tight should be good, then just a smidgen more. Be very careful not to over tighten. A stripped bleeder valve will be a costly repair.
Advertisement
Things You’ll Need
- Pliers or wrench
- Bucket
- Rubber gloves


-Step-34.webp)
References
- ↑ https://www.brennanshvac.com/blog/what-does-bleeding-a-furnace-mean
- ↑ https://www.griffithenergyservices.com/articles/restart-your-furnace-after-running-out-of-heating-oil
- ↑ https://www.oldhouseonline.com/repairs-and-how-to/radiator-handbook
- ↑ https://www.youtube.com/watch?v=IPun2e8N-tc
- ↑ https://www.youtube.com/watch?v=DFY10lAQM28
About This Article
Advertisement