A quick guide to blur the background on an iPhone photo
This article was co-authored by wikiHow staff writer, Kyle Smith. Kyle Smith is a wikiHow Technology Writer, learning and sharing information about the latest technology. He has presented his research at multiple engineering conferences and is the writer and editor of hundreds of online electronics repair guides. Kyle received a BS in Industrial Engineering from Cal Poly, San Luis Obispo.
The wikiHow Tech Team also followed the article's instructions and verified that they work.
This article has been viewed 9,369 times.
Learn more...
Blurring the background of a photo puts the emphasis on the subject while creating a beautiful in-focus effect. You can use your iPhone’s Portrait Mode to take photos with a blurred background automatically added in. Alternatively, use a photo editing app like Adobe Photoshop Express to blur the background later. This wikiHow shows you how to blur the background of a photo on your iPhone.
Things You Should Know
- Portrait Mode, which blurs the background of your photos, is available on iPhone SE and later, iPhone X and later, iPhone 7 Plus, & iPhone 8 Plus.
- Use Portrait Mode in the iPhone Camera app to automatically blur backgrounds.
- Adjust the Portrait Mode blur by tapping Edit under the photo.
- Try the Adobe Photoshop Express app to blur the background on existing photos.
Steps
Using Portrait Mode
-
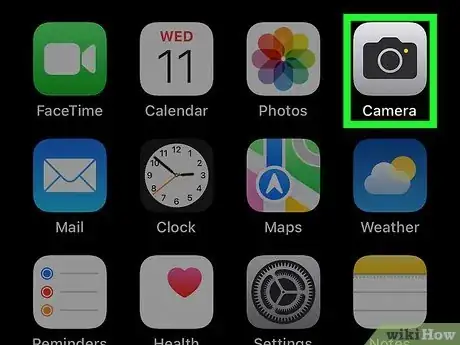
1Open the Camera app. The iPhone Camera app has a gray camera on a light gray background. Using your iPhone camera is a great way to develop your photography skills.
-
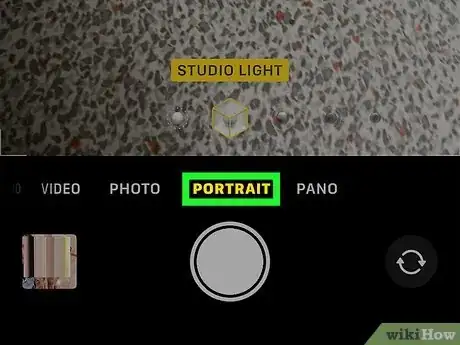
2Tap Portrait. This camera option is located in the select tabs below the camera preview. It’s to the right of “Photo.”Advertisement
-
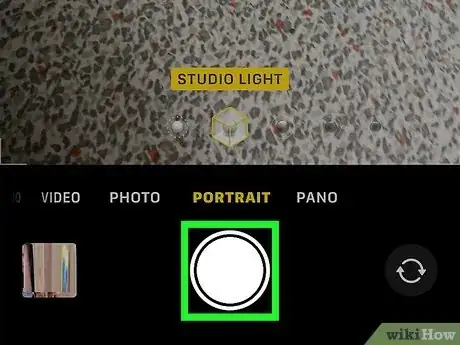
3Tap the capture button to take a picture. It’s the white circle at the bottom of the screen. Your iPhone will automatically blur the background behind your subject.
- Taking a good picture on your smartphone takes practice! You may need to take several photos to get it right.
-
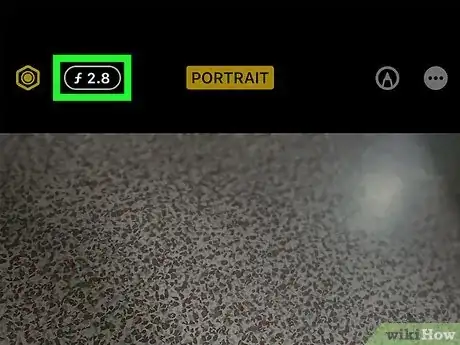
4Adjust the blur. You can change the blur effect of a Portrait Mode photo by following these steps:[1]
- Tap the photo.
- Tap Edit at the bottom of the photo.
- Tap the f-stop button in the top left of the edit screen.
- Move the Depth slider to alter the blur effect.
- Press Done when you’re ready to save the edit.
Using Photoshop Express
-
1Download “Photoshop Express Photo Editor.” You can find this Adobe app on the Apple App Store. This method can blur the background of any photo by detecting the subject and adding a blur effect.
- Editing photos is an essential photography skill with a wide range of applications.
-
2Open Photoshop Express. It has a blue “Ps” inside of a square.
-
3Tap the photo you want to edit. Your iPhone photos will appear under “Edit your photos” on the Home tab.
-
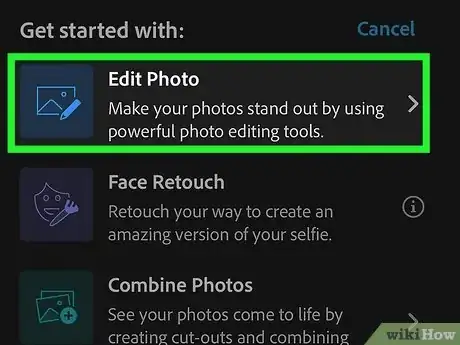
4Tap Edit Photo. This is an option under “Get started with:” after tapping the photo.
-
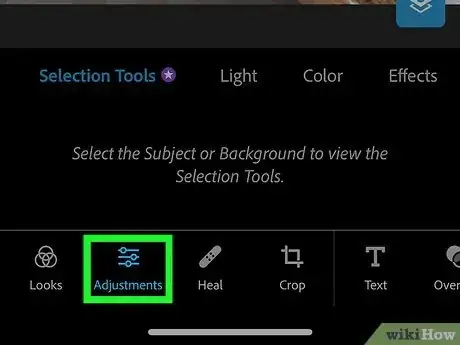
5Tap Adjustments. This is a tab at the bottom of the screen.
-
6Tap Background. This will automatically detect and select the background behind your subject.
-
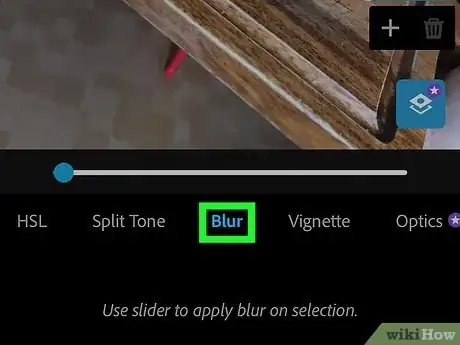
7Tap Blur. This is an option in the “Selection Tools” list below the photo preview. You may need to scroll to the right to see it.
-
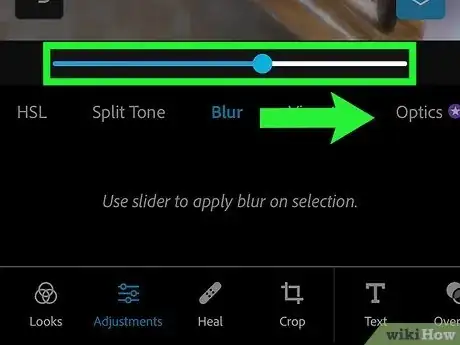
8Drag the slider to the right. This will apply a blur effect to the background of your subject.
-
9Save your photo. Tap the save button at the top of the photo preview. It is an arrow pointing down into a square bracket. You’ve successfully blurred the background of your photo! You’re ready to send the picture from your iPhone to your computer.
