This article was co-authored by Spike Baron. Spike Baron is the Owner of Spike's Computer Repair based in Los Angeles, California. With over 25 years of working experience in the tech industry, Spike specializes in PC and Mac computer repair, used computer sales, virus removal, data recovery, and hardware and software upgrades. He has his CompTIA A+ certification for computer service technicians and is a Microsoft Certified Solutions Expert.
This article has been viewed 34,741 times.
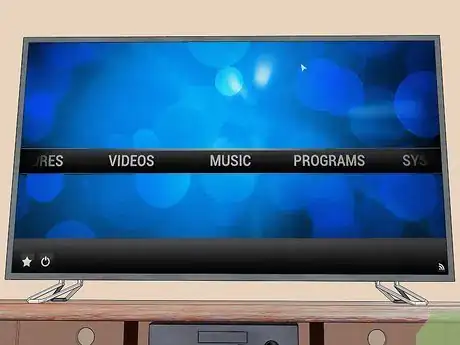
With entertainment steadily becoming more and more web-centric, the possibility of centralizing all of your TV, Internet, digital photos and video games into one hub is very appealing. Building a Media PC, or Home Theater PC (HTPC), yourself is rewarding and can save you a lot of money as opposed to buying a pre-built PC. Learn how to build a Media PC by following this guide.
Steps
Obtaining the Right Parts
-
1Shop around. Prices vary a great deal between outlets. Find a retailer that has a good return policy, as computer components have a chance of being DOA (dead on arrival). You’ll want to buy from a company that makes exchanging parts as hassle-free as possible.[1]
-
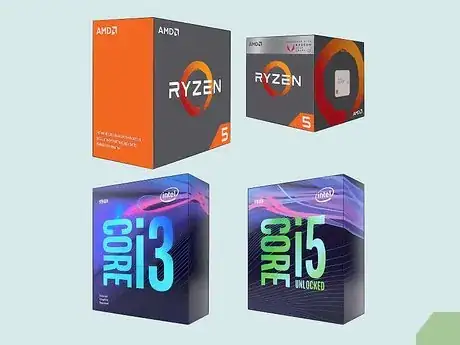
2Choose a processor. For a media PC, you won’t need the latest and most expensive processor that you might need in a gaming PC. You will need one that can handle HD playback of movies. Look for a mid-range quad-core processor.
- Try to use a low-energy processor, as this will lower your heating requirements, which will in turn reduce the overall noise of your machine.
Advertisement -
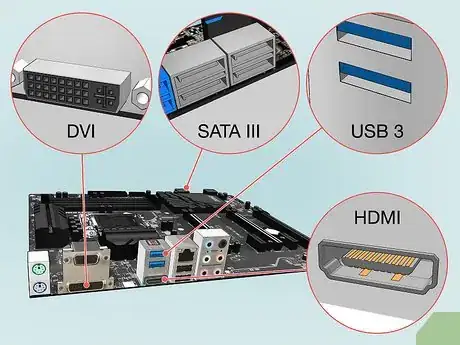
3Choose a motherboard. Your motherboard choices will largely be dictated by your processor choice. USB 3.0, Ethernet, and Wi-Fi are all essential components of a good motherboard. You’ll want a motherboard that has HDMI and DVI connectors, depending on the TV that you are connecting it to. HDMI transmits both audio and visual signals, so if you aren’t connecting via HDMI you’ll need audio connectors such as SPDIF.
- If you are planning on getting a solid state drive (more on that below), make sure that the motherboard has SATA III support.
- Motherboard size is determined by the case that you choose, and vice versa.
-
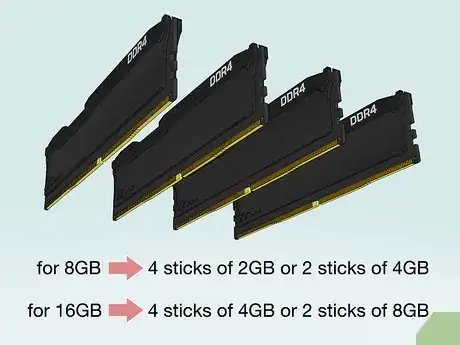
4Purchase RAM. RAM is one of the simpler purchases when building an HTPC. Compare reviews to make sure you are buying from a trusted company, as RAM has a fairly high fail rate. The pins for the sticks of RAM must match the pin for the motherboard. Make sure that the DDR Type and Frequency are supported by your motherboard.
- Since RAM is inexpensive, get the highest frequency RAM that your motherboard can support. You will want 8-16 GB, either as 4 sticks of 1GB or 2 sticks of 2GB.
-
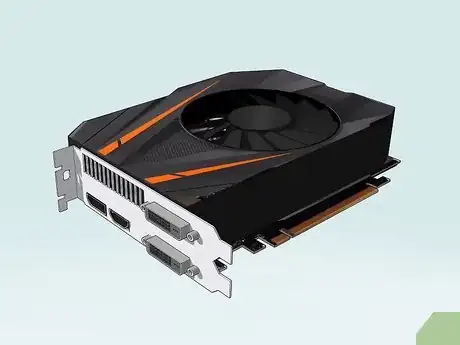
5Choose a video card (optional). You will only need a video card if you are planning on playing games on your HTPC as well. Most motherboards will be able to handle video playback and streaming just fine. If you are adding a video card, you will also need to make sure that your power supply and case (below) will support it.[2]
-
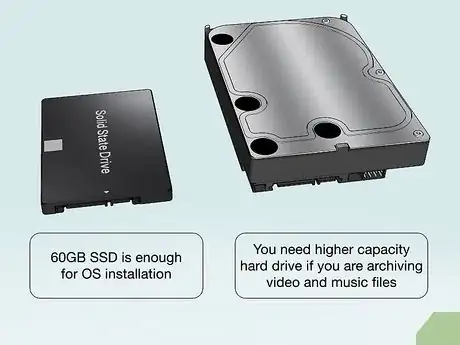
6Decide on the storage amount. Your storage needs will vary depending on the way you intend to use your HTPC. If you are streaming video from the internet and watching movies on DVD and Blu-ray, you will not need much in the way of storage. If you are archiving video and music files, you could potentially need several terabytes of storage. Either way, you will need at least a 60GB hard drive to install your operating system (OS) and media programs on.
- Consider a solid state drive for your OS. They are quiet and low power, and quite a bit faster than a traditional hard drive. This will lead to quicker startup times.[3] They are significantly more expensive, however, and may not be suitable for large amounts of storage.
-
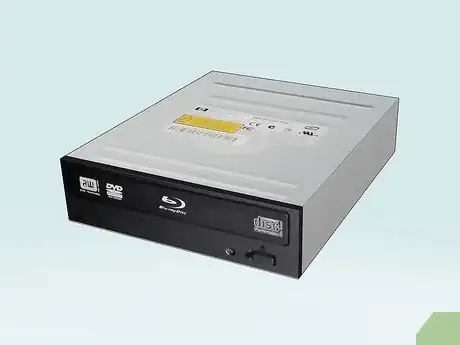
7Purchase an optical drive. Any modern HTPC should have a Blu-ray drive installed. This will get you the best picture quality when watching HD movies. Most Blu-ray drives have a 12x read speed. Make sure to purchase from a trusted manufacturer, as optical drives have a high fail rate. Blu-ray drives also read DVDs and CDs.
-
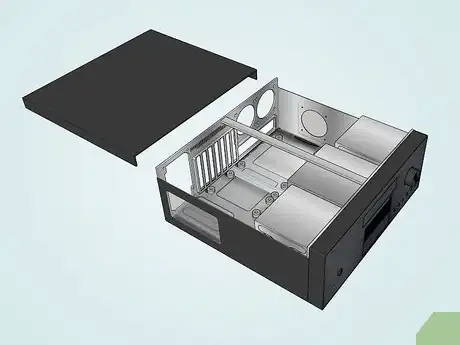
8Pick out a case. Look for HTPC cases. These are computer cases that lay flat, and are around the same size as a stereo receiver. You want to strike a balance between good cooling and quiet fans. You also need to make sure the case is big enough to house your components, but not so big that it has lots of unused space.
- When buying a motherboard and case, make sure that they are compatible sizes. Make sure that the case had adequate fans; if it doesn’t add one or two 120mm fans, which are usually the quietest.
-
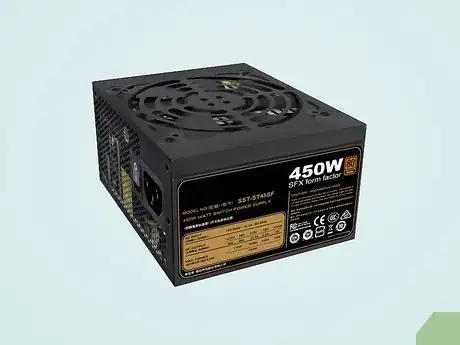
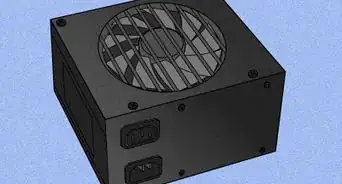
9Choose the correct power supply (PSU). Your wattage needs will vary depending on your components, but if you don’t have a video card, and you’re running a solid state hard drive, you will likely not need more than 450 watts. Look for a PSU that is modular, meaning that you can attach cables for just the parts you need. This will cut down on the space requirements, and the low wattage will mean less noise.
-
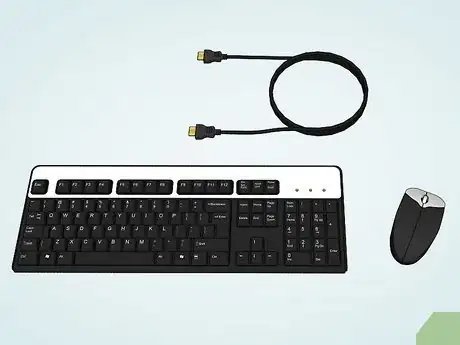
10Pick up some peripherals. Having a wireless mouse and keyboard will be very helpful for navigating your computer. There are also several remote options available with either Bluetooth or IR connectivity. You will need video and audio cables to connect your HTPC to your TV and sound system.
Assembling the PC
-
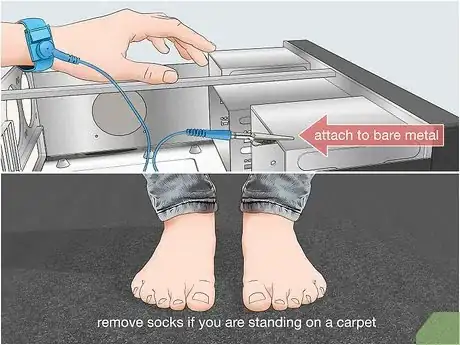
1Ground yourself. Static discharge can be devastating to computer components. Make sure that you are properly grounded before handling your PC parts. If you have an antistatic wristband, use it and attach the lead to the bare metal of your case. Don’t do the assembling on carpet, and if you are standing, remove your socks. Don’t wear synthetic clothes while assembling the PC.
-
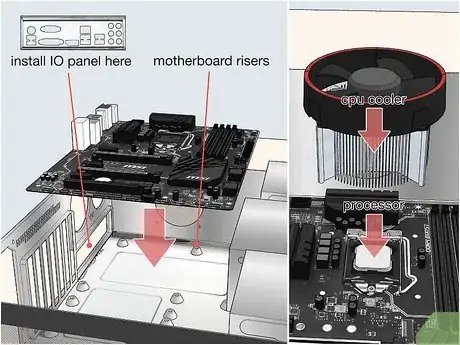
2Install the motherboard. In order to install the motherboard, you will need to prepare the case. Open the empty case with the back or bottom lying on your work surface. Install the motherboard I/O plate into the case. This plate is different for every motherboard, and has holes for each of the connectors.
- Install the motherboard risers. There will be multiple screw holes in your case for the risers. Screw them in to the holes that correspond with your specific motherboard. The risers are installed with your fingers, and have a hole in the top that another screw can be inserted into.
- Place the motherboard on the risers. Gently push the motherboard into the I/O plate as you install the screws. Start with the screws closest to the I/O plate and move out from there.
- Install the processor. Carefully remove the processor from the package, and line up the triangle on the processor socket to the triangle that is printed on the processor.
- Be sure not to handle the pins, and make sure that you do not force the processor into the socket.
- Once the processor has been inserted, secure it by locking the socket lever.
- Install the CPU cooler. If you purchased your processor retail, then chances are the processor came with a cooling fan with thermal grease already applied. If not, you will need to put a thin layer of thermal grease on the processor before installing the CPU fan.
-
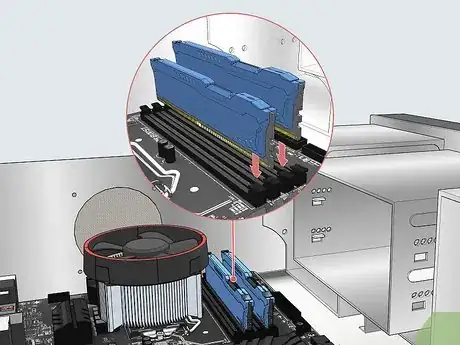
3Install the RAM. Line up the notches in the RAM with the notches in their sockets. Press down firmly in the center until you hear it click. Both of the clips on either end should be securely locked into place.
-
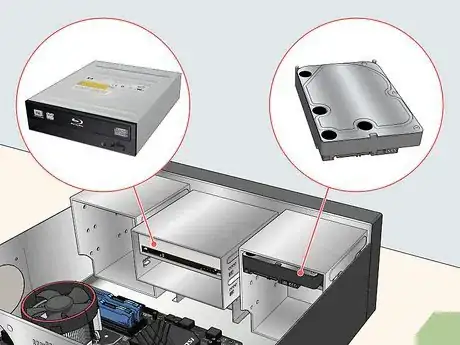
4Install the hard drive and optical drive. Depending on the case, you may need to install mounts on the drives before inserting them. Make sure that your optical drive is flush with the front of your case. Some cases may require you to attach a cover to the front of the optical drive tray.
-
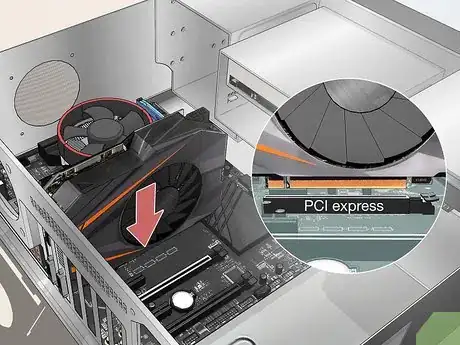
5Install the video card (if applicable). If you are adding a video card to your HTPC, install it now. Look for the PCI-E slot on the motherboard. It will be shorter than the other slots and a different color. Press the card into the slot firmly, and the clip will click into place. The back plate should line up with the opening in the back of the case.
-
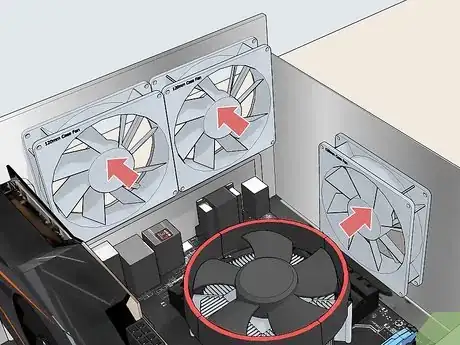
6Install the fans. Most fans will have indicators on the top showing which direction the air will flow. You will want one fan pulling in air and an opposite fan pushing it out. This will make for optimum cooling as fresh, cool air is passed over your components.
-
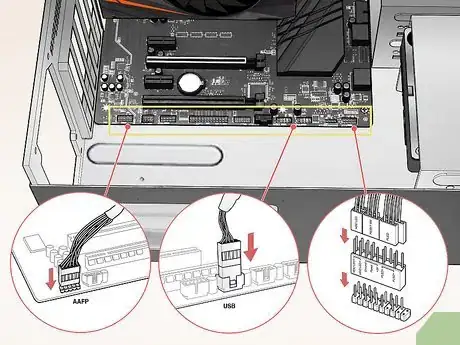
7Connect your motherboard. Before connecting your components, attach the case features to your motherboard. This means attaching the leads for your power switch, the power LEDs, any USB and audio ports on the case, fans, etc. Most motherboards have these connections labeled, though you may need to consult your motherboard’s manual for specific locations.
-
8Install the power supply. Insert your power supply into its bay, and secure it with screws. Attach the appropriate power connectors to their devices. Make sure that all of your installed components are properly connected, including your motherboard. If you are using a modular PSU, you only need to attach the cables you need. Otherwise, tuck the excess cables away.
-
9Connect your components. Connect your hard drive and optical drive to your motherboard using the SATA connectors. Tuck away excess lengths of cable and make sure nothing is obstructing any of the fans.
-
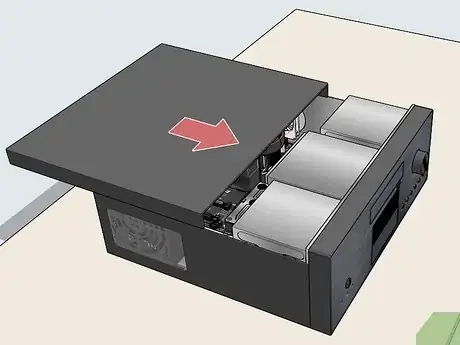
10Close up the case. A well-designed case helps to maximize airflow. Make sure you case is properly sealed, and avoid running your computer with the case open.
-
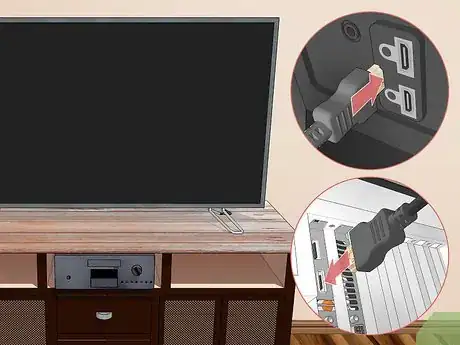
11Connect the HTPC to the TV. Using an HDMI cable, or a DVI and SPDIF connector, attach your HTPC to your TV. Make sure that your TV is set to the appropriate input when using the HTPC.
Running the HTPC
-
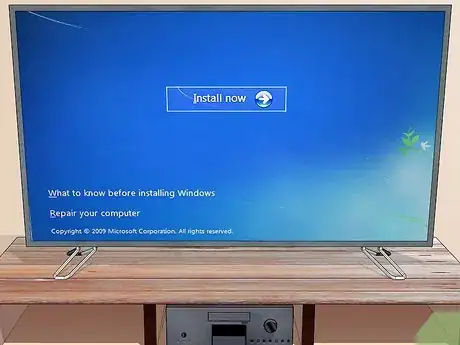
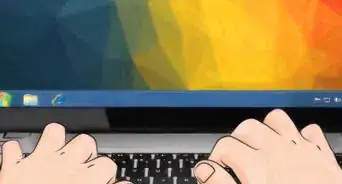
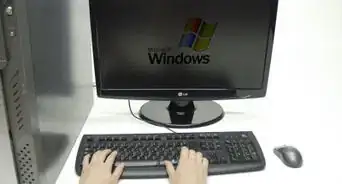
1Install your OS. Once your PC is finished being assembled, it’s time to start installing the software you need to turn it into a true media center. First, you will need and operating system. Windows is the most common choice, with either 7 or 8 being good options depending on user preference. If you have more than 4 GB of RAM, install a 64-bit version of Windows in order to utilize the extra memory. If you’re more technically inclined, Linux is a free alternative that can perform all the functions of an HTPC. It is significantly less user friendly than Windows.
-
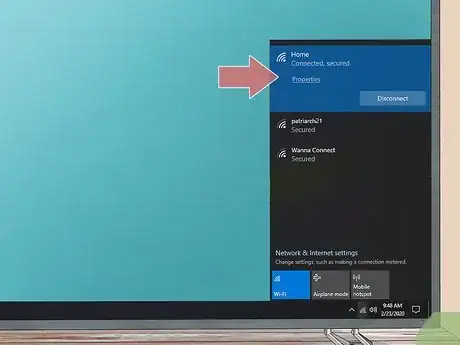
2Connect to your home network. Using either the Ethernet port or Wi-Fi, connect your HTPC to the network so that you can start streaming web content such as Netflix and Hulu.
-
3Install a media player. Windows comes installed with a media player, but it can’t play some of the major formats for downloaded video. If you are using your HTPC to watch downloaded media files, you will need a good media player to view some of the more complex file types. There are several good free media players available online.
Expert Q&A
-
QuestionWhat do you need for a media PC?
 Matt HamMatt Ham is a Computer Repair Specialist and the CEO and President of Computer Repair Doctor. With over a decade of experience, Matt specializes in Mac, PC, iPhone, iPad, and Smartphone repairs and upgrades. Matt holds a BS in Mechanical Engineering from North Carolina State University and an MS in Mechanical Engineering from Columbia University. Matt has expanded Computer Repair Doctor to seven different locations. He is also a Co-Owner of Repair Life, a full-scale marketing agency specializing in driving both online and offline leads to cell phone and computer repair shops and device retailers.
Computer Repair Specialist I'd recommend getting a solid state hard drive for the optimal performance, and then making sure you've got plenty of RAM and storage space. A solid graphics card is going to be a good idea as well. Depending on what you plan on doing with the PC, you may also want a fancy internal cooling system. It's totally up to you, though!
 -
QuestionWhere should I buy the components?
 Matt HamMatt Ham is a Computer Repair Specialist and the CEO and President of Computer Repair Doctor. With over a decade of experience, Matt specializes in Mac, PC, iPhone, iPad, and Smartphone repairs and upgrades. Matt holds a BS in Mechanical Engineering from North Carolina State University and an MS in Mechanical Engineering from Columbia University. Matt has expanded Computer Repair Doctor to seven different locations. He is also a Co-Owner of Repair Life, a full-scale marketing agency specializing in driving both online and offline leads to cell phone and computer repair shops and device retailers.
Computer Repair Specialist Shop around. There can be a lot of variation from vendor to vendor when it comes to pricing, and computer parts can be expensive. You can go to a local computer store if you'd like, but it's probably going to be cheaper buying online.
References
- ↑ Matt Ham. Computer Repair Specialist. Expert Interview. 14 May 2021.
- ↑ Matt Ham. Computer Repair Specialist. Expert Interview. 14 May 2021.
- ↑ Matt Ham. Computer Repair Specialist. Expert Interview. 14 May 2021.
- ↑ https://docs.microsoft.com/en-us/windows-hardware/manufacture/desktop/install-windows-from-a-usb-flash-drive?view=windows-11
- ↑ Spike Baron. Network Engineer & Desktop Support. Expert Interview. 9 January 2019.
- ↑ Spike Baron. Network Engineer & Desktop Support. Expert Interview. 9 January 2019.
- ↑ Spike Baron. Network Engineer & Desktop Support. Expert Interview. 9 January 2019.


