This article was co-authored by Kevin Schlosser. Kevin Schlosser is a Home Improvement Specialist and the Owner of Home Tech Handyman Ltd. With over 20 years of experience, Kevin specializes in age-in-place installations, flooring, roofing, and general remodeling handyman services. Kevin holds a blend of construction and in-home technology-related certifications including NAHB Certified Age-in-Place Specialist, CEDIA membership and certifications, and a Certification from the Association of Certified Handyman Professionals. Also, he is in training to receive certifications in Construction, Project Management, and other CEDIA qualified system integrator certifications. He is fully-insured in the state of Colorado.
There are 7 references cited in this article, which can be found at the bottom of the page.
This article has been viewed 38,903 times.
A homemade recording booth can be a great option when you want to record vocals or acoustic instruments. In order to build a recording booth yourself, you’ll need some general knowledge of carpentry and experience with basic home improvement projects. However, with the right tools and know-how you can complete this project in a week or two. Think of building a recording booth as adding a small room to your home, with a lot of the same steps like framing the walls and putting up drywall. Feel free to contract out any parts of the project you don’t feel comfortable tackling yourself.
Things You Should Know
- To make the project easier, build your recording booth in the corner of a room that already has lights and power outlets.
- Remember to leave a space for the door and install your audio and electrical outlets when you construct the framing for the booth.
- Fill the spaces between the framing studs with fiberglass insulation to help make the room soundproof, then hang the drywall.
- Make your recording booth even more soundproof by mounting acoustic tiles to the walls after you build them.
Steps
Planning the Booth
-
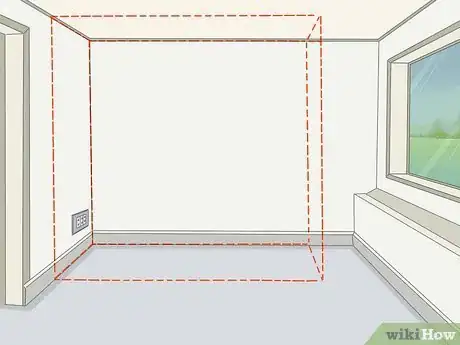
1Choose a corner of an existing room to build your recording booth in. Select a corner of a room where you want to build your recording booth so you only have to construct 2 walls. Pick a corner with exterior-facing walls if possible because they are generally thicker and more sound-proof.[1]
- This applies to building a rectangular recording booth from the ground up. You will need to have basic knowledge of carpentry including framing and drywalling in order to build the booth. If you don’t have the tools or know-how to do it yourself, hire a contractor to build the booth for you.
- Make sure the room you select has a solid floor as well. For instance, a ground floor or a basement is a good choice. A room on an upper floor is not ideal as these floors are not as stable, which can be bad for recording if the floor vibrates or makes creaking noises.
Tip: You can apply the same concepts for building a rectangular recording booth in a corner to building booths of other shapes in corners, such as a pentagon or triangle-shaped booth.
-
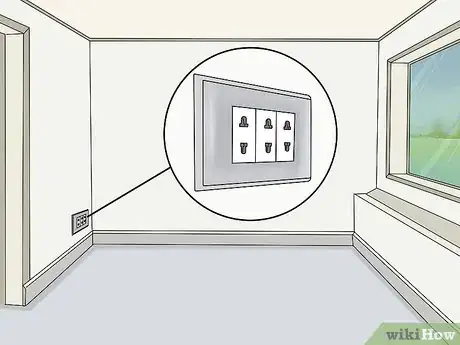
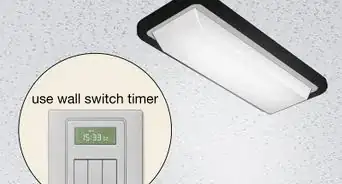
2Select a corner with an existing light fixture or outlet if possible. Build the booth around an existing light fixture if you can to provide light inside the booth without the added work of installing a new fixture in the ceiling. Construct the booth in a corner with an existing wall outlet to provide more sources of electricity in the booth that you can plug a lamp or audio equipment into.[2]
- If building the booth around an existing light fixture isn’t an option, you can run some LED lighting strips around the ceiling and floor of the booth for light.
Advertisement -
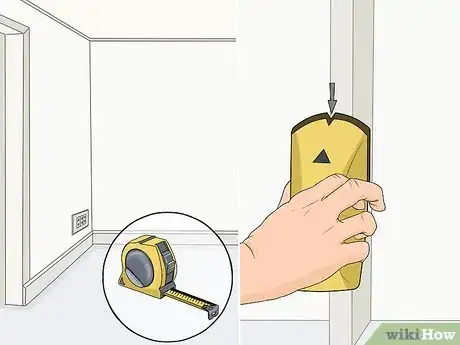
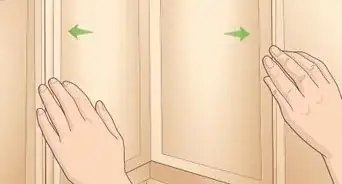
3Measure the room and find the studs in the corner walls. Use a tape measure to measure the length, width, and height of the room and write down the measurements. Use a stud finder to locate the studs in the 2 walls of the corner that you plan to build the booth in and mark their positions on the wall with a pencil.[3]
- You can draw a rough sketch of the room and write down the measurements and stud positions if it’s easier for you to visualize the booth that way.
-
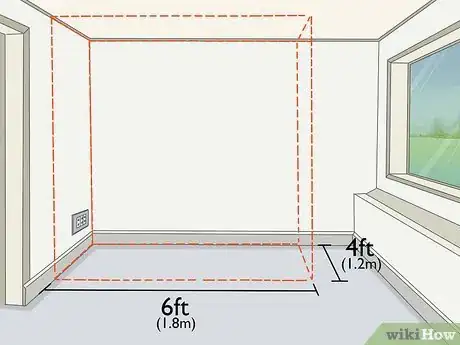
4Make the booth a size that fits in the room and lines up with wall stud locations. Plan for 1 short wall and 1 longer wall, of about 1.5 times the length of the short wall, to make a rectangular booth. Make the walls long enough that they will line up with studs in the existing walls to screw them into.[4]
- A good standard size for a rectangular recording booth is 4 ft (1.2 m) by 6 ft (1.8 m). However, adjust the size based on the space you have available and the positions of the studs in your walls.
- Think about the kind of recording you want to do when planning the size of the booth as well. For example, a 4 ft (1.2 m) by 6 ft (1.8 m) booth is best suited to solo vocalists or acoustic artists, or maybe 2-person bands. If you want to be able to record a larger band, you might want to think about converting an entire room into a recording studio rather than building a booth.
Constructing the Frame
-
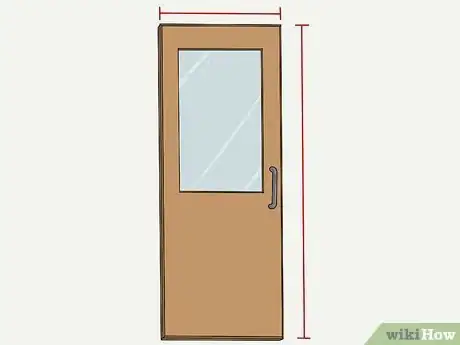
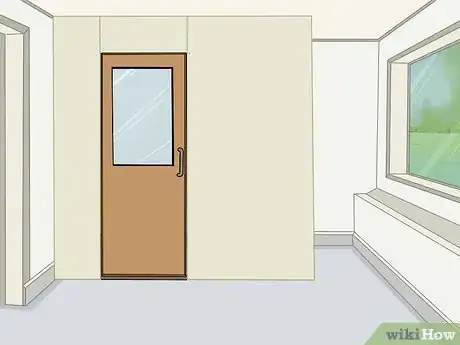
1Buy a door for your recording booth and note down the measurements. Pick out and purchase a door before you construct the frame. You will use the measurements to build a rough opening for the door into 1 of the wall frames.[5]
- A door with a glass window at the top or even a door that is mostly glass is a good option for a recording booth so you can allow some light into the booth and have visibility between the booth and the surrounding room.
-
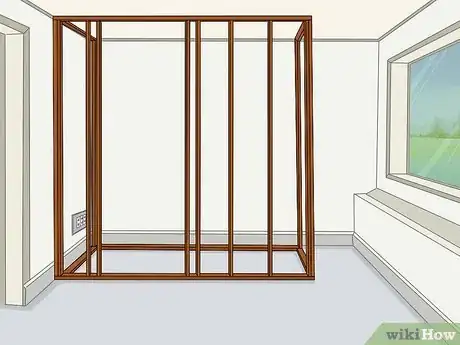
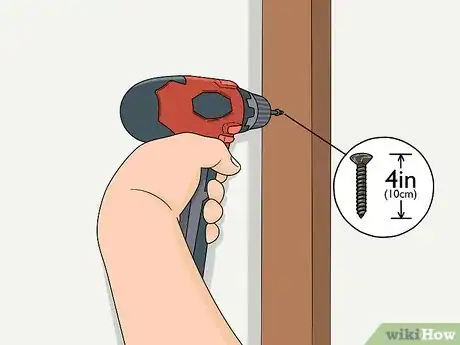
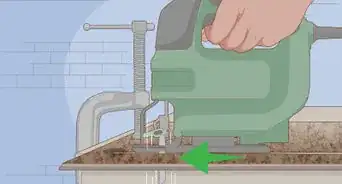
2Construct the frames for the walls. Build the shorter wall and the longer wall out of 2 in (5.1 cm) by 4 in (10 cm) pieces of lumber and screw the pieces together using 4 in (10 cm) wood screws and a power drill. Make the walls as tall as the room’s ceiling height, which is usually about 8–9 ft (2.4–2.7 m).[6]
- For example, if your recording booth is going to be 4 ft (1.2 m) by 6 ft (1.8 m), build 1 wall that is 4 ft (1.2 m) long and 1 that is 6 ft (1.8 m) long.
- You can either cut the lumber to size yourself or have it cut for you at a home improvement center or lumber yard.
-
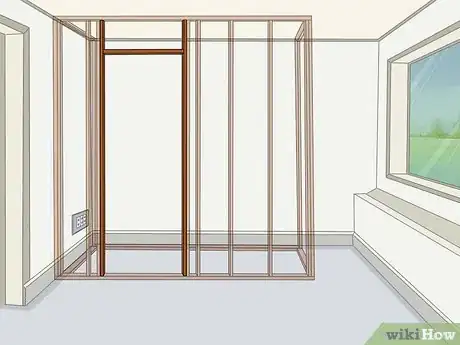
3Build a rough opening for the door into 1 of the walls. Construct a door frame that is 2 in (5.1 cm) wider than the width of the door and 2 in (5.1 cm) taller than the height of the door. Make it out of 2 in (5.1 cm) by 4 in (10 cm) lumber as with the rest of the wall frames.[7]
- For example, if the door is a standard 80 in (200 cm) by 36 in (91 cm) size, make the rough opening 82 in (210 cm) by 38 in (97 cm).
- Note that this step must be done simultaneously with building the wall frames.
-
4Screw the frames into studs in the existing corner walls and into the floor. Stand up the longer wall in place, lining it up carefully with the stud in the wall that you planned for, then fasten it to the stud using 4 in (10 cm) wood screws and a power drill. Repeat this for the shorter wall and screw the 2 wall frames together where they meet. Screw the bottoms of the frames into the floor as well.[8]
- Have someone help you hold the walls up and steady while you drive the screws into place.
- If the floor of the room is a standard wooden floor, use wood screws to secure the frame to the floor. If you are building your booth somewhere like a garage or basement with a cement floor, use masonry screws.
-
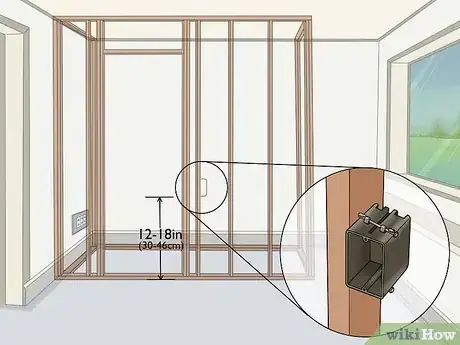
5Attach electrical boxes for an audio outlet and electrical outlet to the frame. Nail or screw 1 electrical box for the electrical outlet to a beam of the frame, about 12–18 in (30–46 cm) from the floor. Attach another electrical box for the audio cable outlet 1 or 2 beams over.[9]
- Make sure to check local electrical regulations before you install the electrical boxes. If you aren’t sure, consult a licensed electrician.
- Unless you have experience with electrical work, it’s best to get an electrician to do the actual wiring for you. You can go ahead and install the electrical boxes on the frame if you want, but have a licensed electrician finish the wiring work.
Insulating, Drywalling, and Painting the Walls
-
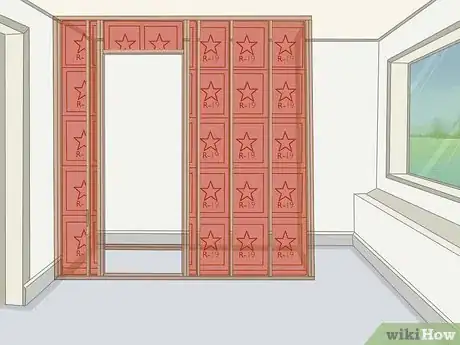
1Stuff R-19 fiberglass insulation between the studs of the booth’s walls. Cut pieces to fit between the studs from a roll of R-19 fiberglass insulation using a utility knife. Fill in all the spaces between studs with the insulation.[10]
- Fiberglass insulation comes in rolls that are 16 in (41 cm) wide, the standard width between wall studs, so it will fit perfectly between the studs and stay in place.
- You can buy special soundproofing insulation instead of standard fiberglass insulation if your budget allows for it. However, fiberglass insulation tends to work just as well and is much more affordable.
- If you want to install fiberglass insulation for an unfinished wall, insert and fasten the sheets.
- You can use a hammer tacker stapler.
- When working with fiberglass, put talcum powder or baby powder on your forearms and hands. It will prevent the fiberglass from accessing your pores, and you will not feel itchy.
Warning: Always wear heavy-duty work gloves when working with fiberglass insulation.
-
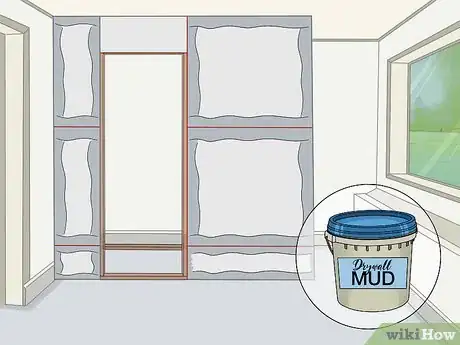
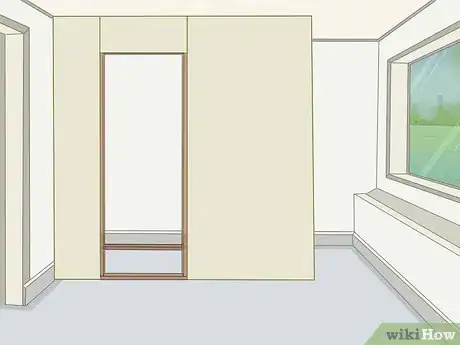
2Hang drywall inside and outside of the walls. Cut pieces of drywall to fit the walls, with holes for the electrical boxes, and attach them to the frames using drywall screws and an electric drill. Cover the drywall with 3 thin layers of drywall mud, letting each layer dry for 24 hours and sanding it smooth before applying the next coat.[11]
- You can hire a drywall contractor to complete this part of the job for you if you don’t want to deal with all the cutting, hanging, and mudding yourself.
-
3Paint the walls a color of your choice. Use a paint roller to apply a coat of primer to both the interior and exterior walls. Wait until the primer dries, then paint over it with 1-2 coats of wall paint.[12]
- You might want to match the exterior wall paint to the color of the walls you built the booth in so it looks more like part of the room. However, you could paint it a different color if you want it to stand out as an accent.
Adding the Door and Soundproofing the Booth
-
1Hang the door in the rough frame. Fit the door into the frame you built for it in 1 of the walls. Mount the door to the frame using its provided hinges, hardware, and screws.[13]
- If it is too difficult for you to hang the door properly yourself, hire a carpenter to do it for you.
-
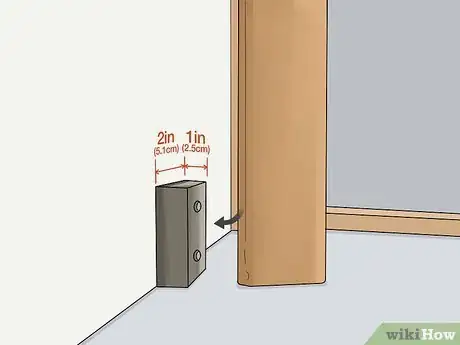
2Mount strips of wood on the inside of the door frame to create door stops. Close the door so it is flush with the outside wall, then mark the position of the inside edge of the door all the way around the inside of the door frame using a pencil. Cut pieces of 1 in (2.5 cm) by 2 in (5.1 cm) lumber to fit around the sides of the frame, then nail them into place with the edges lined up along the marks you made on the inside of the frame.[14]
- The door stops will ensure the door closes properly as well as help you soundproof the booth.
-
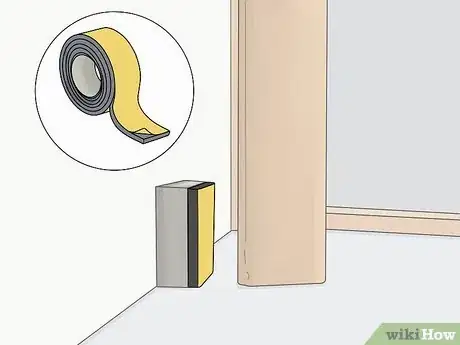
3Stick rubberized foam tape weather stripping around the door stops. Cut strips of rubberized foam tape weather stripping to the length of each strip of door stop. Press them against the edges of the door stops that face the door.[15]
- This will help soundproof the booth by ensuring a tight seal when the door is closed.
-
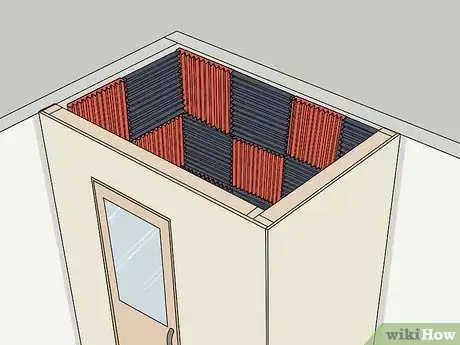
4Apply acoustic foam tiles to all the inside surfaces of the booth. Use an adhesive spray to mount acoustic foam tiles to all the inside walls of the booth, as well as the inside of the door. Cut the foam tiles to size as needed using a utility knife.
- If your door has any glass in it, don’t cover up the glass with acoustic foam.
- The foam tiles will help keep sound inside the recording booth to create good acoustics. This, along with the insulation inside the walls and the weather stripping around the door, means that your booth should now be pretty soundproof and ready to record!
Tip: Acoustic foam tiles are typically 1 ft (0.30 m) by 1 ft (0.30 m) in size. Measure the total area of the booth’s interior walls to determine how many tiles you’ll need to cover it.
Warnings
- Always wear thick work gloves when you work with fiberglass insulation to protect your hands from glass slivers.⧼thumbs_response⧽
Things You’ll Need
- Measuring tape
- Pen or pencil
- Paper
- 2 in (5.1 cm) by 4 in (10 cm) lumber
- Power drill
- Power saw
- 4 in (10 cm) wood screws
- Hammer
- Nails
- R-19 fiberglass insulation
- Gloves
- Utility knife
- Drywall
- Drywall saw
- Drywall mud
- Drywall screws
- Wall paint
- Paint roller
- Paint tray
- Interior door
- Rubberized foam tape weather stripping
- 1 in (2.5 cm) by 2 in (5.1 cm) lumber
- Acoustic foam tiles
- Adhesive spray
References
- ↑ https://www.guitarchalk.com/building-recording-booth/
- ↑ https://www.guitarchalk.com/building-recording-booth/
- ↑ https://www.guitarchalk.com/building-recording-booth/
- ↑ https://www.guitarchalk.com/building-recording-booth/
- ↑ https://www.guitarchalk.com/building-recording-booth/
- ↑ https://murrant.ca/free-vocal-recording-booth-plans
- ↑ https://www.guitarchalk.com/building-recording-booth/
- ↑ https://www.guitarchalk.com/building-recording-booth/
- ↑ https://www.guitarchalk.com/building-recording-booth/
- ↑ https://murrant.ca/free-vocal-recording-booth-plans/
- ↑ https://www.thisoldhouse.com/walls/21016619/how-to-hang-drywall
- ↑ https://www.realsimple.com/home-organizing/home-improvement/painting/paint-wall
- ↑ https://www.thisoldhouse.com/doors/21016617/how-to-hang-an-interior-door
- ↑ https://murrant.ca/free-vocal-recording-booth-plans/
- ↑ https://www.thisoldhouse.com/doors/21018244/the-essential-guide-to-weatherstripping
