This article was co-authored by wikiHow staff writer, Darlene Antonelli, MA. Darlene Antonelli is a Technology Writer and Editor for wikiHow. Darlene has experience teaching college courses, writing technology-related articles, and working hands-on in the technology field. She earned an MA in Writing from Rowan University in 2012 and wrote her thesis on online communities and the personalities curated in such communities.
This article has been viewed 4,726 times.
Learn more...
Are you wondering how to charge your VR headset and controllers? Since they rely on AA batteries, the Oculus Quest controllers aren't directly rechargeable. However, you can either replace the old, dead batteries or use the Anker Charger with reusable batteries. Although the VR headset doesn't come with the Anker charger, it is sold as a recommended accessory by the manufacturer. This wikiHow article teaches you how to charge the Oculus Quest 2 controllers and headset.
Steps
Replacing the Batteries
-
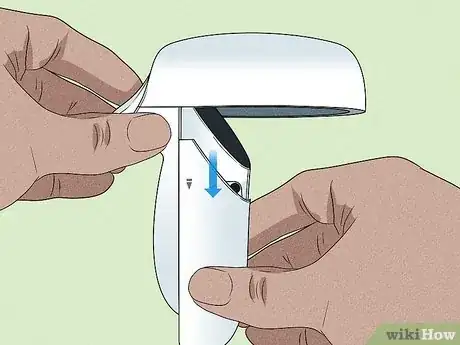
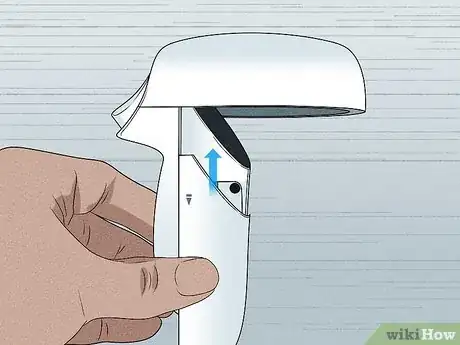
1Open the battery compartment. To do this, gently push on a controller's battery lid (the tiny "Eject" symbol on each controller shows you how the compartment opens).
-
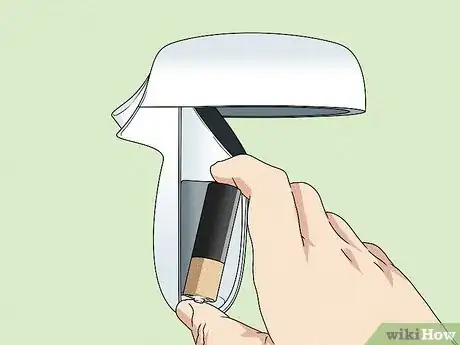
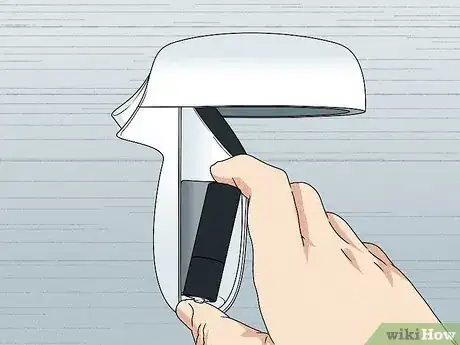
2Replace the batteries. Each controller takes one AA battery, so you'll need two in total. There are + and - symbols on the inside of the compartments to show you how the battery should be inserted.Advertisement
-
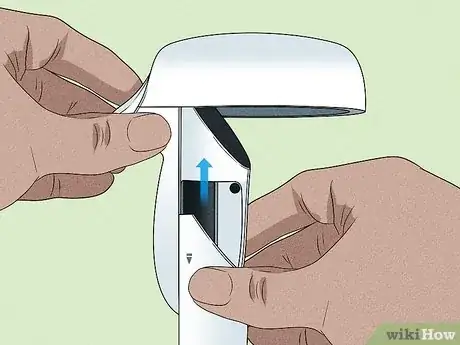
3Replace the battery lid. Slide the lid back over the opening until it closes.
- Each battery manufacturer claims that their batteries last longer than the competition, so it's difficult to get a straightforward answer for how long batteries last in an Oculus Quest 2 controller. This answer is also affected by which game you're playing, but you can expect to get about two hours out of one charge.
Using the Anker Charging Dock
-
1Remove the battery compartment's lid. To do this, gently push on a controller's battery lid (the tiny "Eject" symbol on each controller shows you how the compartment opens).
-
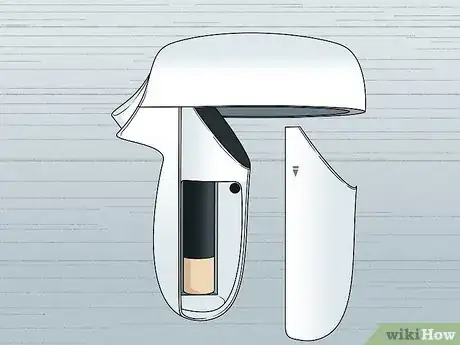
2Replace the non-rechargeable batteries with the ones that came with the Anker Charging Dock. You'll want to use the new batteries that can recharge with the dock.
- The Anker Charging Dock is a recommended accessory when you purchase the Oculus Quest 2. You can get it from the Meta site that sells the Oculus. There are no other recommended chargers.
-
3Replace the battery lid. Slide the lid back over the opening until it closes.[1]
- Even though these lids came from the manufacturer who didn't include a charger with the Oculus Quest, they will have electrical contacts that help in the recharging process.
-
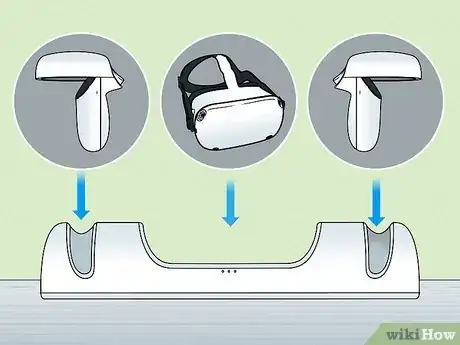
4Place your controllers and headset into the dock. You'll see how everything is supposed to fit according to the shapes on the dock.[2]
- You can charge your headset and controllers from 0% to 100% in as little as 2.5 hours.
-
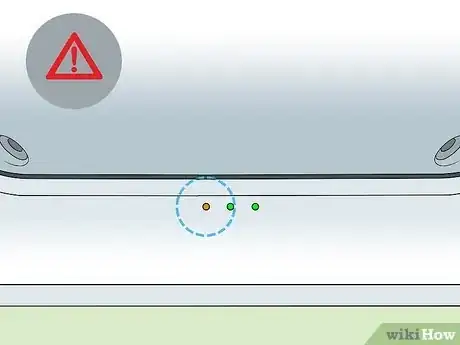
5Troubleshoot, if necessary. A flashing orange light on the dock means it has stopped charging. That could mean a few different things:
- Either there is no battery in the controller or the battery is incompatible with the charger. To fix this, replace the battery with one of the rechargeable Anker batteries that came with the system.
- A charge less than 15W was detected. This charger only works with at least 15W.
- The temperature may have gotten too hot and triggered temperature protection. In that case, remove the controllers from the dock and wait 5-10 minutes before trying to charge again.
- A battery is not installed correctly or the controller isn't sitting correctly in the dock. To fix this, you can reinsert the battery and make sure the controller is in the dock correctly, with every metal plate touching the copper charging plate.
- The dock might be dirty. Clean it and all the metal and copper charging plates as well as the docking pogo pin using a dry cloth with a little bit of alcohol[3]
References
- ↑ https://www.oculus.com/accessories/anker-charging-dock/
- ↑ https://us.anker.com/products/y1010#:~:text=Officially%20Certified%3A%20Oculus%20Ready%20certified,controllers%20in%20just%202.5%20hours.
- ↑ https://us.anker.com/products/y1010#:~:text=Officially%20Certified%3A%20Oculus%20Ready%20certified,controllers%20in%20just%202.5%20hours.
About This Article
1. Open the battery compartment.
2. Replace the batteries.
3. Replace the battery lid.





-Step-13.webp)

