This article was co-authored by wikiHow staff writer, Dan Hickey. Dan Hickey is a Writer and Humorist based in Chicago, Illinois. He has published pieces on a variety of online satire sites and has been a member of the wikiHow team since 2022. A former teaching artist at a community music school, Dan enjoys helping people learn new skills they never thought they could master. He graduated with a BM in Clarinet Performance from DePauw University in 2015 and an MM from DePaul University in 2017.
There are 12 references cited in this article, which can be found at the bottom of the page.
Learn more...
You’re eager to get back on the road after dumping your black water waste tank, but you notice an unpleasant odor coming from the tank even after it’s empty. Looks like it’s time for a deeper cleaning! Washing out your waste tank might not be the most fun part of RV ownership, but it’s pretty simple to do and will keep your plumbing system smelling fresh and working properly for the rest of your trip. In this article, we’ll show you exactly how to empty your tank, soften and remove hardened debris, and treat your system for odors and germs. Let’s dive in!
Things You Should Know
- First, empty your black and then gray water tank at a designated RV dumping site. Then, fill and flush both tanks with clean water.
- Fill the tank ¾ full and add bleach, a liquid enzyme cleaner, or ice cubes to soften and loosen solid debris. Empty the tank again.
- Use a built-in waste tank rinse system, a flush valve, or a handheld tank wand to backwash (pressure wash) the insides of the tank and remove remaining debris.
- Add 5 quarts (4.7 L) of water and a treatment chemical like an enzyme cleaner, dish soap, citric acid, or yeast to neutralize odors and sanitize the tank.
Steps
Dumping the Black & Gray Water Tanks
-
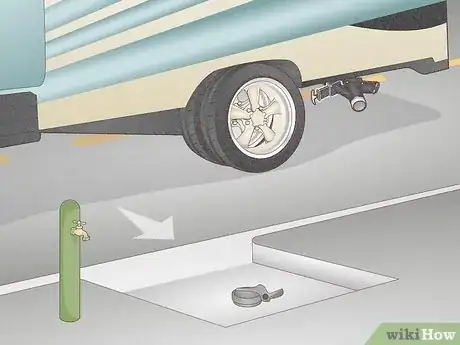
1Park your RV close to the dump station’s sewer inlet. Try to get the valve to your gray and black water tanks within 10 ft (3.0 m) to 20 ft (6.1 m) of the inlet since this is how long most RV sewer hoses are. If possible, park on a level patch of ground to help the tanks drain properly.[1]
- If the ground is very uneven, use jack stands to level the RV.
- Close the RV’s windows and vents once you’re parked to keep sewage smells from seeping inside.
- Put on disposable gloves and close-toed shoes to protect yourself from sewage and germs. Wipe down valves and hose connectors with disinfectant wipes.
-
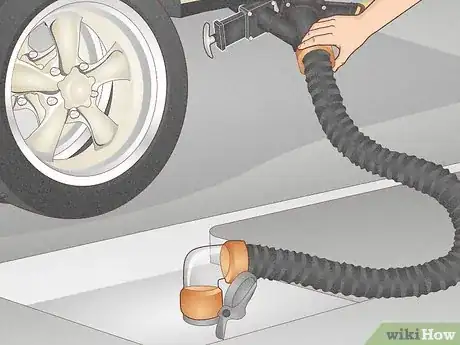
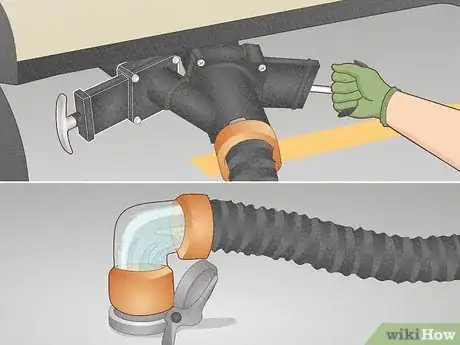
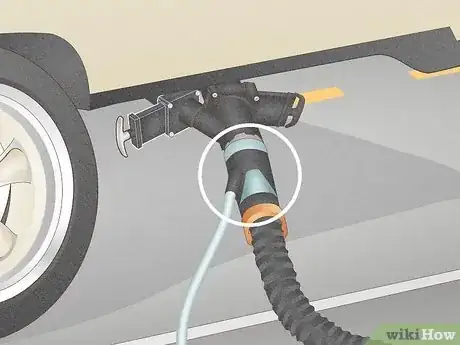
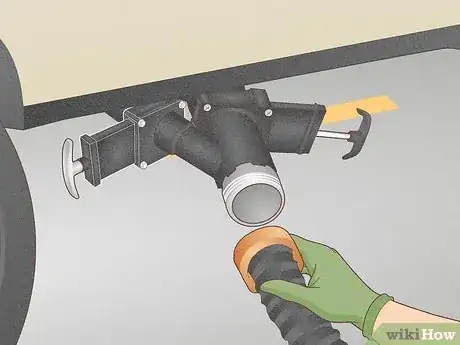
2Hook up your sewage hose to the sewer inlet and your waste tank valve. Use a transparent sewer fitting to connect the hose to the inlet first so any excess water in the hose drains into the sewer. Then hook up the other end of the hose to your RV’s black water tank valve.[2]
- Look for a 3 in (7.6 cm) connection valve on your black water tank. The waste tanks are usually located on the driver’s side of the RV.
- Some RVs have one valve connection for both the black and gray water tanks, while some have separate connections for each tank.
- The transparent sewer fitting lets you see when the tank is empty or when the water running out of it is clear.
Advertisement -
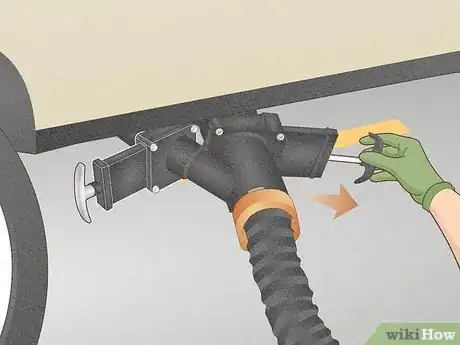
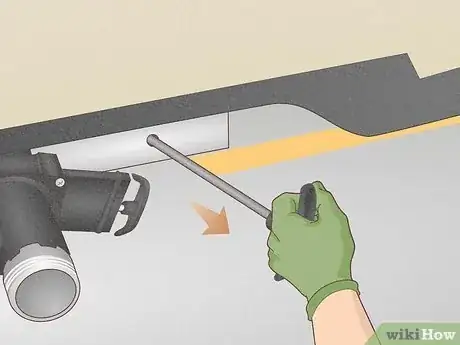
3Open the black water tank valve to dump toilet waste, then close it. Pull or turn the handle on the side of the hose connection valve to open the black water tank, then wait for the waste to drain completely (check your clear sewer fitting to see if the flow has stopped). Once the tank is empty, push or turn the valve again to close the black water tank.[3]
- If needed, use sewer hose supports to raise and angle the hose down toward the inlet so the waste flows more easily.
- Always empty the black water tank before the gray water tank (the soapy water from the gray tank will help rinse sewage out the hose).
- The black and gray water tank valves will probably be labeled or color coded. If they're not, the black water tank valve is usually bigger.
-
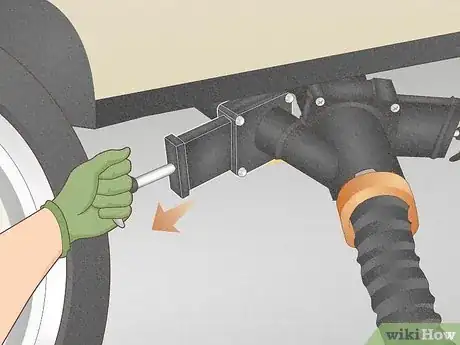
4Open the gray water tank valve to dump soapy sink and shower water. Just like with the black tank, open the valve and wait for all of the water to empty out of the tank. Then, close the valve. If your RV has a separate gray tank hose connection, you’ll have to unhook the hose from the black tank (make sure it’s closed!) and hook it up to the gray tank before dumping.[4]
- On most RVs, the gray tank valve handle is on the side of the hose connection valve.
-
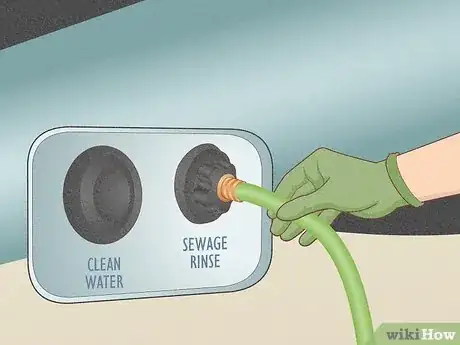
5Flush out both tanks with water to remove stuck waste. Run your sink to fill the gray tank and flush the toilet to fill the black tank. Alternatively, connect a non-potable water hose (never your drinking water hose) between the dump station’s water supply and your RV’s tank rinse system (if you have one, there will be a valve that says “Sewage Rinse” or “Tank Flush”). Fill each tank about ⅔ of the way full.[5]
- Once the tanks are full, pull the black tank valve open first to drain it, followed by the gray tank.
- Once the tanks are empty, close all of the valves but keep the sewage and non-potable water hoses connected.
Softening Caked-On Debris
-
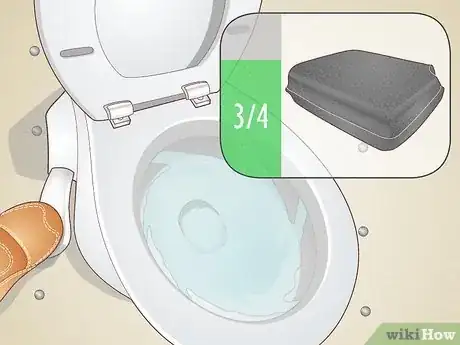
1Fill the black water tank about ¾ of the way full with water. Make sure the black water tank valve is shut, then flush the toilet or use the non-potable water hose and tank rinse system to fill it up. It seems like a lot of water, but filling the tank nearly to the top helps it drain efficiently and push out waste.[6]
-
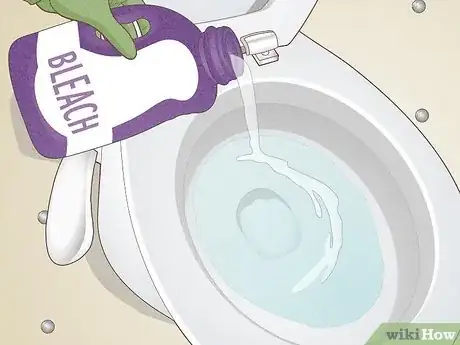
2Pour your waste softener into the black water tank via the toilet. Popular treatments include 2 cups (0.47 L) of bleach, 1 fluid ounce (30 mL) of a liquid enzyme cleaner, or even 20 pounds (9.1 kg) of ice with an optional squirt of dish soap. Some companies sell specific products designed to soften hardened waste inside the tank. If you’re using one of these, check the directions for the exact amount of product you need.[7]
-
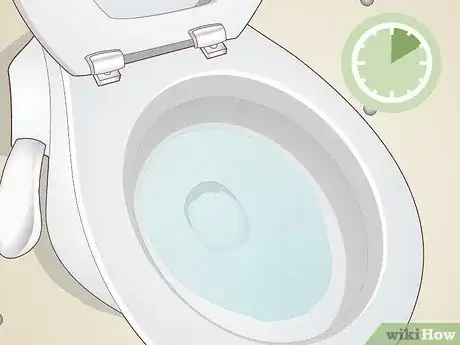
3Let your softening treatment sit in the tank for at least 10 minutes. If you’re using bleach, make sure to empty the tank after 10 minutes so the bleach doesn’t begin eroding your plumbing system.[8] For enzyme cleaners and other products, check the instructions—some cleaners may need a few hours to work, while some need to sit overnight.[9]
- If you chose the ice method, disconnect your hoses and take the RV for a short drive so the ice can knock stubborn buildup free. Then, return to the dump site.
-
4Empty the black water tank and flush it with clean water again. After your softening product has done its job, open the black water tank valve and empty the tank again (if you drove around with a tank of ice, make sure to reconnect the sewage hose first!). Once it’s empty, close the valve, fill the tank with water again, and flush it clean.[10]
- Look at your transparent sewer fitting again. Keep filling and emptying the black water tank until the water running out of it is clear.
- If you used bleach, keep flushing the tank until there's no bleach odor coming up through the toilet (bleach can damage your sewage system).
Backwashing the Black Tank
-
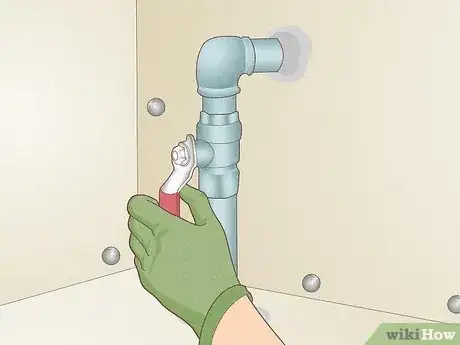
1Use your RV’s built-in waste tank rinse system if it has one. Connect your non-potable water hose between the dump site’s water supply and the tank rinse system valve. Open the black water tank valve, then go into the coach of the RV and open the pressure washing valve. Let the system blast the inside of the tank with water until the runoff is clear.[11]
- Check your RV’s rinse system manual for specific instructions. The fine details of how to rinse your tank may vary from vehicle to vehicle
- Not all RVs have a tank rinse system.
- Backwashing uses pressurized water to spray all surfaces inside the black water tank to remove every last bit of stubborn or stuck debris.
-
2Backwash with the RV’s flush valve if it has one (or if you installed one). Connect your non-potable water hose between the dump station’s water supply and the RV’s flush valve or nipple. Open the black water tank valve, then turn on the water supply to blast the insides of the tank.[12]
- Watch the transparent sewer fitting and keep flushing the tank until the water runs clear and there are no solid pieces of waste in the water.
- Some RVs come with a built-in flush valve in their plumbing system, while others have one installed aftermarket for easier backwashing.
-
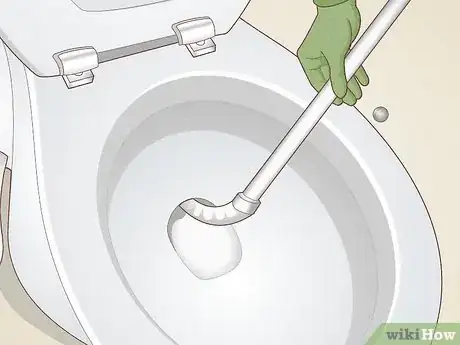
3Use a tank wand if you don’t have a flush valve or rinse system. Unhook the non-potable water hose from the RV and attach it to the handheld tank wand sprayer, then open your black tank water valve while you’re outside. Feed the wand and hose through a window near the toilet, then lower the head of the wand through the toilet into the black water tank.[13]
- Press down on the toilet flush pedal to keep the toilet bowl valve open.
- Open the shut-off valve on the wand to release the water and move the wand around so it can target all the walls and the floor of the tank.
- Stop spraying once water running out of the black tank is clear with no chunks of debris in it.
-
4Hook up a macerator pump to shred solid debris if needed. Use a macerator if waste is clogging your sewage hose or the black tank valve. Make sure the black water tank valve is closed, then disconnect your sewage hose. Attach one end of the macerator to the tank valve, then connect the sewage hose to the other end. Activate the pump (with electricity or a separate water hose, depending on the pump) to drain and grind up solid waste.[14]
- A macerator pump sucks liquid out of the waste tank and uses small blades to grind toilet paper wads or hardened waste into a slurry for easy drainage.
- The macerator pump won’t help rinse your tank out, but will drain it efficiently (especially if your sewage hose has to go uphill).
Disconnecting the Hoses
-
1Disconnect the sewage and non-potable water hoses from the RV. Make sure all tank valves are securely closed, then unhook both the water and sewage hoses from the RV (keeping them attached to the dump site’s sewer inlet and water supply). Lift the end of the sewage hose up so any remaining liquid drains into the sewer inlet.[15]
- Once the sewage hose is empty, use the non-potable water hose to spray out the insides to get rid of lingering debris.
-
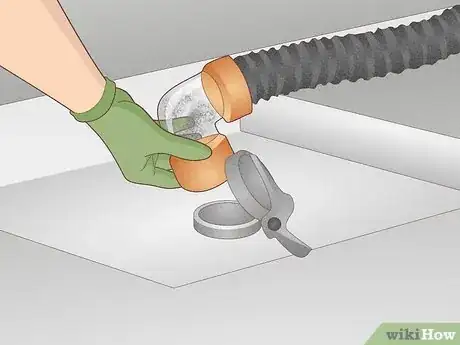
2Detach the other ends of the hoses from the dump station. Unhook the sewage hose first, and make sure to close the sewer inlet cover afterward. Use the non-potable water hose to rinse the outside of the sewer hose clean, then spray the area around the sewer inlet to clean up any spillage.[16]
- Once you’re done with the non-potable water hose, disconnect it from the dump station’s water supply.
- Grab a disinfectant wipe and rub down the sewer inlet cover, water supply handle, and any other equipment you touched during the cleaning process.
- Check one more time that all sewer inlet covers and tank valves are closed.
-
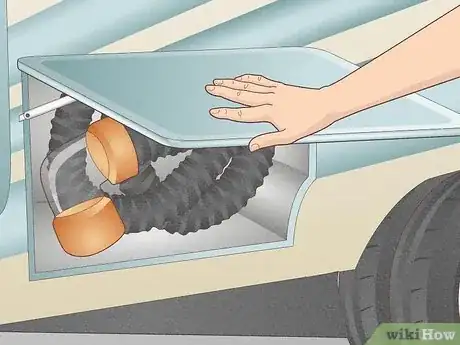
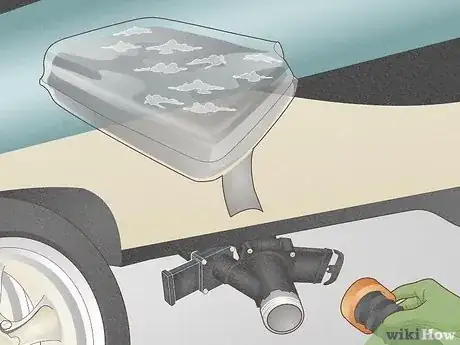
3Store your sewage hose and sewer fittings in their own container. Place any hoses or accessories that touched sewage water in a separate container so they don’t contaminate your other equipment (like the non-potable water hose). If possible, connect the two ends of the sewage hose together to contain any remaining water.[17]
- Store your hoses in the RV’s basement storage, inside hollow bumpers, or in a designated bucket, plastic bin, or underside storage rack.
- Once all the hoses and sewer fittings are put away, wipe down compartment handles, valves, or other surfaces with disinfectant wipes.
Treating the Black Tank
-
1Treat the black tank at the end of each trip or before storing the RV. Adding a black water tank treatment will neutralize odors and help toilet paper and solid waste break down as it enters the tank. You don’t have to treat the tank every single time you dump and clean it, but should always do so before letting the RV sit for long periods of time.[18]
- Some people choose to treat their gray tank as well, but this isn’t always necessary since that tank only receives soapy water from the sink and shower.
-
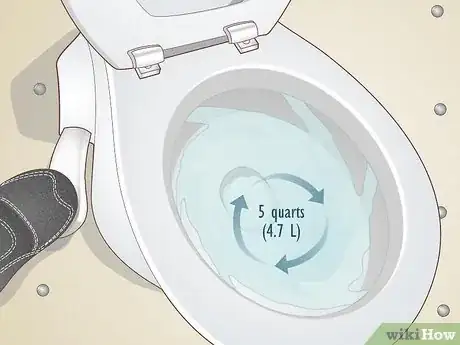
2Add about 5 quarts (4.7 L) of water to the black tank. Simply flush the toilet 4 or 5 times or pour a large bucket of water down the toilet. Make sure that the entire bottom of the tank is covered by a few inches of water. If you have an extra large tank, you may need to add more than 5 quarts (4.7 L).[19]
- When there’s water covering the floor of the tank, solid waste from the toilet won’t just stay put where it lands and form a dreaded “poop pyramid.”
- If you’re treating your gray tank as well, run enough water down the sink to cover the floor of the tank (it’s usually smaller than the black water tank).
-
3Add your black water tank treatment into the tank through the toilet. If you’re using a commercial treatment product, like a chemical or enzyme cleaner, check the instructions for the recommended amount to add (usually 1 fluid ounce (30 mL) per 2 people using the RV).[20] If you’re treating your gray water tank, use the same treatment there, too.[21] Some popular DIY treatment mixtures include:
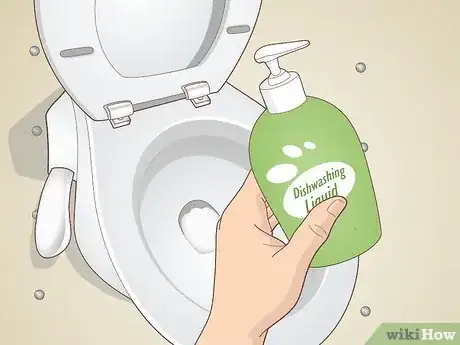
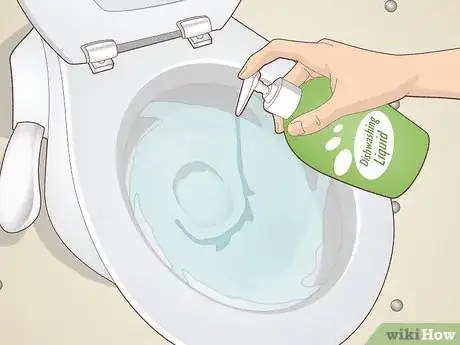
- Dish soap: add a few squirts of liquid dish soap to the tank. Choose a brand made without phosphates to make it eco-friendly.[22]
- Citric acid: add ⅓ cup (78 mL) of citric acid to the tank. To make it more effective, add ⅓ cup (42 g) each of baking soda and Borax.[23]
- Yeast and hydrogen peroxide: add 4 oz (113 g) of baker’s yeast and 10 oz (296 mL) of hydrogen peroxide to the tank.
- The GEO method: mix 1 cup (236 mL) of fabric softener and ½ cup (118 mL) of liquid dish soap in the toilet, then flush it into the tank.[24]
-
4Leave the treatment in the tank and dump it once the tank is full. Let your treatment sit in the tank to neutralize and break down waste as it enters the tank. Once the black water tank is about ¾ full, find the nearest RV dump station to empty your tank and repeat the cleaning process once more.[25]
Warnings
- Always wear gloves, close-toed shoes, and long sleeves when you dump and clean the black water tank to protect yourself from raw sewage and germs.⧼thumbs_response⧽
- The methods for cleaning and sanitizing the black water tank should not be used to clean the fresh water tank.⧼thumbs_response⧽
References
- ↑ https://www.rvezy.com/blog/rv-black-water-tank
- ↑ https://www.campanda.com/magazine/rv-tanks-guide/
- ↑ https://www.campanda.com/magazine/rv-tanks-guide/
- ↑ https://www.campanda.com/magazine/rv-tanks-guide/
- ↑ https://www.rvdumps.com/tips/
- ↑ https://camperfaqs.com/how-to-clean-out-rv-black-water-tank
- ↑ https://harvesthosts.com/rv-camping/rv-black-tank-maintenance/
- ↑ https://camperfaqs.com/how-to-clean-out-rv-black-water-tank
- ↑ https://harvesthosts.com/rv-camping/rv-black-tank-maintenance/
- ↑ https://rvtroop.com/how-to-flush-and-clean-an-rv-black-tank
- ↑ https://camperfaqs.com/how-to-clean-out-rv-black-water-tank
- ↑ https://rvtroop.com/how-to-flush-and-clean-an-rv-black-tank
- ↑ https://rvtroop.com/how-to-flush-and-clean-an-rv-black-tank
- ↑ https://www.thervgeeks.com/rv-macerator-pump/
- ↑ https://www.rvdumps.com/tips/
- ↑ https://www.rvdumps.com/tips/
- ↑ https://campaddict.com/rv-sewer-hose/storage/
- ↑ https://vehq.com/how-often-dump-black-tank/
- ↑ https://www.doityourselfrv.com/dawn-dish-soap-in-rv-black-tanks/
- ↑ https://camperfaqs.com/how-to-clean-out-rv-black-water-tank
- ↑ https://www.rvdumps.com/tips/
- ↑ https://www.doityourselfrv.com/dawn-dish-soap-in-rv-black-tanks/
- ↑ https://camperfaqs.com/best-homemade-rv-holding-tank-treatment
- ↑ https://www.remodelyourrv.com/how-to-sanitize-rv-holding-tanks/
- ↑ https://www.rvdumps.com/tips/
