X
This article was co-authored by wikiHow Staff. Our trained team of editors and researchers validate articles for accuracy and comprehensiveness. wikiHow's Content Management Team carefully monitors the work from our editorial staff to ensure that each article is backed by trusted research and meets our high quality standards.
There are 14 references cited in this article, which can be found at the bottom of the page.
This article has been viewed 27,272 times.
Learn more...
With an RV water heater, you can enjoy warm water even when camping in the wilderness. Even better, RV water heaters are easy to start and operate, so you’ll have hot water in no time!
Steps
Method 1
Method 1 of 3:
Filling and Prepping the Tank
-
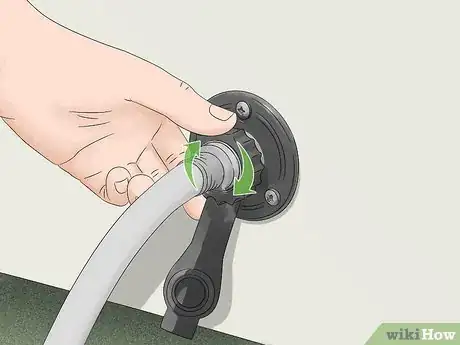
1Hook a hose to the RV’s water intake valve. On the outside of your RV, find the intake valve. It usually has a blue handle. Screw a hose onto the spigot and make sure it’s tight so the water doesn’t leak out.[1]
- Use a clean hose to bring fresh water into your RV, otherwise you could contaminate the water.
- If you have a tankless water heater, then just connect a hose to the intake and a water source. You don’t have to fill a tank.[2]
- Your RV may have particular instructions on filling the tank, so always check with the manual first.
-
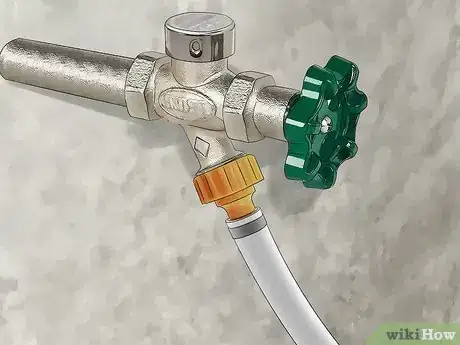
2Attach the other end of the hose to a water source. This could be the spigot for your garden hose if you’re filling the tank at home, or a pump for filling up at campsites. Either way, connect the other end of the hose to this source and make sure it’s tight to prevent any leaks.[3]
- If you’re at a campsite, there are usually designated water sources for people to fill their campers. Ask where this is if you can’t find it.
- Unless you have a pump mechanism, you won’t be able to fill your tank from a lake or stream. The water needs to be under pressure to flow into the tank.
Advertisement -
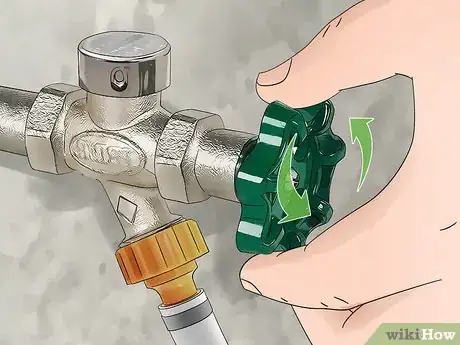
3Turn the water source on. Open the valve by turning it counterclockwise. Water should start flowing into the tank.[4]
- On some RVs, you have to open the intake valve as well. If water isn’t flowing into the tank, this might be the problem.
-
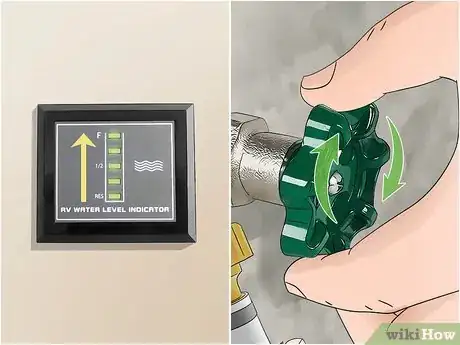
4Fill the water tank up to the fill line. Keep the water on and let the tank fill up. When it reaches capacity, turn the water off and remove the hose from the intake and source socket.[5]
- Some RVs have a fill meter near the intake valve. Otherwise, look at the tank itself to see when the water reaches the fill line.
- Keep in mind that water is heavy, and your vehicle will use a lot of gas if it’s at the max weight. You might want to fill the tank only halfway if you’re planning on driving, then fill it the rest of the way at your destination.
-
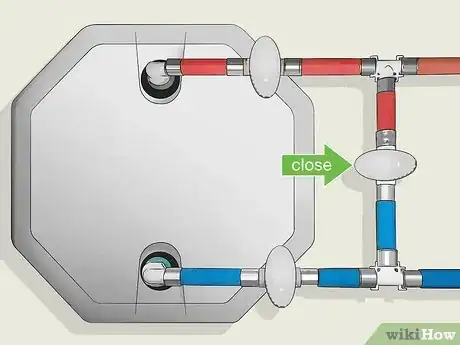
5Close the water heater bypass valve. The bypass valve directs the water away from the heater tank and brings it through your cold water tap. Shut the bypass valve so water flows into the water heater instead.[6]
-
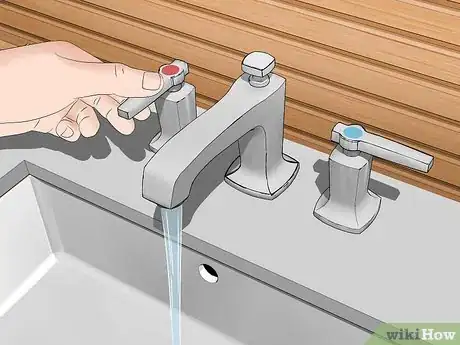
6Turn on the hot water tap on one of your sinks. This brings water through the water heater and out of the faucet. If water is flowing, then the system is working correctly.[7]
- If water isn’t coming out of the tap, then it means the hot tank doesn’t have water in it. Double check to make sure the bypass valve is closed.
-
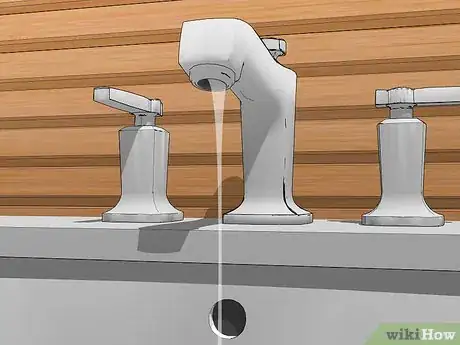
7Let the water flow until there is no more air coming out. The water might sputter a little bit when you first turn it on. This is normal, as it just means air is bleeding out from the system. Keep running the faucet until the water comes out smoothly without any air, then you can start the water heater.[8]
- Never light the water heater if there is still air in the system. This could damage the tank.
Advertisement
Method 2
Method 2 of 3:
Lighting a Propane Heater
-
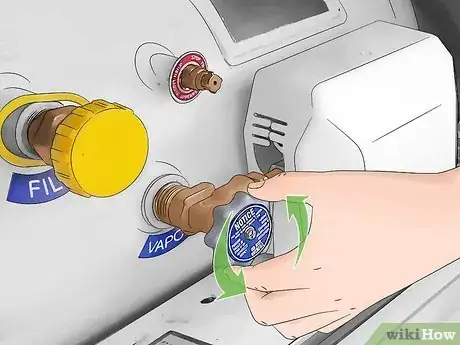
1Open your propane tank. The tank should be on the outside of your RV. Turn the knob counterclockwise to open it and let propane flow.[9]
- Don’t open the propane tank until just before you’re ready to light the water heater. It’s dangerous to leave propane running if you’re not using it.
-
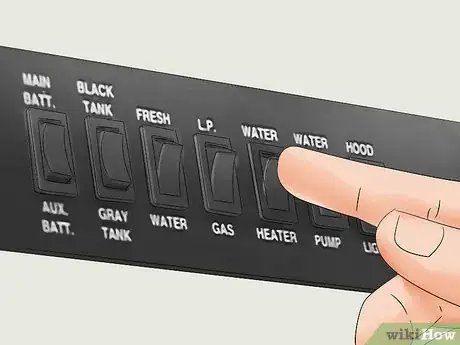
2Flip the "Water Heater" switch inside your RV if you have an auto start. Electronic auto starters are very easy to use. Simply hit the "Water Heater" switch to ignite the pilot light and start heating the water.[10]
- There is usually an indicator light next to this switch indicating whether or not the heater is lit.
- If your heater won’t ignite, then the propane tank might not be open. Otherwise, you may have a problem with your switch. Take the RV in for servicing.
-
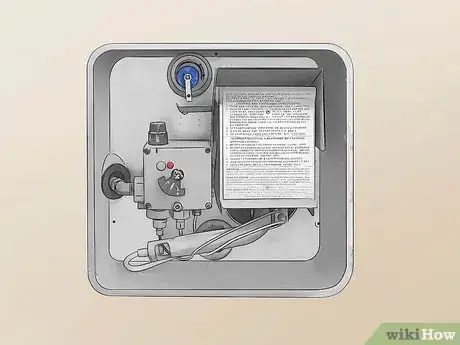
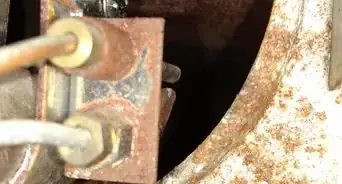
3Open the control panel on the outside of your RV for manual starts. Manual light water heaters require a few more steps. The panel is usually held down by a latch or screws. Open it up to access the pilot light and ignition controls.[11]
- Always read and follow the directions for opening your RVs control panel.
-
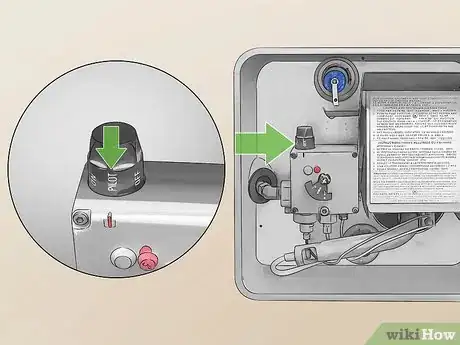
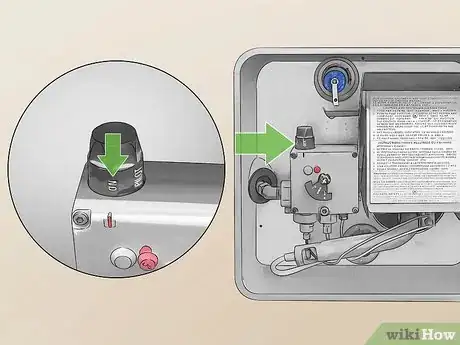
4Turn the knob on the control panel to "Pilot" for a manual start. The control knob turns so you can select the setting you want. Rotate it so it says "Pilot" so you can ignite the pilot light.[12]
- Propane won’t start flowing until you press the knob down. Don’t press until you’re ready to ignite the pilot light.
-
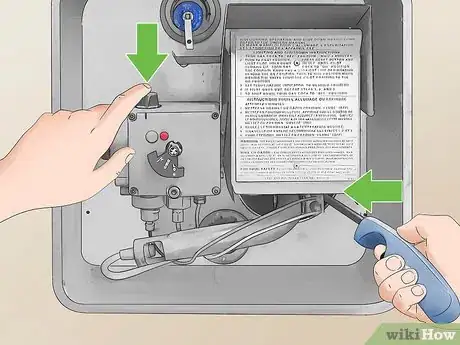
5Ignite the pilot light with a long barbecue lighter. Press the control knob down to release propane. Then slide the lighter right up to the pilot light and ignite it to light the gas.[13]
- Keep the knob pressed down for a few seconds to warm up the system.
- This is only for manual starts. An automatic starter will ignite the pilot light with no further steps.
-
6Switch the control knob from "Pilot" to "On." Once the pilot light is lit, then light the main heater. Rotate the control knob to the "On" position. This ignites the main heater and starts heating the water in the tank.[14]
- Keep your face away from the control panel when you light the heater. There may be a quick flash when it ignites.
- It takes about 30 minutes for the water in the tank to heat up after you light the heater.[15]
- When you're finished using the water heater, turn the propane off. It's dangerous to leave it running when you aren't using it.
Advertisement
Method 3
Method 3 of 3:
Starting an Electric Heater
-
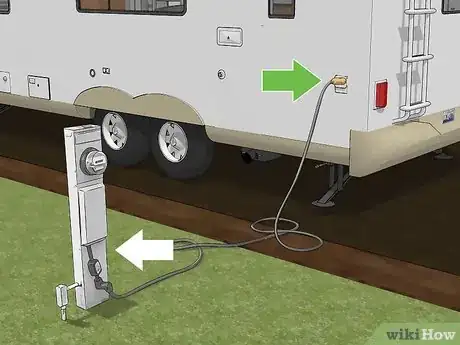
1Connect the RV to a power source. Run your RVs power cable to a power source and plug it in. Most campsites have electric hookups like this for RVs.[16]
- If you’re at a campsite, there might be an extra charge for using the electricity.
-
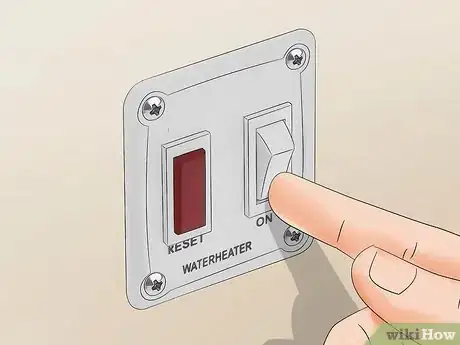
2Turn the water heater power switch on. The water heater power switch is usually inside the cabin and looks like a normal light switch. Flip it to the On position to start heating the water.[17]
- The switch is usually labeled “Water Heater,” so it should be easy to find.
- For older models, the On switch might be on the water heater itself rather than inside the cabin.
-
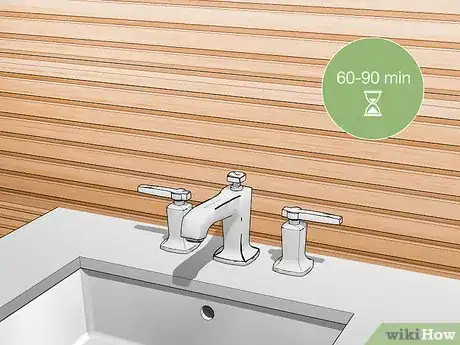
3Wait 60-90 minutes for the water to heat up. Electric heaters take a bit longer than propane heaters to warm the water. Depending on the size of the tank, it’ll take about 60-90 minutes, so be patient before using the hot water.[18]
- RV water heaters usually have a light to indicate when they're on. If the light doesn't turn on, the bulb might be burned out or the water heater may not be working. Take the RV to a repair shop for servicing.
-
4Turn the switch off when you're done using the hot water. Once the water is hot, conserve electricity by flipping the water heater switch off. Leave the heater off until you're ready to use it again.[19]
- If you're still using electricity in your RV, like for lights or the stove, then leave the power source plugged in. Otherwise, you can unplug it when the water is hot.
Advertisement
Warnings
- RV water heaters are tough to make repairs on unless you’re a professional, so it’s always best to bring it to a repair shop if something isn’t working right.[20]⧼thumbs_response⧽
Advertisement
References
- ↑ https://www.outdoorsy.com/blog/fill-fresh-water-tank
- ↑ https://www.outdoorsy.com/blog/rv-water-heater
- ↑ https://www.outdoorsy.com/blog/fill-fresh-water-tank
- ↑ https://www.outdoorsy.com/blog/fill-fresh-water-tank
- ↑ https://www.tripsavvy.com/rving-guide-to-water-heaters-2912593
- ↑ https://www.tripsavvy.com/rving-guide-to-water-heaters-2912593
- ↑ https://youtu.be/-Fl_PtWOZtQ?t=43
- ↑ https://youtu.be/-Fl_PtWOZtQ?t=45
- ↑ https://youtu.be/-Fl_PtWOZtQ?t=63
- ↑ https://youtu.be/wgTM5uwoWX4?t=147
- ↑ https://youtu.be/-Fl_PtWOZtQ?t=85
- ↑ https://youtu.be/-Fl_PtWOZtQ?t=132
- ↑ https://youtu.be/-Fl_PtWOZtQ?t=178
- ↑ https://youtu.be/-Fl_PtWOZtQ?t=229
- ↑ https://www.thesavvycampers.com/how-long-does-it-take-for-a-rv-water-heater-to-heat-up/
- ↑ https://www.outdoorsy.com/blog/rv-water-heater
- ↑ https://youtu.be/wgTM5uwoWX4?t=308
- ↑ https://www.thesavvycampers.com/how-long-does-it-take-for-a-rv-water-heater-to-heat-up/
- ↑ https://www.outdoorsy.com/blog/rv-water-heater
- ↑ https://youtu.be/wgTM5uwoWX4?t=37
About This Article
Advertisement
