This article was co-authored by wikiHow staff writer, Amber Crain. Amber Crain has been a member of wikiHow’s writing staff for the last six years. She graduated from the University of Houston where she majored in Classical Studies and minored in Painting. Before coming to wikiHow, she worked in a variety of industries including marketing, education, and music journalism. She's been a radio DJ for 10+ years and currently DJs a biweekly music program on the award-winning internet radio station DKFM. Her work at wikiHow supports her lifelong passion for learning and her belief that knowledge belongs to anyone who desires to seek it.
There are 16 references cited in this article, which can be found at the bottom of the page.
This article has been viewed 21,134 times.
Learn more...
Whether it's falling apart from age or you just want a fresh look, changing an RV awning is no small task. But if you're up for it—and ideally a few of your friends are too—you can get it done in an afternoon! Start by extending the awning and removing the roller tube and fabric. Afterward, replace the fabric and then reattach the tube to your RV.
Steps
Extending the RV Awning
-
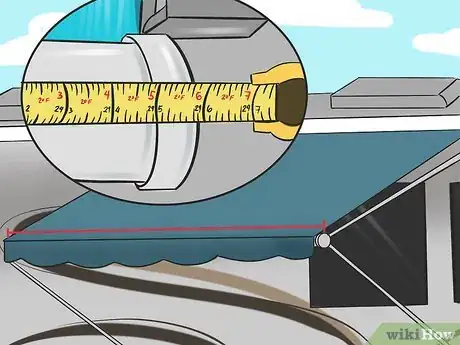
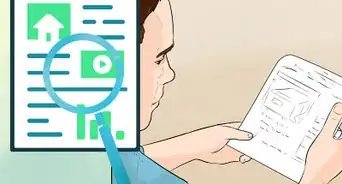
1Purchase a replacement awning fabric. Start by measuring your awning from the inside of each cap. Afterward, head to a home hardware store and purchase an appropriately sized replacement fabric.[1]
- Use high-quality, heavyweight, tight-weave vinyl for the best results.
- Check the manufacturer's instructions for fabric recommendations.
-
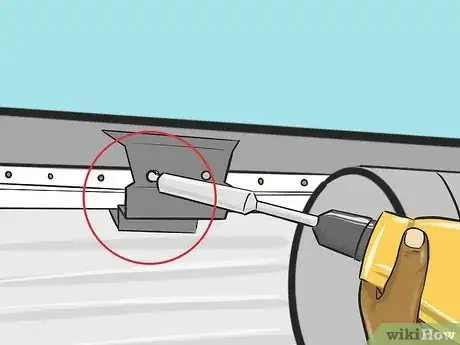
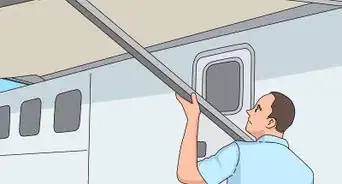
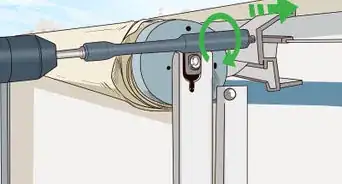
2Remove the main bolts that hold the top of the awning to the side of the RV. There should be 2 on each side of the awning—4 in total. Use a cordless drill and bolt extractor tip that matches the size of your awning's bolts to remove each one.[2]
- If your awning legs extend to the ground, don't worry about the awning falling off—the combination of spring tension in the roller tube and the legs attached to the base of the RV will hold it up.
- For awnings that fold into the side of the RV, keep a firm grip on the bracket at the left end of the roller tube to prevent the spring from unwinding.
Advertisement -
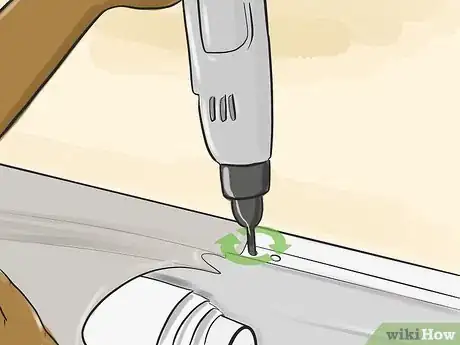
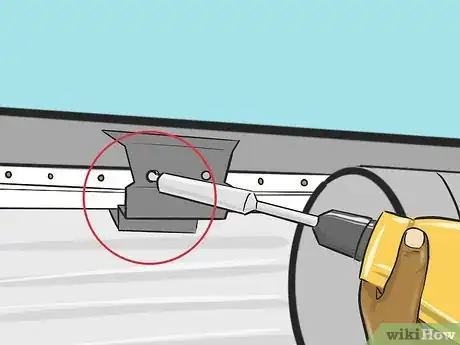
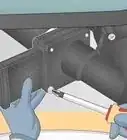
3Remove the 2 small screws that prevent the fabric from sliding in the track. There should be 1 on each end of the awning—2 in total. Each screw is attached to the RV by the long, horizontal metal plate that holds the track and can be removed with an electric drill.[3]
- Use a screwdriver instead of an electric drill if you'd like.
-
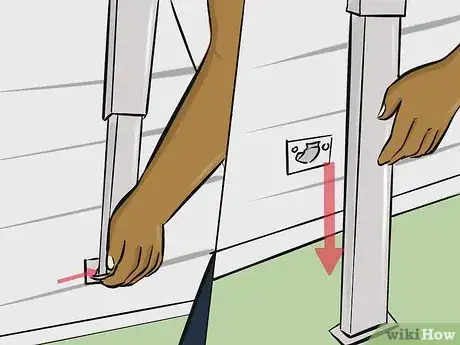
4Pop the awning arms out of their brackets and extend them to the ground. Each bracket is located on the side of the RV at the lower end of the awning arms. Pull them outward away from the RV to pop them out. Afterward, extend them until they're both touching ground.[4]
- Pull the bottom of the awning arms down to the ground to extend them.
- On some RV models, you can arms upward against the RV instead of to the ground.
-
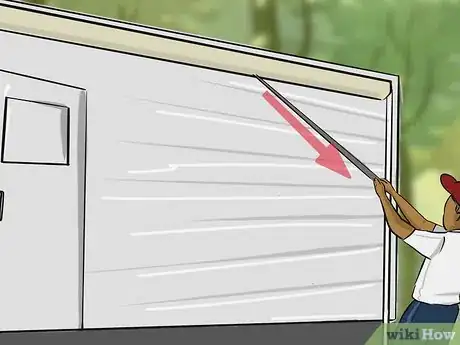
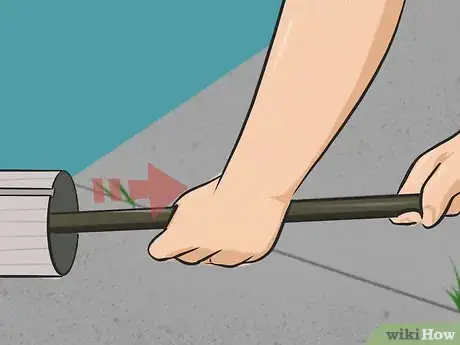
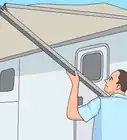
5Roll the awning out 1 foot (0.30 m) from the RV. Start by flipping the control lever on the right side of the roller tube as though you're preparing to fully extend the awning. Now, use the awning rod to pull the roller tube out about 1 foot (0.30 m) from the RV.[5]
- Check that both arms are resting on the ground so that the fabric is unrolled about 1 foot (0.30 m) from the awning.
Removing the Roller Tube from the RV
-
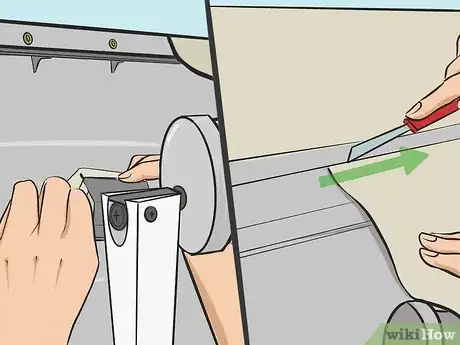
1Cover the upper awning brackets with electrical tape or masking tape. This will make sure they don't scratch the side of the RV. If your awning is really old, use a sharp edge to cut away the sealant that connects the fabric to the track.
- Be sure to apply tape before sliding the awning off the RV.
- Scrape any debris from the inside of the track with a sharp edge.
-
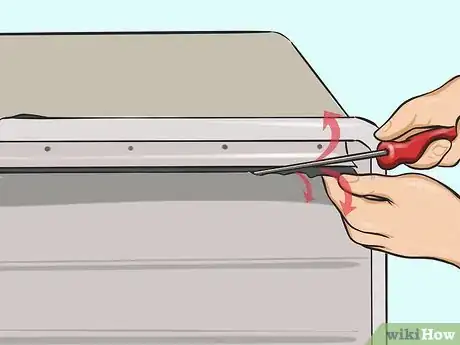
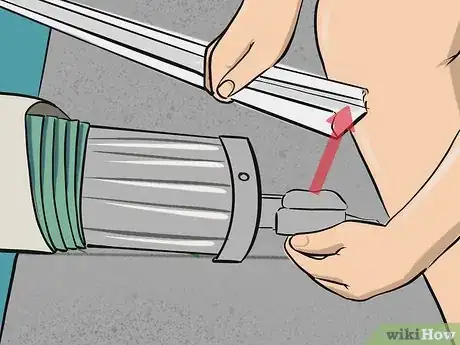
2Spread the end of the track with a flat blade screwdriver. Place it in between the 2 pieces of the track that hold the fabric inside. Now, apply downward pressure to the screwdriver to lever the pieces apart. This will ease the removal of the fabric.[6]
- Spread the end of the track to about 2 to 3 inches (5.1 to 7.6 cm) for the best results.
-
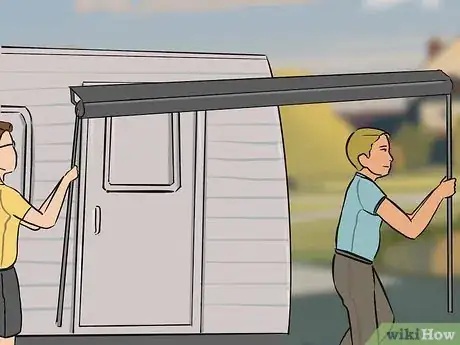
3Pull the awning tube out of the track gently. Start by getting 2 helpers to hold the awning 3 to 4 inches (7.6 to 10.2 cm) off the ground. Now, begin pulling the tube off the track to the front or rear of the RV. Afterward, walk the awning completely out until it's free.
- Before walking the awning out, make sure you have plenty of room in front of or behind the RV.
- If the fabric is stuck in the track and difficult to slide, ask a third person on a ladder to continue pulling until it slides easier.
- If you don't have any helpers, elevate the awning legs with bricks.
- Set the awning tube down carefully when you're done.
Removing the Awning Fabric
-
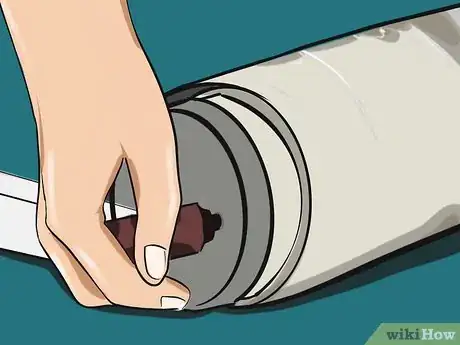
1Lock the rear spring of the awning. There are 2 springs in the roller tube—one at each end. Lock the spring at the rear—or left—side of the awning by removing the black plastic cap. Afterward, insert a Phillips head screwdriver and leave it in place.
- Don't remove the screwdriver from the rear spring.
-
2Remove the right arm from the right bracket. Head to the front—or right—side spring, release the tension, and remove it by loosening the bolt that holds the arm to the roller tube. Now, remove the bolt and the arm. Afterward, reinsert the bolt and put some tape on the bracket to protect it from getting scratched.[7]
-
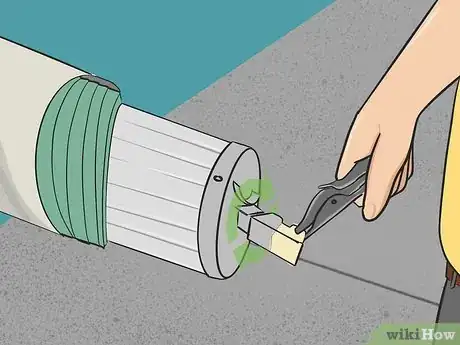
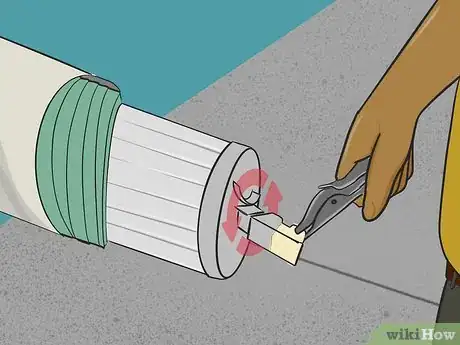
3Release the spring tension of the awning. Firmly plant the vice grips on the right awning leg's bracket. Keep a firm grip on the vice grips and lift them slightly to release pressure from the awning control lever. Now, flip the lever to the "Rolled Up" position and carefully unroll the awning.[8]
- Be sure to count the exact number of rotations required to fully unwind the awning as you need to roll it up later.
- Remove the vice grips when you're done.
-
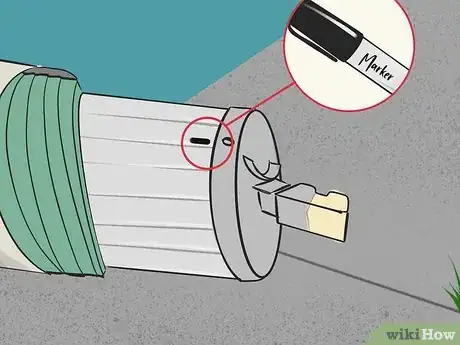
4Mark the location of the awning control lever using a felt marker. Always do this before removing the spring assembly from the right side of the roller tube. This allows you to reassemble the awning in the exact same spot.
- Don't use permanent marker!
-
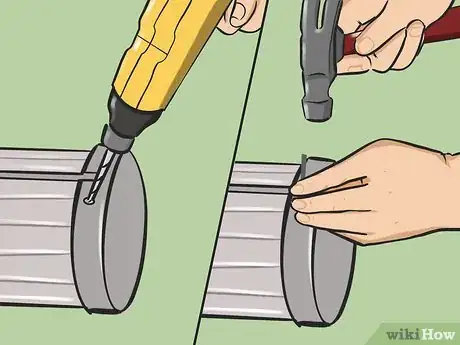
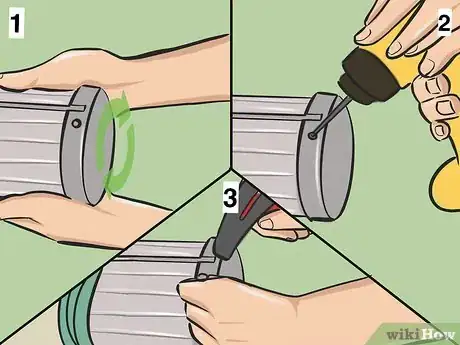
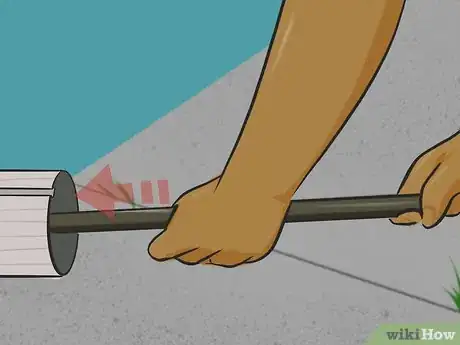
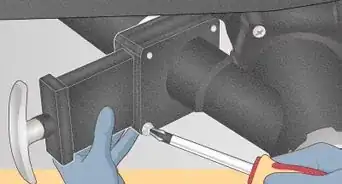
5Remove the rivet from the end cap. Drill one of the pop rivets that hold the end cap onto the roller tube using a cordless drill. Now, remove the remainder of the rivet using your hammer and punch by hitting the top of the rivet as you hold the punch directly above it.[9]
- Always hold the punch perpendicular to the awning
-
6Remove the remaining rivet. With one person at each end, rotate the roller tube so you can access the remaining pop rivet at the opposite side of the endcap. Now, drill it and punch it out just like you did with the first one.
-
7Slide off the right spring assembly. Once both rivets are removed, gently slide the entire right side's spring assembly out of the roller tube. Carefully set it aside on a clean surface when you're done.
- Double check that both rivets are removed before taking off the right spring assembly.
-
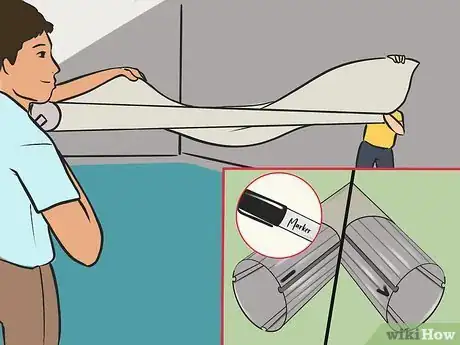
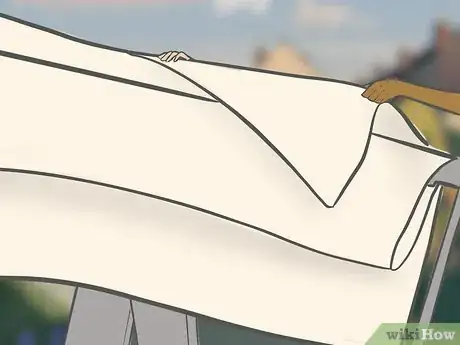
8Unwind the old awning fabric slowly to remove it. Lift the roller tube and unwind the old fabric one turn at a time until it's completely off the tube. For the best results, have a friend help.[10]
- Use a felt marker to make 2 marks on the roller tube—a straight line to mark the channel that the main part of the awning goes into, and a V at the channel that the decorative valance slides into.
-
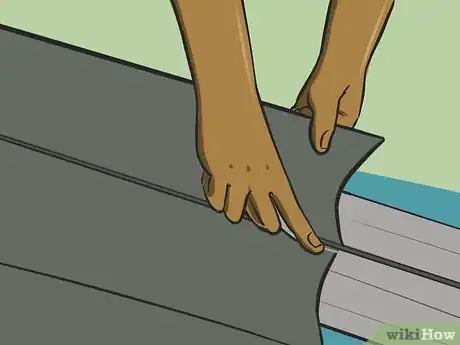
9Cut the fabric in 2 if it's stuck on the tube. Slide a razor knife through the fabric between the 2 channels that hold the valance and main awning. Now that the vinyl is cut into 2 separate pieces, each one will slide out of the rubber tube easily.[11]
- Skip this step if you can remove the fabric in one piece without trouble.
Attaching the New Fabric
-
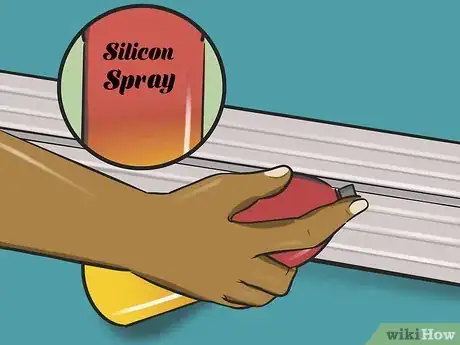
1Spray silicone lubricant into the channels. This will make it easier to slide the new fabric in. Hold the nozzle about 1 to 2 inches (2.5 to 5.1 cm) from the channels and release your hand from the trigger every 1 to 2 seconds to avoid over-application.[12]
- Try to spray the lubricant evenly across each channel.
-
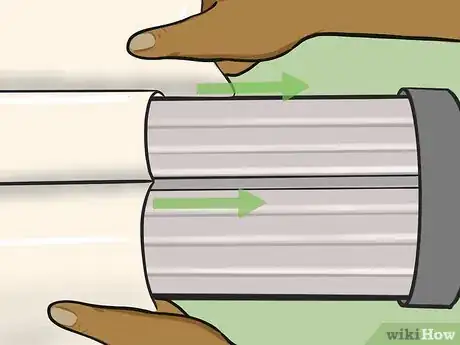
2Slide the 2 beads into their channels. Note the marks on the roller tube—the beading on the main awning side goes into the track with the straight line, while the beading on the valance side goes into the channel with the V. Gently pull the end along the tube to simultaneously feed both beads into the channels.
- If possible, have 2 helpers hold the rolled up fabric off the ground. Otherwise, place it onto 2 bricks to hold it up.
-
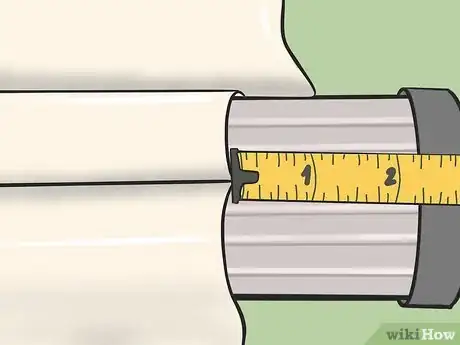
3Center the fabric between the endcaps. Use a tape measure to make sure the fabric is perfectly centered between each cap. Don't proceed to the next step until the fabric is perfectly centered or it won't roll into the tube properly.[13]
-
4Roll the new fabric onto the roller tube. Always roll the fabric counterclockwise. Take your time and roll the fabric as evenly and smoothly as you can.[14]
- If you have 1 to 2 friends that can help with this step it will be a lot easier.
-
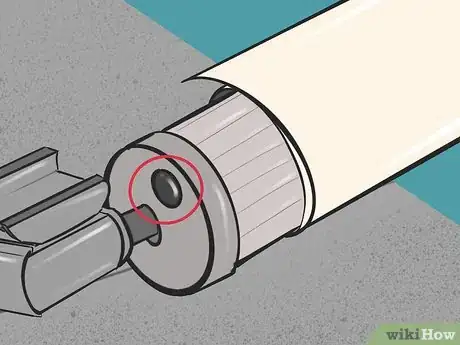
5Reinsert the spring assembly into the end of the roller tube. Be sure to line up the awning control lever with the mark on the side of the tube. The rivet holes should also line up. Now, use your pop riveter to replace the rivets in the end cap and securely fasten it to the roller tube.[15]
-
6Retighten the spring assembly by rotating it counterclockwise. Attach your vice grips to the roller tube bracket and click the awning control level to the roll down position. Then, rotate the spring counterclockwise to retighten it. Count the same number of rotations as when you removed the spring earlier.[16]
- Be sure to keep a tight hold on the vice grips.
-
7Reattach the right awning arm to the roller tube. After the spring assembly is tightened, remove the protective tape from the right bracket and snap the support arm into place. Now, remove the Phillips screwdriver from the left side of the roller tube and replace the black plastic track.
-
8Place the roller tube onto the track and bolt the new awning into place. Reattach the 2 small screws that prevent the fabric from sliding. Now, reattach the main bolts—2 on each side and 4 in total—using a cordless drill with the proper bolt tip.[17]
- If your awning folds into the side of your RV, press in the spring and grip the bracket at the left of the roller tube before attaching the bolts.
Things You'll Need
- Rivet gun and pop rivets
- Cordless drill
- Vice grips
- Razor knife
- Drill bits
- Allan wrench
- 2 open-end wrenches
- Phillips head screwdriver
- Silicone spray lubricant
- Electrical or masking tape
- Replacement fabric
References
- ↑ https://youtu.be/ZfpM-op0dkU?t=147
- ↑ https://youtu.be/3FrH_86YRMs?t=143
- ↑ https://youtu.be/ZfpM-op0dkU?t=166
- ↑ https://youtu.be/3FrH_86YRMs?t=150
- ↑ https://youtu.be/ZfpM-op0dkU?t=183
- ↑ https://youtu.be/ZfpM-op0dkU?t=239
- ↑ https://youtu.be/ZfpM-op0dkU?t=283
- ↑ https://youtu.be/ZfpM-op0dkU?t=313
- ↑ https://youtu.be/ZfpM-op0dkU?t=366
