This article was co-authored by Jay Safford. Jay Safford is an Automotive Consultant and Project Manager. He is Automotive Service Excellence (ASE), NAFA Fleet Management Association, Ford, and L1 Certified. He has over 15 years of automotive repair experience and has served as an Automotive Instructor at the Lincoln Technical Institute in West Palm Beach, Florida.
This article has been viewed 927,310 times.
Clogged fuel injectors can hinder your vehicle's performance, lowering its power and mileage. Keep your engine running smoothly by cleaning your fuel injectors about once a year. Fuel injector cleaning kits are simple to use and very affordable. Caring for your vehicle will pay off in the long run!
Steps
Using a Fuel Injector Cleaning Kit
-
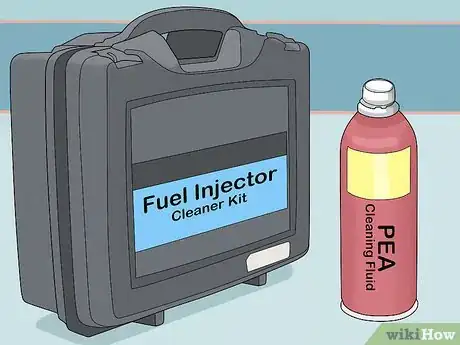
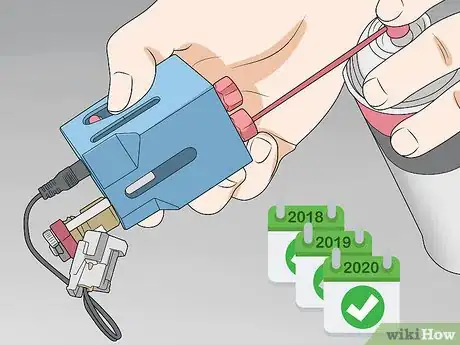
1Purchase a fuel injector cleaner kit with a PEA cleaning fluid. Look for a cleaning kit that is suitable for your type of vehicle. Each kit should come with a canister of fuel injector cleaner and a hose that attaches to the fuel injector and fuel rail.[1] For the best results, opt for a cleaning fluid that contains polyetheramine (PEA), which will dissolve thick carbon deposits more effectively than other ingredients.[2]
- Most fuel injector cleaning kits can be used for any type of vehicle, but you should read the package or ask a store clerk to make sure.
- You can purchase a cleaning kit in an auto store or online.
- Full kits usually cost just under $100 each.
- You can also purchase the items in fuel injector cleaner kits separately.
- Cleaners that contain polyisobutene (PIB) will prevent new deposits but will not remove existing ones.
- Cleaners containing polyisobutylene amine (PIBA) will remove and prevent buildup, but they are milder and less effective than PEA cleaning fluids.
-
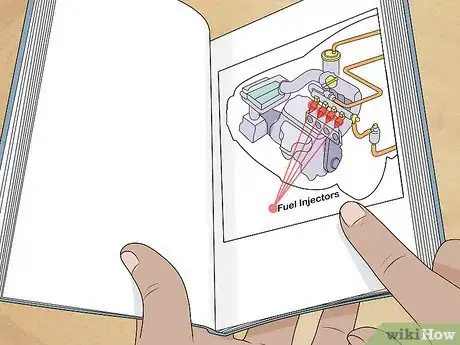
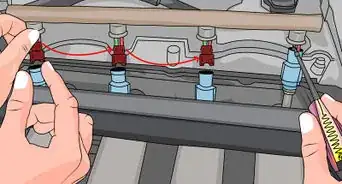
2Review your vehicle's engine layout to locate the fuel injectors. Different types of engines have different layouts, so your fuel injectors may be difficult to find. Take a look at your vehicle's manual to determine where the fuel injectors are located. You can also look up your vehicle online to find this information.[3]
- The fuel injectors will be located under the hood of the car.
Advertisement -
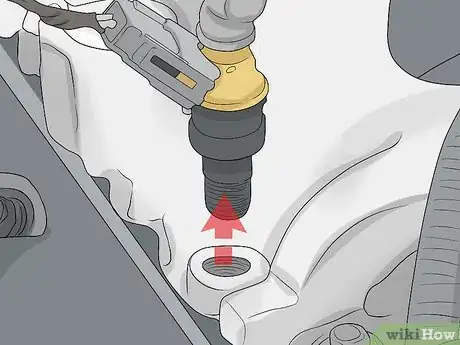
3Disconnect the fuel pump from the fuel injectors. Brace the fuel pump, which should be located on the side of the engine. Gently pull out the fuel injectors to detach them from the pump. Once they are removed, connect the fuel return line to the fuel pump so the gas inside it returns to the tank while you're cleaning the injectors.[4]
- You can also insert a U tube to funnel the gas to the tank.
- Follow the vehicle-specific instructions in your vehicle's manual if you aren't sure how to disconnect the fuel injectors properly.
-
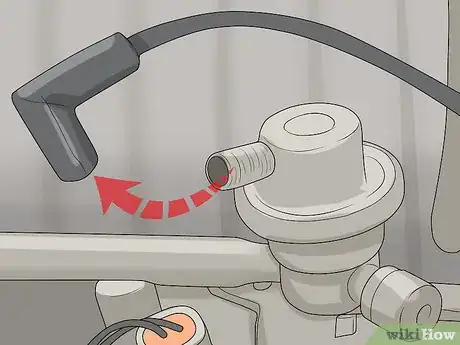
4Disconnect the pressure regulator vacuum line if you have one. Locate the fuel pressure regulator if your vehicle has one and look for the vacuum line attached to it. Brace the vacuum line just above where it connects to the regulator. Gently pull it out to disconnect it.[5]
- Check your vehicle manual to see if you have to do this step.
- The regulator will usually be located just behind the fuel injectors.
-
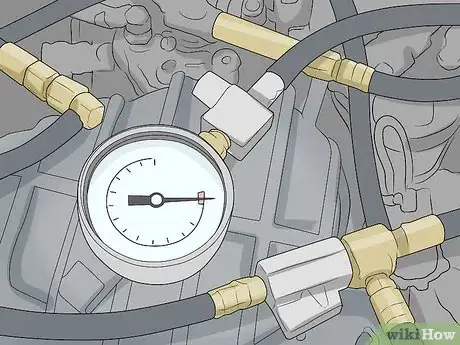
5Connect the cleaning kit to the fuel port. Locate the fuel port, which should be attached to the fuel rail in your engine. Follow your cleaning kit's detailed directions on how to attach the hose and fitting to the port. This will vary between kits, but you should focus on making sure that the fitting is attached properly to both the hose and port.[6]
- Make sure the injectors have no exposure to fuel as the cleaner is flammable.
-
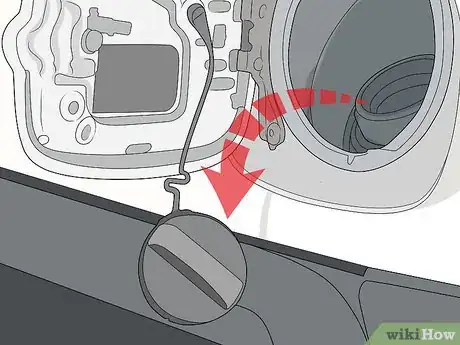
6Remove the cap from the fuel tank to prevent pressure buildup. The cleaner will remove debris and grime by using a burst of pressure to inject a cleaning solvent into the fuel injectors. Be sure to remove the fuel tank cap before starting the cleaning. This will keep excessive pressure from building up, which could cause combustion.[7]
-
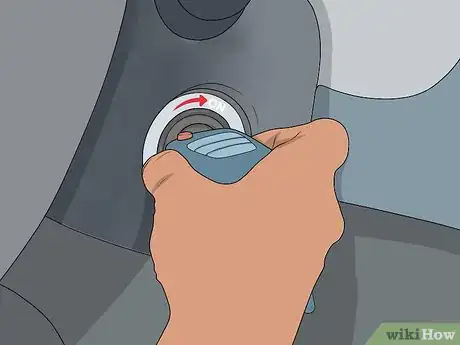
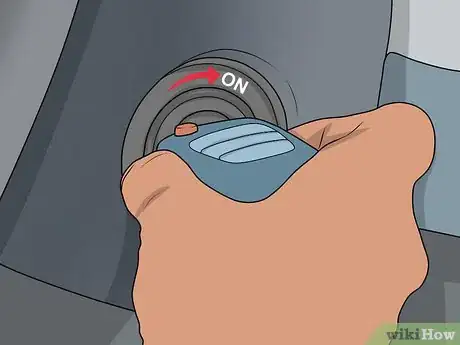
7Turn the vehicle to let the cleaning fluid into your injectors. Double check that your fuel pump is turned off. Start your engine and let it run. The motor will stop running on its own once the cleaning fluid is all used up.[8]
- It usually takes 5 to 10 minutes for the cleaner to cycle through the injectors and get used up.
-
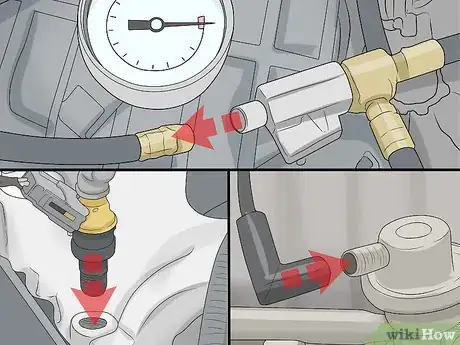
8Remove the cleaning kit and reattach your pump and injectors. Remove the hose and fittings from your fuel port. Reattach the fuel pump power supply and the pressure regulator vacuum hose. Put the fuel cap back into place.[9]
-
9Turn the vehicle on again to make sure the fuel injectors work. Test your vehicle to see if you've reattached everything correctly by starting the engine. Listen for any abnormal noises, which may indicate a problem. Drive the vehicle a short distance to make sure it runs smoothly.[10]
- If you followed the procedure correctly and notice abnormal noises, contact a professional auto mechanic.
Keeping Fuel Injectors Clean
-
1Clean your fuel injectors about once a year. Using a fuel injector cleaning kit yearly can help prevent the buildup of harmful deposits. If you clean less regularly, carbonaceous deposits can grow and harden, hindering the function of your vehicle. Set a yearly reminder on your phone or computer or time this yearly cleaning with a similar task, like your vehicle's yearly oil change.[11]
- If you do not use your vehicle often, you can clean the fuel injectors every 15,000 miles instead.
-
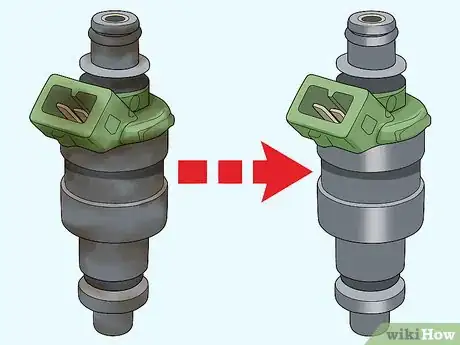
2Replace your fuel injectors if they show signs of malfunction. Fuel injectors may sometimes need to be replaced entirely to ensure that your vehicle functions properly. If you notice signs that your fuel injectors may be malfunctioning, bring your vehicle to a mechanic to get checked as soon as possible. These signs may include:[12]
- Your cylinders misfiring.
- The "check engine" light turning on frequently.
- Your vehicle stalling or not starting with a full tank of gas.
- Smoke.
-
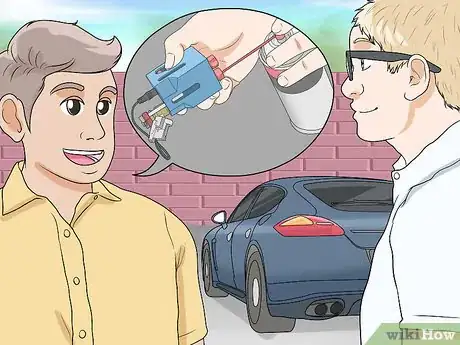
3Get a professional fuel injector cleaning if you can't do it on your own. If you are unable to perform yearly cleanings on your own, do not skip the process entirely. Bring your vehicle to have the fuel injectors professionally cleaned every year as needed. Contact local repair shops for price estimates before deciding where to bring your car for the cleaning.
- This will be costly but it will prevent problems with your engine that may prove to be costly in the future.
References
- ↑ https://curateview.com/clean-fuel-injectors/
- ↑ https://www.autoguide.com/auto-news/2015/04/should-i-use-fuel-injector-cleaner-.html
- ↑ https://curateview.com/clean-fuel-injectors/
- ↑ https://curateview.com/clean-fuel-injectors/
- ↑ https://www.2carpros.com/articles/how-to-check-fuel-system-pressure-and-regulator
- ↑ https://curateview.com/clean-fuel-injectors/
- ↑ https://curateview.com/clean-fuel-injectors/
- ↑ https://curateview.com/clean-fuel-injectors/
- ↑ https://curateview.com/clean-fuel-injectors/
About This Article
To clean your fuel injectors, first you'll need to locate and remove them. Consult your owner’s manual to determine where the fuel injectors are located in your vehicle. Most vehicles have 6 of them, and they’re usually located on the top of the engine near the intake valve, closest to the dashboard. Once you find them, unplug the connectors on top of the fuel injectors using a pair of pliers. Then, attach a socket wrench to the fuel line where it slides into the fuel rail to relieve pressure from the injectors. Next, take the fuel rail and remove it with a second socket wrench. This will allow you to access the injectors. Pull the injectors out from the slots by hand. Next, pull the O-rings off each end of one of the fuel injectors. Slide the straw of a pressurized carburetor or engine cleaner into the opening at either end of the fuel injector, and squeeze the nozzle to fill the interior of the injector with cleaning solution. Keep squeezing for 60 seconds to remove any gunk and varnish built up inside of the fuel injector, then take the straw out. Now, spray the outside of the fuel injector with degreaser, and scrub the exterior with a wire brush to remove any surface grime. Put the straw back into the opening at the end of the fuel injector, and wrap the seam with electrical tape. Next, attach alligator clips to the leads on a 12 volt battery. Attach the other end of the leads to the ports on the side of the fuel injector to turn the injector on automatically. Then, spray the carburetor or engine cleaner into the fuel injector for another 60 seconds. This will flush the fuel injector out and remove all of the residue still stuck inside. To finish, take the alligator clips off of the injector, peel off the electrical tape, and remove the straw. Let the injector air dry, then dip the O-rings in a little gasoline before reattaching them to keep them from corroding in the future. Repeat this process for all of your injectors. Keep reading for tips from our mechanic reviewer on how to keep your fuel injectors clean!!
