This article was co-authored by wikiHow staff writer, Devin McSween. Devin McSween is a wikiHow Staff Writer. With a background in psychology, she has presented her research in social psychology at a variety of conferences and has contributed to several manuscripts for publication. At wikiHow, Devin combines her love of writing and research with the goal of bringing accessible information to wikiHow readers that will help them learn and grow. She earned her BS in Psychology from the College of Charleston.
There are 8 references cited in this article, which can be found at the bottom of the page.
This article has been viewed 1,370 times.
Learn more...
Whether you're making resin jewelry, resin coasters, or any other type of resin craft, molds are a useful tool to help shape and solidify your resin. But it can definitely be annoying when your molds get grimy and full of dirt, debris, and bits of leftover resin that don't seem to scrub out no matter what you do. The great news is that cleaning out your resin molds is easy as long as you have the right techniques and tools. In this article, we’ll tell you the best way to clean your molds and how to remove stubborn resin. Then, we’ll give you some tips and tricks on how to store and prepare your molds so your resin projects continue to come out clean and shiny.
Things You Should Know
- Remove loose debris in your mold with tape, wash it in warm, soapy water, and let it air dry to clean your resin mold.
- Remove resin stuck in your mold by freezing it for 1-2 hours, wiping it with baby wipes, or soaking it in acetone or rubbing alcohol.
- Store your molds on a flat surface in an air-tight location away from heat.
- To prepare your mold for resin and get the resin out cleanly, wash it in warm, soapy water and spray the inside with a resin release spray.
Steps
Cleaning Your Resin Mold
-
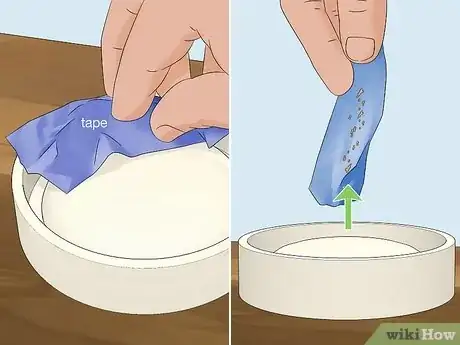
1Remove dust, dirt, and other residue inside your mold with tape. Start cleaning your mold by getting rid of any loose debris stuck inside. All you need to do is get a strip of tape, whether it’s clear tape, painters tape, or duct tape. Simply place the tape inside your mold, press it down, and pull it back off! You’ll be able to see all the dirt and grime on the sticky side of the tape.[1]
- When a piece of tape becomes full of debris, simply get a new piece.
- You can use sticky tacky putty in place of tape if you prefer. Just break off a piece of putty and form it into a ball to warm it up. Then, press and dab it into the mold. Continue to fold and work the putty to get a clean side when it gets dirty.[2]
-
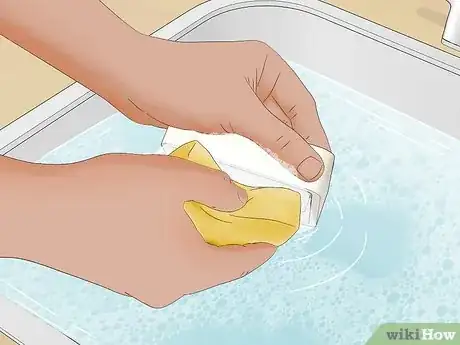
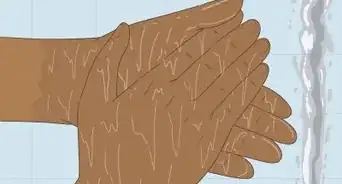
2Clean off any leftover dirt and resin with warm, soapy water. While tape helps you remove smaller debris, soap and water is the best way to thoroughly clean your resin mold. Just fill up your sink or a bowl with warm water and add a few drops of dish soap. Place the mold inside and gently scrub it with a soft sponge or brush.[3]
- For stubborn, sticky resin caught in your mold, let it soak in the soapy water for several minutes.
- If you’re using a double sided sponge, make sure to only use the soft side. A coarse, scrubby sponge can scratch and damage your mold.
Advertisement -
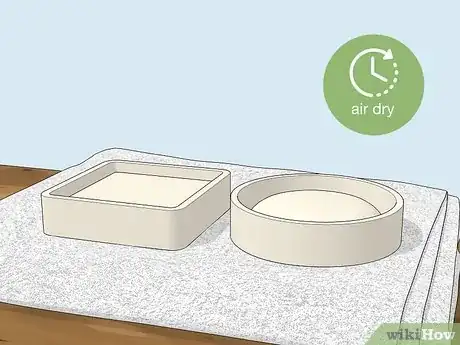
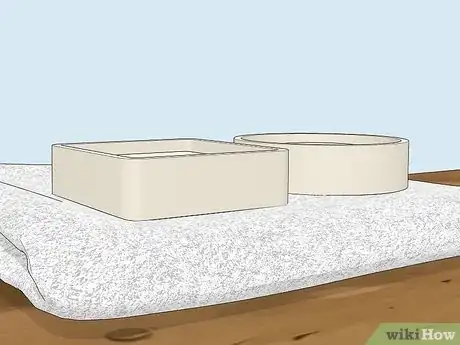
3Allow your mold to air dry before using or storing it. Once you’re done washing your mold, set it on a towel or drying rack to completely dry out. While a towel might speed up the process, it can leave behind fibers and dust that you don’t want to mix in with your resin.[4]
- Do not use any heat to dry off your mold, either. Heat from a hair dryer or even the sun can cause your mold to warp and lose its shape.
Removing Stuck-on Resin from Molds
-
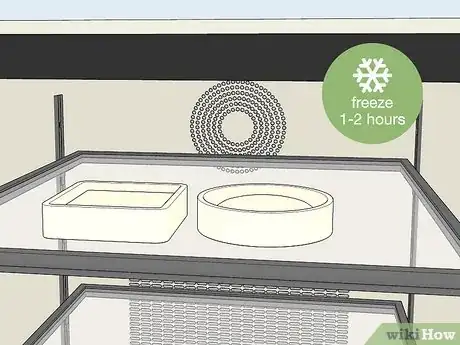
1Harden sticky resin by placing your mold in the freezer for 1 to 2 hours. If you have lots of uncured, sticky resin still in your mold, just pop your mold in a plastic bag and set it in your freezer for a couple hours. The resin will harden and pull away from the mold, so you just need to scrape it off with a toothpick, soft spatula, or grab it with your hands.[5]
- If you have large pieces of resin in your mold, you can just press the back of the mold to pop the hardened resin out of it.
-
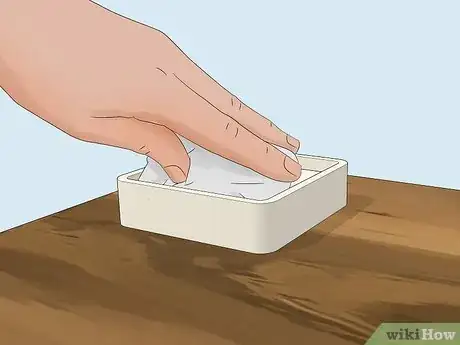
2Wipe away uncured resin with baby wipes. Baby wipes work great for smaller bits of sticky resin stuck in your molds. Just choose a gentle, fragrance-free variety and swipe it through your mold.[6]
- Alternatively, wet a dry, lint-free wipe with water to scrape away uncured resin.
-
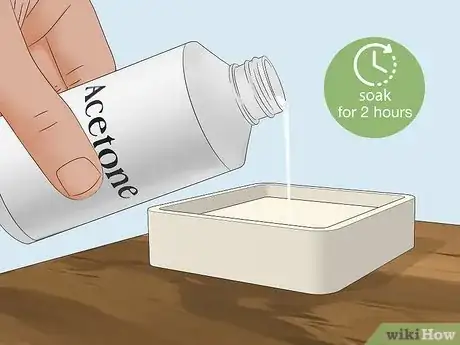
3Loosen sticky resin by pouring acetone into the mold. Acetone helps break down and soften uncured resin. Simply pour enough into your mold so that the bottom is covered. Then, let the resin soak for about 2 hours. Once it’s good and softened, use a hard, silicone scraper to scrape off the resin.[7]
- Once you’re finished, rinse away the resin and acetone with warm, soapy water.
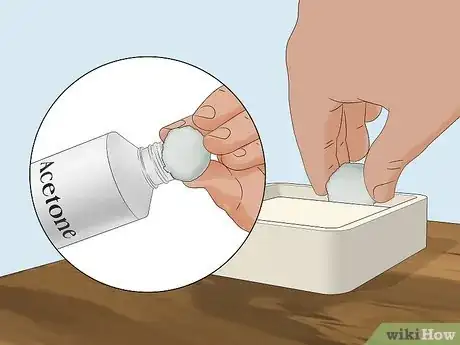
- For smaller areas, apply the acetone to a cotton ball to wipe away the resin.
- You can use rubbing alcohol in place of acetone if you prefer. Both work great at softening stubborn resin.
Storing Your Molds
-
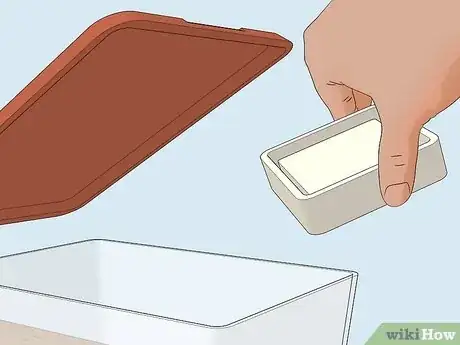
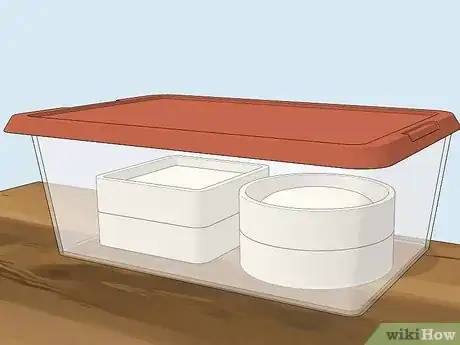
1Store your molds in air-tight containers. To keep your molds looking as fresh and clean as you got them, seal them away in plastic wrap, a plastic bag, storage container, or away in a drawer or cupboard. This helps prevent dust, hair, and debris from accumulating in your mold. And as a bonus, it means you don’t have to clean them as hard when you go to use them![8]
-
2Lay your molds down on a flat, even surface. Placing your molds on a bumpy, uneven surface can bend your mold and cause it to lose its shape. Be careful of stacking your molds on top of each other too, as that can also warp your molds.[9]
- If you don’t have enough space not to store your molds on top of each other, don’t worry! Just layer a sturdy piece of plywood or other hard material between your molds.[10]
-
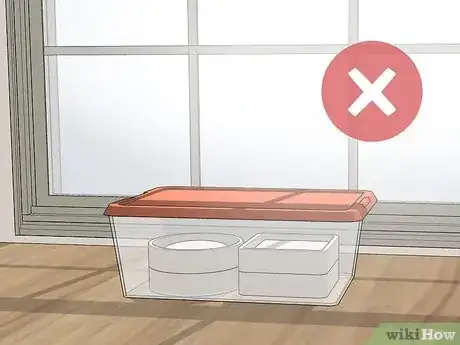
3Keep your molds away from heat. Most molds are made of silicone, which is a plastic that can become easily warped and damaged by heat. When you go to store your molds, just make sure they aren’t near any potential heat sources like a sunny window, air vent, or oven.[11]
Preparing Molds for Resin Pouring
-
1Wash your mold with soap and water. Even though you cleaned your mold after you used it, dust and debris can easily accumulate. Just add warm water and some dish soap into a bowl or your sink. Then, gently scrub the inside and outside of the mold with a soft sponge, making sure to get between the mold’s nooks and crannies.[12]
-
2Set the mold out to air dry. Pouring resin in a wet mold can cause bubbles to form, which you definitely don’t want! Place your mold over a towel or on a drying rack to let it dry completely before you use it.[13]
-
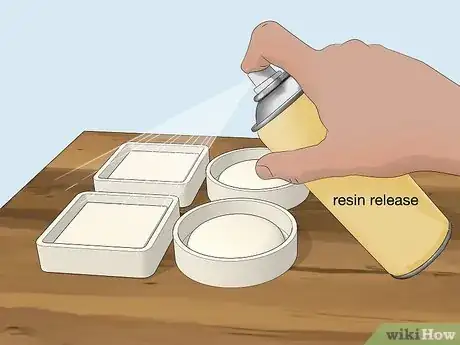
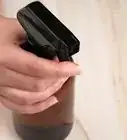
3Apply a resin release spray to the mold. A release spray helps your resin come out cleaner, meaning there’s less for you to clean up, and helps your mold last longer! Once your mold is dry from washing, spray the solution directly into the mold. You’re now ready to pour in your resin![14]
References
- ↑ https://blog.milllanestudio.com/2016/01/how-to-clean-silicone-moulds.html
- ↑ https://youtu.be/3aQemFVL9DM?t=38
- ↑ https://cleanerprofy.com/how-to-clean-resin-molds/
- ↑ https://cleanerprofy.com/how-to-clean-resin-molds/
- ↑ https://cleanerprofy.com/how-to-clean-resin-molds/
- ↑ https://cleanerprofy.com/how-to-clean-resin-molds/
- ↑ https://youtu.be/r7Kv7ReAiyc?t=92
- ↑ https://thesmalladventurer.wordpress.com/2019/09/09/silicon-moulds-101-how-to-effectively-organise-use-and-clean-your-collection/
- ↑ https://www.moresinmold.com/store-silicone-molds/
