This article was co-authored by wikiHow Staff. Our trained team of editors and researchers validate articles for accuracy and comprehensiveness. wikiHow's Content Management Team carefully monitors the work from our editorial staff to ensure that each article is backed by trusted research and meets our high quality standards.
This article has been viewed 26,469 times.
Learn more...
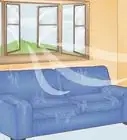
Shellac is a popular finish that has been used to coat wood for hundreds of years. Many older homes have shellac finished banisters or floors, and you don't have to look far to find antiques coated in shellac. After many years of use, shellac coating can develop water stains and damage. Luckily, it is the easiest wood finish to clean and repair. Whether you are dealing with shellac that needs a quick clean with soapy water or a shellac coated item that requires complete repair, you shouldn’t need more than a day or two to get your shellac surface looking shiny and new.
Steps
Cleaning off Dirt and Dust
-
1Dilute a small amount of mild liquid soap into a bucket of warm water. Use roughly 1 capful of soap for every 2 cups (470 mL) of warm water. Make enough of the solution to clean the entire shellac surface you'll be working on.[1]
- A small desk may only need 2–4 cups (470–950 mL), while shellac floors could use a whole bucket of water.
- Avoid oil-based soaps that contain alcohol. Alcohol breaks down shellac and could damage the surface you are cleaning.
-
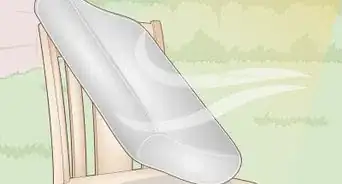
2Immerse a rag into the warm soapy water and wring it out completely. You want your rag to be damp but not dripping with water. Water can damage shellac, especially shellac that has aged, so use just enough soapy water to clean the shellac without causing water damage.[2]
- If you are cleaning shellac coated floors, you can use a classic cotton string mop for this step. Just remember to wring out the excess soapy water before you start mopping.
Advertisement -
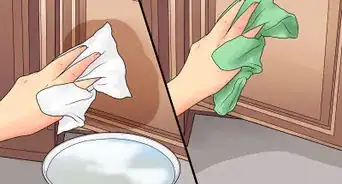
3Wipe down the surface of the shellac with the damp rag. Moving from the top to the bottom of the surface area you are cleaning, wipe down the shellac with your soapy rag. Thoroughly scrub one section at a time, and quickly wipe off excess water.[3]
- Wax or grime that was not removed by the soap is an indication that the surface needs additional cleaning. Stains or cracks suggest that you need to repair the shellac surface.


Removing Wax and Grime
-
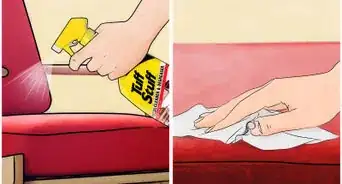
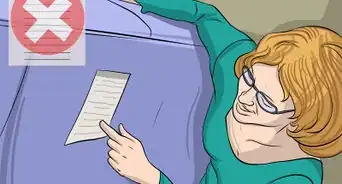
1Apply turpentine to a clean rag and wring it out completely. Older shellac surfaces may have developed grime and wax buildup. To break down these stubborn areas, use a solvent like turpentine. Thoroughly soak a rag in the turpentine (don’t forget to use gloves!) and wring it out.[4]
- If the shellac surface has a ton of buildup, use steel wool (grades 0-0000) instead of a rag. Soak the steel wool in turpentine and wring it out completely.
- Grade 0000 steel wool (the finest option) is the best place to start if you aren’t sure which grade to use. If you know that your shellac surface has excessive buildup, grade 0 steel wool will easily break down stubborn sections.[5]
- Avoid using any grade of steel wool that is coarser than 0 grade because it could damage the shellac.
-
2Scrub the entire shellac surface using a circular motion. Working methodically to cover every section of the shellac, scrub the entire surface with your turpentine-soaked rag (or steel wool). Using a circular motion will help the turpentine break down excess buildup. Use a gentle hand, and take your time working through problem areas.
- You will likely need to reapply the turpentine to your rag (or steel wool) a few times. If you notice the wax buildup is smearing rather than being removed, that means it is time to apply more turpentine to your rag (don’t forget to wring it out).
-
3Scrub the shellac surface again, this time following the wood grain. Soak your rag in turpentine one more time and give a final scrub of the shellac surface, using a bit more force as you follow the grain. Use this final pass with the turpentine to remove any spots that still have excess grime or wax buildup.
-
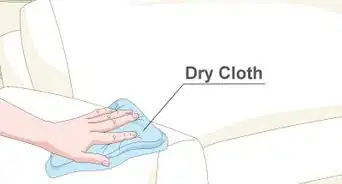
4Wipe down the surface with a clean, dry rag. Use as many dry rags as needed to thoroughly wipe down the shellac surface until the finish looks clean and is completely free of grime.
- If your shellac surface looks shiny and new, you can stop here. If the shellac surface has visible water damage, cracks, or peeling, you will need to repair the shellac surface.


Reviving Shellac
-
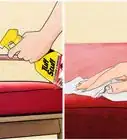
1Sand the cleaned shellac with fine sandpaper. Using fine sandpaper, around 320-grit, lightly sand the entire shellac surface. Move the sandpaper in a circular motion while pressing down lightly. The idea is to open up the shellac surface to prepare it for a new coat of finish.
- You don’t need to sand off the shellac that is present, just rough it up enough so that the new finish can stick to it.
-
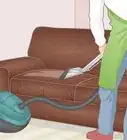
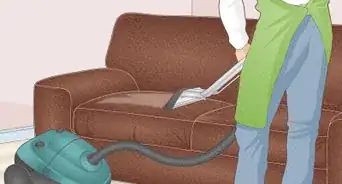
2Remove dust with a vacuum or rag. Thoroughly vacuum up the sanding dust. If you don’t have a vacuum on hand, you can use a dry rag to wipe it away.[6] Removing excess dust allows the fresh shellac coating to be applied evenly.
-
3Mix 4 parts denatured alcohol with 1 part dewaxed shellac flakes. In a glass jar (avoid metal and plastic), add the desired amount of dewaxed shellac flakes, then pour in the denatured alcohol. Let the mixture dissolve completely. Cap the jar and shake it often, so the shellac doesn’t clump on the bottom. Wait for the flakes to completely dissolve in the alcohol.[7]
- It can take a few hours for a small batch of shellac flakes to dissolve in alcohol, and up to a day for larger batches. To be safe, mix the shellac and alcohol the day before you plan on using the mixture.[8]
- Combining denatured alcohol with shellac flakes creates the perfect mixture to revive your old shellac surface. The alcohol breaks down the old shellac finish, allowing it to merge with the fresh shellac.[9] The result is a beautifully rejuvenated shellac finish.
-
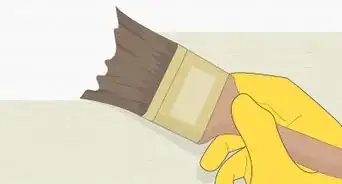
4Use a paintbrush to apply the alcohol mixture over the shellac surface. Shellac dries really quickly. When you are coating the old shellac surface with this fresh mixture, try to keep the brush moving and work fast.[10] Follow the grain and move methodically over the surface, so the shellac is applied evenly. Dip your paintbrush back into the mixture often so that it doesn’t dry out.
- Do your best to catch drips before they dry but don’t fret if you miss some. If this happens, just wait for the entire surface to dry and then rub out the drips with some fine sandpaper.
- Use a 1 or 1.5 pound cut brush. The thinner brush reduces brush marks and avoids excessive buildup.[11]
-
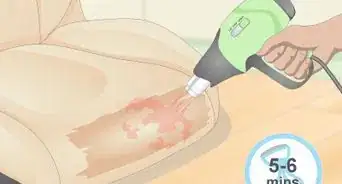
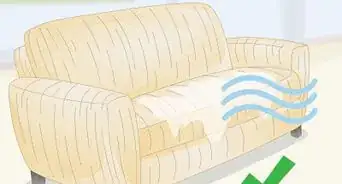
5Wait 2 hours for the finish to dry. Once the finish has dried, you’ll be able to see if you need another coat. If the first coat of fresh shellac makes the surface look shiny and new, you can move on. If there are still damaged areas, apply another coat of the alcohol and shellac mixture and wait a few hours for it to dry.[12]
- Especially damaged surfaces could use up to 3 coats of the shellac and alcohol mixture.
-
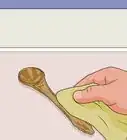
6Scoop furniture wax onto a clean rag and apply using a circular motion. Adding furniture wax to your new shellac surface protects it from further damage while making it look shiny. Apply the scoop of wax in a circular motion until it is thinly coating the entire surface.[13]
- You could use beeswax instead of furniture wax if you have it on hand.[14]
-
7Buff the surface with a fresh cloth after the wax sits for 5 minutes. Using the same circular motion, take a clean cloth and buff the entire shellac surface. Press down fairly hard during this process to give the surface a nice shine.[15]
-
8Polish the surface by working a clean rag along the grain of the wood. Use a fairly aggressive motion to polish the wax.[16] The final result will be a polished shellac surface that has a lovely shine.


Community Q&A
-
QuestionHow would I clean a shellacked floor?
 ZackTop AnswererYou can clean a shellacked floor with the same methods found in this article.
Warnings
- Use protective clothing, gloves, and eye protection when working with solvents.⧼thumbs_response⧽
Things You'll Need
- Denatured alcohol
- Clean rags
- Mild liquid soap
- Warm water
- Solvent (turpentine or paint thinner)
- Fine sandpaper (320-grit)
- 0-0000 grit steel wool
- Shellac finish
- Furniture Wax
- Paintbrush


References
- ↑ http://antiquerestorers.com/Articles/jeff/saving_the_finish.htm
- ↑ http://antiquerestorers.com/Articles/jeff/saving_the_finish.htm
- ↑ https://www.canadianwoodworking.com/tipstechniques/revive-not-refinish
- ↑ https://digitalcommons.usu.edu/cgi/viewcontent.cgi?article=1505&context=extension_histall
- ↑ https://digitalcommons.usu.edu/cgi/viewcontent.cgi?article=1505&context=extension_histall
- ↑ https://www.canadianwoodworking.com/tipstechniques/revive-not-refinish
- ↑ https://www.stewmac.com/How-To/Online_Resources/Learn_About_Instrument_Finishing_and_Finish_Repair/How_and_why_to_mix_fresh_shellac.html
- ↑ https://www.woodcraft.com/blog_entries/success-with-shellac
- ↑ https://www.canadianwoodworking.com/tipstechniques/revive-not-refinish
- ↑ https://www.woodcraft.com/blog_entries/success-with-shellac
- ↑ https://www.woodcraft.com/blog_entries/success-with-shellac
- ↑ https://www.woodcraft.com/blog_entries/success-with-shellac
- ↑ http://antiquerestorers.com/Articles/jeff/saving_the_finish.htm
- ↑ https://www.canadianwoodworking.com/tipstechniques/revive-not-refinish
- ↑ https://www.canadianwoodworking.com/tipstechniques/revive-not-refinish
- ↑ https://www.canadianwoodworking.com/tipstechniques/revive-not-refinish
About This Article