This article was co-authored by wikiHow Staff. Our trained team of editors and researchers validate articles for accuracy and comprehensiveness. wikiHow's Content Management Team carefully monitors the work from our editorial staff to ensure that each article is backed by trusted research and meets our high quality standards.
There are 9 references cited in this article, which can be found at the bottom of the page.
This article has been viewed 11,542 times.
Learn more...
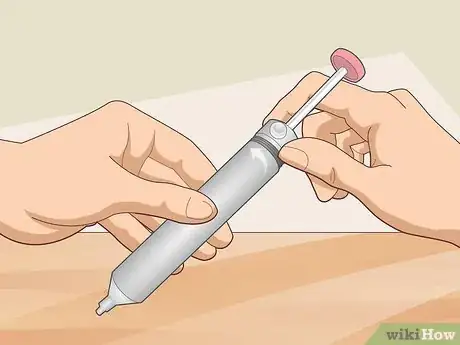
A desoldering pump, also known as a solder sucker, is a hand-operated, non-electrical pump used for sucking up molten solder from circuit boards. Over time, these pumps accumulate bits of solder and grime that can clog them up and cause them to lose their sucking power. If you notice this happening to your desoldering pump, you can try cleaning it to restore its optimal functionality. This is a fairly simple task that you can perform with a few basic cleaning supplies, such as cotton swabs and rubbing alcohol. Clean your desoldering pump after every 2-3 uses to keep it working smoothly.
Steps
Taking Apart and Cleaning the Pump
-
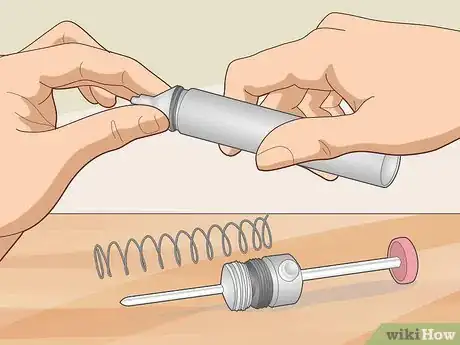
1Unscrew the pieces of the soldering pump to disassemble it. Look for the crease where the 2 pieces of your desoldering pump screw together. Turn the top section counterclockwise until you can pull the pieces apart, then set them down on a flat work surface.[1]
- Depending on your specific model of desoldering pump, you might have to just turn the top piece 1/4 of a turn or so to unlock the pieces, then you can pull them apart. Other models might require you to fully unscrew the pieces several full turns before you can separate them.
- You can clean a desoldering pump immediately after using it. Since it is a manual, non-power tool, and any solder you suck up cools within 30 seconds or so, there are no safety concerns.
Tip: Desoldering pumps vary in appearance, but they all consist of a hollow chamber and a plunger with a spring and a piston.
-
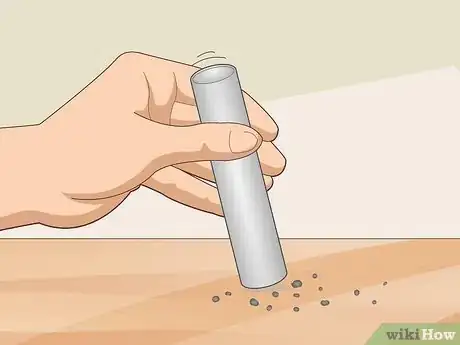
2Tap the barrel of the pump against a flat surface to dump out any loose solder. The barrel is the hollow cylindrical piece. Turn it so the opening is facing straight down then tap it firmly against your flat work surface a few times to knock out any loose bits of solder from inside the barrel.[2]
- The barrel is where the desoldering pump collects all the solder that you suck up. These bits harden almost immediately inside the chamber and shouldn’t stick to it, so most of the solder you suck up can just be tapped out.
Advertisement -
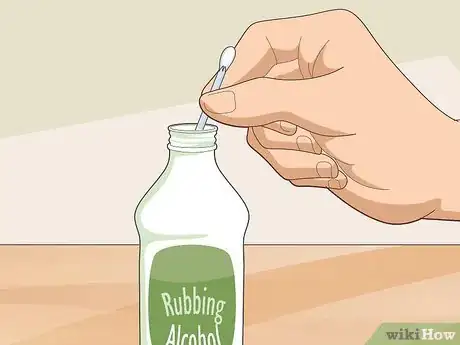
3Soak a cotton swab in rubbing alcohol or isopropyl alcohol. Use at least 70%-strength rubbing alcohol or isopropyl alcohol. Stick the tip of a clean cotton swab into the bottle of alcohol to saturate it.[3]
-
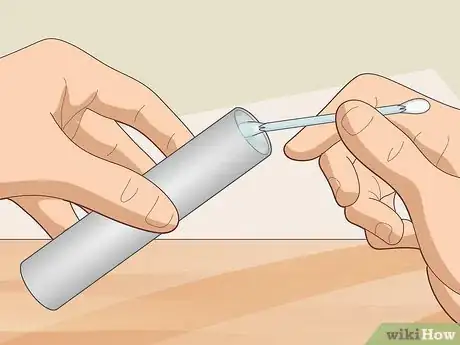
4Use the saturated cotton swab to wipe out the barrel of the pump. Insert the damp cotton swab into the barrel of the desoldering pump and wipe it all the way around the inside to clean it. Switch to the other side of the cotton swab when the first side looks dirty and use new cotton swabs as needed.[4]
- If you can’t reach all the way inside the barrel with a cotton swab, you can wrap an alcohol-soaked cotton ball around something longer like a pen and use that to push it all the way inside the barrel to wipe it clean.
-
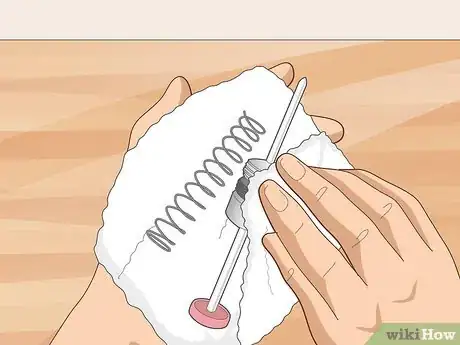
5Wipe the spring and piston clean using a soft, lint-free rag. The piston is the long, skinny piece through the middle of the plunger. The spring wraps around the outside of the plunger. Use a soft, lint free cloth, such as a microfiber cloth, to wipe these pieces off as thoroughly as you can.[5]
- You might be able to slide the spring off your plunger, depending on the specific model of desoldering pump that you have.
- You can also use a cotton swab soaked in alcohol to get into any hard-to-reach cracks and crevices.
Greasing and Reassembling the Pump
-
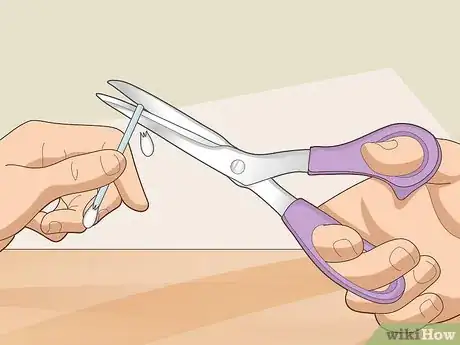
1Cut the cotton off one end of a cotton swab. Hold the cotton swab firmly in one hand. Use a pair of sharp scissors in your other hand to cut off one end of the swab just below the cotton, so it is completely bare.[6]
- It’s best to remove the cotton so you have a hard tip with which to apply the grease more precisely.
-
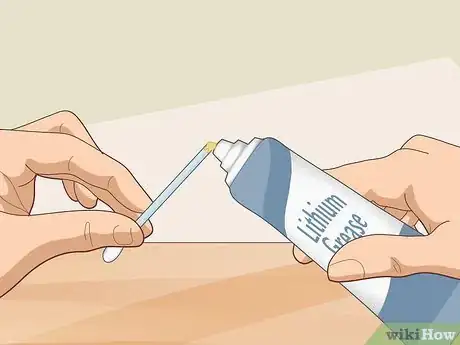
2Load the bare tip of the cotton swab with lithium grease. Open up a tube of lithium grease. Squeeze out enough grease from the tube to cover the bare end of the cotton swab.[7]
- Always use lithium grease to lubricate your desoldering pump because it doesn’t collect dust or dirt, which will clog up your pump.
- Lithium grease is commonly used to lubricate automotive parts and other mechanical parts. You can purchase it online, at a home improvement center, or from an auto parts shop.
-
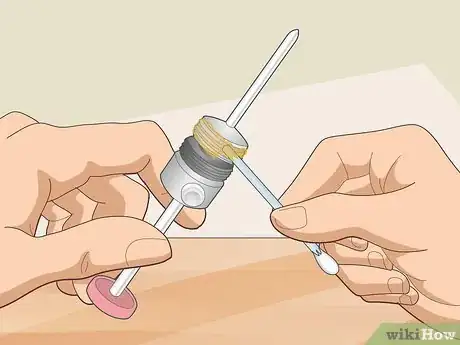
3Apply the grease to the pump’s piston. Rub the grease all the way around the rim of the hole in the plunger that the piston slides up and down through. This will lubricate it so that the piston moves up and down smoothly and the pump has better sucking power.[8]
-
4Screw the pieces of the pump back together. Insert the plunger piece back into the barrel. Turn the plunger piece clockwise until it is all the way tight to secure the pieces together.[9]
- You can test the plunger out a few times to make sure that it is working smoothly. If it seems sticky, open up the pump again and add a little more lithium grease around the piston.
Warnings
- Always use lithium grease to lubricate your desoldering pump. Other types of grease and lubricants attract dust and grime that will clog up the pump.⧼thumbs_response⧽
Things You’ll Need
- Cotton swabs
- Rubbing alcohol
- Lint-free cloth
- Lithium grease
- Scissors
References
- ↑ https://www.youtube.com/watch?v=IdqhpF4Q7tw&feature=youtu.be&t=89
- ↑ https://www.youtube.com/watch?v=IdqhpF4Q7tw&feature=youtu.be&t=105
- ↑ https://www.youtube.com/watch?v=KoTkZJiMhDE&feature=youtu.be&t=52
- ↑ https://www.youtube.com/watch?v=KoTkZJiMhDE&feature=youtu.be&t=58
- ↑ https://www.youtube.com/watch?v=IdqhpF4Q7tw&feature=youtu.be&t=151
- ↑ https://www.youtube.com/watch?v=KoTkZJiMhDE&feature=youtu.be&t=289
- ↑ https://www.youtube.com/watch?v=KoTkZJiMhDE&feature=youtu.be&t=320
- ↑ https://www.youtube.com/watch?v=KoTkZJiMhDE&feature=youtu.be&t=325
- ↑ https://www.youtube.com/watch?v=IdqhpF4Q7tw&feature=youtu.be&t=241
