X
wikiHow is a “wiki,” similar to Wikipedia, which means that many of our articles are co-written by multiple authors. To create this article, volunteer authors worked to edit and improve it over time.
This article has been viewed 42,659 times.
Learn more...
Nintendo 64 cartridges can be finicky sometimes, and if one of yours is dirty, your console may be unable to read it. Never fear, as this article will show you a few methods to clean your cartridge so that you can enjoy whatever game you should find yourself wanting to play.
Note: It is recommended you try the first two methods. Method 3 is the most complicated and has the highest risk of damage to the cartridge.
Steps
Method 1
Method 1 of 3:
Blowing into the Cartridge
-
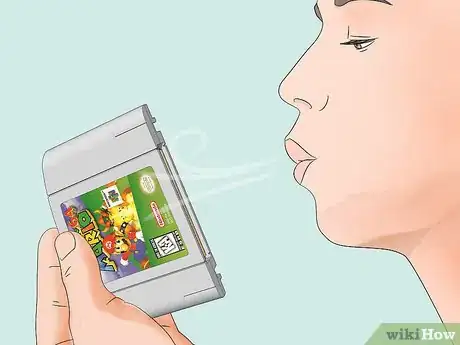
1Blow into the cartridge. The most basic method involves simply blowing into the insertion gap below the cartridge. Even though most game cartridges will warn you not to (as seen on the warning label in the back), you can ignore the warning, as this method does usually yield results.
-
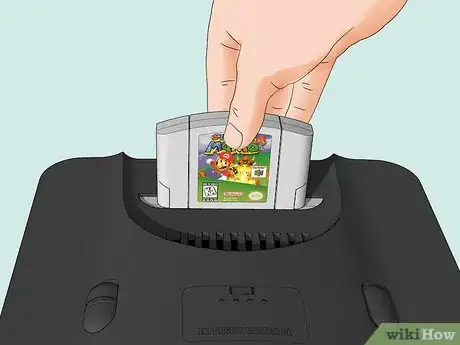
2Try the game again. If it doesn't work, you may want to use the more thorough cleaning method.
Advertisement
Method 2
Method 2 of 3:
Wiping the Cartridge
-
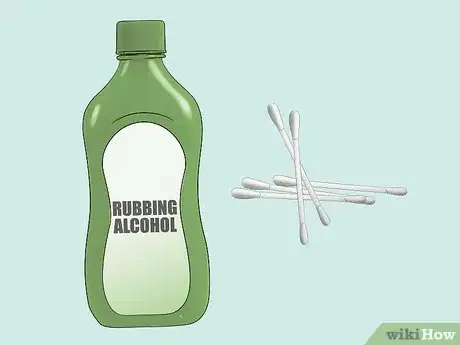
1Acquire the cotton swabs and alcohol. If you do not possess these items, you can find these items easily in most department stores or pharmacies
-
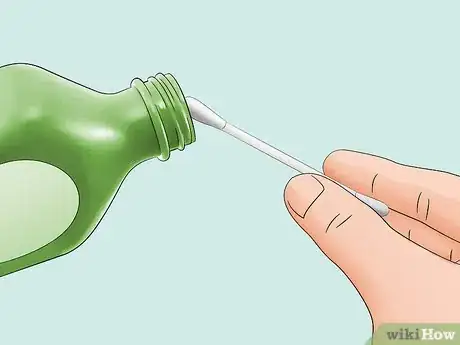
2Dampen cotton swab in alcohol. Simply dampen the swab in the rubbing alcohol. Make sure to only apply a light amount
-
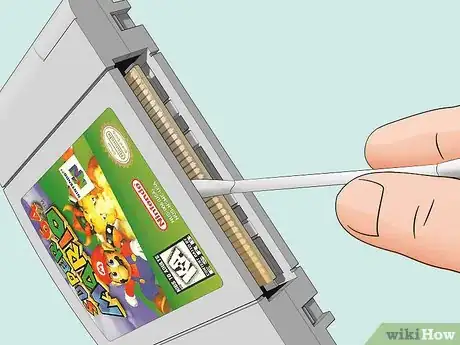
3Wipe around copper contacts with alcohol covered cotton swab. Take the now damp cotton swap and insert it into the insertion gap. Once inside, wipe around the copper contacts in a rectangular motion.
- Be careful, but also be firm with your cleaning. Repeat this step (making sure to replace your swab each time) until you do not see any dirt on your swab
-
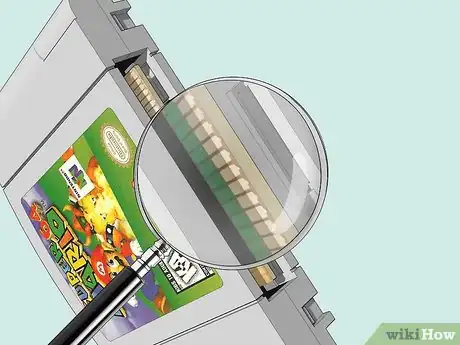
4Inspect cartridge for debris.
-
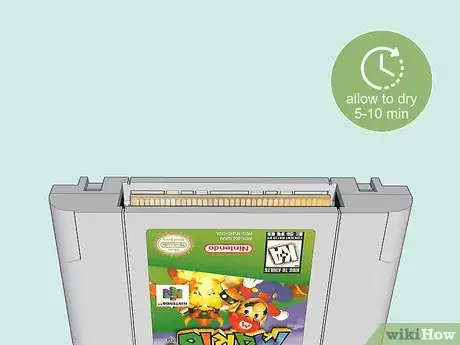
5Allow cartridge to dry before you try it. Air drying is the best recommendation. It should take no more than 5-10 minutes.
Advertisement
Method 3
Method 3 of 3:
Internal Cleaning
-
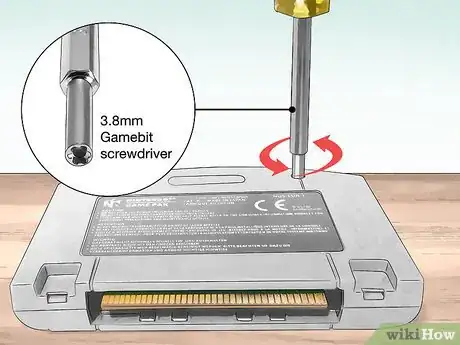
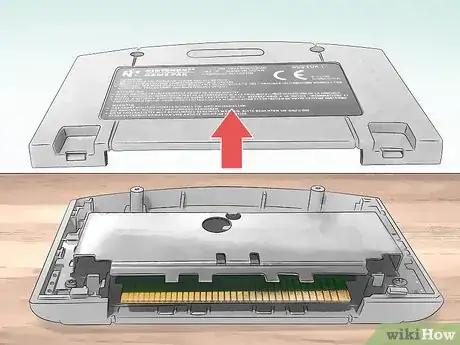
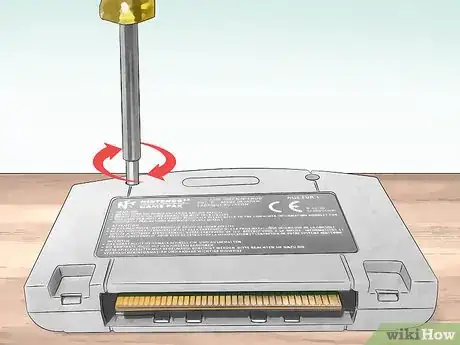
1Remove the Gamebit Screws on the back of the cartridge. This will require a 3.8mm Gamebit screwdriver. A 3.0U Spanner bit can also remove these.
-
2Carefully separate the two halves of the cartridge.
-
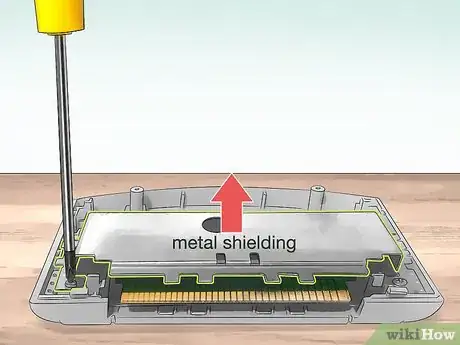
3Remove the metal shielding. After separating the halves you should see one half has some metal shielding. This is held via two Phillips screws, so a Phillips screwdriver will be required for this. Once removed, the circuit board and pins will be exposed
-
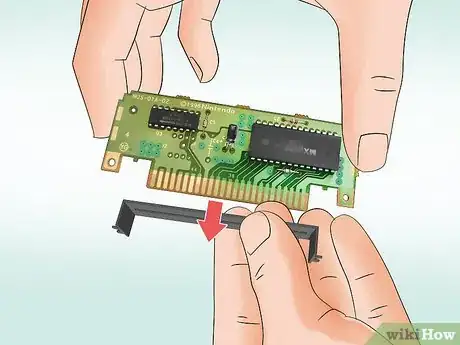
4Remove plastic shielding at the bottom of the cartridge.
-
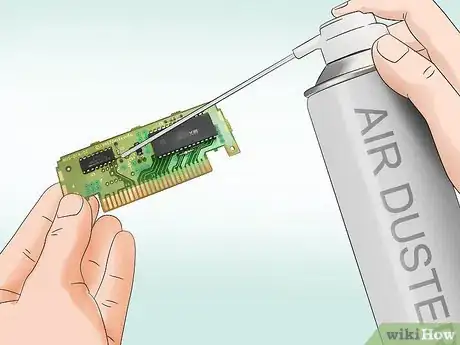
5Clear the circuit board of any dust and debris. This should be done with a bottle of electronic dust remover. In doing this, spray from a 9-12 inch distance
-
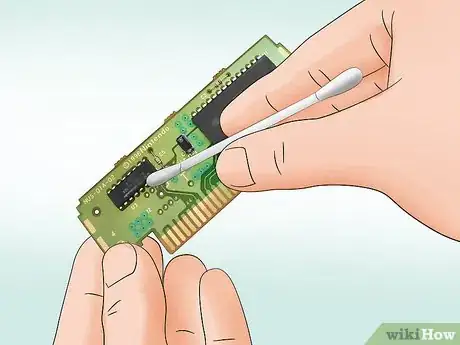
6Clean the pins. This can be done with a cotton swab and some rubbing alcohol
-
7Reassemble the cartridge. To do this it is best that you follow these steps in reverse.
Advertisement
Warnings
- When cleaning, be careful as to not bend or break the copper contacts.⧼thumbs_response⧽
- When applying alcohol to the cotton swab, be sure to only dampen it. Dousing it in excess alcohol could cause damage to the cartridge.⧼thumbs_response⧽
- The following methods are only for cleaning cartridges. If the cartridge still does not work, there may be some internal issues. If so, replacement may be necessary.⧼thumbs_response⧽
- If blowing into cartridge, be careful as to not spit or let any saliva fly loose. Saliva can oxidize the copper and cause damage.⧼thumbs_response⧽
- If utilizing the internal cleaning method, be extremely careful with any parts you disassemble.⧼thumbs_response⧽
Advertisement
Things You'll Need
- Rubbing Alcohol
- Cotton balls/swabs
- Electronic Dust Remover
- A Philips Screwdriver
- A 3.8 mm GameBit Screwdriver
About This Article
Advertisement
