X
wikiHow is a “wiki,” similar to Wikipedia, which means that many of our articles are co-written by multiple authors. To create this article, 16 people, some anonymous, worked to edit and improve it over time.
This article has been viewed 100,985 times.
Learn more...
Two cycle engines like string trimmers and leaf blowers are simple and light weight power plants that normally give good service with a minimum of maintenance. Ethanol blended fuels, contaminated gasoline, and poor fuel storage can result in a dirty carburetor, however, making them difficult to start and almost impossible to keep running. Here are some steps to help you clean your two cycle engine's carburetor if the need should arise.
Steps
-
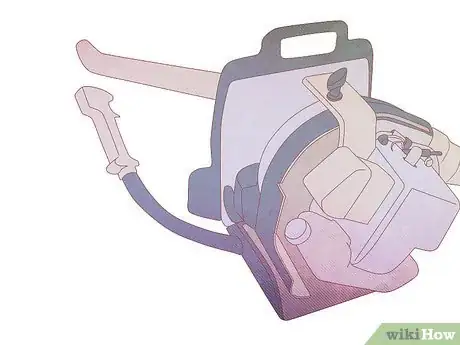
1Make sure you have a clean, well lit work area and the proper tools before you begin. These devices have small fasteners and parts which must be kept clean and safe while you work on them, and some have special fasteners that are difficult to remove without the right tools.
-
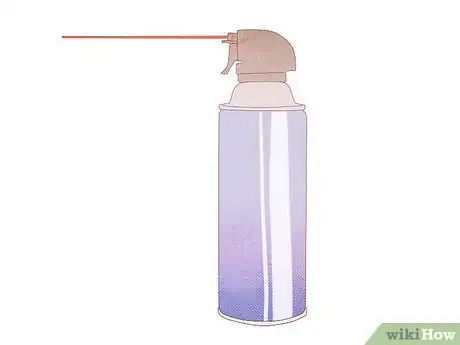
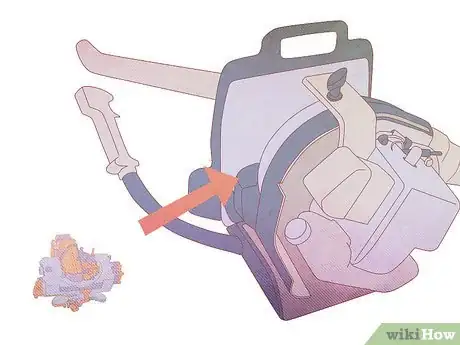
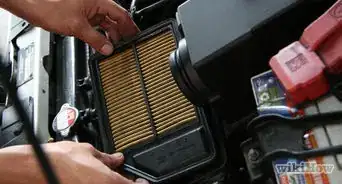
2Brush or use compressed air to clean the outside of the engine and the air cleaner housing before beginning. This will make it easier to keep the internal parts of the carburetor clean while disassembling it.Advertisement
-
3Remove the air cleaner housing. It may be attached with clips or screws, you should be able to locate them by inspecting the housing visually. If you cannot remove the housing on the engine you are working on, consult the owner's manual or search specific information online.[1]
-
4Remove the fasteners that hold the carburetor onto the engine. There are usually two threaded studs with nuts and washers that serve this purpose. Be careful not to drop these nuts in an inaccessible location beneath the powerhead.
-
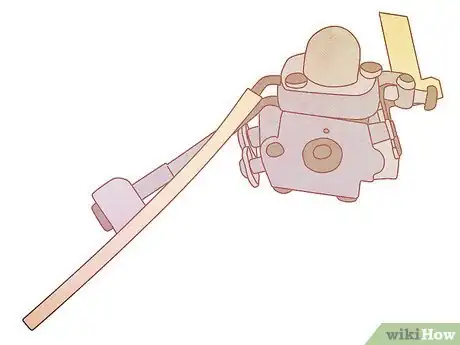
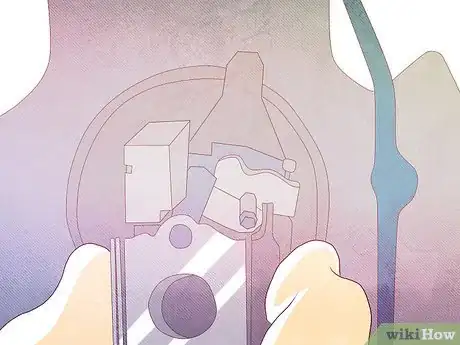
5Disconnect the throttle and choke linkages from the carburetor, noting how they fasten and where each one is attached. If there is a spring clamp, be sure that you do not overstretch it while removing it.
-
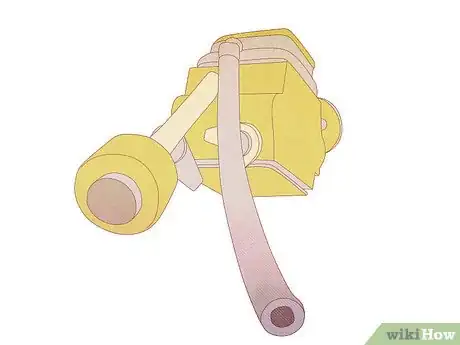
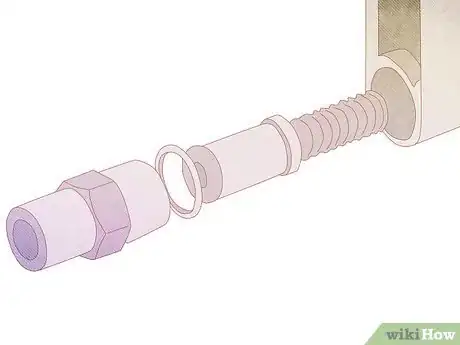
6Remove the fuel lines from the nipples connecting them to the carburetor housing. You can usually grip them gently with needle nose pliers and work them free. If clamps are used to attach them, remove the clamps prior to trying to remove the fuel lines.[2]
-
7Pull the carburetor off of the mounting studs, being careful not to damage the gasket that seals the carburetor throat to the engine. Again, note the position of the carburetor, most are symmetrical, so they can be reinstalled upside down, and the aforementioned linkages and fuel lines will not fit if that is the case.
-
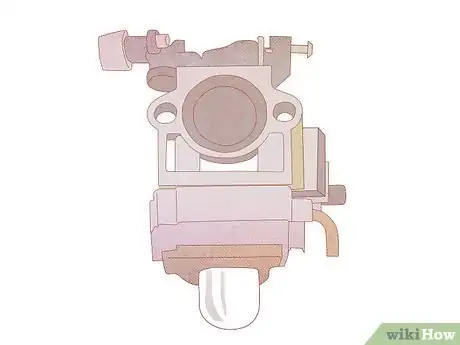
8Blow off any dirt or other debris from the outside of the carburetor, being careful not to allow it into the throttle body in the process. Brush any stubborn dirt off with a soft bristle parts brush, using a solvent like carburetor/choke cleaner or unchlorinated brake cleaning solvent to make the job easier.[3]
-
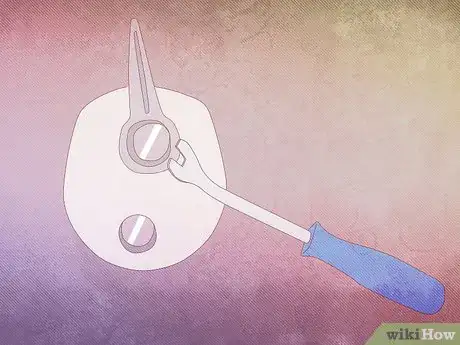
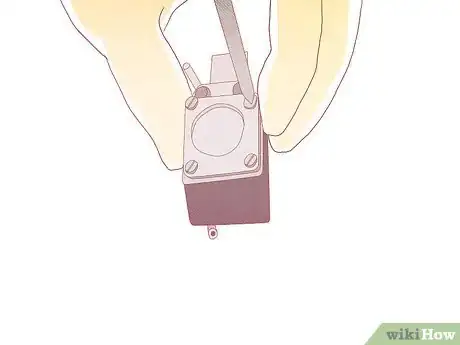
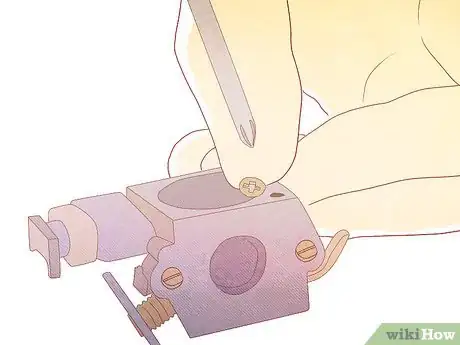
9Remove the screw from the diaphragm cover plate and pry the cover off, while being careful not to deform the metal housing or damaging the gasket. You can now ease the edge of the diaphragm up a little to look for dirt or debris underneath it in the fuel channels and the small reservoir. If debris is visible, use canned compressed air to blow it out. Use solvent to dissolve any gum or varnish present only if needed.[4]
-
10Reinstall the cover plate when you are satisfied the area underneath the diaphragm is clear. For carburetors that have a large, visible buildup of varnish or gum underneath the diaphragm, you may have to remove it completely, but in this case, you will probably need to buy a rebuild kit with new parts, as damage to the diaphragm is likely to occur while removing it.
-
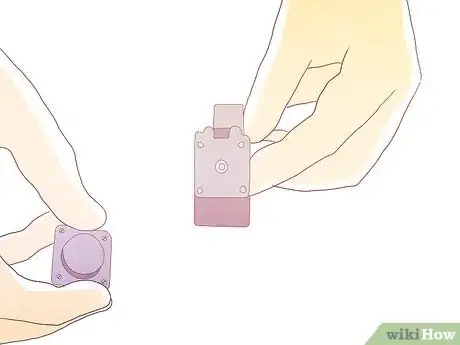
11Remove the carburetor base to access the internal screen (fuel filter). Again, remove the four screws (usually), and pry the cover gently off of the carburetor. If you damage the gasket, you will need to purchase a replacement, so be careful.[5]
-
12Look into the larger hole near where the main fuel supply line connects to the carburetor. If you see varnish buildup or trash in the screen, use a solvent (carburetor/choke cleaner) to dissolve it. For heavy buildup, you may need to fill a small, clean solvent proof container with solvent and soak the complete assembly for a short time to dissolve it.
-
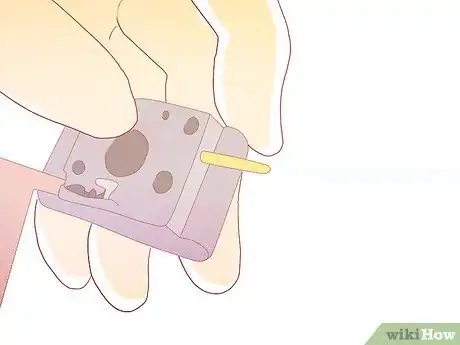
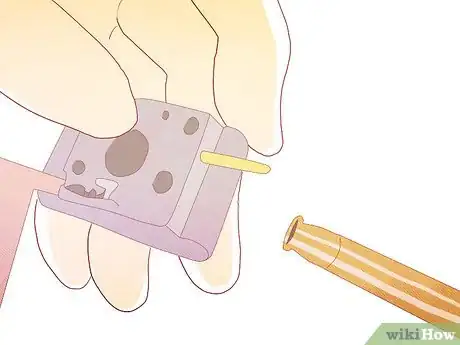
13Use a tube applicator on your aerosol can of solvent to blow out the ports the the carburetor housing. You can also spray solvent through the tubes where the fuel lines connect to the housing.[6]
-
14Blow out the excess solvent and any remaining debris from the carburetor housing and ports with compressed air, then inspect the whole assembly to make sure it is spotlessly clean.
-
15Reassemble the cover, making sure all of the screws are tightened snugly.
-
16Reinstall the carburetor by reversing the removal steps found earlier in the article.
-
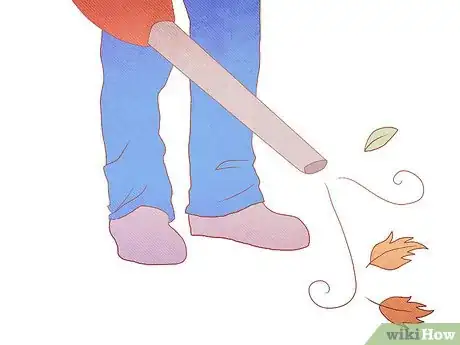
17Test run the engine.
Advertisement
Warnings
- Fuels and solvents can be hazardous, avoid prolonged breathing of fumes or contact with skin.⧼thumbs_response⧽
- Bent or incorrectly installed linkages and throttle cables will prevent the engine from performing properly.⧼thumbs_response⧽
- Most carburetors are made of soft metal, either aluminum or alloys of aluminum, so fasteners can be easily stripped if care is not taken.⧼thumbs_response⧽
- Fuels and solvents are very flammable, avoid sources of ignition while working in their presence.⧼thumbs_response⧽
Advertisement
Things You'll Need
- Correct tools for each fastener
- Cleaning solvent
- Cleaning brush (small makeup brushes make excellent parts cleaner
- Engine parts manual if available for your machine
- Compressed air
References
About This Article
Advertisement
