This article was co-authored by Carlos Alonzo Rivera, MA and by wikiHow staff writer, Eric McClure. Carlos Alonzo Rivera is a guitarist, composer, and educator based in San Francisco, California. He holds a Bachelor of Arts degree in Music from California State University, Chico, as well as a Master of Music degree in Classical Guitar Performance from the San Francisco Conservatory of Music. Carlos specializes in the following genres: classical, jazz. rock, metal and blues.
There are 18 references cited in this article, which can be found at the bottom of the page.
This article has been viewed 37,156 times.
Your guitar is an extension of your personality and music. To keep your guitar looking as sleek as your riffs sound, give it a thorough cleaning every 6-12 months to restore it to its former glory. Most of what you need to clean your guitar can be found at an auto supply store, so swing by the shop to pick up a few microfiber cloths and the cleaning supplies that you need. This process may take anywhere from 1-2 hours depending on how in depth you’d like to get and whether you’re also replacing the strings.
Steps
Wiping the Body
-
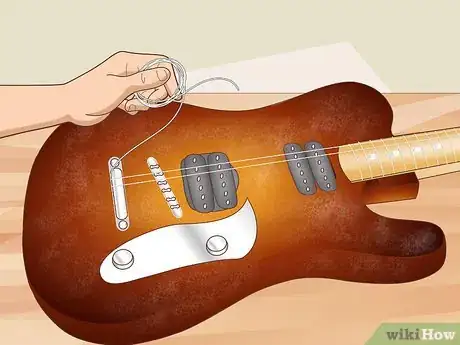
1Remove the strings if you want to deep clean the guitar. You don’t have to remove the strings to clean the body of the guitar, but it will make things a lot easier and you’ll be less likely to damage the strings. Start by loosening all of the strings at the head of the guitar by turning the tuning keys counterclockwise. Then, pop the bridge pins out of the bottom of the guitar if you have them. Lift the strings out through the back of the guitar.[1]
- You may need remove a plate on the back of the guitar to access the strings.
-
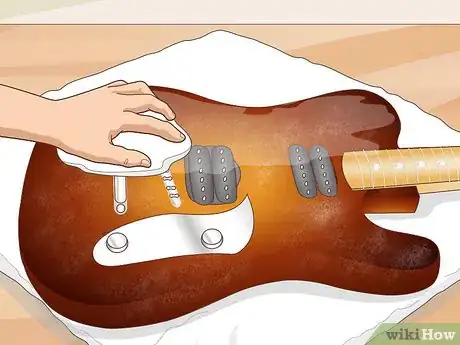
2Perform an initial wipe down with a damp cloth or paper towel. Set the guitar down on a thick, clean cloth with the face up. Run a clean cloth or paper towel under warm water for 1-2 seconds and wring the excess water out. Then, wipe down the main body of the guitar, including the saddle. Do this for 15-30 seconds to wipe any loose dirt or debris off.[2]
- Do not do this with the wood portion of the fretboard that extends down into the body. You will clean this wood piece differently.
- Do this after every playing session to keep fingerprints, skin oils, and sweat from building up on the body of the guitar.
Tip: Do not ignore the sides of the guitar while doing this! For each step, make sure to wipe, clean, and polish the sides of the guitar.
Advertisement -
3Wipe the body down with a non-abrasive polish if it’s a vintage guitar. If you have an antique or vintage guitar, get a non-abrasive instrument polish. Pour a coin-sized drop of polish into a microfiber cloth and gently wipe the body down. Run the cloth around the knobs, bridge, and base of the fretboard. Do not use any abrasive cleaners or strong chemicals to clean a vintage guitar if you want to retain its finish.[3]
- Basically any guitar polish will work for this so long as it doesn’t have a cutting compound in it. If the label says it’s safe for any instrument or that it’s non-abrasive, it’s safe for your guitar.
- Part of the allure of a vintage instrument is that it looks older! You can certainly use the remainder of these steps if you’d like, but it may remove or wear down older finishes. Most collectors and musicians like to keep their vintage guitars looking vintage, though.
-
4Stick with a damp cloth if your guitar has a satin finish. Any polish or cleaner will turn a satin guitar finish spotty and uneven. To clean a guitar with a satin finish, dip a microfiber cloth in some warm water and wipe the body down. Work around the bridge, knobs, and fretboard to cover each area 2-3 times with your damp cloth.[4]
- You really only find satin finishes on wood guitars. If your guitar’s body is wood and it has a kind of bumpy texture, you have a satin finish.
-
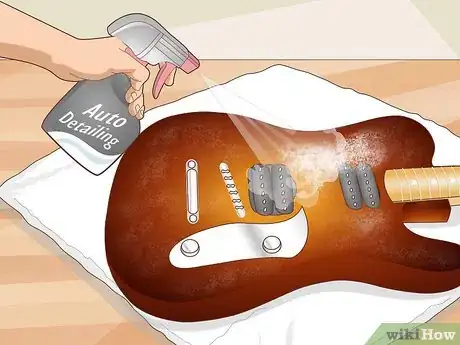
5Spritz the surface with an automotive detailing spray to soften gunk. Pick up an auto-detailing spray online or from your auto parts store. Hold the nozzle 6–8 inches (15–20 cm) away from the body and angle the spray away from the fretboard and bridge. Spray each portion of the guitar 1-2 times to lubricate the surface of the guitar.[5]
- You don’t need to soak the entire body in this stuff. You only need a few sprays to lubricate the surface. The main goal here is to get the guitar wet for the detailing clay in the next step.
- You can use a little water instead of detailing spray if you prefer. It won’t do as good a job cleaning, but it’s easier and doesn’t involve buying another cleaning product!
-
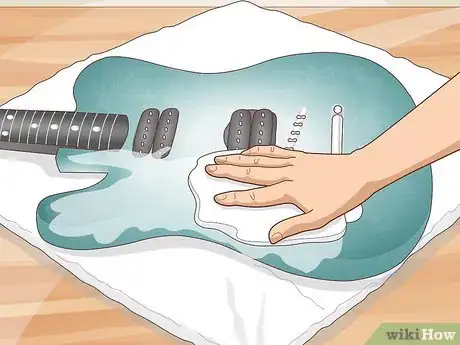
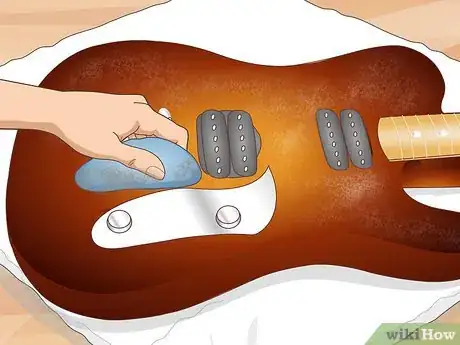
6Run a detailing clay over the surface to absorb contaminants. Get some detailing clay designed for automotive cleaning. This stuff is basically a putty that can be shaped and molded like modeling clay. Roll a palm-sized ball of the clay together and rub it back and forth over the body of the guitar. Push the clay against the body and roll it around with your palm to lift up the contaminants. Wipe any residue up with a dry microfiber cloth.[6]
- The body should be pretty dry already since the clay tends to absorb everything it comes in contact with, but a quick wipe will clear any clay particles off.
- If you have a glossy finish, you can dip a microfiber cloth in a water and vinegar solution and rub the guitar down instead. Mix 2-parts water with 1-part white vinegar for a more natural cleaning solution.
-
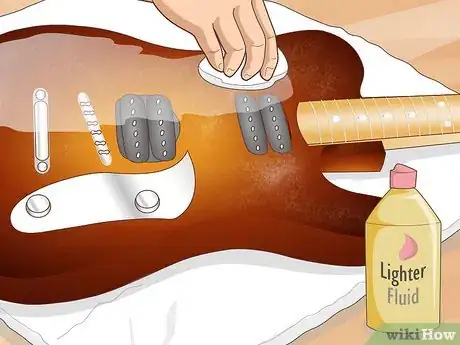
7Scrub the body with lighter fluid or degreaser to remove oily residue. It may sound crazy, but lighter fluid is the most popular cleaning agent for guitars. Grab a clean cloth and pour 1⁄2–1 teaspoon (2.5–4.9 mL) of lighter fluid or degreaser into the cloth. Then, scrub each surface of the body with your cloth. Use smooth circular motions to wipe the larger portions of the body and use straight strokes to rub around the knobs and bridge.[7]
- The lighter fluid won’t damage the finish on your guitar. You can use a degreaser instead if you’re really worried about this, though.
Warning: Put on nitrile gloves and a dust mask to do this. Most guitar players skip the safety gear, but lighter fluid and degreaser can irritate your skin and lungs.
-
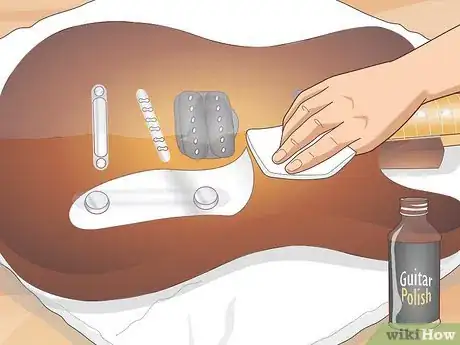
8Polish the body with a guitar polish and a microfiber cloth. Pick up a guitar polish and grab a fresh microfiber cloth. Pour 1–2 teaspoons (4.9–9.9 mL) of polish into the cloth and repeat the wiping process. Clean around the metal components and reload the cloth as needed whenever it starts drying out. This will buff the surface of the body to give it a clean, finished look.[8]
- You can stop here if you’d like, but the shiny look will wear away after a few weeks of use.
- There are a variety of guitar polishes out there for different finishes. Get a matte polish if you don’t have a glossy lacquer on the body of your guitar.
- Never use furniture polishes, like Pledge, to clean the body of your guitar. These polishes may break down the finish on your guitar and they can change the color of the paint over time. Glass cleaners will simililarly damage your guitar.
-
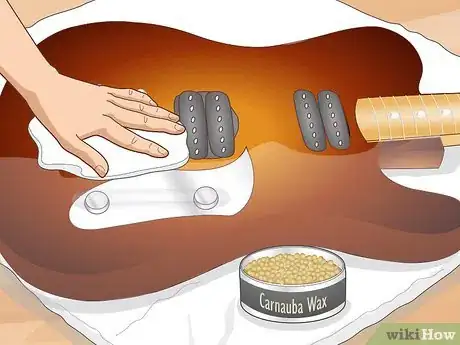
9Wax your body with a carnauba wax and let it air dry. Scoop up a thick bead of carnauba wax with a new microfiber cloth. Rub the wax into body of the guitar using smooth circular motions. Continue wiping until there’s no wax remaining on the surface of the guitar. Repeat this process for each section of the body and let it air dry for 6-12 hours.[9]
- Repeat these steps on the back of the guitar after you’ve finished cleaning the front.
Refreshing the Fretboard
-
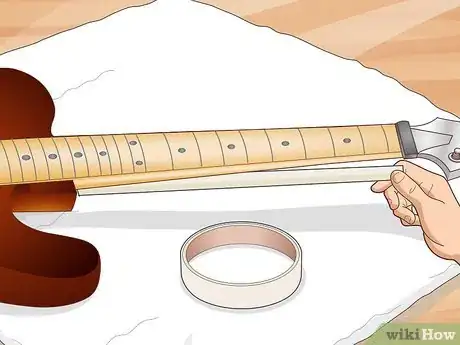
1Place a piece of masking tape under the fretboard to protect the body. Grab a roll of making tape and tape off the portion of the body that rests just underneath the bottom of the fretboard. This will keep any oils and liquid from pouring down on to the body.[10]
- The fretboard refers to the long neck of the guitar where the strings rest.
Tip: You cannot clean the fretboard without removing the strings. Since you’re cleaning though, this is a great time to put some fresh strings on the guitar!
-
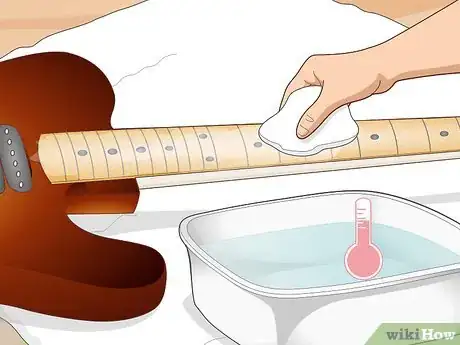
2Clean a maple fretboard with warm water and a cloth. Most fretboards are rosewood, ebony, or synthetic wood. If you have a light brown fretboard though, it’s probably maple. You cannot clean a maple fretboard using the steps in this method. Instead, dip a microfiber cloth into some warm water and scrub the fretboard to get it clean.[11]
- Maple is weaker than the other common options, so it’s often coated in a lacquer or finish to protect it. If you use any abrasive cleaners, oils, or soaps, you will permanently damage the maple fretboard.
- Do not follow any of the remaining steps if you have a maple fretboard and head.
-
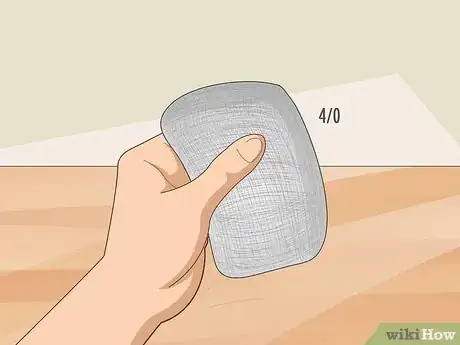
3Get some ultra-fine steel wool (4/0) to clean the frets and neck. The best way to smooth out any scratches and remove any gunk is to wipe the wood and metal with ultra-fine steel wool, which is often labeled 4/0. You cannot use standard steel wool, so be absolutely sure that you have the softer stuff before doing this.[12]
- You can use a furniture buffing pad if you’re worried about damaging the wood, but the ultra-fine steel wool works wonders and won’t harm the wood.
-
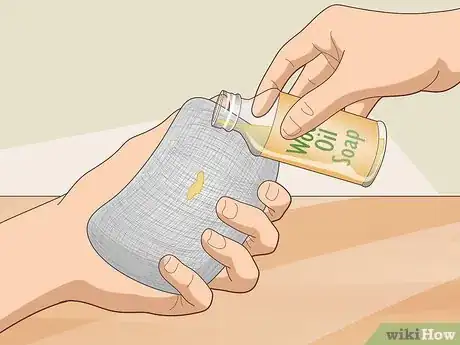
4Pour a pea-sized dollop of wood oil soap into your steel wool. Pick up a wood oil soap designed for furniture cleaning and polishing. Pour a small drop of the soap into the steel wool. You can always reload the steel wool if you need to, but a little bit of this stuff goes a long way.[13]
- These soaps are often marketed as polishes, but make sure that you’re getting a soap, not a lacquer.
-
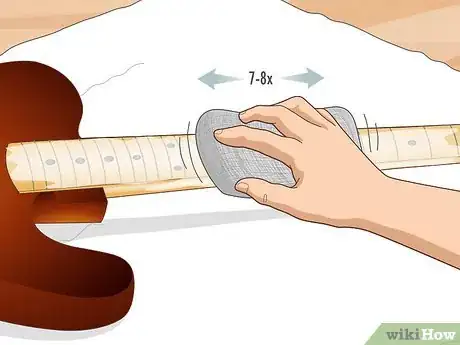
5Rub the steel wool up and down the fretboard 7-8 times. Press the steel wool into the fretboard with the oil soap facing down. Then, gently rub the steel wool up and down the fretboard. You can scrub the entire fretboard all at once, or work in sections depending on what feels comfortable to you.[14]
- You don’t need to push the steel wool firmly into the wood. A gentle brushing is more than enough to refresh the fretboard.
- Do not go across the fretboard horizontally. The grain on the fretboard runs up and down, and wiping the steel wool horizontally may damage or weaken the wood.
- You can do this for the head of the guitar where the tuning keys are, but you may not need to. Most guitar players just wipe this area with a dry cloth to clean it.
-
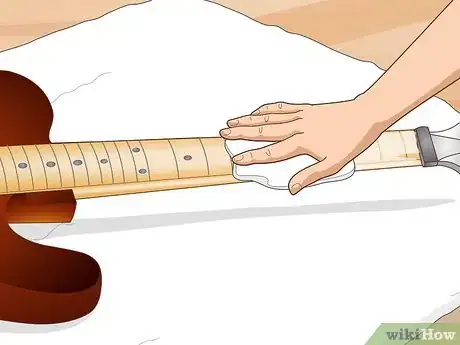
6Wipe the excess oil soap up with a clean microfiber cloth. Grab yet another microfiber cloth and run it gently over the fretboard vertically. This will soak the excess soap up while working the layer of soap resting against the fretboard into the wood. Continue wiping for 30-45 seconds until all of the oil soap is visibly gone.[15]
- You can stop here if you’re happy with the look of the fretboard.
-
7Rub some lemon oil into the fretboard if you want to make it shine. If you want a shinier finish, dip a clean cloth into some natural lemon oil. Gently work the lemon oil into the wood in between the frets to spread it into the wood. This will give your fretboard a lustrous shine and make the guitar look brand new.[16]
- To give your guitar even more shine, mix 2 teaspoons (9.9 mL) of olive oil into the lemon oil before applying it to the fretboard.[17]
Detailing the Guitar
-
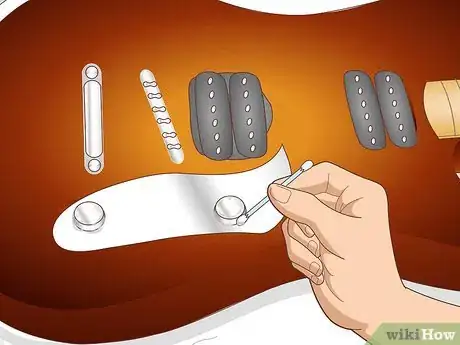
1Use a cotton swab to wipe around the buttons, bridge, and knobs. When you’re applying the carnauba wax, lemon oil, oil soap, or lighter fluid into the guitar, most people skip the area around the bridge, knobs, and buttons. If you want to scrub these sections, dip a cotton swab into whatever cleaner that you’re using at the current stage of the cleaning process and run it around all of the buttons, knobs, and components sticking out of your guitar.[18]
- This is also basically the only way to clean around the tuning keys at the head of the guitar.
Tip: Many people opt to only clean the body and the fretboard since it’s pretty hard to see the dirt hidden around the metal components, bridge, and knobs.
-
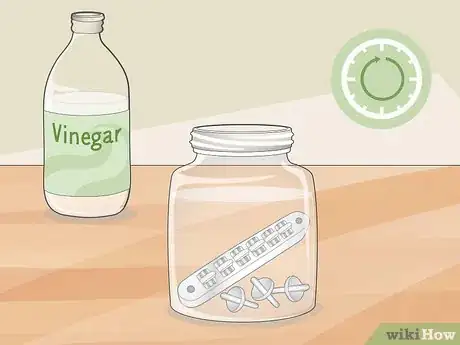
2Soak metal components in white vinegar for 24 hours to get them really shiny. If you want to make the metal components shine like new, unscrew the bridge, remove the tuning knobs, and take any metal knobs or bits off of the guitar. Soak them in white vinegar for 24 hours before taking them out and washing them under water. Give them a quick wipe with a furniture pad or ultra-fine steel wool before reassembling your guitar.[19]
- Since you’re always touching the knobs and the bridge doesn’t get very dirty, most people don’t clean these components beyond giving them a gentle wipe. You also have to remove them to get them really clean, which makes this process kind of a pain.
-
3Attach new strings to your guitar after cleaning to make it sound great. Slide each string through a hole on the back of the guitar’s body and pull the strings up through the bridge. Pull each string tight and start with the bottom string. Slide the string through the opening on the peg and tighten the tuning knob. Continue tying the knob until the strings are tight. Repeat this process for every string.[20]
- Clip any excess string off with wire cutters.
Community Q&A
-
QuestionHow do I keep my guitar safe from annoying little relatives?
 Community AnswerKeep your guitar in its case whenever it isn't being played. If necessary, put it in a room that's off limits to them, and let their parents know they are not allowed to touch it.
 -
QuestionShould I polish a rosewood fretboard?
 Community AnswerYes, but only every three restringings or so, and be sure to use lemon oil polish.
Warnings
- Never use a furniture polish to clean your guitar. These polishes can wear away layers of your finish and damage metal frets.[22]⧼thumbs_response⧽
- Glass cleaners, like Windex, can erode the finish of your guitar’s body. Never use a glass cleaner to scrub your guitar.[23]⧼thumbs_response⧽
- Wear a dust mask and nitrile gloves if you use lighter fluid or degreaser to clean the body of your guitar.[24]⧼thumbs_response⧽
Things You’ll Need
Wiping the Body
- Microfiber cloth
- Water
- Detailing spray
- Automotive clay
- Lighter fluid
- Guitar polish
- Carnauba wax
Refreshing the Fretboard
- Microfiber cloth
- Ultra-fine steel wool
- Wood oil soap
- Lemon oil
Detailing the Guitar
- Cotton swab
- White vinegar
- Ultra-fine steel wool
- Stringing tool
References
- ↑ https://youtu.be/8Q13KvFHvf0?t=119
- ↑ https://youtu.be/FCIwyIhQs9E?t=74
- ↑ https://youtu.be/xDoq_LXzrmk?t=103
- ↑ https://www.premierguitar.com/articles/19960-guitar-shop-101-safe-ways-to-clean-your-guitars-finish?page=2
- ↑ https://www.guitarworld.com/features/how-to-clean-your-guitar
- ↑ https://www.guitarworld.com/features/how-to-clean-your-guitar
- ↑ https://youtu.be/FCIwyIhQs9E?t=108
- ↑ https://www.guitarworld.com/features/how-to-clean-your-guitar
- ↑ https://www.guitarworld.com/features/how-to-clean-your-guitar
- ↑ https://youtu.be/VoTFuLYSB7c?t=108
- ↑ https://youtu.be/PI2-I46-P7k?t=195
- ↑ https://youtu.be/VoTFuLYSB7c?t=115
- ↑ https://youtu.be/VoTFuLYSB7c?t=323
- ↑ https://youtu.be/VoTFuLYSB7c?t=328
- ↑ https://youtu.be/VoTFuLYSB7c?t=395
- ↑ https://youtu.be/VoTFuLYSB7c?t=607
- ↑ Carlos Alonzo Rivera, MA. Professional Guitarist. Expert Interview. 27 August 2019.
- ↑ https://youtu.be/PI2-I46-P7k?t=195
- ↑ https://youtu.be/3qrjw3qLnb0?t=54
- ↑ https://youtu.be/4CtqfHmssx8?t=143
- ↑ http://hubguitar.com/articles/how-often-to-change-guitar-strings
- ↑ https://www.premierguitar.com/articles/19960-guitar-shop-101-safe-ways-to-clean-your-guitars-finish?page=2
- ↑ https://www.premierguitar.com/articles/19960-guitar-shop-101-safe-ways-to-clean-your-guitars-finish?page=2
- ↑ https://gato-docs.its.txstate.edu/jcr:9d5d14df-abf0-4dbe-8920-6300bba9ac83/Walmart%20lighter%20fluid.pdf
