This article was co-authored by wikiHow Staff. Our trained team of editors and researchers validate articles for accuracy and comprehensiveness. wikiHow's Content Management Team carefully monitors the work from our editorial staff to ensure that each article is backed by trusted research and meets our high quality standards.
There are 12 references cited in this article, which can be found at the bottom of the page.
This article has been viewed 602,653 times.
Learn more...
A beer bong, or beer funnel, is a plastic device used to quickly consume a beer or other beverage. They’re easy to use and you can easily make one yourself. You need a funnel, a length of plastic tubing, a ball valve, and a few connectors to construct a beer bong. Put it all together, pour in a cold beverage of your choice, and open up the valve to let gravity send the liquid rushing straight into your belly. Then bask in the glory of your accomplishment! But, be careful. Drinking too much alcohol too quickly can be dangerous. Please drink responsibly and never drive after using a beer bong.
Steps
Attaching the Funnel
-
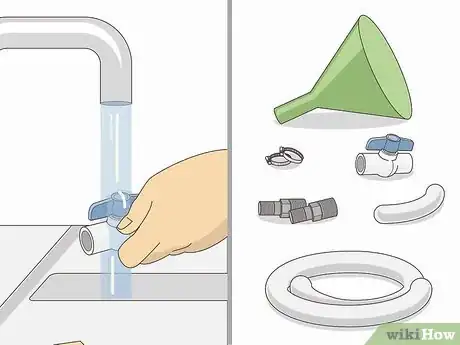
1Wash off all of the parts before you assemble them. Soak all of the pieces in a bucket or sink full of warm water and soap. Use a sponge or brush to scrub the inside and outside of the funnel to remove any dust or dirt that may be on the surface. Clean the hoses, connectors, and valves with a sponge to remove dirt from them clean and rinse them off with water. Dry off all of the parts after you clean them.[1]
- All of the components need to be sanitized to keep out dust, dirt, bacteria, and other contaminants.
-
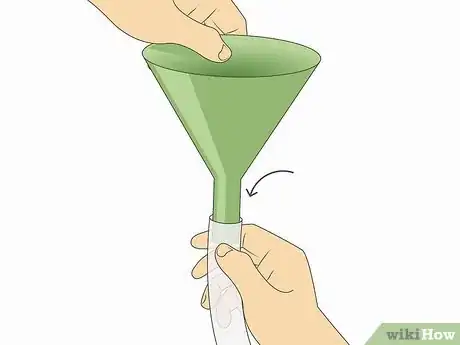
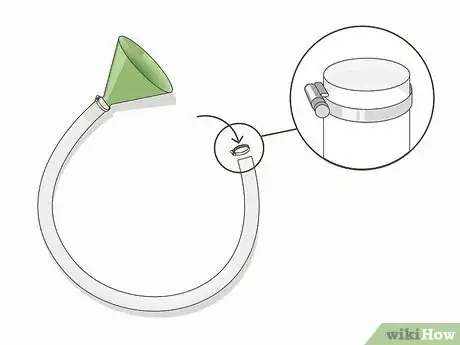
2Insert a large funnel into a length of 1 inch (2.5 cm) diameter tubing. Use a length of plastic tubing that’s at least 3 feet (0.91 m) long so you can fit an entire can of beer into the beer bong. Slide the narrow end of the funnel into the opening of the tube. Push it as far into the tube as you can.[2]
- You can find plastic tubing and funnels at your local hardware, home improvement, and department stores, or online.
Tip: Use a longer length of tubing to allow you to fit multiple beers into the beer bong. Try using a length of 9 feet (2.7 m) to fit up to 3 beers! But if you do opt for a larger beer bong, drink responsibly. Consuming too much alcohol too quickly can cause serious medical problems.
Advertisement -
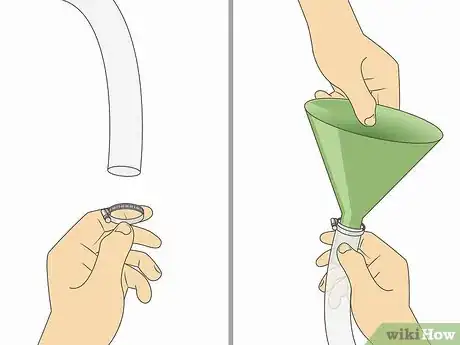
3Slide a hose clamp onto the tubing over the funnel. A hose clamp looks like a thin metal ring with a screw on the side of it and is used to secure hoses and tubes so they’re airtight. Place a hose clamp on the plastic tubing and slide it down so it’s on top of the funnel inside of the tube.[3]
- It’s okay if the clamp fits loosely onto the tube.
- If the clamp is too tight to fit onto the tube, use a flathead screwdriver to open it up so it can slide onto the tube.
- You can find hose clamps at hardware stores, home improvement stores, and online.
-
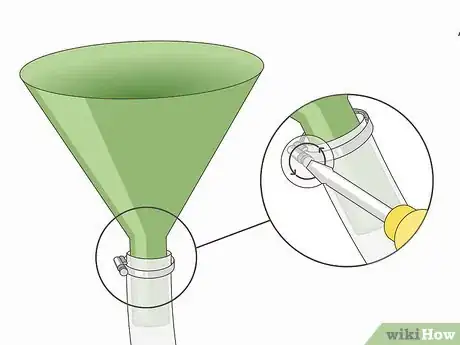
4Tighten the clamp over the funnel with a flathead screwdriver. Hold the hose clamp flush against the bottom of the funnel connected to the plastic tube. Take a flathead screwdriver and turn the screw on the side of the clamp to tighten it. Continue to tighten it until the tube around the end of the funnel is secure and the funnel cannot slide out.[4]
- Give the funnel a gentle tug to make sure it’s secure in the tube.
Connecting the Valve
-
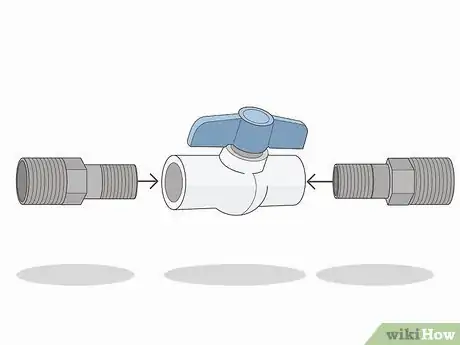
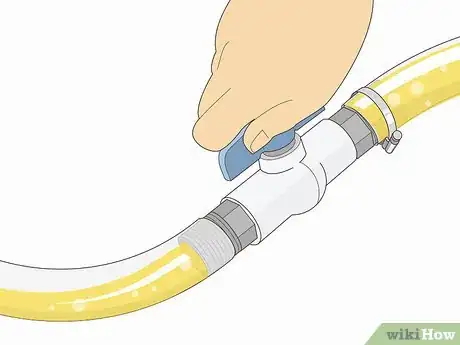
1Screw plastic hose-to-threaded connectors into the ball valve. Take 2 plastic connectors with a 3⁄4 inch (1.9 cm) diameter and align the threaded side with the opening of the ball valve. Attach a connector to each side of the ball valve by turning them clockwise until they’re tight.[5]
- You won’t be able to screw the connector all the way in, so make sure it’s tight and securely connected.
-
2Slide a hose clamp onto the tube at the opposite end of the funnel. Take another hose clamp and fit it onto the other end of the tubing so it will be in place to clamp over the connector. Leave it on the tubing so you can move it into place when you attach the valve.[6]
- Let the hose clamp hang loosely on the tubing so you can move it into position after you attach the funnel to the valve.
-
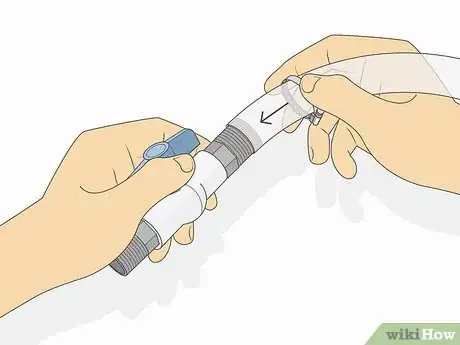
3Insert the funnel tubing onto the connector on the ball valve. Slide the end of the funnel tube onto the ball valve by forcing it onto the connector. The tube should fit snugly but it won’t be fully secure.[7]
- Don’t screw the connector so tight into the ball valve that it’s difficult to remove for cleaning.
-
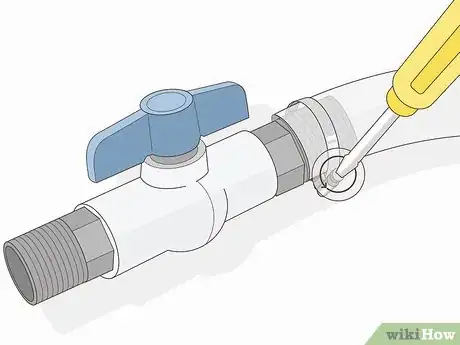
4Tighten the hose clamp over the connector with a screwdriver. Slide the hose clamp down the tube so it’s on tip of the connector. Then, take a flathead screwdriver and tighten the screw on the hose clamp until the tube is tight and secure over the connector.[8]
- Give the ball valve a good tug to make sure it’s attached securely.
Tip: If you don’t have hose clamps, you can use plastic zip ties to secure the tubing.
-
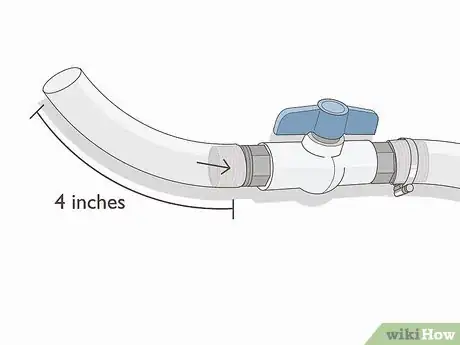
5Attach a 4 in (10 cm) long tube to the other connector. Take a smaller length of 1 inch (2.5 cm) diameter tubing and slide it over the open connector on the ball valve. This will serve as a mouthpiece whenever you use the beer bong.[9]
- Don’t clamp the mouthpiece tubing so you can easily remove it to clean it.
-
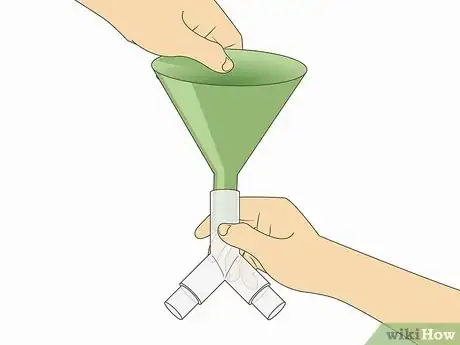
6Use Y valves to connect more tubes to make a multi-person beer bong. Fit a Y valve over the bottom of the funnel and connect 2 tubes to it to form a 2 person beer bong. You can also connect a Y valve to those tubes and connect 4 total tubes to the funnel to form a multi-person beer bong!
- Use Y valves that will fit 1 inch (2.5 cm) diameter tubes.
- Connect ball valves to the ends of each tube so you can control the flow of liquid.
- You can find Y valves at hardware stores, home improvement stores, and online.
Using the Beer Bong
-
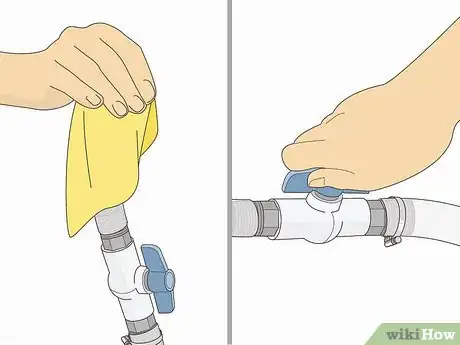
1Wipe off the mouthpiece and make sure the ball valve is shut off. Check the switch on the ball valve and look for the “on” and “off” labels. Make sure the switch is in the “off” position. Use a clean cloth to wipe the inside and outside of the mouthpiece.[10]
- It’s always a good idea to clean off the mouthpiece of a beer bong before you use it, especially if someone else used it before you.
- If the switch isn’t labeled, test the beer bong by pouring a little bit of water into the funnel end. If the water flows through the valve, flip the switch so it’s off and pour out the water.
-
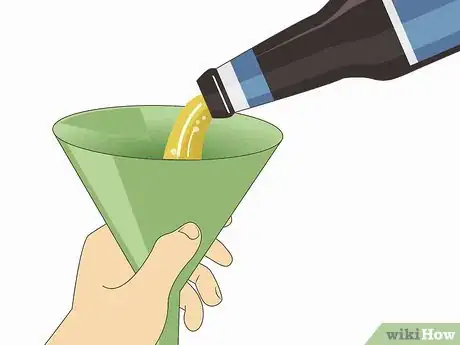
2Pour a beverage into the funnel slowly. Hold the funnel at a slight angle and slowly pour in the beverage so the foam doesn’t build up in the tubing. Continue pouring until the tube is full and the liquid is in the funnel. Try not to overfill the funnel and have the liquid right at the edge or you could spill it.[11]
- A foamy liquid is sure to make your stomach hurt and could make you nauseated when you consume it.
- A little bit of foam is normal, wait a few moments until the foam subsides before you drink it.
-
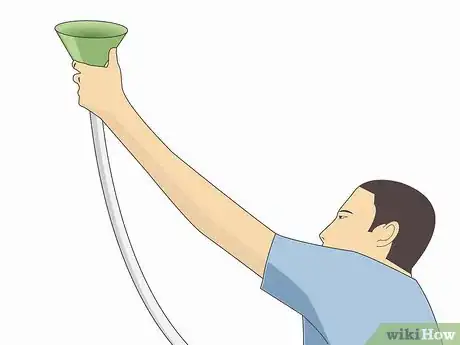
3Raise the funnel overhead to allow it to flow. Hold the funnel up over your head when you’re ready to use it. Elevating the funnel will allow the liquid to flow right through the tube and valve.[12]
- A beer bong uses gravity to help the liquid flow.
- Try to hold the funnel in a fixed position so the liquid doesn’t slosh around.
Tip: If you have a longer tube or you can’t elevate the funnel over your head, take a knee and have a friend elevate the funnel end of the beer bong. Teamwork!
-
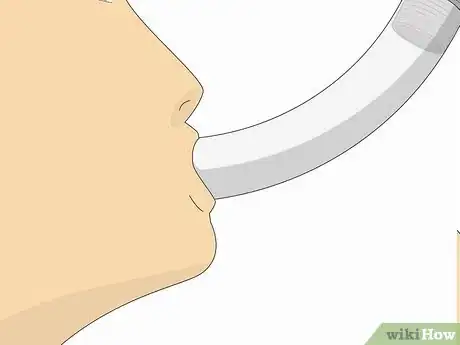
4Put your mouth on the mouthpiece. Place your lips around the small mouthpiece tubing so it’s you create a seal with your mouth. Don’t allow space between your lips and the tube or it could cause air to mix with the liquid as it enters your mouth.[13]
- Mixing air into the liquid could build up pressure in your stomach, which could be painful or make you nauseated.
-
5Open the valve on the ball valve to release the beverage. Take a deep breath and open the valve to start the flow of liquid. Relax your throat to allow gravity to force the liquid directly into your stomach.[14]
- When the beer bong is empty, close the valve and pull the mouthpiece out of your mouth.
- Consider high-fiving your friends around you to celebrate your victory!
Warnings
- Please drink responsibly. Never drive or operate machinery after consuming alcoholic beverages.⧼thumbs_response⧽
Things You’ll Need
- 3 feet (0.91 m) of 1 inch (2.5 cm) diameter plastic tubing
- A 4 in (10 cm) segment of 1 inch (2.5 cm) diameter plastic tubing
- 2 hose clamps
- 2 3⁄4 inch (1.9 cm) diameter hose-to-threaded connectors
- 1 funnel
- 1 3⁄4 inch (1.9 cm) diameter plastic ball valve
- Flathead screwdriver
- A beverage of your choice
References
- ↑ https://youtu.be/RLs6TkSTHvE?t=206
- ↑ https://youtu.be/RLs6TkSTHvE?t=88
- ↑ https://youtu.be/RLs6TkSTHvE?t=99
- ↑ https://youtu.be/RLs6TkSTHvE?t=116
- ↑ https://youtu.be/RLs6TkSTHvE?t=129
- ↑ https://youtu.be/RLs6TkSTHvE?t=99
- ↑ https://youtu.be/RLs6TkSTHvE?t=149
- ↑ https://youtu.be/RLs6TkSTHvE?t=156
- ↑ https://youtu.be/RLs6TkSTHvE?t=194
About This Article
If you want to make your own beer bong, cut 2 pieces of clear tubing so that one piece is about 1 foot long and the other is 4 or 5 feet long. Attach the 2 tubes with a plastic valve and clamp it into place. The valve will allow any air to escape when you’re pouring the beer. Then, insert a funnel into one end of the shorter tube and clamp it into place as well. When you’re ready to use the beer bong, hold the open end of the long tube to your mouth, then have someone pour beer into the funnel! To learn how adjusting the valve affects the flow of the beer, keep reading!
