This article was co-authored by wikiHow Staff. Our trained team of editors and researchers validate articles for accuracy and comprehensiveness. wikiHow's Content Management Team carefully monitors the work from our editorial staff to ensure that each article is backed by trusted research and meets our high quality standards.
The wikiHow Tech Team also followed the article's instructions and verified that they work.
This article has been viewed 69,779 times.
Learn more...
This wikiHow teaches you how to convert a WBFS (Wii Backup File System) file to an ISO disk image, using the WBFS-to-ISO converter app on a PC. Once you convert your WBFS to ISO, you can mount the ISO file on your computer as a disk image, and view its contents from your This PC window.
Steps
-
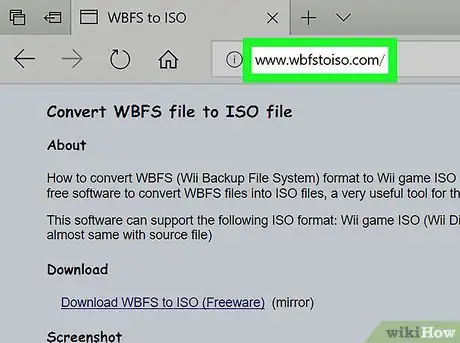
1Open the WBFS to ISO converter website in your browser. Type www.wbfstoiso.com into the address bar, and hit ↵ Enter or ⏎ Return on your keyboard.
-
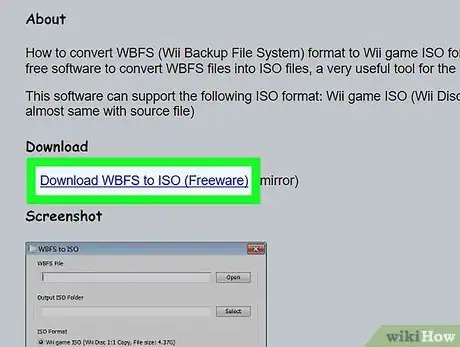
2Click Download WBFS to ISO (Freeware) under the "Download" heading. You can find this button at the top of the page. It will download the converter app’s setup file to your computer.
- If you don’t have a default folder set for your browser downloads, you’ll need to select a saving location here.
Advertisement -
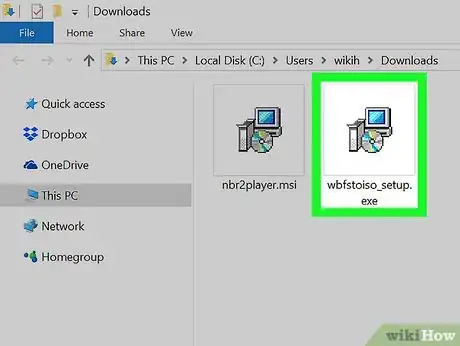
3Run the WBFS-to-ISO setup file. Double-click the setup file you’ve just downloaded, and follow the prompts to install the program on your computer.
-
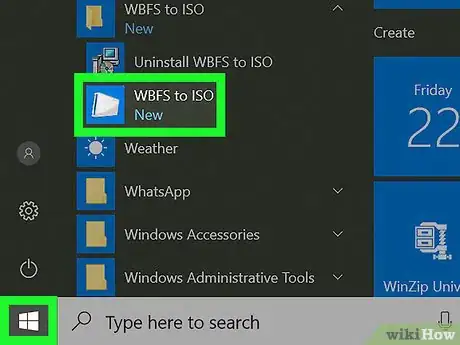
4Open the WBFS to ISO converter app on your computer. Find and double-click the WBFS to ISO shortcut on your desktop or on the Start menu to open the program.
-
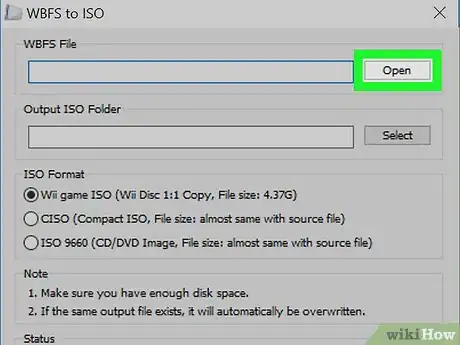
5Click the Open button under the "WBFS File" heading. You can find this button in the upper-right corner of the app window. It will open a new a pop-up, and allow you to select the WBFS file you want to convert.
-
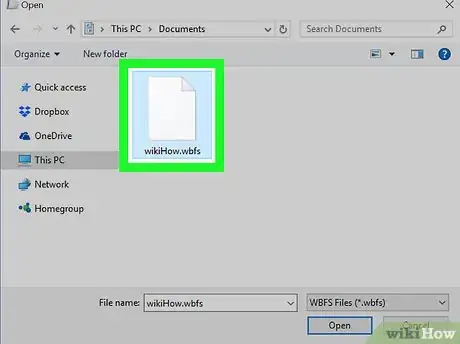
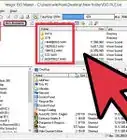
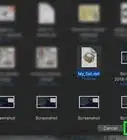
6Select the WBFS file you want to convert. Find the file you want to convert in the file explorer window, and click on its name to select it.
-
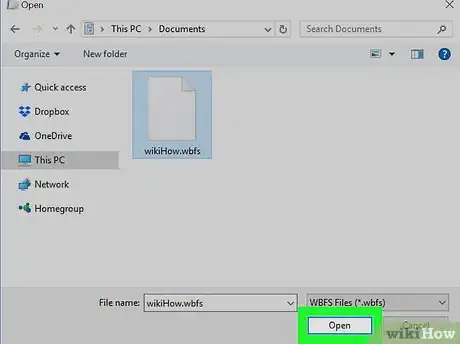
7Click the Open button in the pop-up. This will upload your file to the converter.
-
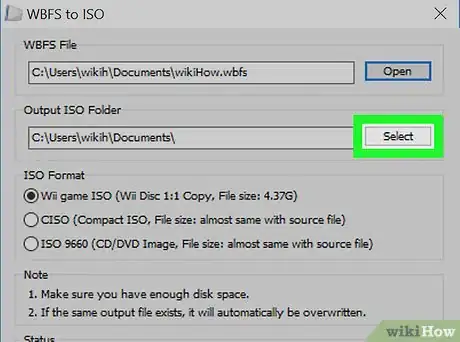
8Click the Select button under the "Output ISO Folder" heading. It’s below the Open button in the upper-right corner. This button will allow you to select a saving location for your converted ISO file.
-
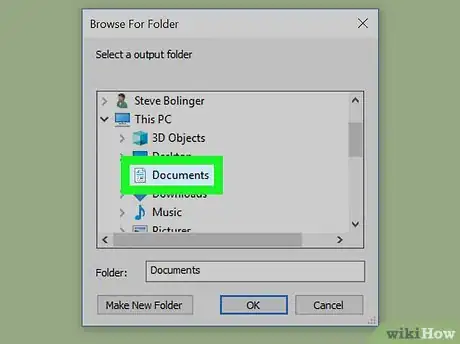
9Select a destination folder for your output. Find and click the folder you want to set as your export location. Your converted ISO file will be saved here.
-
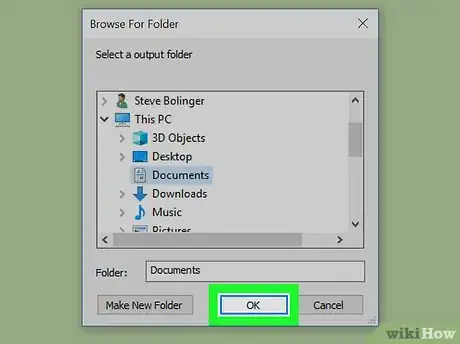
10Click OK. It’s located in the lower-right corner of the file pop-up. This will confirm your selection for the export location.
-
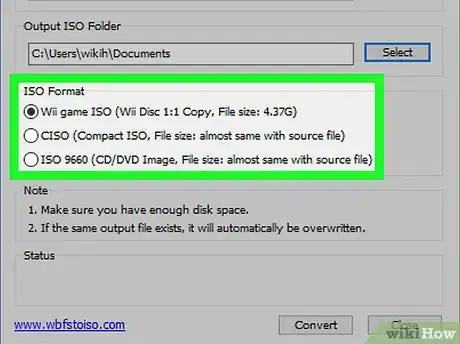
11Select an ISO format for your converted file. Click one of the options in the "ISO Format" section to select a format for your file.
- Select Wii Game ISO to format your ISO in the original Wii Disc format.
- Select CISO to convert your file to Compact ISO format. This will help you reduce the original file size.
- Select ISO 9660 to format your ISO in the standard CD/DVD image format. This will allow you to mount the ISO file on your computer as a disk image.
-
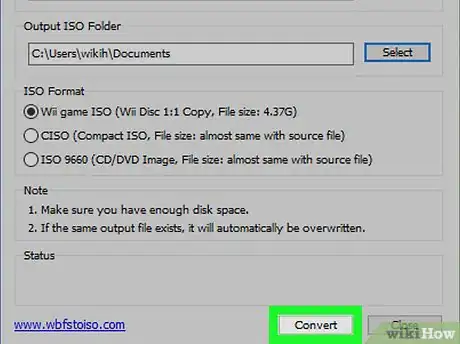
12Click the Convert button. This button is located in the bottom-right corner of the pop-up window. It will convert your WBFS file to ISO, and save the converted ISO file to your selected location.
- You can click the Close button here to close the program when you’re finished.
Community Q&A
-
QuestionThis is not responding, it just gets stuck when I click convert. What should I do?
 Community AnswerIt can take up to a few minutes, especially for big games. Please wait or restart.
About This Article
1. Open the WBFS to ISO converter website.
2. Click Download WBFS to ISO (Freeware), and download the setup file.
3. Run the setup to install the program, and open the app.
4. Click Open under WBFS File, and select the file you want to convert.
5. Click Select under Output ISO Folder, and select an export location.
6. Select an ISO format.
7. Click Convert.
