This article was co-authored by wikiHow Staff. Our trained team of editors and researchers validate articles for accuracy and comprehensiveness. wikiHow's Content Management Team carefully monitors the work from our editorial staff to ensure that each article is backed by trusted research and meets our high quality standards.
There are 8 references cited in this article, which can be found at the bottom of the page.
This article has been viewed 28,128 times.
Learn more...
Grilled clams are a delicious treat, especially in the middle of summer. Even if you don’t have much cooking experience, grilling clams isn’t that hard. For the best tasting grilled clams, make sure you select fresh clams at your local seafood market. Then, clean them to remove as much sand and grit as possible. After tossing them on your grill for a few minutes, cover them with a butter sauce, a brandied cherry topper, or a flavoring of your own creation.
Ingredients
Lemon-Cayenne Butter Sauce
- 1 large garlic clove (minced)
- A pinch of kosher salt
- 4 tablespoons (59 mL) of melted butter (unsalted)
- 2 teaspoons (9.9 mL) of lemon juice
- A pinch of cayenne pepper
Brandied Cherry Topper
- ½ cup (160 g) of cherry preserves
- 1 tablespoon (15 mL) of brandy
- ¼ teaspoon (0.6 g) of ground black pepper
- 1 tablespoon (3 g) snipped fresh chives.
Steps
Cleaning Your Clams
-
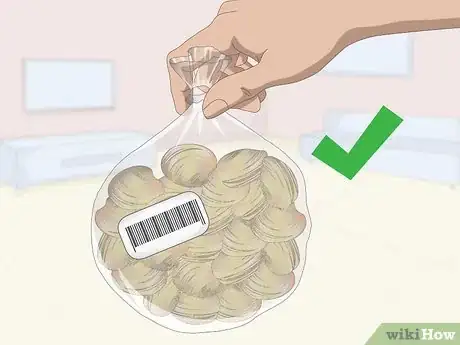
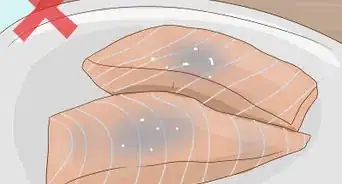
1Buy fresh clams at the seafood market. Closely inspect each clam before you buy it. If you see a clam that’s open, just tap on the shell. If the clam doesn’t close, don't get it because it’s not alive and won’t taste fresh.[1]
- Don’t choose any clam with a shell that’s cracked or broken.
- Smell the clams to make sure they’re fresh. Don’t get any that smell fishy or like ammonia. This can be a sign of spoilage.
- Keep the clams cool while you transport them home.
-
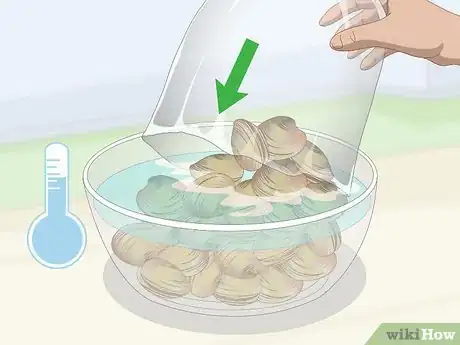
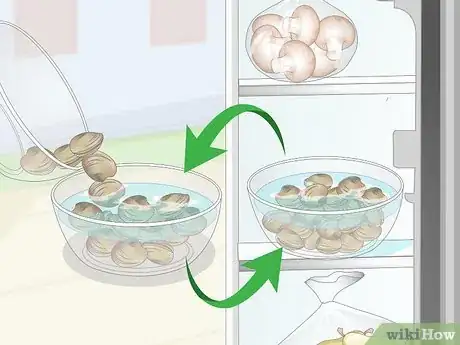
2Put your clams in a large bowl of cold water. After adding your clams to the cold water, add a little salt. Be sure not to use warm or hot water, as this may kill your clams.[2]
- This soaking process will help filter sand and grit from your clams, which will help improve the taste and texture of your dish.
Advertisement -
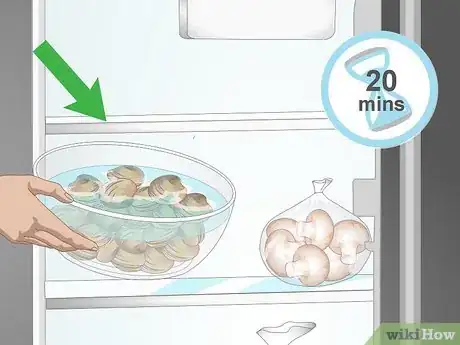
3Refrigerate your bowl of clams for 20 minutes. Leave the bowl uncovered in your fridge. This step will help remove sand and grit from your clams.[3]
- Covering the bowl may suffocate the clams.
- If you have limited room in your refrigerator and are making a lot of clams, you can use 2 bowls instead of 1.
-
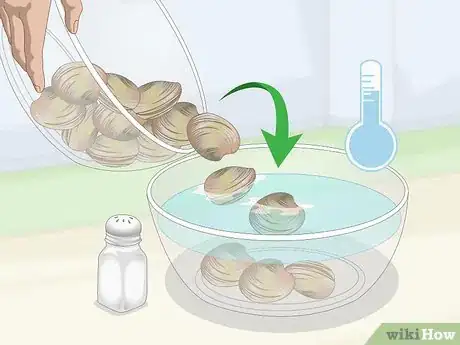
4Transfer the clams to a fresh bowl of cold, salted water and let them soak. Once you’ve allowed your clams to soak in a bowl of cold water for 20 minutes, take the bowl out of the refrigerator. Then, fill a fresh bowl with cold, salted water. Move the clams 1 at a time to this new bowl. Put the bowl in the fridge for 20 minutes.[4]
- You’ll want to transfer the clams 1 at a time so that water from the first bowl, which will be full of sand and grit, doesn’t get into the new bowl.
-
5Repeat the process twice until the clams are grit-free. After letting the clams soak, move them to a new bowl full of cold, salted water and put it in the fridge for another 20 minutes.[5]
- In most cases, 3 soaks should be enough to filter most of the sand and grit out of your clams. If you see a lot of sand or grit in the bowl’s water after the third soak, though, you can repeat this process 1 more time.
- Always make sure not to pour any of the dirty water from a used bowl into a new bowl.
-
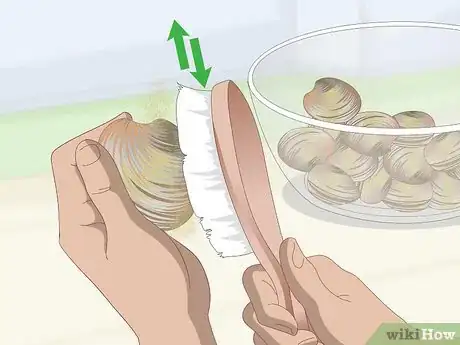
6Use a stiff-bristle brush to scrub the clams’ shells. Continue scrubbing the clams until you’ve removed as much debris and grit from their shells as possible. Then, rinse them with cold water and place them in a large, clean bowl.[6]
- You don’t need to scrub too long and hard. Scrubbing each clam for a few seconds should be sufficient.
Grilling Your Clams
-
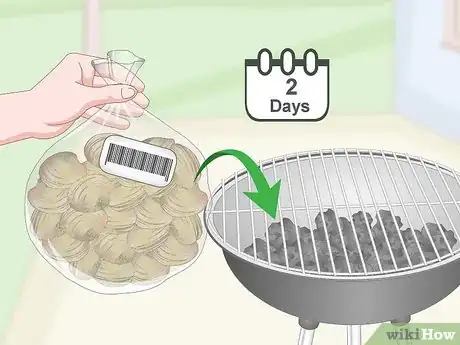
1Cook the clams within 2 days of buying them. It’s best to cook your clams as soon as possible. If that’s not an option, however, you can keep them for up to 2 days in a refrigerator. Throw out any clams that have been in your refrigerator for more than 2 days to avoid foodborne illnesses.[7]
- When refrigerating clams, keep them in an uncovered bowl or another container.
-
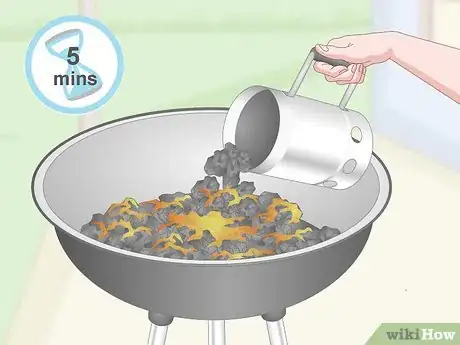
2Preheat your charcoal grill for around 5 minutes. If you’re using a charcoal grill, open the grill’s bottom vent. Then, light your charcoal briquettes in a large chimney starter. Once ash begins to cover the briquettes on top, dump the coals in the grill, and put on the grill grate. Then cover the grill with its lid, with the lid’s vent open.[8]
- Let the grill sit for about 5 minutes, or until it’s hot, before adding your clams.
- If you don’t have a large chimney starter, you can also light your charcoal right in the grill. This method, however, may take a little longer.
-
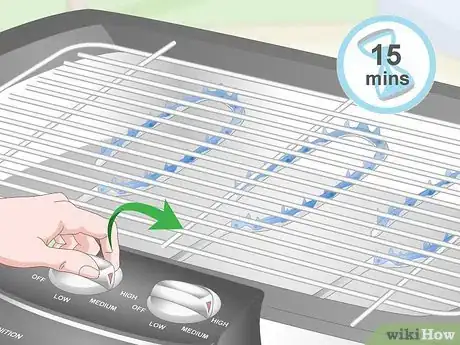
3Set all your burners to high for 15 minutes if you’re using a gas grill. Then cover your grill. Let it heat up for about 15 minutes before adding any of your clams.[9]
- Once your grill grate is hot, you can clean and oil it if you’d like.
-
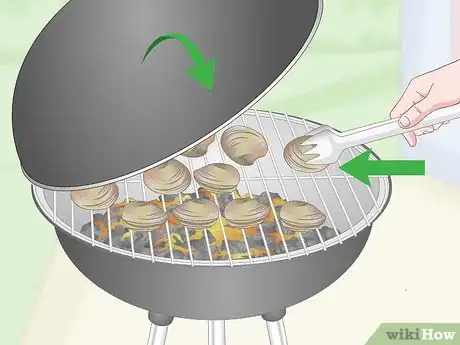
4Put the clams directly on the grill grate and cover them. Use a pair of grill tongs to put the clams directly on top of the hot grill grate. Space them out evenly. Then, cover the grill.[10]
- Instead of putting the clams directly on the grill grate, you can also place them on a baking sheet and then put the baking sheet on the grill.
-
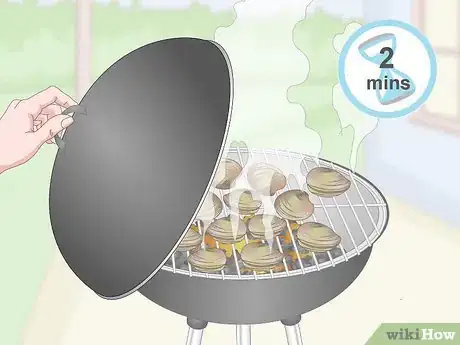
5Grill the clams for 2 minutes and then check on their progress. You’ll know your clams are cooked when they open. Open the cover of the grill, and use your pair of grill tongs to remove any clams that have opened from the grill. Once you’ve done this, close the cover again.[11]
- After you take the clams off the grill, place them in a large bowl.[12]
-
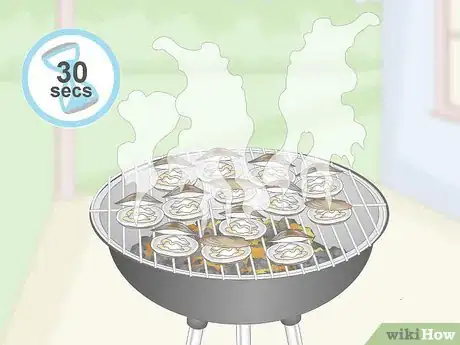
6Continue to grill the clams in 30-second increments until they all open. Open the lid and check your clams every 30 seconds and remove any clams that have opened. Continue grilling until you’ve removed every clam from the grate.[13]
- When taking a clam off the grill, be careful not to spill any of the clam juice. You’ll want to keep this for flavor.
- Throw out any clams that don’t open after around 10 minutes on the grill.[14]
Flavoring and Serving Your Clams
-
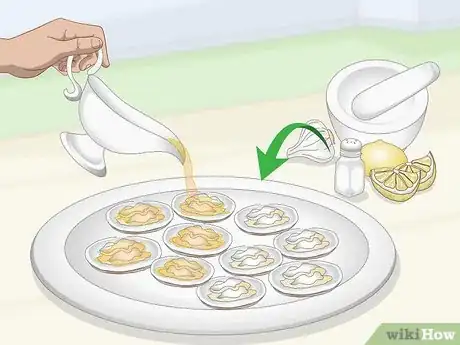
1Pour a lemon-cayenne butter sauce over your clams to add a rich flavor. To make a sauce for 2 dozen clams, first mince 1 large garlic clove. Then, use a mortar and pestle to mash the minced garlic and a large pinch of salt into a paste. Mix the garlic paste in a small bowl with 4 tablespoons (59 mL) of melted butter (unsalted), 2 teaspoons (9.9 mL) of lemon juice, and a pinch of cayenne pepper.[15]
- You can either drizzle the sauce over the clams while they’re still in their shells or dip them in a sauce.
- You can add more lemon juice and/or cayenne pepper according to your taste.
-
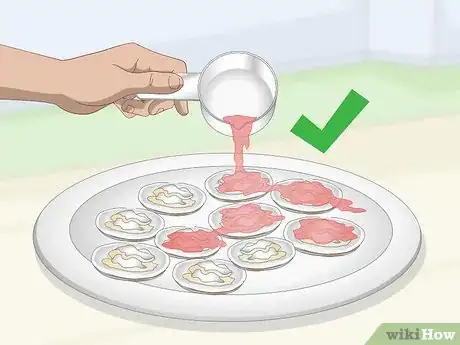
2Top your clams with brandied cherries for a sweeter option. Place ½ cup (160 g) of cherry preserves in a saucepan and cook them over low heat on your stove. When the preserves become warm, remove the saucepan from the stove. Then, stir in 1 tablespoon (15 mL) of brandy, ¼ teaspoon (0.6 g) of ground black pepper, and 1 tablespoon (3 g) snipped fresh chives.[16]
- Drizzle the topping over your clams and serve them hot.
-
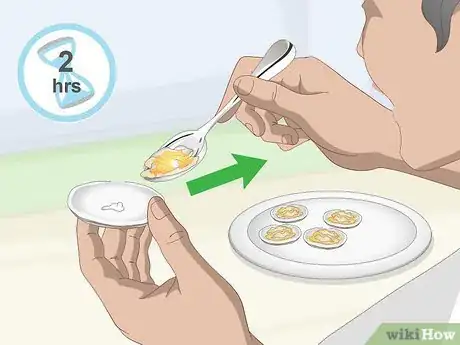
3Keep your clams out for no more than 2 hours after grilling them. Once you finish grilling and seasoning your clams, try to eat them as soon as possible. Bacteria grows quickly in clams, and eating one that has been left out for more than 2 hours can make you sick.[17]
- Leave clams out for no more than 1 hour if temperatures are above 90 °F (32 °C).
- You can leave the clams out longer than 2 hours if you keep them heated continuously with a hot lamp, hot plate, or crock-pot.
- You can store cooked clams for up to 2 days in your refrigerator or 3 months in your freezer.[18]
Things You’ll Need
- Clams
- At least 3 bowls
- A brush
- Grill
- Grill tongs
References
- ↑ https://www.fda.gov/food/resourcesforyou/consumers/ucm077331.htm
- ↑ https://www.chowhound.com/food-news/200142/how-to-clean-clams/
- ↑ https://www.chowhound.com/food-news/200142/how-to-clean-clams/
- ↑ https://www.chowhound.com/food-news/200142/how-to-clean-clams/
- ↑ https://www.chowhound.com/food-news/200142/how-to-clean-clams/
- ↑ https://www.chowhound.com/food-news/200142/how-to-clean-clams/
- ↑ https://www.chowhound.com/food-news/200142/how-to-clean-clams/
- ↑ https://www.splendidtable.org/recipes/grilled-clams-mussels-or-oysters-with-spicy-lemon-butter
- ↑ https://www.splendidtable.org/recipes/grilled-clams-mussels-or-oysters-with-spicy-lemon-butter
- ↑ https://cooking.nytimes.com/recipes/1012744-grilled-clams-with-lemon-cayenne-butter
- ↑ https://cooking.nytimes.com/recipes/1012744-grilled-clams-with-lemon-cayenne-butter
- ↑ https://www.recipegirl.com/how-to-grill-clams/
- ↑ https://cooking.nytimes.com/recipes/1012744-grilled-clams-with-lemon-cayenne-butter
- ↑ https://www.fda.gov/food/resourcesforyou/consumers/ucm077331.htm
- ↑ https://cooking.nytimes.com/recipes/1012744-grilled-clams-with-lemon-cayenne-butter
- ↑ https://www.bhg.com/recipe/seafood/grilled-clams-with-three-sauces/
- ↑ https://www.fda.gov/food/resourcesforyou/consumers/ucm077331.htm
- ↑ https://www.doh.wa.gov/CommunityandEnvironment/Shellfish/RecreationalShellfish/IllnessPrevention/HandleStoreandCook
