This article was co-authored by wikiHow Staff. Our trained team of editors and researchers validate articles for accuracy and comprehensiveness. wikiHow's Content Management Team carefully monitors the work from our editorial staff to ensure that each article is backed by trusted research and meets our high quality standards.
There are 9 references cited in this article, which can be found at the bottom of the page.
The wikiHow Video Team also followed the article's instructions and verified that they work.
This article has been viewed 28,051 times.
Learn more...
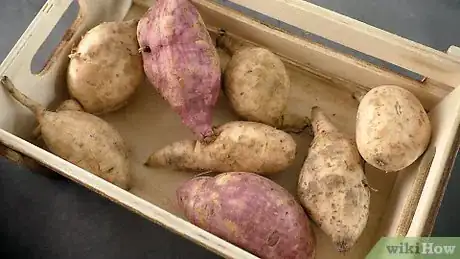
If you've ever eaten a sweet potato immediately after harvesting it, you know that the results can be disappointingly flavorless and overly starchy. To allow your crop to reach its full potential, cure your sweet potatoes by letting them rest in a warm, humid environment for 4 to 14 days. This will convert their starches into sugars, heal any cuts on the potato's surface, and thicken their skins to seal in natural moisture. Ideal curing conditions are around 85 °F (29 °C) with 80-90% humidity.[1] Using some simple tricks, you can reach these conditions at your farm or home, ensuring delicious and hearty sweet potatoes.
Steps
Preparing the Sweet Potatoes
-
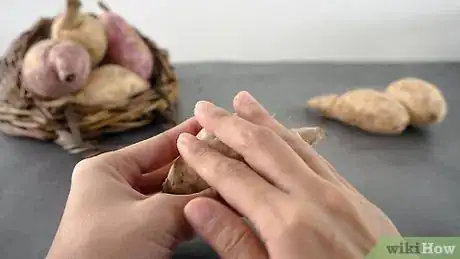
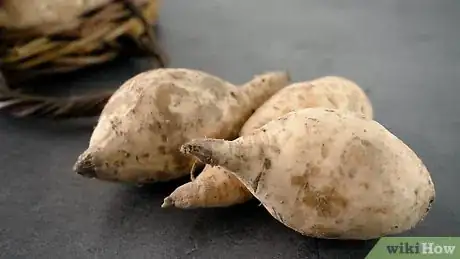
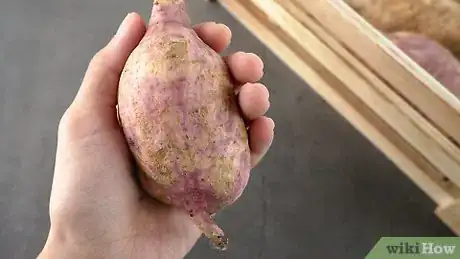
1Brush off large clumps of dirt or clay. After growing and harvesting your sweet potatoes, use your hands or a towel to gently brush off any large clumps of dirt, mud, or clay. But resist the urge to wash them: although the sweet potatoes need to be in a humid environment to cure, the tubers themselves shouldn't be wet. If they are, the extra moisture can cause them to rot.[2]
- If your sweet potatoes are damp when you dig them up (due to a recent rain or watering), be sure to dry them thoroughly before curing.
- Don't worry about fully cleaning your sweet potatoes: you can do that after the curing process when their skins are thicker.[3]
-
Video Player is loading.
This is a modal window.
The media could not be loaded, either because the server or network failed or because the format is not supported.2Snap off dangling roots. Separate bunches of potatoes as well as any extra growths or roots. Although this may cause wounds in the sweet potatoes, the curing process will create a second skin over any scratches and bruises.[4]- If you have to slice into your sweet potatoes to separate them, that's okay! Even cut ends will generally heal over during curing- just try to minimize the size of your cuts.[5]
Advertisement -
3Move your sweet potatoes to the curing location quickly. Curing should be started within a few hours of harvesting. Even a delay of as little as 12 hours between harvest and curing has been shown to produce less reliable results.[6]
Curing in a Warm, Humid Environment
-
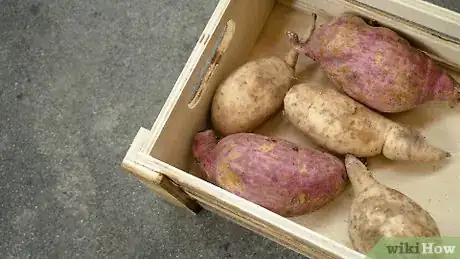
1Rest the sweet potatoes in a greenhouse if you have one available. If you have access to a greenhouse, you can easily cure your crops by placing them in an out-of-the-way corner. Simply place your sweet potatoes in a box, cover it with a damp towel, and place it in the warm greenhouse.[7]
- Instead of a box, you can also use an insulated cooler bag to help create humidity.[8]
-
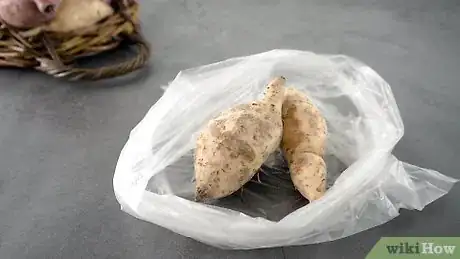
2Use a plastic bag and a sunny window if you don't have access to a greenhouse. If you don't have a greenhouse, you can create similar conditions in your home. Take a plastic grocery bag and punch a few holes in it. Place the sweet potatoes into the bag in a single layer. Then tie the bag shut and place it in a warm, sunny window.[9]
- If it gets chilly or your windows are drafty, cover the bag with a blanket or towel when the sun isn't shining.[10]
-
3Place your sweet potatoes in a small room with a space heater for an out-of-the-way option. Put your sweet potatoes in a box or bucket and place it in a small space, such as a pantry or closet. Add a bucket full of water (to increase humidity) and a space heater set to 85 °F (29 °C). Use a thermometer to monitor the temperature in the room and ensure you have ideal curing conditions.[11]
- Unless you own a space heater specifically designed for use in bathrooms, be careful to avoid getting the space heater itself wet.[12]
-
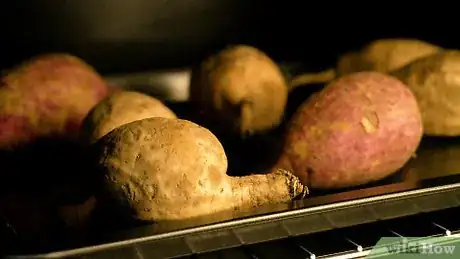
4Cure your sweet potatoes in the oven if you have a smaller batch. Begin by installing a 40-watt bulb in your oven. Then place a tray of water on the bottom rack of the oven and a tray of sweet potatoes on the upper rack. Turn the light on (but leave the oven itself off) and close the oven nearly all the way, leaving it just a sliver open. Use the thermometer to check the temperature of the oven a few hours later- it should be around 85 °F (29 °C).[13]
- If your oven gets too warm, open the door slightly further. If it's not warming up enough, try closing the oven door or installing a stronger lightbulb.
- Since the curing process takes 4 to 14 days, you'll need to use an oven that's not part of your daily routine.
- If your oven door won't stay ajar, try using a thin metal spatula to prop it open.[14]
Finishing the Curing Process
-
1Check to see if the sweet potatoes are done after 4-5 days. When the sweet potatoes are finished, they should be slightly moist and significantly more firm. If they're still soft after your first check, let them cure for a few more days and try again. If your temperatures or humidity levels are not quite ideal, curing may take up to 2 weeks.[15]
- If some sweet potatoes remain tender after the rest have finished, this means they have not cured properly. Discard these to prevent them from causing the others to spoil faster.[16]
-
Video Player is loading.
This is a modal window.
The media could not be loaded, either because the server or network failed or because the format is not supported.2Complete curing in a dark, 55 °F (13 °C) room for 6-8 weeks. Remove the sweet potatoes from the warm, humid room and take them out of their bags or boxes. Pack the cured sweet potatoes in straw or wrap them individually in newspaper and place them into a wooden or cardboard box without a lid. Move the box to a dark, cool location such as a root cellar or basement. Allow the sweet potatoes to rest here for an additional 6-8 weeks to finish the curing process.- Don't have a basement? Try storing the sweet potatoes under your bed.[17]
- If you want to use your sweet potatoes more quickly, you can skip this step and eat them right after removing them from the humidity. However, the longer you let them rest in a cool, dark space, the sweeter they will become.[18]
-
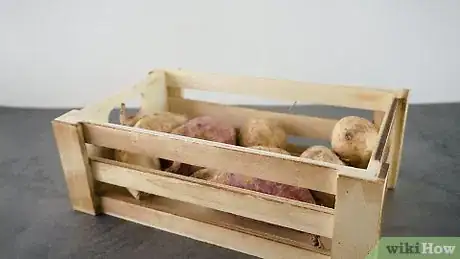
3Store cured sweet potatoes in a cool environment for up to 12 months. Cured sweet potatoes can last for up to a year if kept at a temperature around 55 °F (13 °C) to 60 °F (16 °C). Look for a location with some humidity (around 75-85%) and pack your sweet potatoes in a box or wooden crate to allow air to circulate.[19]
- You can safely store your finished sweet potatoes wherever you finished curing them: a basement, a root cellar, or under a bed.
- Avoid placing them in the refrigerator, as sweet potatoes are easily damaged by cold temperatures.[20]
References
- ↑ https://plantpathology.ces.ncsu.edu/wp-content/uploads/2013/12/sweetpotatoes_postharvest-1.pdf?fwd=no
- ↑ https://morningchores.com/curing-sweet-potatoes/
- ↑ https://plantpathology.ces.ncsu.edu/wp-content/uploads/2013/12/sweetpotatoes_postharvest-1.pdf?fwd=no
- ↑ https://www.motherearthnews.com/homesteading-and-livestock/cure-sweet-potatoes-zbcz1310
- ↑ https://www.motherearthnews.com/homesteading-and-livestock/cure-sweet-potatoes-zbcz1310
- ↑ https://plantpathology.ces.ncsu.edu/wp-content/uploads/2013/12/sweetpotatoes_postharvest-1.pdf?fwd=no
- ↑ https://www.youtube.com/watch?v=fv_ezQ0trCI
- ↑ https://www.youtube.com/watch?v=PTxL4vrem5o
- ↑ https://www.tenthacrefarm.com/harvesting-curing-and-storing-sweet-potatoes/
- ↑ https://www.tenthacrefarm.com/harvesting-curing-and-storing-sweet-potatoes/
- ↑ https://morningchores.com/curing-sweet-potatoes/
- ↑ https://www.sylvane.com/portable-heater-safety-tips.html#SafetyTipReminders
- ↑ https://morningchores.com/curing-sweet-potatoes/
- ↑ https://www.vanengelen.com/pejtest/12sweet.htm
- ↑ https://morningchores.com/curing-sweet-potatoes/
- ↑ https://www.tenthacrefarm.com/harvesting-curing-and-storing-sweet-potatoes/
- ↑ https://homestead-honey.com/how-to-grow-harvest-cure-and-store-sweet-potatoes/
- ↑ https://www.youtube.com/watch?v=PTxL4vrem5o
- ↑ https://plantpathology.ces.ncsu.edu/wp-content/uploads/2013/12/sweetpotatoes_postharvest-1.pdf?fwd=no
- ↑ https://homestead-honey.com/how-to-grow-harvest-cure-and-store-sweet-potatoes/
