This article was co-authored by Gevorg Grigorian and by wikiHow staff writer, Amber Crain. Gevorg Grigorian is an Appliance Repair Specialist and the Owner of G and R Appliance Repair in Los Angeles, California. With over 12 years of experience, Gevorg specializes in residential and commercial appliance repairs as well as heating, ventilation, and air conditioning (HVAC) services. Gevorg holds a BS in Business Administration and Management from California State University-Northridge.
There are 10 references cited in this article, which can be found at the bottom of the page.
This article has been viewed 18,580 times.
Defrosting an upright freezer isn’t a popular chore, but it’s crucial if you want to keep it running efficiently. Start by transferring all of your frozen food to coolers. The easiest defrosting solution is simply propping the freezer door open and letting the frost melt on its own, but it takes several hours. You can speed things along by using a hair dryer or bowls of hot water to melt the frost. Be sure to dry the interior surfaces thoroughly with a towel before you put the food back in!
Steps
Emptying the Freezer
-
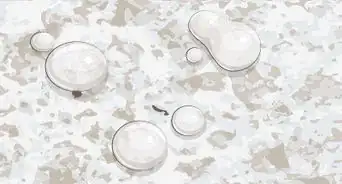
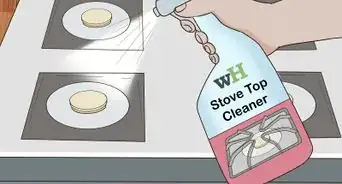
1Defrost the freezer when the frost is 1⁄4 to 1⁄2 inch (0.64 to 1.27 cm) thick. Your freezer works less efficiently when frost starts to build up inside. Once frost reaches a thickness of 1⁄4 to 1⁄2 inch (0.64 to 1.27 cm), it’s time to defrost. Defrosting your freezer will take about 3-4 hours, so be sure to plan accordingly.[1]
- Most upright freezers need to be defrosted once every six months.[2]
-
2Transfer all frozen items from your freezer into a large cooler. Work quickly so the food doesn’t start to thaw. Place the biggest items at the bottom of the cooler and layer the flat packages on top to efficiently use your cooler space. Close the lid securely once the cooler is full.[3]
- Use a cooler or ice chest that can accommodate the amount of food you have. If necessary, use more than 1 cooler.[4]
- Be sure to get everything out! Check the back corners and shelves carefully.
Tip: Use this opportunity to toss out any expired food items!
Advertisement -
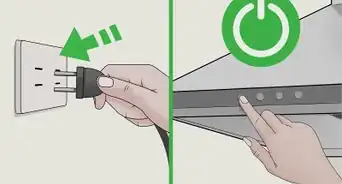
3Unplug your freezer from the outlet. Find your freezer’s electrical cord and follow it all the way back to the wall socket. Carefully pull the plug out of the socket and place the cord on floor.[5]
- Always double-check that your freezer is unplugged before you proceed for safety purposes.
-
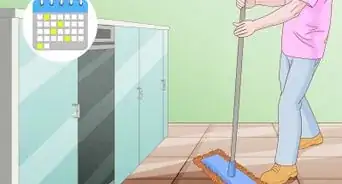
4Bring the freezer outside or put down old towels to catch melted frost. Defrosting your freezer outdoors makes cleanup easier, but if you can’t move your freezer, that’s totally fine. Grab several old towels and cover the floor around the freezer to catch melted runoff.[6]
- You can also place towels on the freezer shelves to catch melted frost. Wring them out over your sink once they’re saturated.
-
5Remove the drain plug and put a shallow pan under the drain, if needed. Not all upright freezer models have a drain plug. If it does, it will be located at the bottom of the freezer. Remove the drain plug by pulling it straight out. Then, position a large pan underneath the drain to catch melted frost.[7]
- Remember to empty the pan periodically so that it doesn’t overflow.


Removing the Frost
-
1Open the freezer door and let it defrost on its own if you aren’t in a hurry. If your upright freezer is outside and it’s nice and sunny, you can just prop the freezer door open and let nature do the work for you. This technique usually takes 3-4 hours, but since your food is safely packed away in coolers, you have nothing to worry about.[8]
- If your freezer has a drain plug and it's indoors, check the progress about once an hour and empty the pan, if needed.
Warning: This technique isn’t recommended if your freezer is indoors and doesn’t have a drain plug. You may end up with a slushy mess to clean up!
-
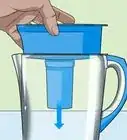
2Place bowls of hot water on the freezer’s shelves to encourage melting. Place thick towels under each shelf in your freezer to catch the melted frost. Then, heat water in your microwave or put a kettle on the stove. Fill medium-sized bowls with the heated water and place 1-2 bowls on each shelf in the freezer. Close the freezer door and let the steam loosen and melt the frost.[9]
- Dump out the water in the bowls and replace it every 10-15 minutes for the best results.
- This technique usually takes 30 minutes to an hour.
-
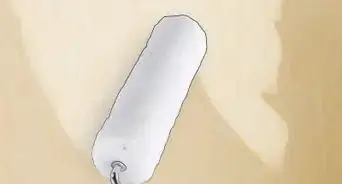
3Melt the frost with a hair dryer to speed things up. Plug a regular hair dryer into the nearest outlet and turn it on using the highest setting. Hold the nozzle of the hair dryer about 1 inch (2.5 cm) above the frost and blast it with the hot air until it melts.[10]
- This technique takes about 30-40 minutes to complete.
- Make sure no melted runoff gets near the power outlet to prevent electrocution.
-
4Scrape out the softened frost with a rubber spatula. No matter which technique you’re using, the frost will start to soften and turn into chunks after a few minutes. To save even more time, scrape the flat surfaces in the freezer with a rubber spatula to remove the chunks. Use a baking sheet to catch the chunks as you scrape them out.[11]
- You don’t have to do this, but it will speed things up significantly!
- Avoid using a metal spatula for this; metal can damage your freezer’s interior.
- Stay away from the freezer element when you’re scraping the frost.


Drying and Cleaning the Interior
-
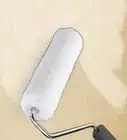
1Dry the interior surfaces with a thick towel to remove excess moisture. Your freezer’s shelves and walls will be wet after the defrosting process. There may also be little puddles of water pooled here and there. Grab a towel and wipe all of the surfaces to soak up any water. Keep wiping until the inside is totally dry.[12]
- You can use paper towels for this if you prefer.
- Be sure to dry the surfaces thoroughly! Any leftover water will freeze and create more frost to deal with after you plug your freezer back in.
-
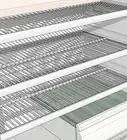
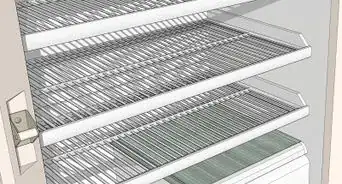
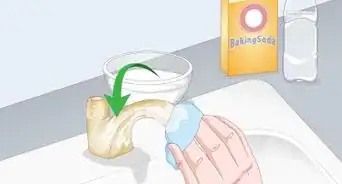
2Remove the shelves and wash them with warm, soapy water. If you have time, this is a great opportunity to clean and sanitize the inside of your freezer! Take out the shelves and any removable drawers and wash them in warm, soapy water. Place them on a clean towel to air-dry.[13]
- Wipe the pieces down with a towel to remove excess moisture before you put elements back into the freezer.
-
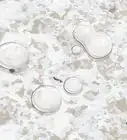
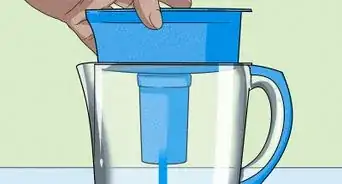
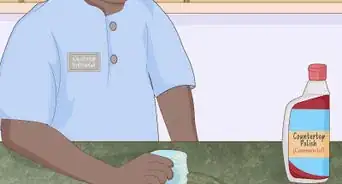
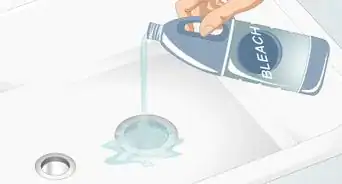
3Mix equal parts vinegar and water in a spray bottle. Whip up a simple cleaning solution with distilled white vinegar and water. Simply fill a spray bottle halfway with the vinegar, and then add warm water to fill it up the rest of the way. Give the spray bottle a good shake to combine the water and vinegar.[14]
- You can use a commercial antibacterial cleaner if you prefer.
-
4Spray the surfaces with the vinegar solution and wipe them down. Apply the cleaning solution liberally to every surface in the freezer. Grab a sponge and wipe each surface down thoroughly. The sponge will soak up a lot of the solution, but make 1 more pass with a dry towel to get rid of lingering moisture.[15]
- Be sure to work the sponge into the nooks and crannies for a thorough job.
-
5Replace the shelves and put the frozen food back into the clean freezer. Insert any removable parts that were cleaned separately. Then, turn on your freezer and quickly move the frozen food from the coolers to the freezer. Organize however you see fit to make the most efficient use of the space.[16]
- If your freezer has a drain plug, don’t forget to put that back before stacking the food inside.


Things You’ll Need
- Old towels
- Coolers or ice chests
- Bowls
- Hair dryer
- Plastic spatula
- Antibacterial cleaner

Expert Interview
Thanks for reading our article! If you'd like to learn more about defrosting a freezer, check out our in-depth interview with Margaret Maragh.
References
- ↑ https://www.youtube.com/watch?v=YGYfZegc_xA&feature=youtu.be&t=40
- ↑ https://www.savoringthegood.com/how-to-defrost-the-freezer/
- ↑ https://www.savoringthegood.com/how-to-defrost-the-freezer/
- ↑ https://www.youtube.com/watch?v=YGYfZegc_xA&feature=youtu.be&t=85
- ↑ https://www.savoringthegood.com/how-to-defrost-the-freezer/
- ↑ https://andreadekker.com/how-we-defrost-our-deep-freezer/
- ↑ https://www.searspartsdirect.com/diy/article/how-to-defrost-a-freestanding-freezer
- ↑ https://www.youtube.com/watch?v=YGYfZegc_xA&feature=youtu.be&t=200
- ↑ https://www.savoringthegood.com/how-to-defrost-the-freezer/
- ↑ https://www.youtube.com/watch?v=YGYfZegc_xA&feature=youtu.be&t=225
- ↑ https://www.youtube.com/watch?v=YGYfZegc_xA&feature=youtu.be&t=225
- ↑ https://www.youtube.com/watch?v=YGYfZegc_xA&feature=youtu.be&t=313
- ↑ https://www.thekitchn.com/how-to-clean-the-freezer-cleaning-lessons-from-the-kitchn-206364
- ↑ https://www.thekitchn.com/how-to-clean-the-freezer-cleaning-lessons-from-the-kitchn-206364
- ↑ https://www.thekitchn.com/how-to-clean-the-freezer-cleaning-lessons-from-the-kitchn-206364
- ↑ https://www.thekitchn.com/how-to-clean-the-freezer-cleaning-lessons-from-the-kitchn-206364
About This Article