This article was co-authored by Kyle Kenny and by wikiHow staff writer, Hunter Rising. Kyle Kenny is a Master Trainer, Certified Personal Trainer, and the Owner of KennyTRY Training. With more than seven years of experience, he specializes in helping people achieve their fitness goals by creating individualized meal programs, training regimens, supplementation systems, vitamin lists, and workouts. Kyle has multiple Personal Training Certifications and a Fitness Nutrition Specialist Certification through the National Academy of Sports Medicine.
There are 10 references cited in this article, which can be found at the bottom of the page.
This article has been viewed 9,626 times.
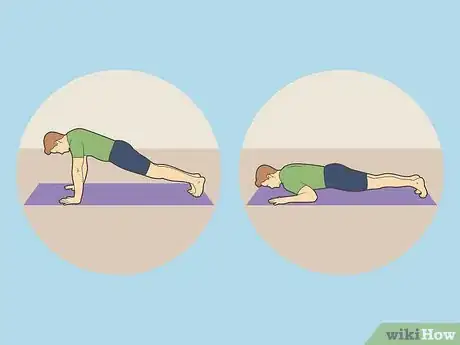
Are you looking for an intense upper body and core workout to add to your routine? If you’re tired of doing regular pushups, Russian pushups are a great new variation for you to try. Since these pushups are more challenging, it takes a little bit of time to build your strength and do them correctly. We know you’re probably wondering a few things, so keep reading for answers to your most common questions!
Steps
How do I do a Russian pushup?
-
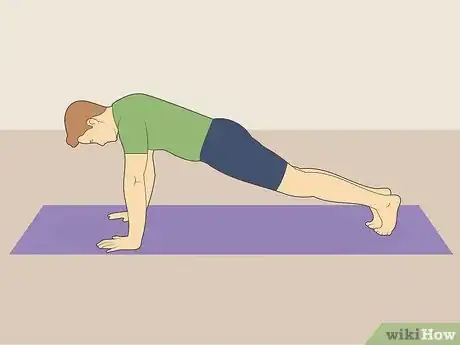
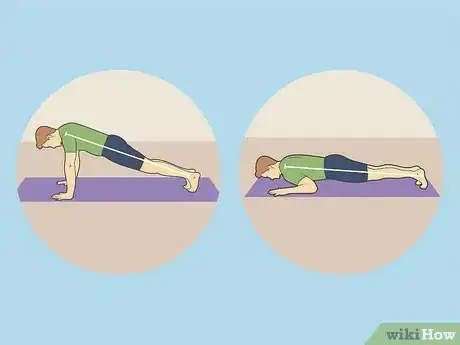
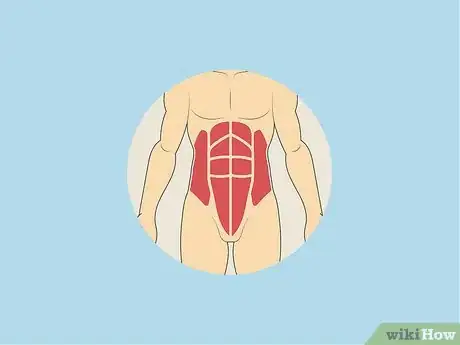
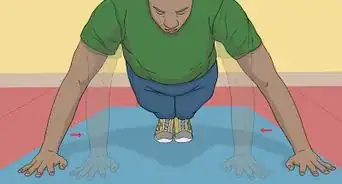
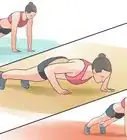
1Get into a pushup position. Kneel down on an exercise mat and plant your hands flat on the ground with your hands just wider than shoulder-width. Walk your feet backward until your legs form a straight line with your back.[3] Engage your core muscles to keep your hips level with the rest of your body.[4]
- Be careful not to raise your hips higher than your back since you won’t be in proper form.
- Look straight down so your head and neck stay in line with the rest of your spine.
-
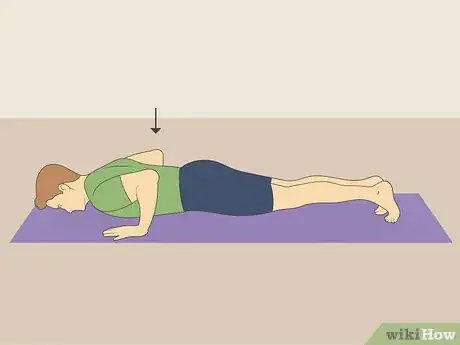
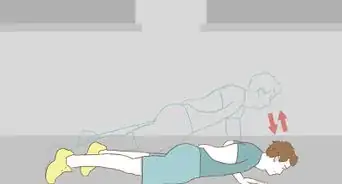
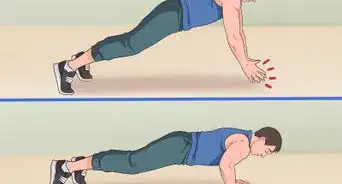
2Lower your body to the ground. Whenever you’re ready to start your rep, Slowly drop your elbows to bring your body closer to the ground.[5] Keep your core engaged so your back and legs stay straight. Try to get your body as low as you can without actually resting on the ground.[6]
- Be careful not to let your back or hips sag during your exercise.
-
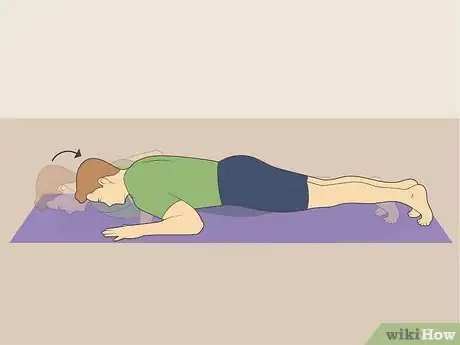
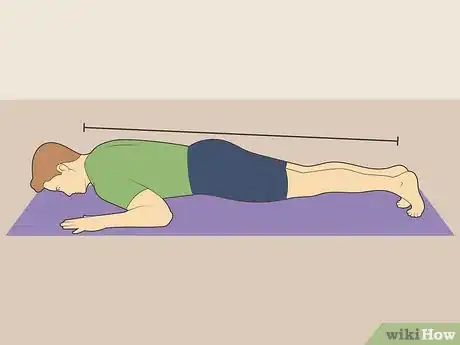
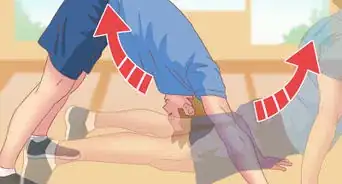
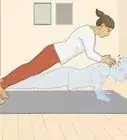
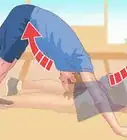
3Transition into a forearm plank. As soon as you get into the lowest position of your pushup, push your body backward until your forearm lies flat on the ground. Keep your elbows close to your sides and your back straight throughout the entire movement. Hold your body a few inches off the ground without letting your hips sag.[7]
- It can take a few tries to master this movement for Russian pushups. Take it slow the first few times you try so you don’t injure yourself.
-
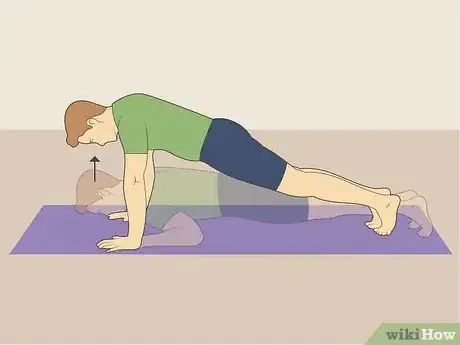
4Push yourself back to your starting position. Plant your toes into the ground and flex your ankles to move your entire body forward. As you’re moving, lift your forearms off of the ground and support your weight with your hands again. Straighten your arms to lift your body back up to where you started.[8]
- It may help to hop forward with your feet when you return to pushup position.
How many Russian pushups should I do?
-
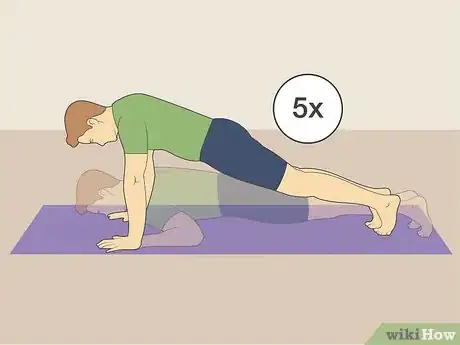
1Aim for 5 reps, but do as many as you can before feeling tired. Russian pushups can be pretty challenging and tiring, so you may not be able to do as many reps as you would with standard pushups. When you first start doing the exercise, keep track of how many you complete until you physically can’t finish a rep. Try to do at least 5 repetitions, but don’t feel discouraged if you don’t reach it right away.[11]
- As you get more comfortable doing the exercise, try adding 5 reps to your routine to keep building muscle.
-
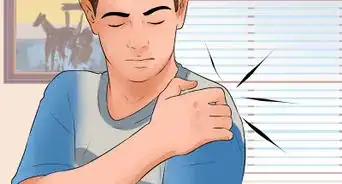
2Focus more on your form rather than quantity. Russian pushups have a lot of dynamic movements, so they can cause some muscle strain if you do them incorrectly. Take the exercise slowly at first and focus on mastering the basic form. Once you can easily complete a rep with controlled movements, try increasing how many you do during your workout.[12]
What muscles do Russian pushups work?
-
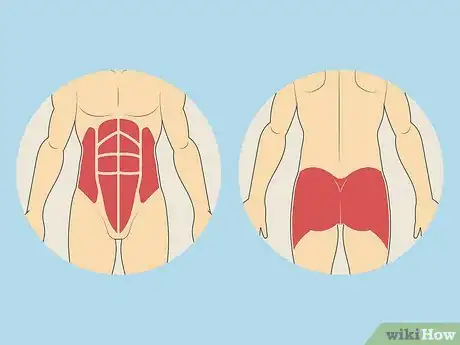
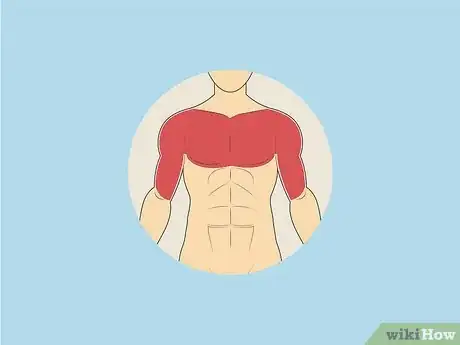
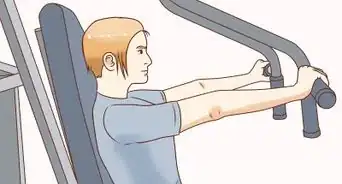
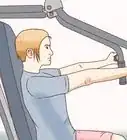
1The pushup portion works your arms, chest, and shoulders. As you raise and lower your body, you’ll really feel the burn in your shoulders, pecs, biceps, and triceps. Since you’re lifting your bodyweight each time, you’ll be able to build a lot of muscle without using any special equipment.[13]
-
2
Warnings
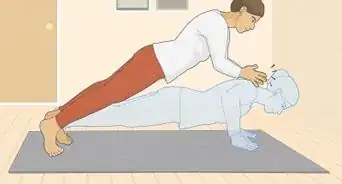
- Russian pushups are considered more challenging if you’re inexperienced. If you have trouble doing them, just try starting with standard pushups or planks instead.⧼thumbs_response⧽
References
- ↑ https://indianexpress.com/article/lifestyle/fitness/russian-push-up-variation-core-workout-benefits-steps-6529394/
- ↑ Kyle Kenny. Master Trainer & Certified Personal Trainer. Expert Interview. 2 November 2021.
- ↑ Kyle Kenny. Master Trainer & Certified Personal Trainer. Expert Interview. 2 November 2021.
- ↑ https://www.nbcnews.com/better/diet-fitness/are-you-doing-push-ups-right-here-s-how-do-n732791
- ↑ Kyle Kenny. Master Trainer & Certified Personal Trainer. Expert Interview. 2 November 2021.
- ↑ https://www.acefitness.org/education-and-resources/lifestyle/exercise-library/41/push-up/
- ↑ https://youtu.be/9UGOxOhrEA4?t=237
- ↑ https://indianexpress.com/article/lifestyle/fitness/russian-push-up-variation-core-workout-benefits-steps-6529394/
- ↑ https://www.self.com/story/heres-exactly-how-to-do-a-push-up-correctly
- ↑ https://dailyburn.com/life/fitness/how-to-do-a-plank/
- ↑ https://youtu.be/9UGOxOhrEA4?t=329
- ↑ https://youtu.be/9UGOxOhrEA4?t=320
- ↑ https://www.nbcnews.com/better/diet-fitness/are-you-doing-push-ups-right-here-s-how-do-n732791
- ↑ Kyle Kenny. Master Trainer & Certified Personal Trainer. Expert Interview. 2 November 2021.
- ↑ https://www.self.com/story/how-to-do-a-plank
- ↑ https://indianexpress.com/article/lifestyle/fitness/russian-push-up-variation-core-workout-benefits-steps-6529394/
