This article was co-authored by wikiHow Staff. Our trained team of editors and researchers validate articles for accuracy and comprehensiveness. wikiHow's Content Management Team carefully monitors the work from our editorial staff to ensure that each article is backed by trusted research and meets our high quality standards.
This article has been viewed 78,988 times.
Learn more...
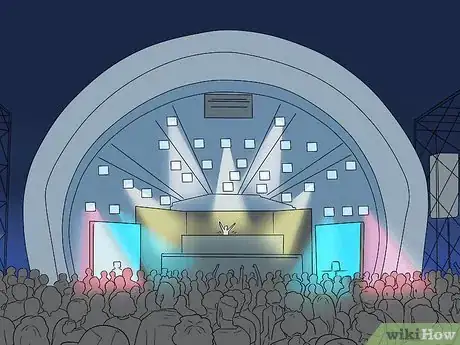
Stage lighting for theatre, dance, musicals, concerts, and other performances is an art in and of itself. Done well, it will enhance the performance for the audience. In order to operate the lights, you will need some prior training and practice to become familiar with the technical aspects of stage lighting. However, there are some basic principles and concepts you need to follow to master the complex art of stage lighting and help bring any performance to life.
Steps
Deciding What Lighting to Use
-
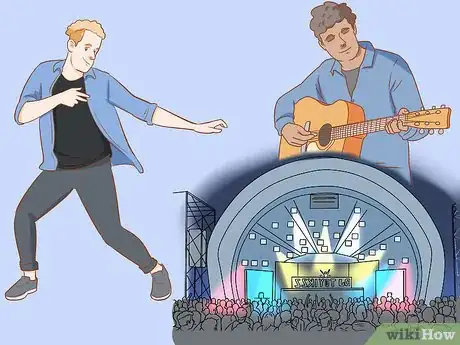
1Choose your lighting based on the performance genre. Each genre of performance has some simple principles behind lighting that genre. Do some research to learn what those principles are to help you decide what kind of stage lighting to use for your upcoming performance.
- For example, a standard play has lots of dialogue. An audience’s ability to understand dialogue is directly linked to their visual connection with the speakers face. You will want to have a lot of front lighting focused on the actors’ faces.
- Dance is where the movement of the body is most important. Light from the sides is what highlights fluid movements the best. Use side light at different heights and angles.
- Concerts are all about colours, effects, and atmosphere. Sometimes, you might want a single spotlight following your performers around, but most other lighting will be for colour, movement, and special effects. Think symmetry, bold colours, and wash lights.
- Musicals are a combination of drama and dance, as they contain elements of both. Usually, principles of both are incorporated into the lighting design for musicals.
-
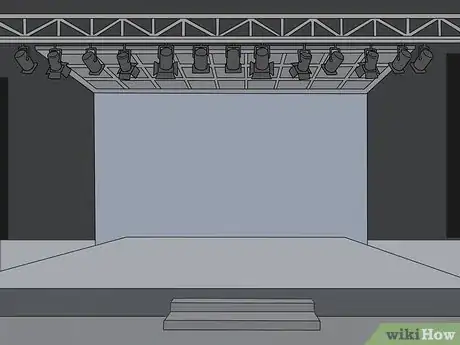
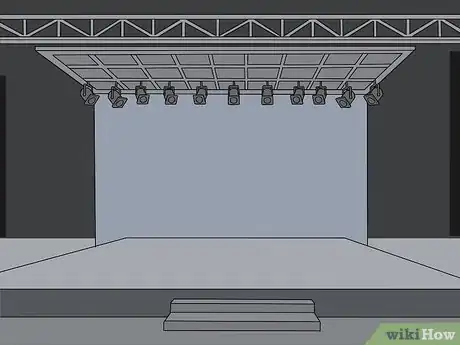
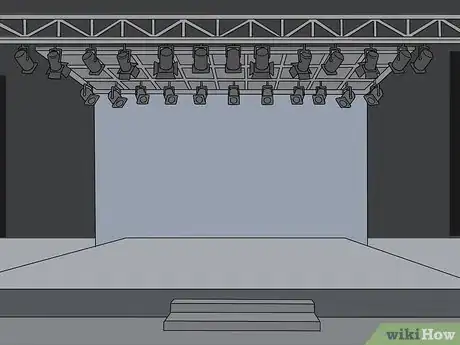
2Examine the venue to help determine how many lights you need. Look at the size of the venue and where you are able to place lights. Check where the lighting bars are to get an idea of where you can hang things. Evaluate whether you can put lights on stands on the floor, or rig vertical pipe and hang them from the sides.
- There are 5 basic lighting positions for you to consider when you are examining your venue: front lighting, side lighting, high side lighting, back lighting, and down lighting.
Basic Lighting Positions
Front Lighting: This is the main source of lighting. It’s used for lighting up faces and getting rid of shadows.
Side Lighting: This highlights the bodies and sides of the faces of your performers. It’s especially useful for dance performances.
High Side Lighting: This highlights only the top part of performers’ bodies.
Back Lighting: This makes performers or props stand out from the background and appear more 3D.
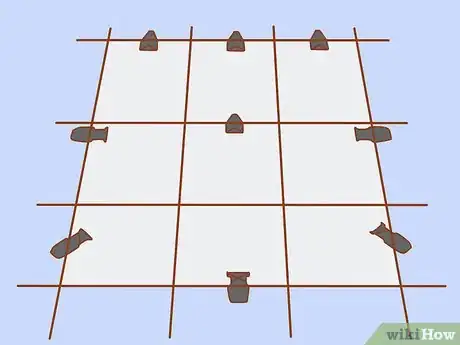
Down Lighting: This is used to illuminate the whole stage in a wash of light by overlapping the beams on lanterns in a grid pattern.Advertisement -
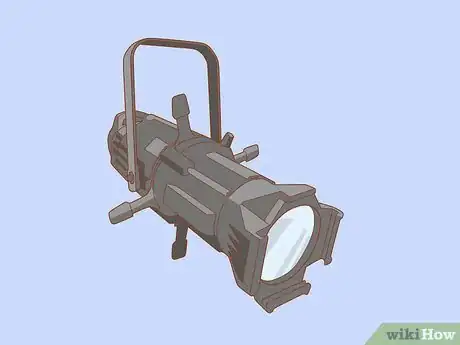
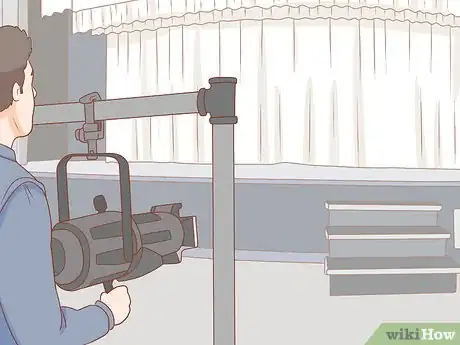
3Use an ellipsoidal reflector spotlight (ERS) to illuminate a subject. These spotlights create a sharp, focused beam of light. Use them for illuminating a single subject, such as an actor’s face or a single singer on stage.[1]
- You can also use an ERS to project images and patterns called “gobos.” These are stainless steel or glass discs, with patterns, that you can place over the lens to project the image onto a backdrop on stage.
- ERS are usually used for projecting light medium to long distances.
-
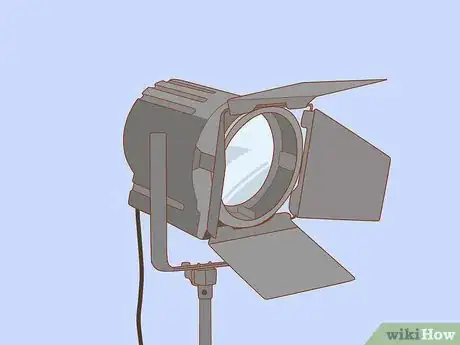
4Use a fresnel spotlight to illuminate subjects and create strong shadows. A fresnel spotlight is a softer spotlight than an ERS (think those large spotlights you see at movie premieres). Zoom the fresnel in to a small diameter to create a spotlight, or zoom it out to a wide diameter to create a floodlight.[2]
- Fresnels are usually used to project short to medium distances.
-
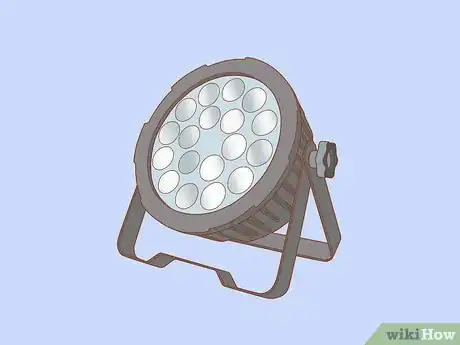
5Use PAR floodlights, or PAR cans, for backlighting or side lighting. PAR cans create a narrow or wide oval beam of light. They are very easy to use and are a staple for many different types of performances, from backlighting for concerts to side lighting for dance performances.[3]
- PAR cans are the go-to lighting of the rock and roll industry. They don’t give you a lot of control over the size of the beam (it depends on the size of the lens), but create a large amount of light that is great for lighting up concerts.
-
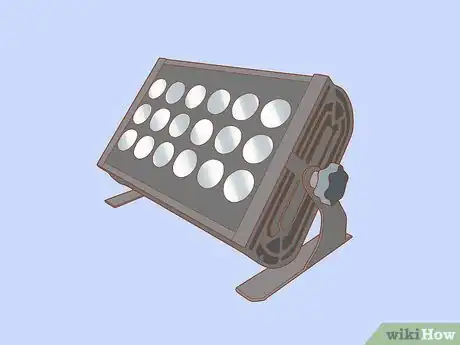
6Light up wide, flat areas using strip lights, border lights, or ground rows. These are all types of light fixtures that contain multiple lamps. Use them to light up backdrops, curtains, or for basic lighting above a stage.[4]
- You can also use strip lighting to change background colors by mixing up the colours and intensities of the lamps.
-
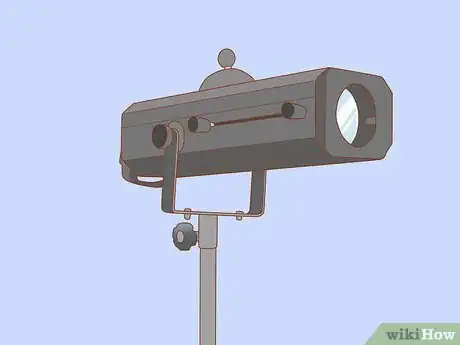
7Use follow spots to follow a performer around stage. A follow spot is a bright, mobile spotlight that needs to be manually operated. Use them for following around a solo performer as they move around the stage.[5]
- You will need another person dedicated to operating the followspot if you plan on using one.
-
8Ask what lighting stock is available at the venue. Most venues have a base stock of lighting equipment from which you will be able to select your lights. Make sure you do your research so you know what they are and what they do.[6]
- Stage lighting can generally be described by its intensity (how bright or dim the lights are), color, distribution (direction of the light), and movement (how the light changes over time).
Tailoring Your Lighting to the Performance
-
1Consult with the director or person in charge of the show. Talk about the script, choreography, or concert type to collaborate and come up with a lighting design that works for the show. Ask about what the director, choreographer, or band wants the audience to see and focus on to decide how you will light the performance.
- Imagine your lighting as if it were a camera and your job was to film and highlight the performance for the audience.
- Consider the mood, movement, texture, and naturalism (things like whether you're portraying day versus night).
- For example, you can experiment with different lighting to highlight a fast-paced, chaotic scene vs. a slow, serious scene in a play. You can also use warmer or cooler lighting to convey changes in the time of day or temperature of a scene.
Tip: Attend or watch recordings of other performances and take notes on the stage lighting for inspiration.
-
2Decide what angles you need to position your lights at. Get a small directional light, like a strong flashlight, and have a look at how shining it from different directions at the stage creates a different atmosphere. Look at how different angles will complement the performance and think about at what times you will use them during the show.[7]
- Angles are very important in stage lighting; you will want to use different angles for different types of performances. For example, if you are lighting a play and you want to spotlight performers’ faces, then you will need front lighting facing down at the stage at a 45-degree angle.
- If you are lighting a concert, then you need to focus more on backlighting to make the performers pop out from the background, as well as special effects and coloured lighting to create the right mood for the concert.
-
3Use coloured lights to help you create a mood and atmosphere. Use deep blues for nighttime scenes and yellow for warm sunny scenes. Use crazy combinations of colors for big exciting moments in a concert. Take everything you’ve already considered into account and add some coloured lighting to the mix to really make the performance pop.
- You should be able to get a colour swatch book from any theatre equipment supply store, from which you can choose your colours to set on the lights you will be using.
Setting Up Your Lights
-
1Angle front lights at 45-degree angles to the left and right of their subject. Each subject you want to highlight will need 2 front lights positioned to their left and right in front of them and angled about 45 degrees down at them. This is the standard 3-point lighting technique that most shows use.[8]
- This lighting system eliminates dark shadows while providing 3D definition to the form of the subject.
-
2Angle a back light at a 45-degree angle directly behind the subject. This is the third light in the standard 3-point system. Place the light directly behind the subject and angled down about 45 degrees at them.[9]
- You can experiment with the lighting to create different effects if you want something less conventional. For example, single-point lighting, with just 1 front light, can be used to mimic the effect of the sun and create dramatic shadows. 2-point lighting, with just 1 front light and 1 back light, can be used as well.
-
3Divide the stage into a grid and cover with overlapping lights to create a wash. Divide the stage into zones that are approximately 8 ft (2.4 m) in diameter. You will need to cover each zone with a light fixture to create general lighting that illuminates the whole stage.[10]
- For example, if your stage is 25 ft (7.6 m) by 25 ft (7.6 m), then you would divide it into 9 8 ft (2.4 m) zones and cover each with a different lighting fixture to create the general illumination for the stage.
- You will still need additional lights to light up backgrounds, scenery, or highlight other things not covered by the area lighting.
-
4Draw a diagram of the stage and where you will put the lights. Make sure to include the location of any fixed lighting bars that you plan to use to hang lights in the diagram. Be specific about what lights go where, where they will point, what colour they will be, and any other relevant info.[11]
- If you have the facilities, you can add more fixed bars or use stands on the floor to add extra lights.
- If your venue doesn't have enough lights, look into companies that can rent you additional lights.
-
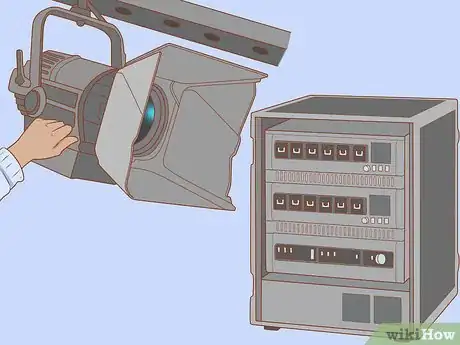
5Hang your lights and plug them in to a dimmer rack. Dimmer racks give you the ability to fade the lights in and out fluidly using a lighting desk or console. You will need training on how to use the lighting desk or console if you do not have any experience doing so.[12]
- You can also set up a DMX controller after you have hung your lights if they are DMX compatible. A DMX controller allows you to pre-program light settings and effects that you can easily transition between with a single slider on the lighting console. Plug the lights in via a DMX cable and program the light scenes that you want so you can quickly create different scenes during the performance.
- Remember to double check the position and angles of all your lights before each performance, in case something got accidentally moved. You don’t want to realize a light isn’t working properly in the middle of the performance!
Tip: You will need some technical experience and knowledge in order to safely and correctly hang and connect all your lights. This is where formal training, or working with someone experienced, will be of great value to you.
Community Q&A
-
QuestionMy lights are set up and my lighting board is plugged in and set up correctly, how can I test my lights?
 Community AnswerJust flick your lights and test the levels. If you'd like you could get your subjects out as well to see how your lights look on them.
Warnings
- Be careful whenever you are working with electricity. Electricity can be deadly if used carelessly. Make sure you are working with someone who has an understanding of power loading and electrical safety.⧼thumbs_response⧽
References
- ↑ https://www.iar.unicamp.br/lab/luz/ld/C%EAnica/Livros/basic_principles_lighting.pdf
- ↑ https://www.iar.unicamp.br/lab/luz/ld/C%EAnica/Livros/basic_principles_lighting.pdf
- ↑ https://www.iar.unicamp.br/lab/luz/ld/C%EAnica/Livros/basic_principles_lighting.pdf
- ↑ https://www.iar.unicamp.br/lab/luz/ld/C%EAnica/Livros/basic_principles_lighting.pdf
- ↑ https://www.iar.unicamp.br/lab/luz/ld/C%EAnica/Livros/basic_principles_lighting.pdf
- ↑ https://www.iar.unicamp.br/lab/luz/ld/C%EAnica/Livros/basic_principles_lighting.pdf
- ↑ https://hearthemusicplay.com/stage-lights-for-beginners/
- ↑ https://www.iar.unicamp.br/lab/luz/ld/C%EAnica/Livros/basic_principles_lighting.pdf
- ↑ https://www.iar.unicamp.br/lab/luz/ld/C%EAnica/Livros/basic_principles_lighting.pdf
