This article was co-authored by Michele Dolan and by wikiHow staff writer, Danielle Blinka, MA, MPA. Michele Dolan is a BCRPA certified Personal Trainer in British Columbia. She has been a personal trainer and fitness instructor since 2002.
This article has been viewed 112,408 times.
Reverse (or backward) lunges are a great way to work your glutes, hamstrings, quads, and calves, giving you a strong lower body. Additionally, reverse lunges are a great option for beginners because the backward motion is easier to control. When you first start doing reverse lunges, you can use your own body weight to get results. Once the exercise stops feeling challenging, you can add weights to increase the intensity.
Steps
Performing a Reverse Lunge
-
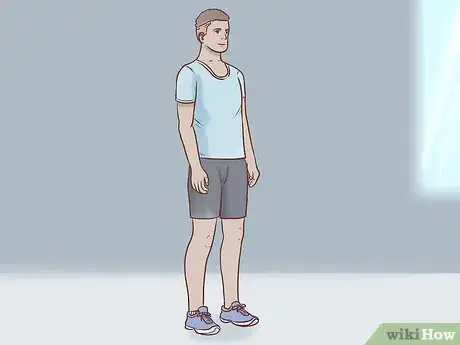
1Stand up straight with your legs hip-width apart and core muscles engaged. Your back should be straight throughout the entire exercise. Keep your head facing forward, with your chin tilted up. Additionally, don’t lock your knees.
Tip: Reverse lunges work the leg that’s stationary, which will be your front leg. That means you'll be working your right leg when you step backwards with your left.
-
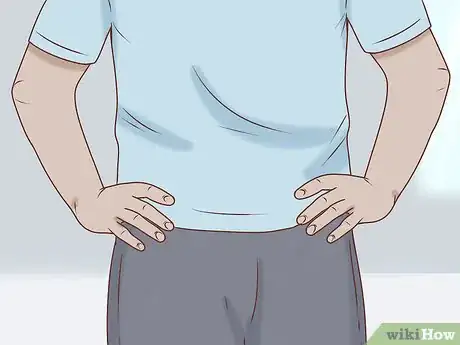
2Place your hands on your hips or behind your head. Choose the position that makes you feel the most stable. Reverse lunges require you to maintain your balance, and your arms can help you do that.[1]
- If you’re not sure where you should put your arms, try both positions to see which one is best for you.
Advertisement -
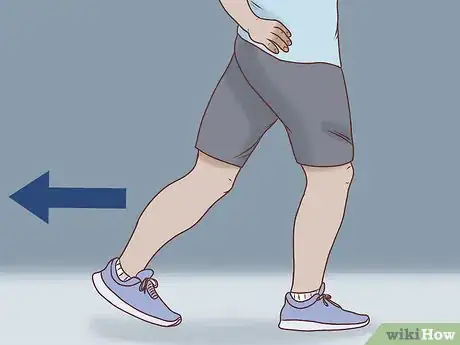
3Take a wide step about 2 feet (0.61 m) backwards with your left leg. Lift your left leg and shift it behind you, keeping your legs hip-width apart. Land on your left toes, with your heel almost perpendicular to the floor.[2]
- Step back as far as you comfortably can to prevent putting your knee at an awkward angle.
- Don’t try to step directly behind your other leg. Make sure your legs stay hip-width apart for the entire exercise.
-
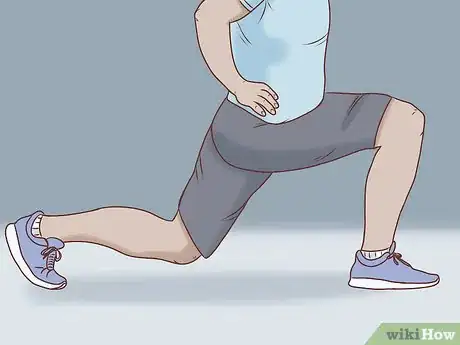
4Shift your right knee into a 90° angle. Lower your front leg into a 90° angle as you drop toward the floor. Keep your knee in line with your ankle to make sure you don’t push it out too far.
- Don’t move your right knee past your toes, as this can cause injury.
-
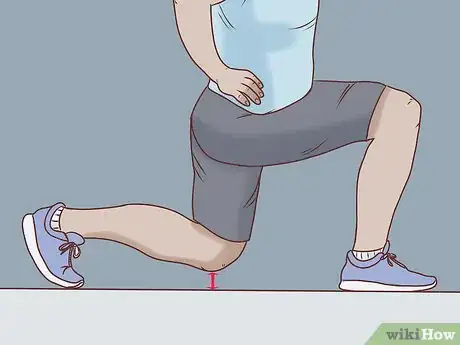
5Lower your left knee into a 90° angle at the same time. Bend both knees as you lower yourself down toward the floor. Drop your knee until it is about 2 to 3 inches (5.1 to 7.6 cm) off of the floor. Hold this position for 1-2 seconds.
Variation: If you can't go all the way down, it’s okay to modify the reverse lunge so that you’re not lowering your body as much. However, make sure both of your knees are bent at the same angle. If you bend your front leg at a 90° angle but don’t bend your back leg as much, since this can strain your hip flexors and eventually injure your lower back.[3]
-
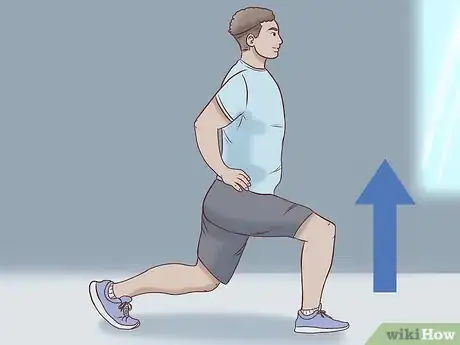
6Push through your right leg to rise back to your starting position. Your right leg, which is the front leg, will control most of your movement. However, it’s okay to use your left leg to keep you steady as you rise. As you come back into a standing position, bring your left leg forward to return to the start.[4]
- Reverse lunges work the leg that’s stationary, so that leg should always control your movement.
-
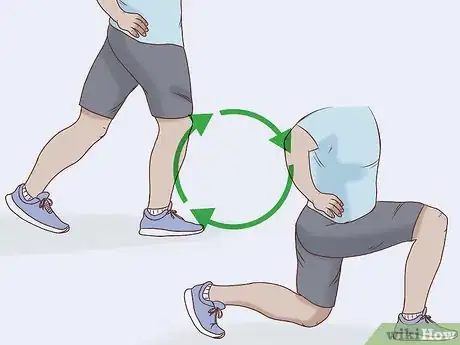
7Do 2-3 sets of 8-12 reps on each leg. You can alternate legs as you perform your reps, such as doing right leg then left leg. Alternatively, do all of the reps on one side and then do all of the reps on the other side. It's up to you how you want to work each side.
- You can change the number of sets or reps that you do to fit your workout plan.
Lunging with Weights
-
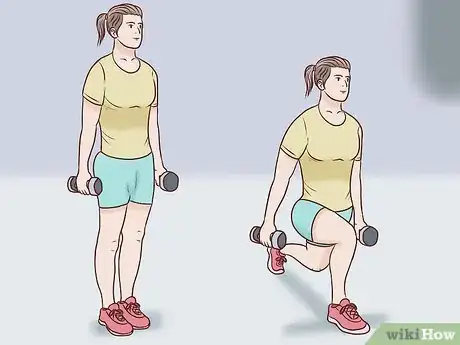
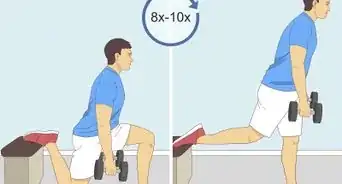
1Hold a pair of dumbbells at your side for a simple variation. Stand in your starting position with your legs hip-width apart. Position your arms at your sides with a dumbbell in each hand. Then, step back into your reverse lunge, keeping your arms at your sides. Bend your knees into a 90° angle, then push through your front leg to rise to your starting position.
- Choose a weight that doesn’t cause you to wobble or use bad form. It’s best to start with a lighter weight, such as 5 to 10 lb (2.3 to 4.5 kg) dumbbells and work your way up as you get used to the move.
-
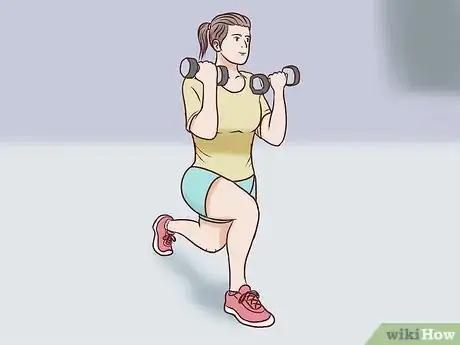
2Do bicep curls with dumbbells as you lunge to work more muscles. Stand with your back straight and your legs hip-width apart, holding your dumbbells down at your sides. Step back into a reverse lunge, bending your knees into a 90° angle. Then, do a bicep curl with both arms as you push through your front leg to rise to the starting position. Once you’re standing, lower the dumbbells back to your sides.
- Pick a weight that is challenging but doesn’t make you lose your form. When in doubt, always go with the lighter weight, then increase it once the exercise stops feeling challenging.
-
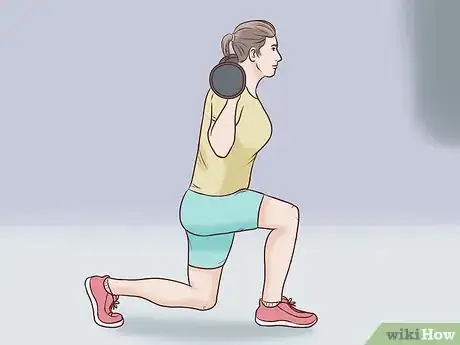
3Use a barbell to make your reverse lunges more challenging. Stand in your starting position with your legs hip-width apart. Lift a weighted barbell and rest it across your upper back, holding it steady with your hands in an overhand grip. Step back into your reverse lunge, bending your knees at a 90° angle. Keep your back straight and the weight stable. Then, rise back to your starting position.[5]
- Make sure you keep your back straight as you complete the reverse lunge.
- If you’re having trouble keeping your barbell steady, reduce the amount of weight you’re using.
Variation: Do your reverse lunges in a squat rack to enable you to get into your starting position more easily. Additionally, you’ll be able to safely use a heavier barbell to increase the challenge of your workout.
-
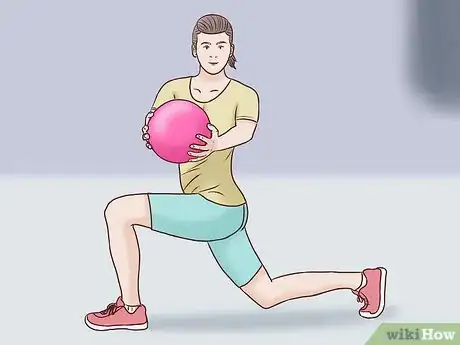
4Add a medicine ball twist to increase your workout. Stand in your starting position, holding your medicine ball out in front of you in both hands. As you step back into your lunge with your left foot, twist toward your right, keeping the medicine ball extended in front of you. Then, return to your starting position.[6]
- You can find weighted medicine balls in a variety of weights, typically ranging from 2 to 20 lb (0.91 to 9.07 kg). Choose a weight that is comfortable for you. It’s best to start out with a lighter weight and work your way up as you get used to working with the weight.
Warnings
- If you have weak or injured knees, reverse lunges may not be an appropriate exercise for you. Get your doctor’s approval before you try this exercise.⧼thumbs_response⧽
References
- ↑ https://www.self.com/story/difference-between-forward-and-reverse-lunges
- ↑ https://www.self.com/story/difference-between-forward-and-reverse-lunges
- ↑ https://www.self.com/story/difference-between-forward-and-reverse-lunges
- ↑ https://www.self.com/story/difference-between-forward-and-reverse-lunges
- ↑ https://www.youtube.com/watch?v=R-g5yPNYv2k
- ↑ https://gethealthyu.com/exercise/medicine-ball-reverse-lunge-rotation/
- ↑ https://www.self.com/story/difference-between-forward-and-reverse-lunges
