X
wikiHow is a “wiki,” similar to Wikipedia, which means that many of our articles are co-written by multiple authors. To create this article, 20 people, some anonymous, worked to edit and improve it over time.
This article has been viewed 187,962 times.
Learn more...
Even if your favorite Windows games aren't technically available for macOS, there's a little-known way you can still play them on your Mac. We'll show you how to use Boot Camp to create a Windows partition on your Mac so you can install Windows-only games and apps.
Steps
Part 1
Part 1 of 4:
Preparing the Windows Partition
-
1Verify that your Mac has an Intel processor. Most Macs released in 2006 and later have Intel chips; however, you can verify this information by looking for an Intel sticker or logo on your computer, or consulting with your computer manual.
-
2Verify that your computer has a built-in keyboard and mouse, or trackpad. A keyboard and mouse that are connected to your computer via the USB ports are also compatible.Advertisement
-
3Ensure that your Mac is currently running an OS version of X 10.5 or later. If your Mac's OS is not current, you must upgrade your OS to the latest version.
- Go to your Apple menu, then select "Software Update" to check for any available software updates you can run to update your machine.
-
4Verify that your Mac has sufficient memory to install Windows. You will need 16 gigabytes (GB) of available memory to install 32-bit Windows 7, and 20 GB of memory to install the 64-bit version of Windows 7.
- Open "Utilities" on your Mac, then open the Activity Monitor to verify the amount of your Mac's available memory.
-
5Obtain an installation disc for the Windows OS you want installed on your Mac. Your Mac and the Boot Camp software will not provide you with a Windows installation disc.
- Buy a Microsoft Windows installation disc from Microsoft directly by visiting the "Microsoft" website listed in the Sources section of this article, or call Microsoft directly at 1-877-274-5045.
-
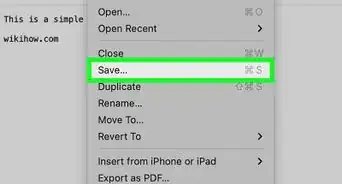
6Back up all important data on your Mac. When installing Windows on a partition of your Mac, that particular hard disk, or partition, will be re-formatted and all your data will be erased.
- Use a flash drive or external hard drive to back up important data on your Mac.


Advertisement
Part 2
Part 2 of 4:
Creating the Windows Partition
-
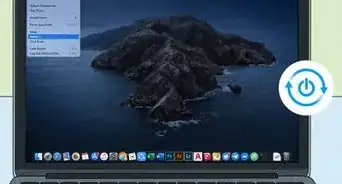
1Open the Utilities folder on your Mac, then launch "Boot Camp Assistant."
-
2Choose the option for adding a Windows partition, then select "Continue."
-
3Answer the questions as indicated by the screen prompts. You may be asked to indicate additional preferences regarding your plan for installing Windows, such as whether you are using a flash drive or installation disc.
-
4Choose a size for your Windows partition. For example, if you want to allot 25 GB of your Mac's memory to the Windows OS, indicate "25 GB" at the prompt.
-
5Insert the Windows installation disc into the optical drive on your computer. If you are using a flash drive instead, insert the flash drive into an available USB slot.
-
6Click on "Install" to finish creating your Windows partition. When the installation process completes, your computer will reboot and open to the Windows Installer menu.


Advertisement
Part 3
Part 3 of 4:
Installing the Windows OS on your Mac
-
1Follow the prompts provided by Windows Installer. In most cases, you will be asked to indicate personal preferences such as your language and Windows user name.
-
2Highlight the partition labeled "BOOTCAMP" when asked where you want Windows installed.
-
3Click on "Drive options (advanced)" on the bottom right.
-
4Select the option labeled "Format," then select "OK."
-
5Click the "Next" button in the bottom right corner of the window. Your Mac will proceed to install the Windows OS on your new Windows partition.
-
6Follow the onscreen prompts to complete the Windows installation and configuration process. Your Mac will then reboot, and restart in Windows.


Advertisement
Part 4
Part 4 of 4:
Downloading PC Games to your Mac
-
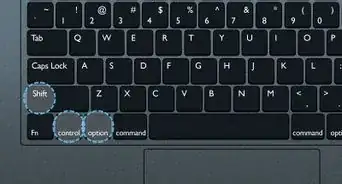
1Log in to the Windows OS on your Mac. If your computer defaults to booting up in the Mac OS, hold down the "Option" key upon startup, then select "Windows" from the options provided.
-
2Use your Windows Internet browser to navigate to the website from which you want to download PC games.
-
3Download the PC games to your Mac. After the PC games have been downloaded, you can play them from your Mac while logged into the Windows OS.


Advertisement
Community Q&A
-
QuestionHow do I download games for Mac for free?
 Community AnswerThere are some websites that have these games for free, but this is against the law if the game originally cost money. If you have a PC .exe file on your Mac from a PC game or any other PC software, you can use something called wine to open it. It is not recommended getting illegal games.
 -
QuestionIs there a cheaper option?
 Community AnswerNo, there are not cheaper options.
Advertisement


References
About This Article
Advertisement