X
wikiHow is a “wiki,” similar to Wikipedia, which means that many of our articles are co-written by multiple authors. To create this article, 12 people, some anonymous, worked to edit and improve it over time.
This article has been viewed 61,764 times.
Learn more...
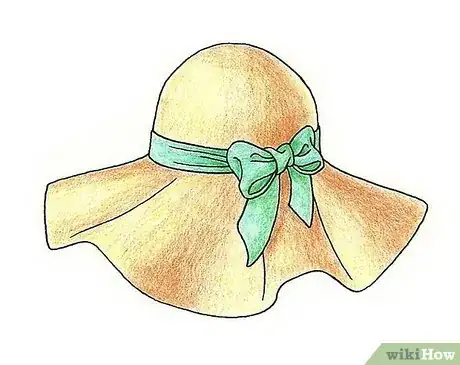
A floppy hat can really show when and where your character is! Floppy hats were worn in England to protect women's faces from the sun. Look below to find out how to draw one.
Steps
-
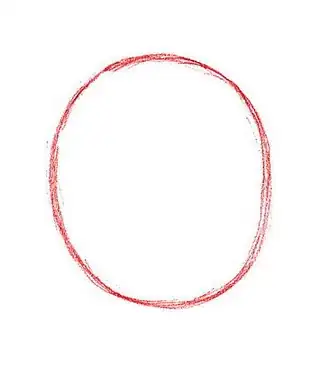
1Draw a circle. This will serve as the top of the hat.
-
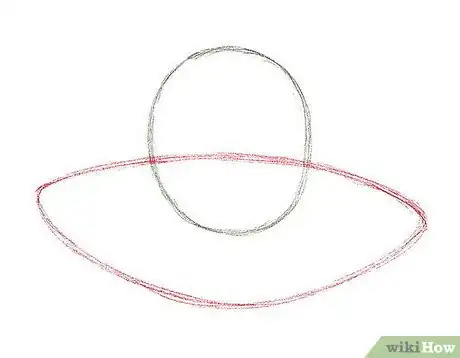
2Draw an almond-shaped oval over the circle. This is the basic shape of the rim.Advertisement
-
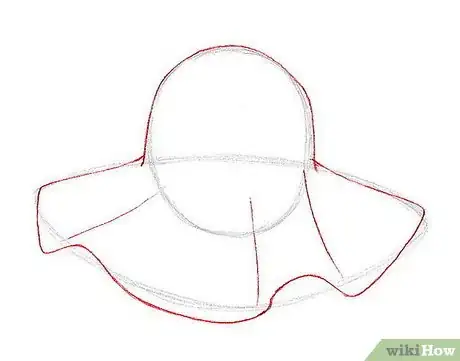
3Sketch out the slight folds almost in the shape of a square. Curve the lines to show the unevenness of the fabric. When your satisfied, erase the unwanted lines and outline the drawing slightly.
-
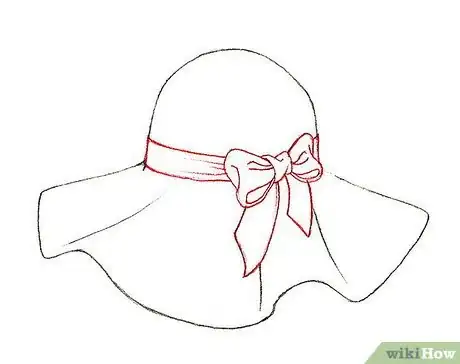
4Draw a ribbon in the right part of the hat. Start by drawing two straight lines slightly above the rim of the hat. Then draw a circle with two triangles as the base for the bow. Add a few bends and folds around it to make the ribbon more natural looking.
-
5Erase the pencil (if you inked it) and add color.
Advertisement
About This Article
Advertisement
