wikiHow is a “wiki,” similar to Wikipedia, which means that many of our articles are co-written by multiple authors. To create this article, volunteer authors worked to edit and improve it over time.
This article has been viewed 49,442 times.
Learn more...
Coving is a material which is applied in strips along the bottom of a ceiling to give a more attractive texture to the wall-ceiling joint. Plaster coving is most popular, but many people choose wood or polystyrene varieties. Installed in sections, coving is cut to specifications, and is attached to the wall using a special adhesive. This guide will teach you how to fit coving and provide guidance for the special measurements and cuts needed to fit the coving together evenly.
Steps
-
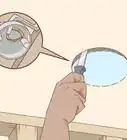
1Measure the width of your coving and mark this spot on a ruler.[1]
-
2Draw a straight line on each wall that is as far from the ceiling as the width of your coving.[2]
- Use the spot marked on your ruler as a guide. The line should be level and run between every corner.
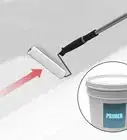
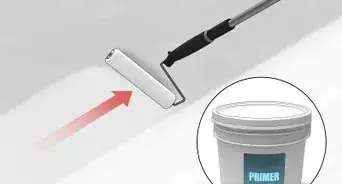
- This will make the adhesive used to install coving stick more strongly.
Advertisement -
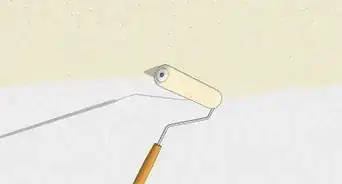
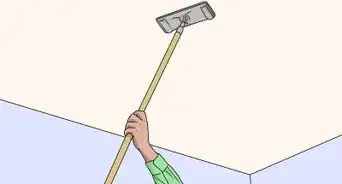
3Score the area in between the lines and the ceiling using a knife so that there are no large sections of undisturbed wallpaper or paint.
-
4Measure out the coving sections you will need.[3]
- At each corner, you will need to cut the coving at a 45-degree angle. This will allow the two sections of coving running from perpendicular walls to slide over each other. One section of the coving running into a corner should protrude at the top (with the cut sloping upward from the bottom), while the other should protrude at the bottom (with the cut sloping downward from the top). Plan out which sections will slope which way, and mark these lines.
-
5Place the coving sections in a miter box lining up the sloped lines so that they can be easily cut.[4]
-
6Cut the coving sections using a saw ensuring that the edges are as level as possible.[5]
-
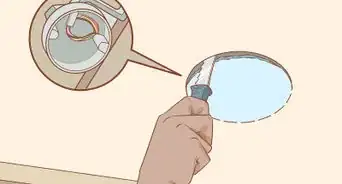
7Apply adhesive to the back of your first coving section.[6]
- You should have a thin, even layer that covers the entire length of the coving.
-
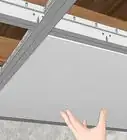
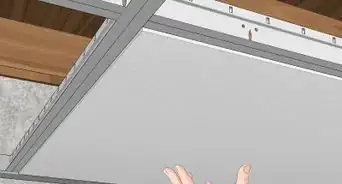
8Press the first coving section on the wall.
-
9Use your line as a guide and hold the coving firmly in place, tamping with the palm of your hand.
-
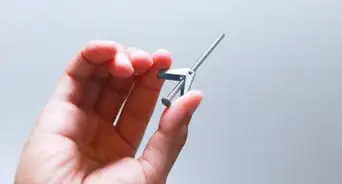
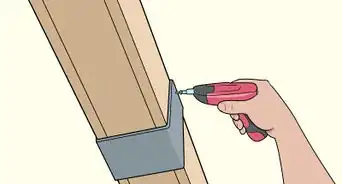
10Hammer a few nails into the coving section to keep it in place as the adhesive dries.[7]
-
11Repeat Steps 7-10 for the rest of the coving sections.
-
12Apply adhesive to the edges of the coving sections that will meet at the corners and press them together.[8]
-
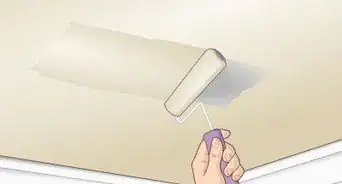
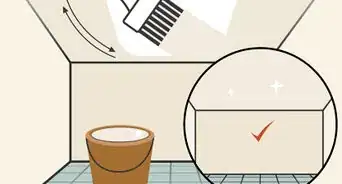
13Wipe away any excess adhesive using a towel.[9]
-
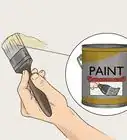
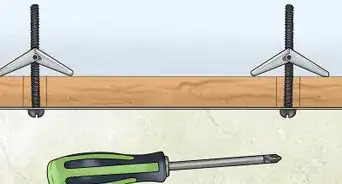
14Remove the nails once the adhesive has dried and paint or finish as desired.


Community Q&A
-
QuestionWhat is the best adhesive to put up polyester coving?
 Community AnswerLoctite's Powergrab holds very strong, even when bridging wall waviness.
 -
QuestionThe angle is not a right angle. How do I match the coving?
 Community AnswerTrial and error on scraps. You'll just have to increase or decrease the cut-angle until you're happy. Or, you can buy an Angle Finder that you simply press into the corner and tighten a wing-nut. Then, you take the Angle Finder to a Protractor or your chop-saw to get the trial and error very close once.
 -
QuestionI have an 140 degree angle. How do I join my coving?
 Community Answer140 or 40, doesn't matter. Trial and error is the only real answer. A cheap Angle Finder from the store can get you pretty close, but you'll still have 1 or 2 adjustments anyway.
Warnings
- Many ceilings are not level. Make sure that your line at Step 2 is level and does not follow the aberrations of the ceiling.⧼thumbs_response⧽
Things You'll Need
- Coving
- Miter box
- Saw
- Coving adhesive
- Ruler
- Pencil
- Hammer
- Nails
- Towel
- Knife


References
- ↑ https://www.diydoctor.org.uk/projects/coving.htm
- ↑ https://www.diydoctor.org.uk/projects/coving.htm
- ↑ https://www.diydoctor.org.uk/projects/coving.htm
- ↑ https://www.youtube.com/watch?v=au8lAS8W91I
- ↑ https://www.youtube.com/watch?v=au8lAS8W91I
- ↑ https://youtu.be/7autK34bAPA?t=190
- ↑ https://www.wickes.co.uk/how-to-guides/decorating/fit-coving
- ↑ http://www.thehousethatwill.com/blog/33-diy/213-diy-coving-installation
- ↑ https://youtu.be/ihpMaCtZeMY?t=220